
Connecting Your Custom Domain to Your Account
This SOP outlines the steps required to connect a custom domain to your account, ensuring a smooth transition and proper configuration of DNS records.
<div style="position: relative; padding-bottom: 58.1270182992465%; height: 0;"><iframe src="https://www.loom.com/embed/72471c898d3b446a9417ae9e43af3aae?sid=93205e2c-f147-4dae-9dae-a10b0ff5dc8d" frameborder="0" webkitallowfullscreen mozallowfullscreen allowfullscreen style="position: absolute; top: 0; left: 0; width: 100%; height: 100%;"></iframe></div>Watch The Full Tutorial Here:
https://www.loom.com/share/72471c898d3b446a9417ae9e43af3aae
00:00 Introduction to Domain Connection
03:00 Connecting Existing Domains
06:00 Finalizing Domain Setup
Cautionary Notes
Ensure you are ready to transfer your domain as it will stop pointing to its current host.
DNS changes may take time to propagate; be patient if verification fails initially.
Tips for Efficiency
Always double-check DNS records for accuracy before verifying.
Keep documentation for your domain provider handy for reference.
1. Access Settings 0:00
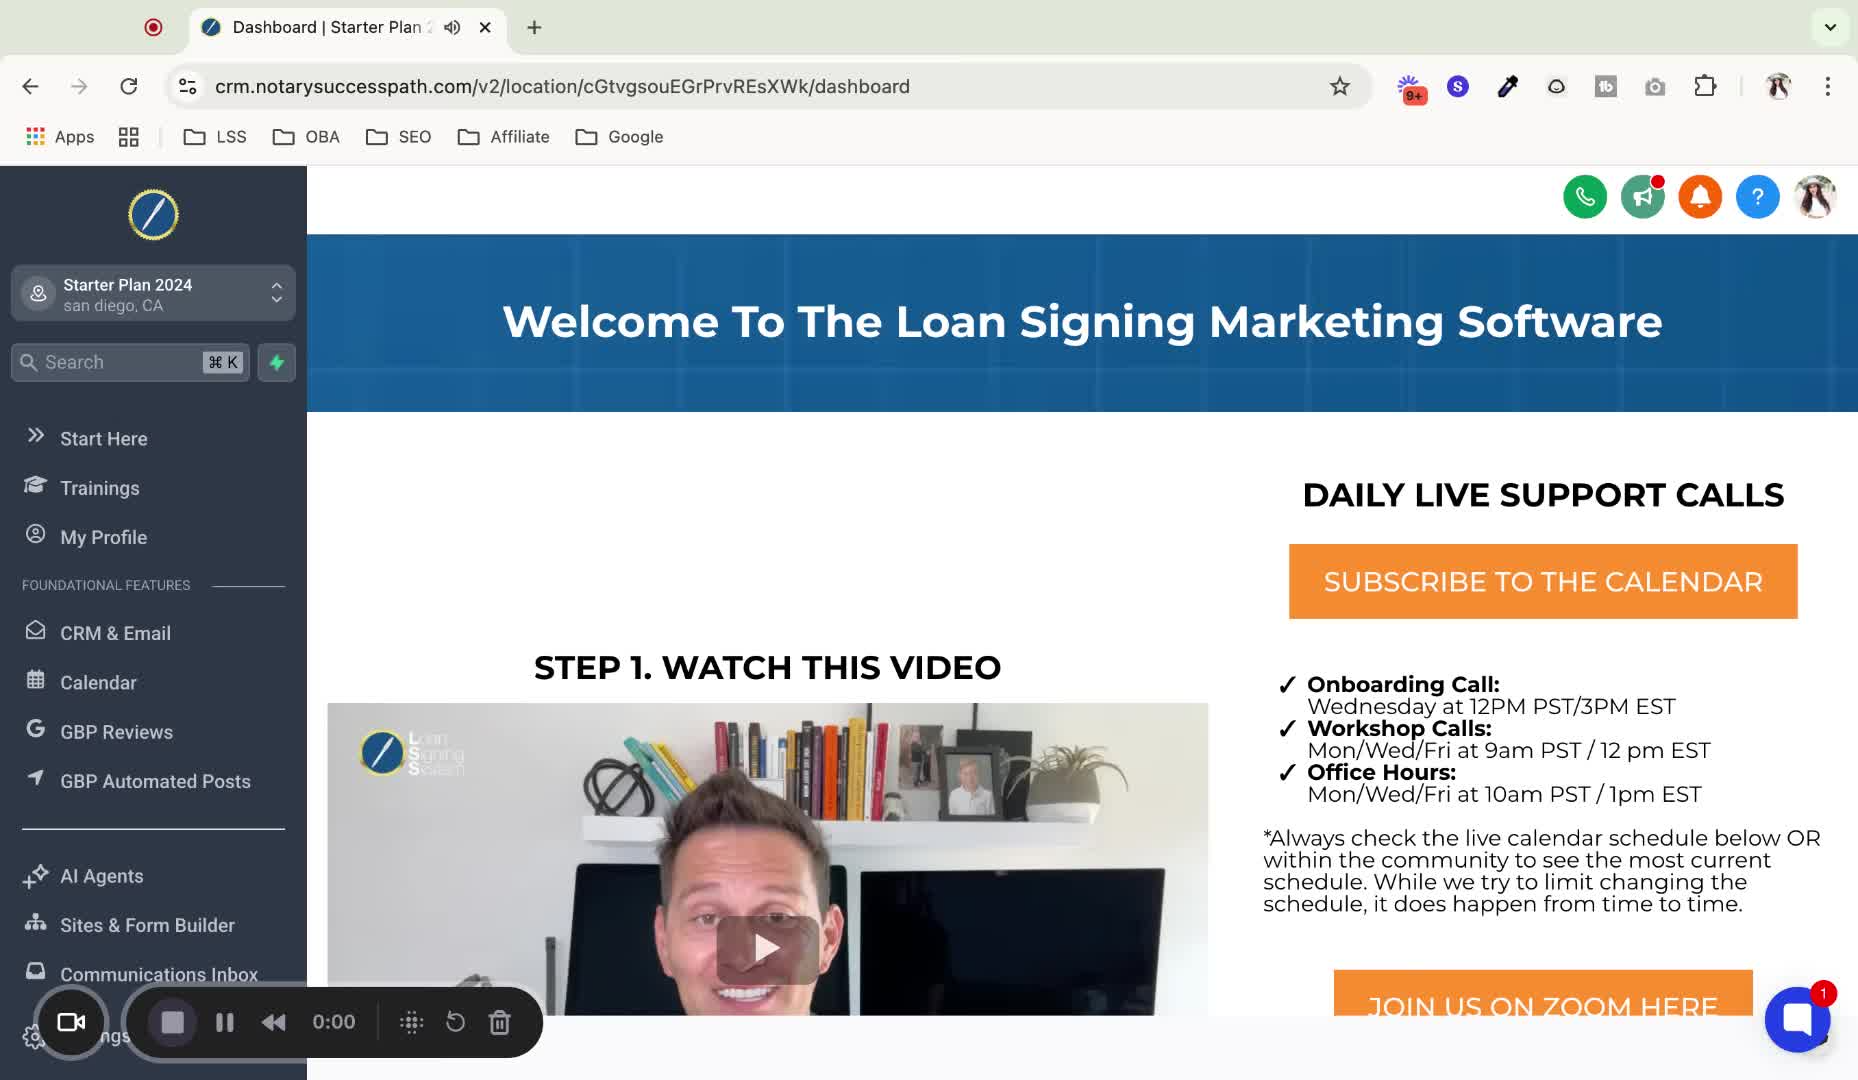
Navigate to the bottom of the left-hand menu.
Click on 'Settings'.
2. Locate Domain Settings 0:15
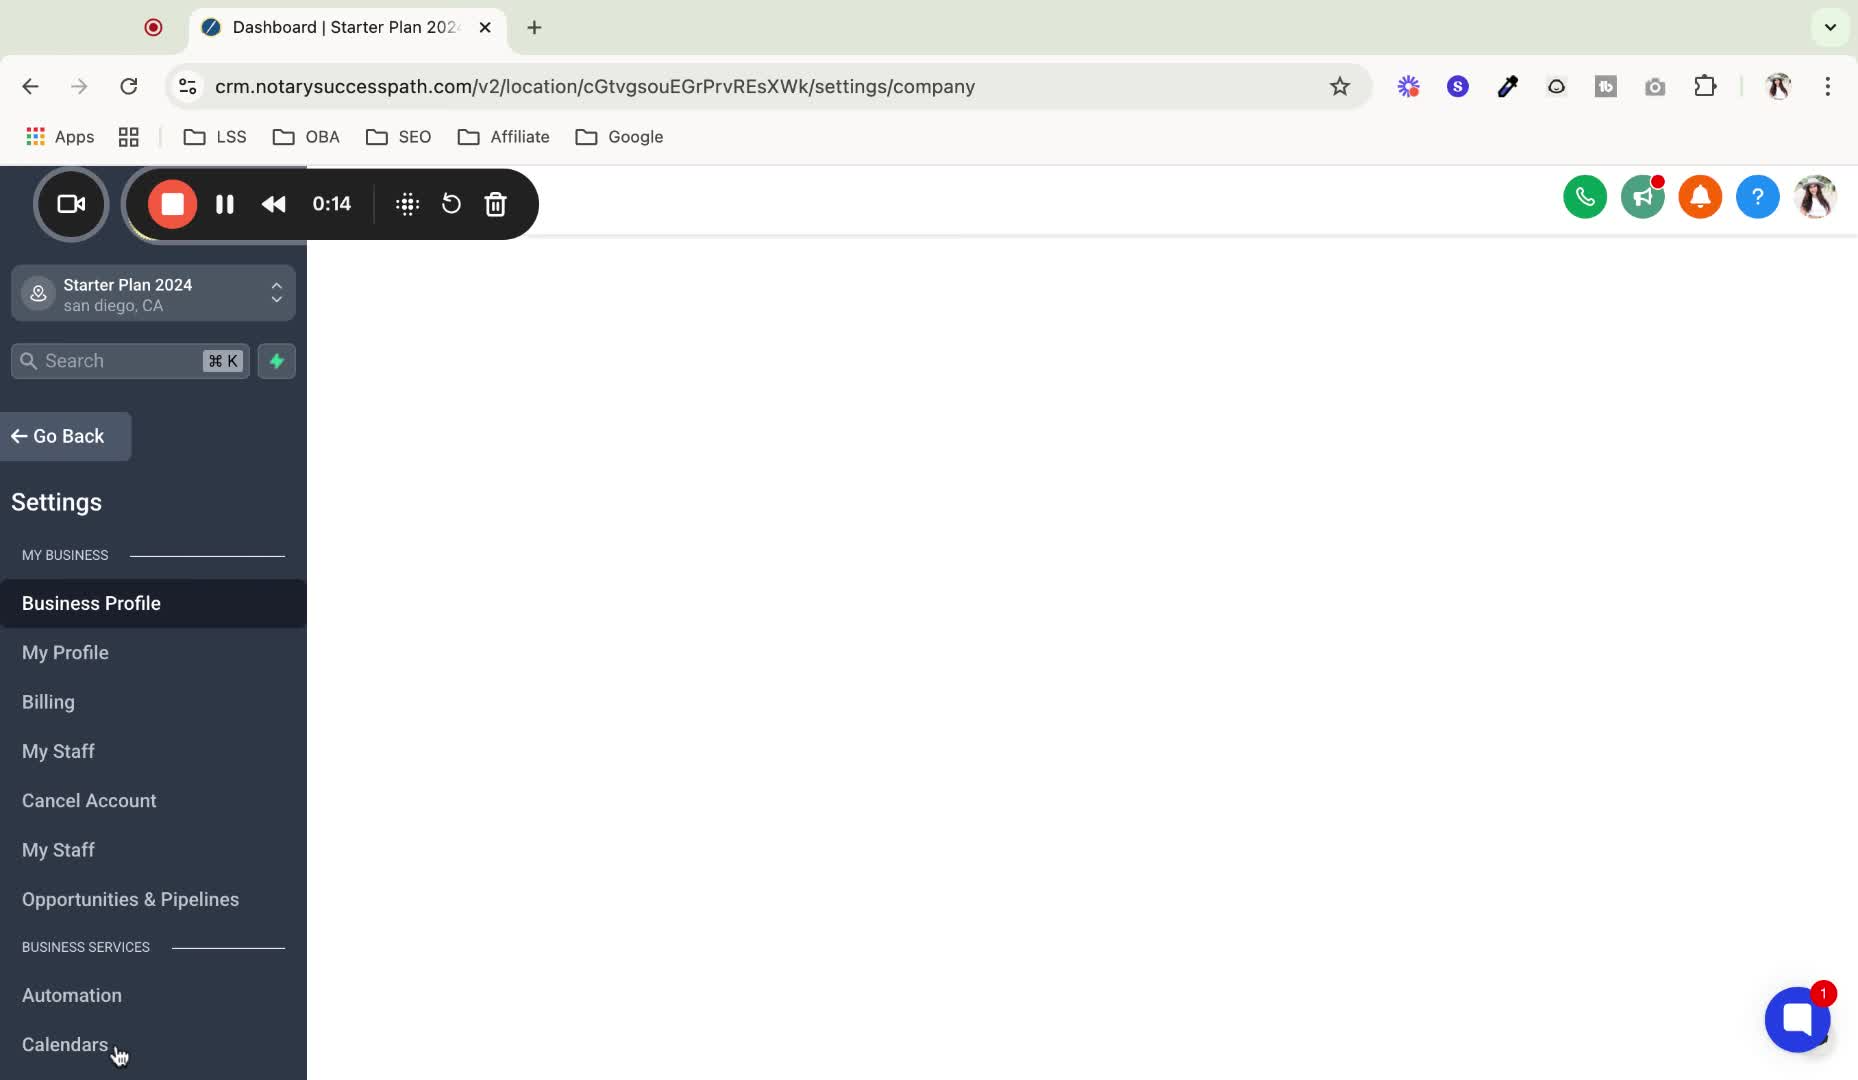
Scroll down in the settings menu.
Find the option for 'Domains'.
Note that the layout may differ from previous videos.
3. Understand the Updated Process 0:28
The process remains the same, but the layout is more consolidated.
Be aware of the changes as of April 7, 2025.
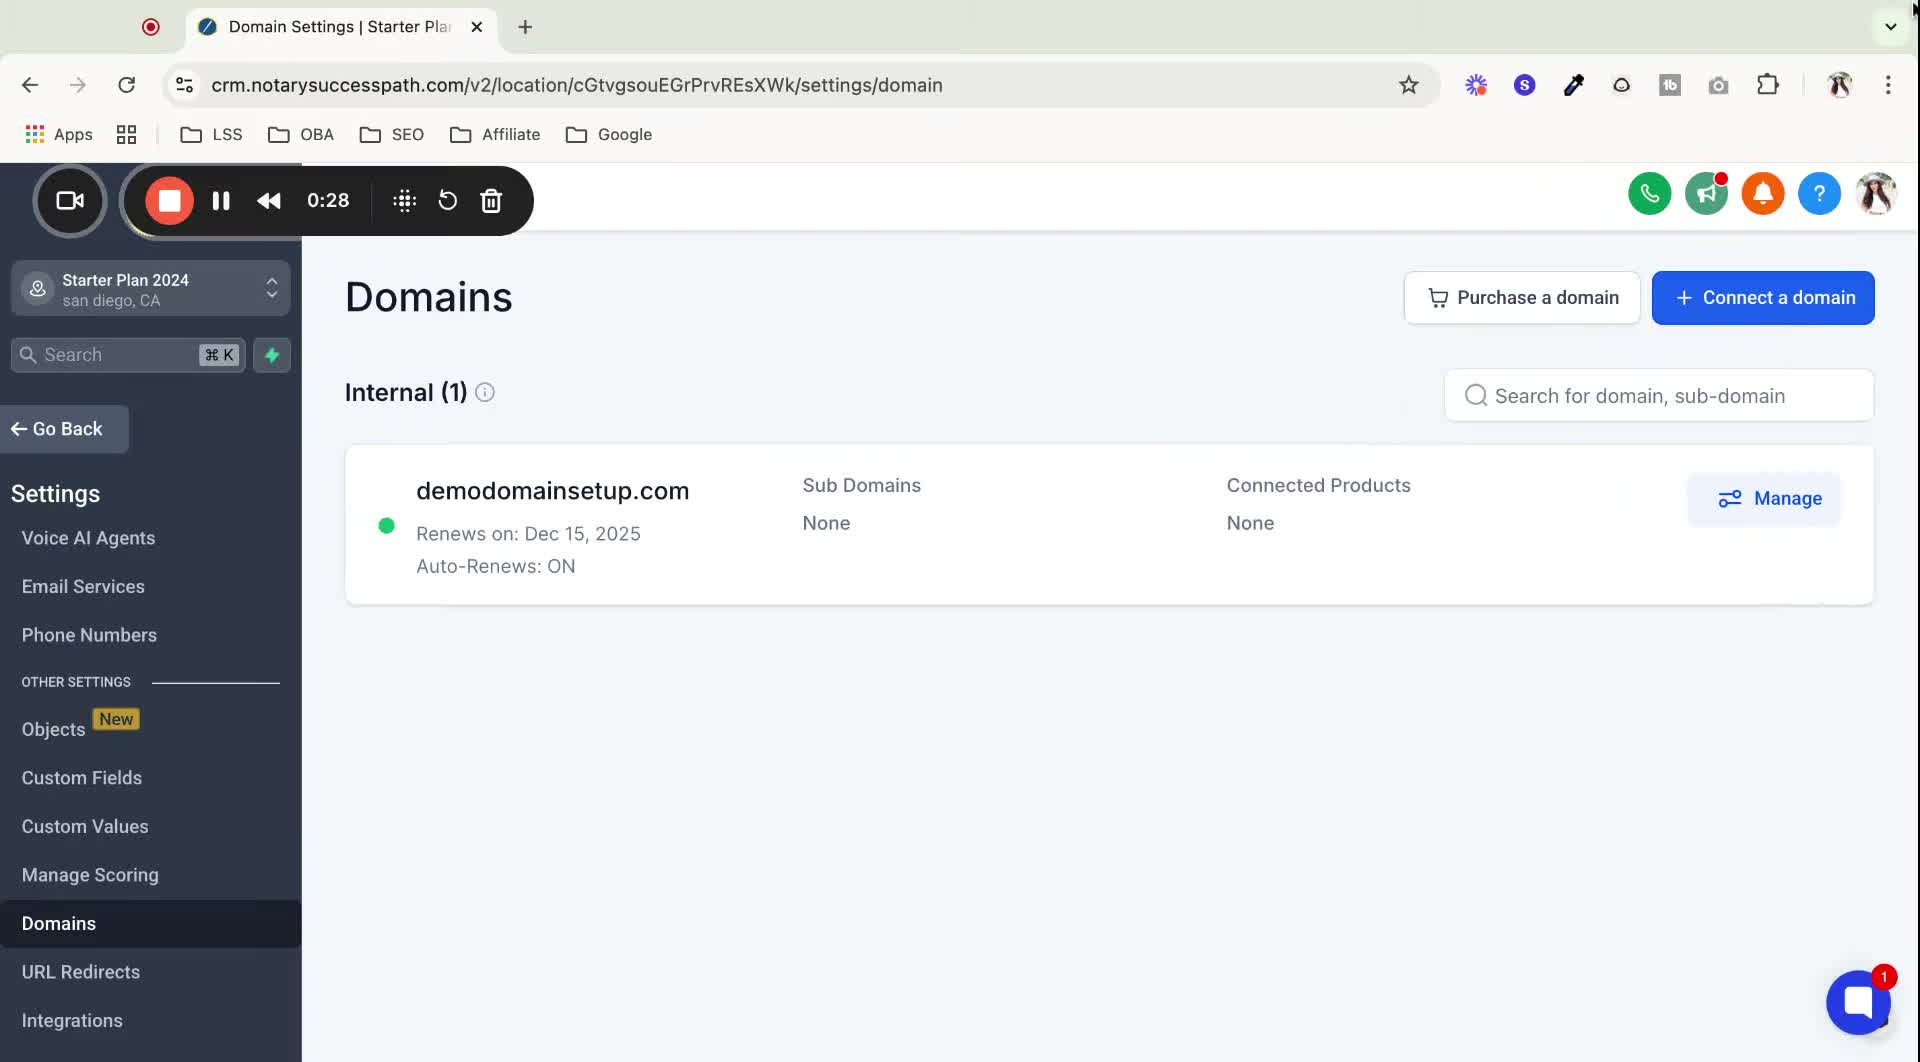
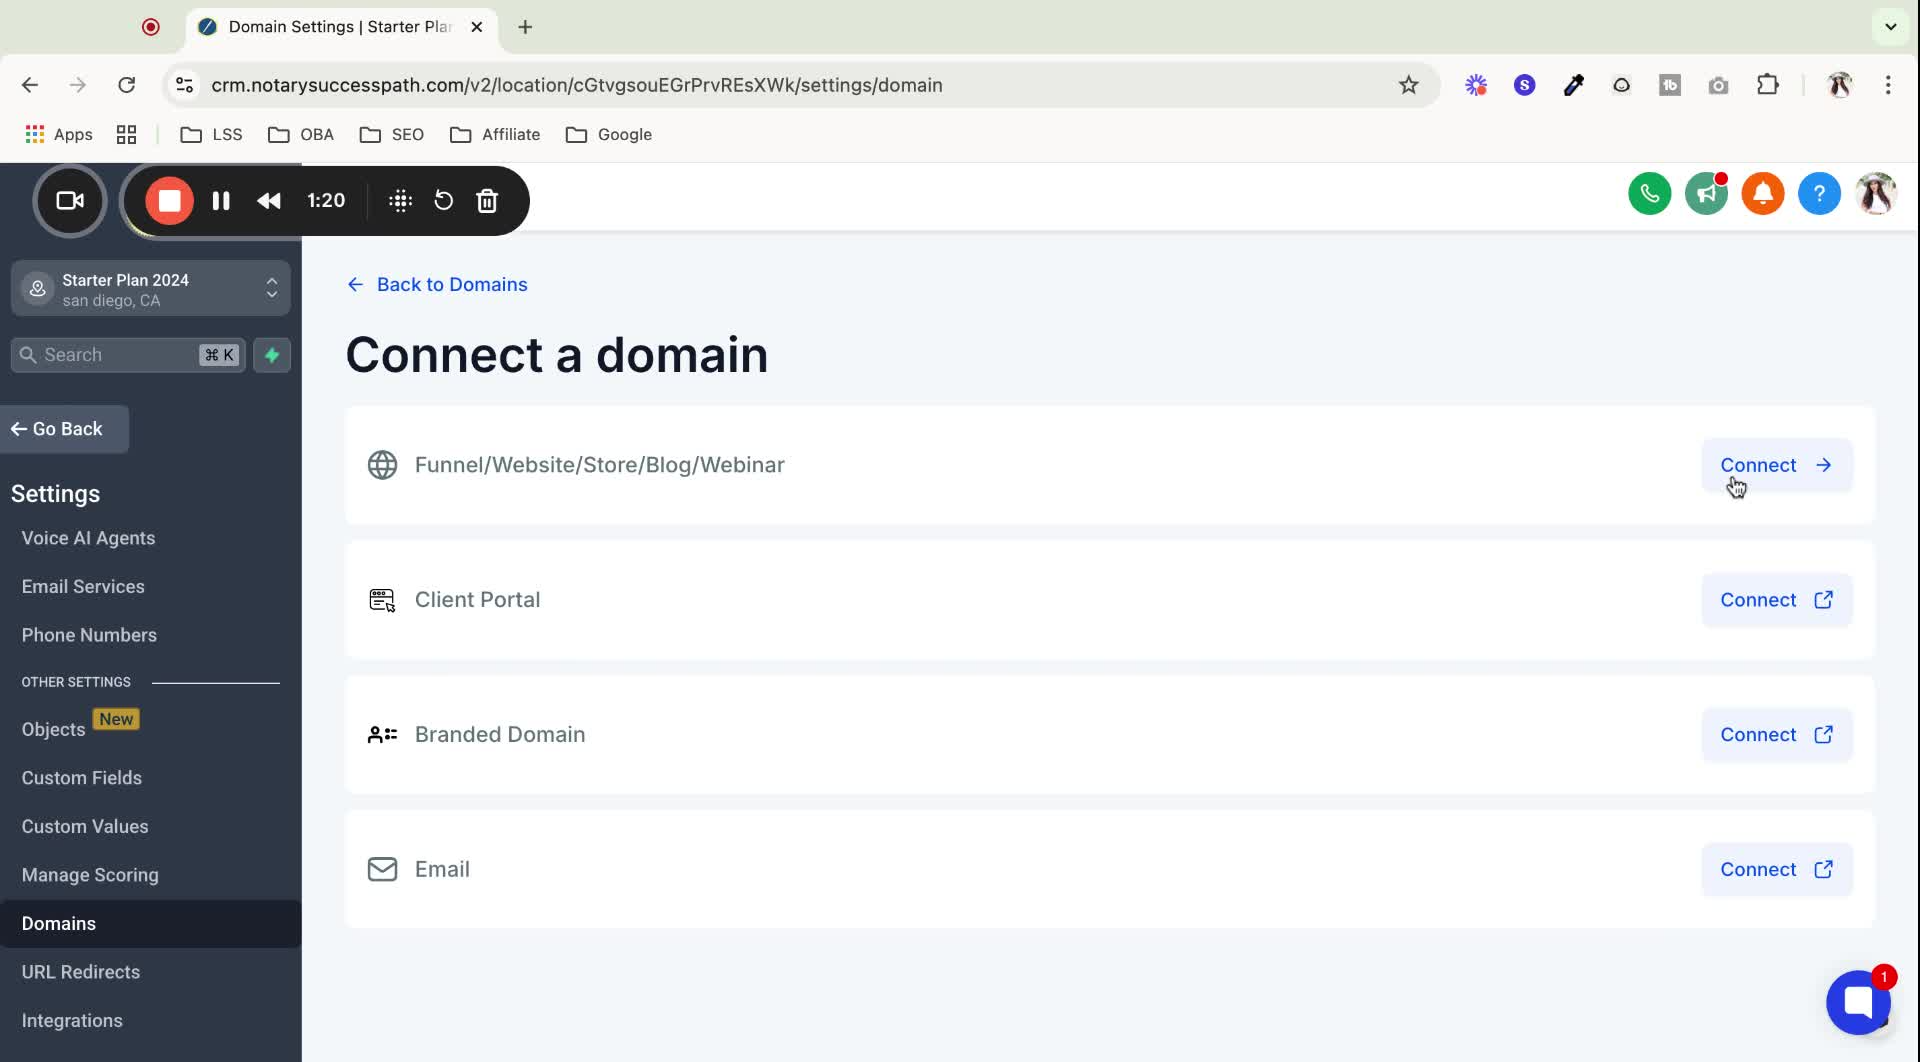
4. Choose Domain Type 0:47

Decide whether to:
Purchase a new domain within the software.
Connect an existing domain from another platform (e.g., GoDaddy, Squarespace).
5. Enter Domain Name 1:21
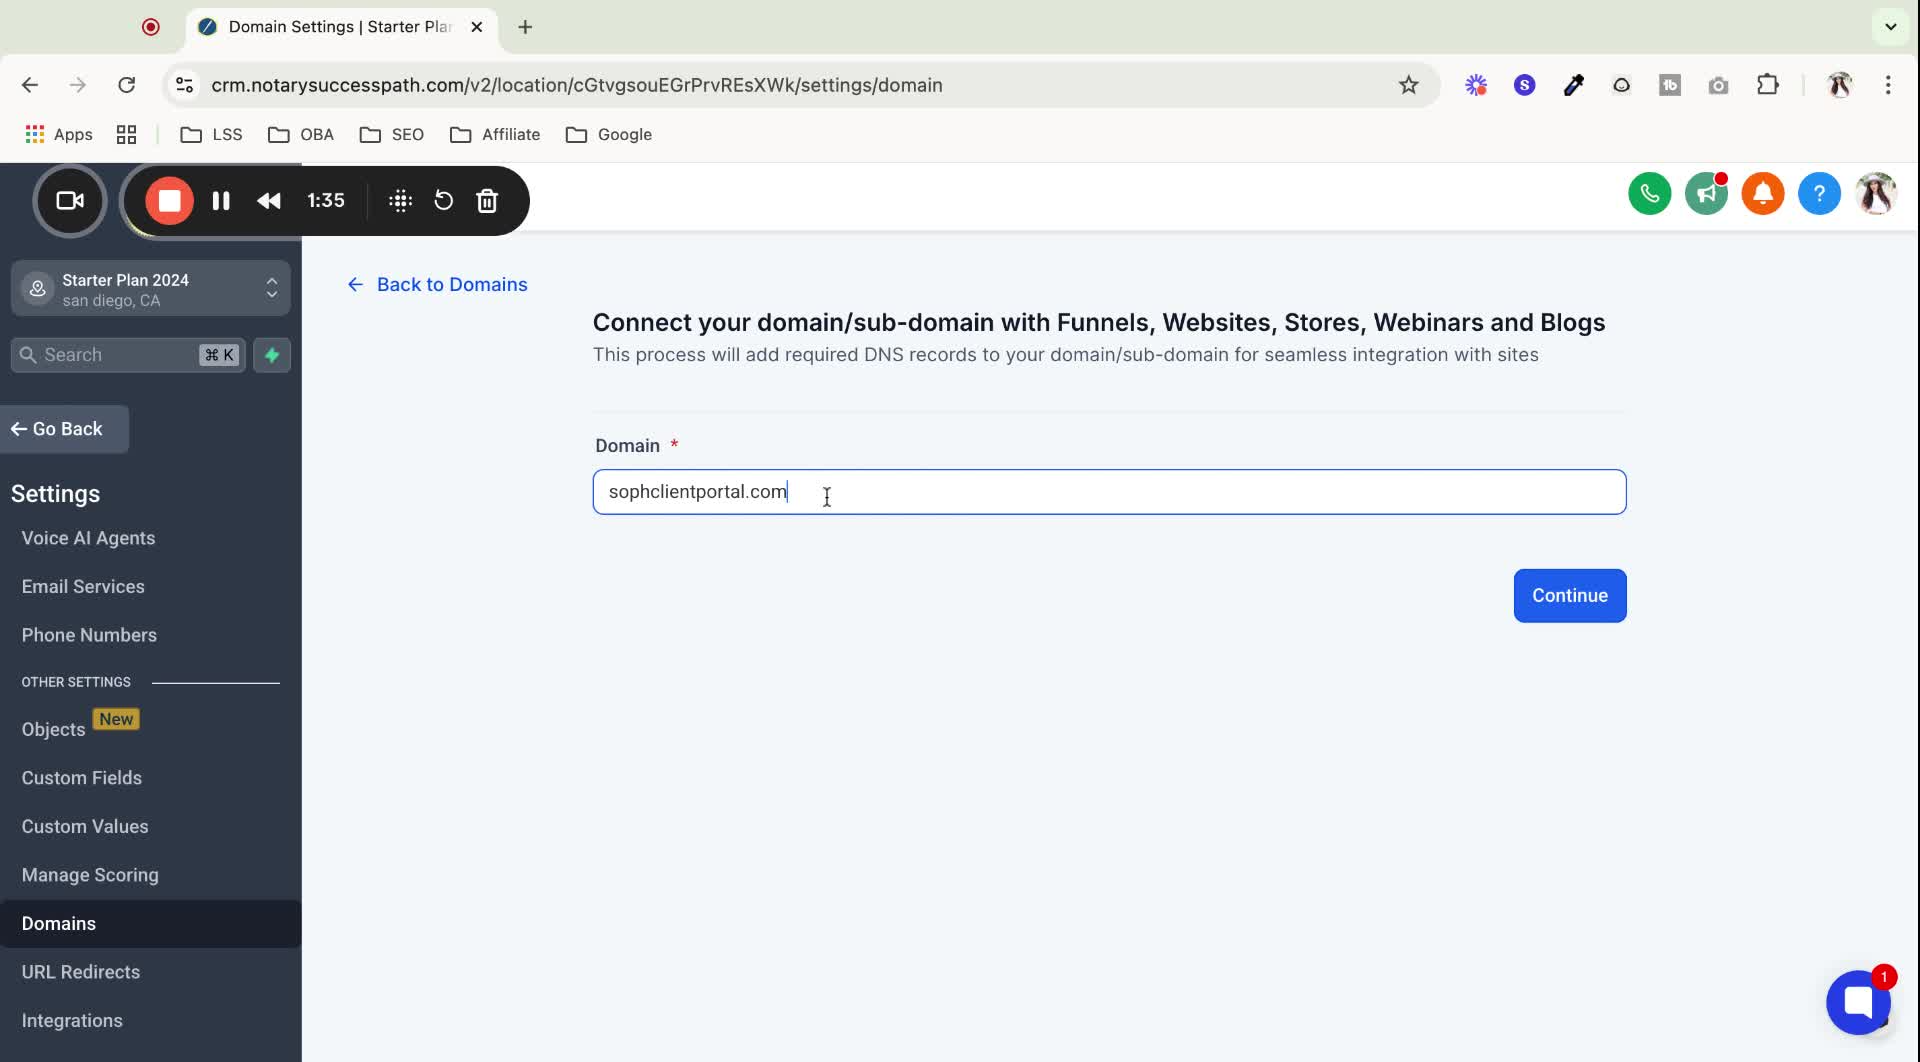
Type in the domain name you wish to connect (e.g., selfclientportal.com).
6. Confirm Domain Transfer 1:36
Understand that connecting the domain will transfer it from its current host to your account.
Ensure you are ready to make this change.
7. Continue with Domain Connection 2:02
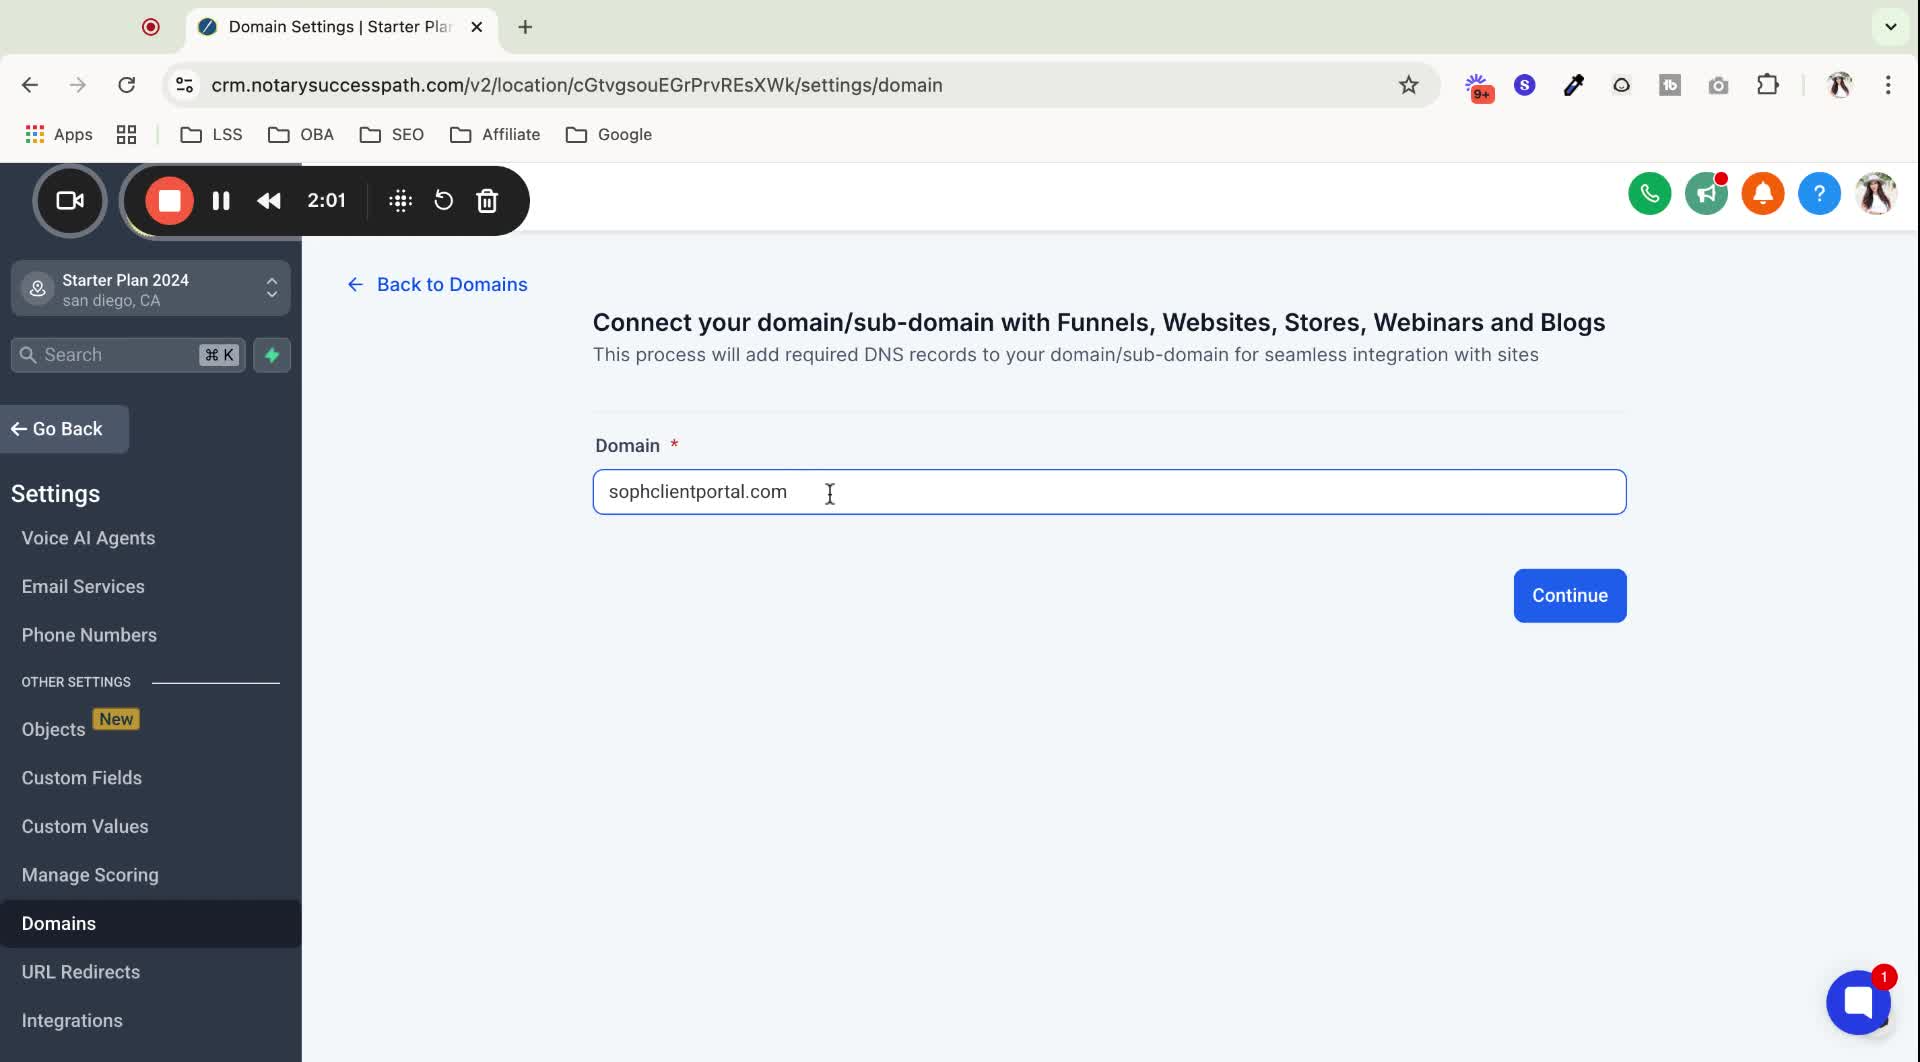
Click 'Continue' after entering the domain name.
8. Configure Domain Settings 2:08
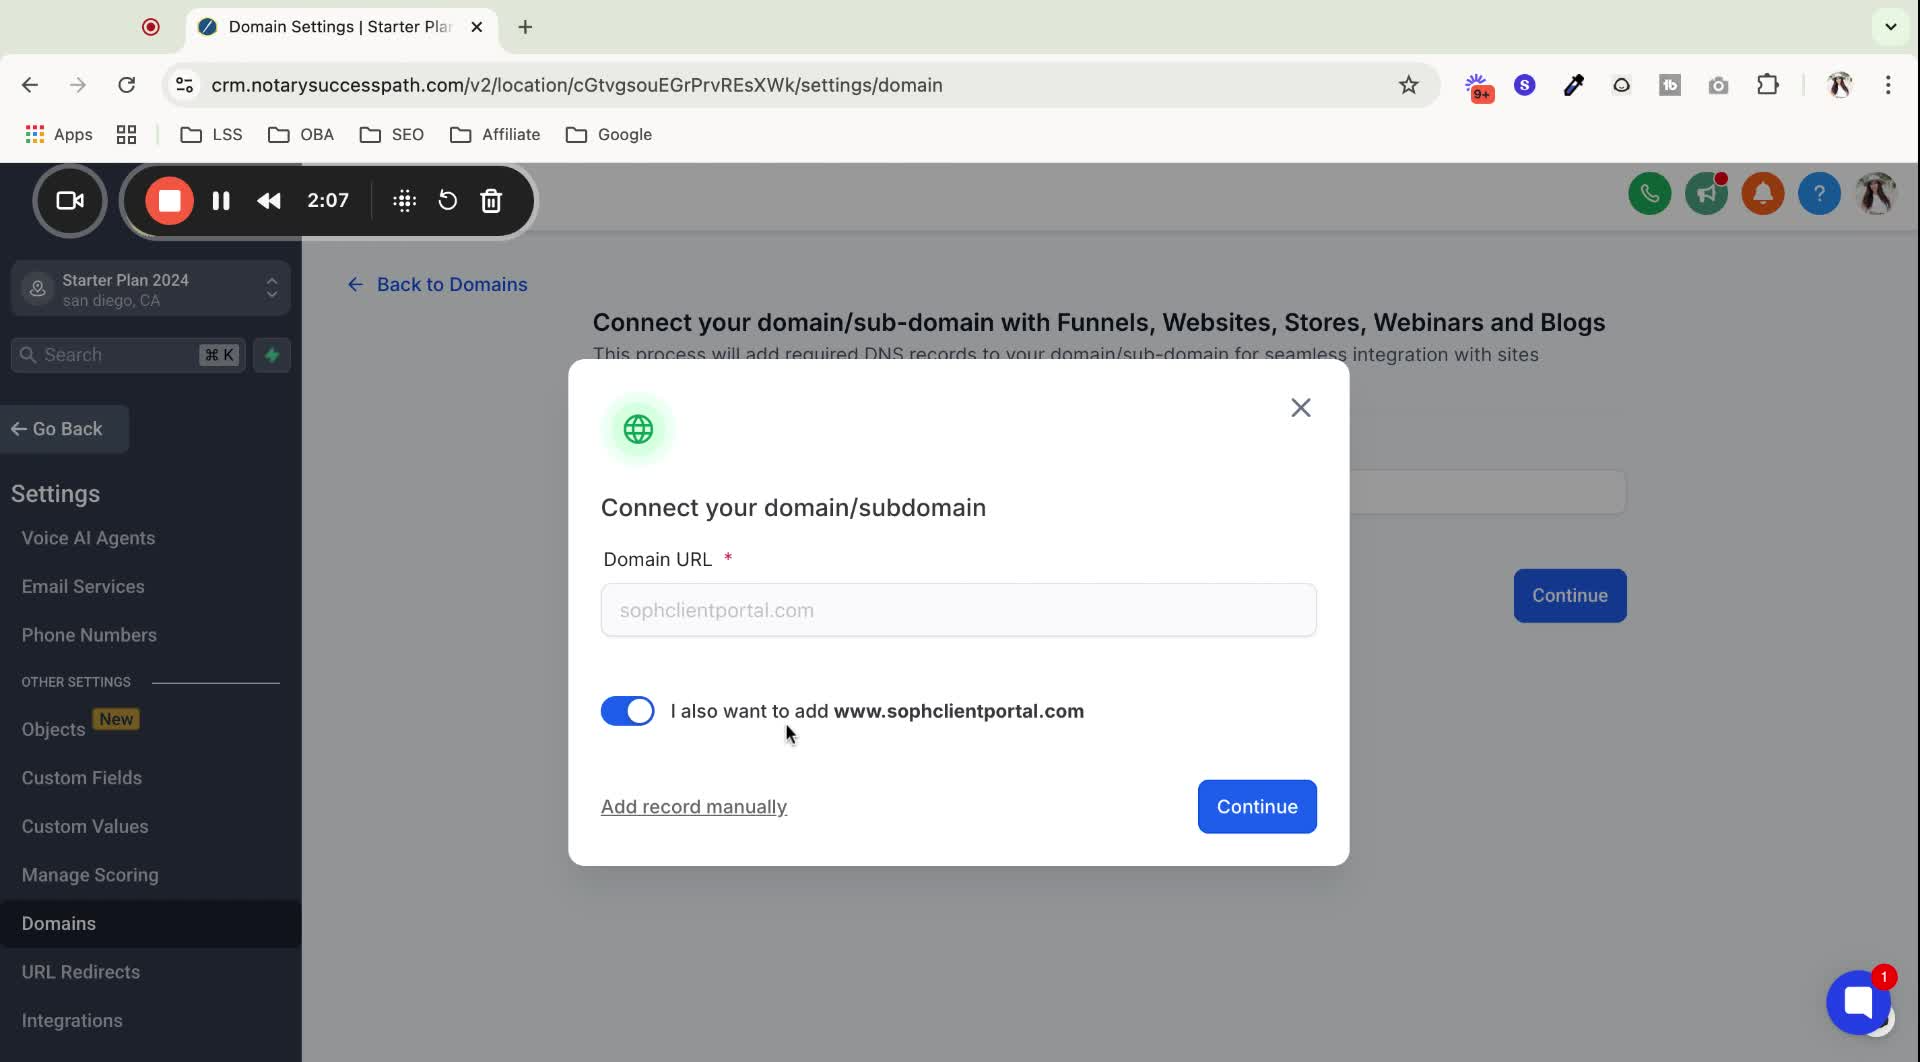
Leave the option to add 'www.' checked.
Click 'Continue' to proceed.
9. Verify Hosting Platform 2:24

The system will check your hosting platform.
Depending on the platform, you may have an automated verification option or need to do it manually.
10. Access DNS Zone Editor 3:00
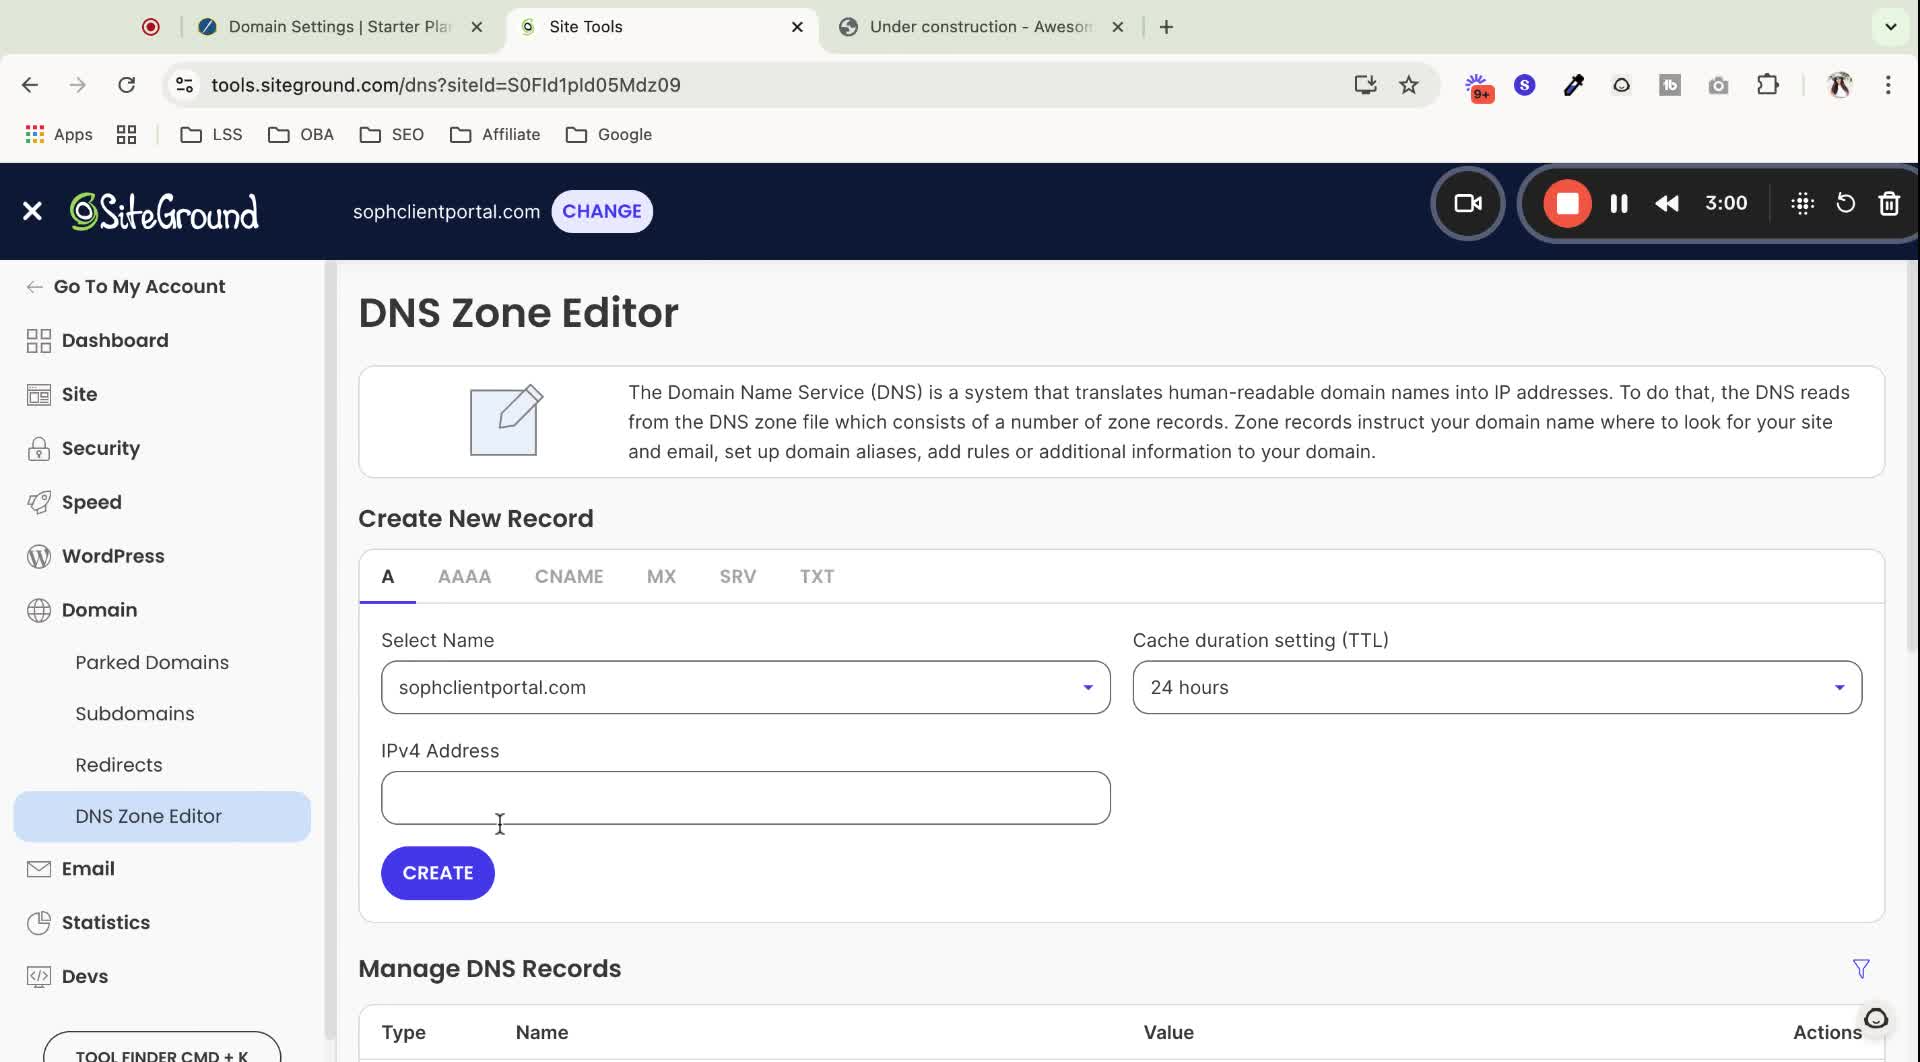
If using SiteGround or similar, log in to access the DNS zone editor.
Refer to your platform's documentation for guidance.
11. Add A Record 3:13
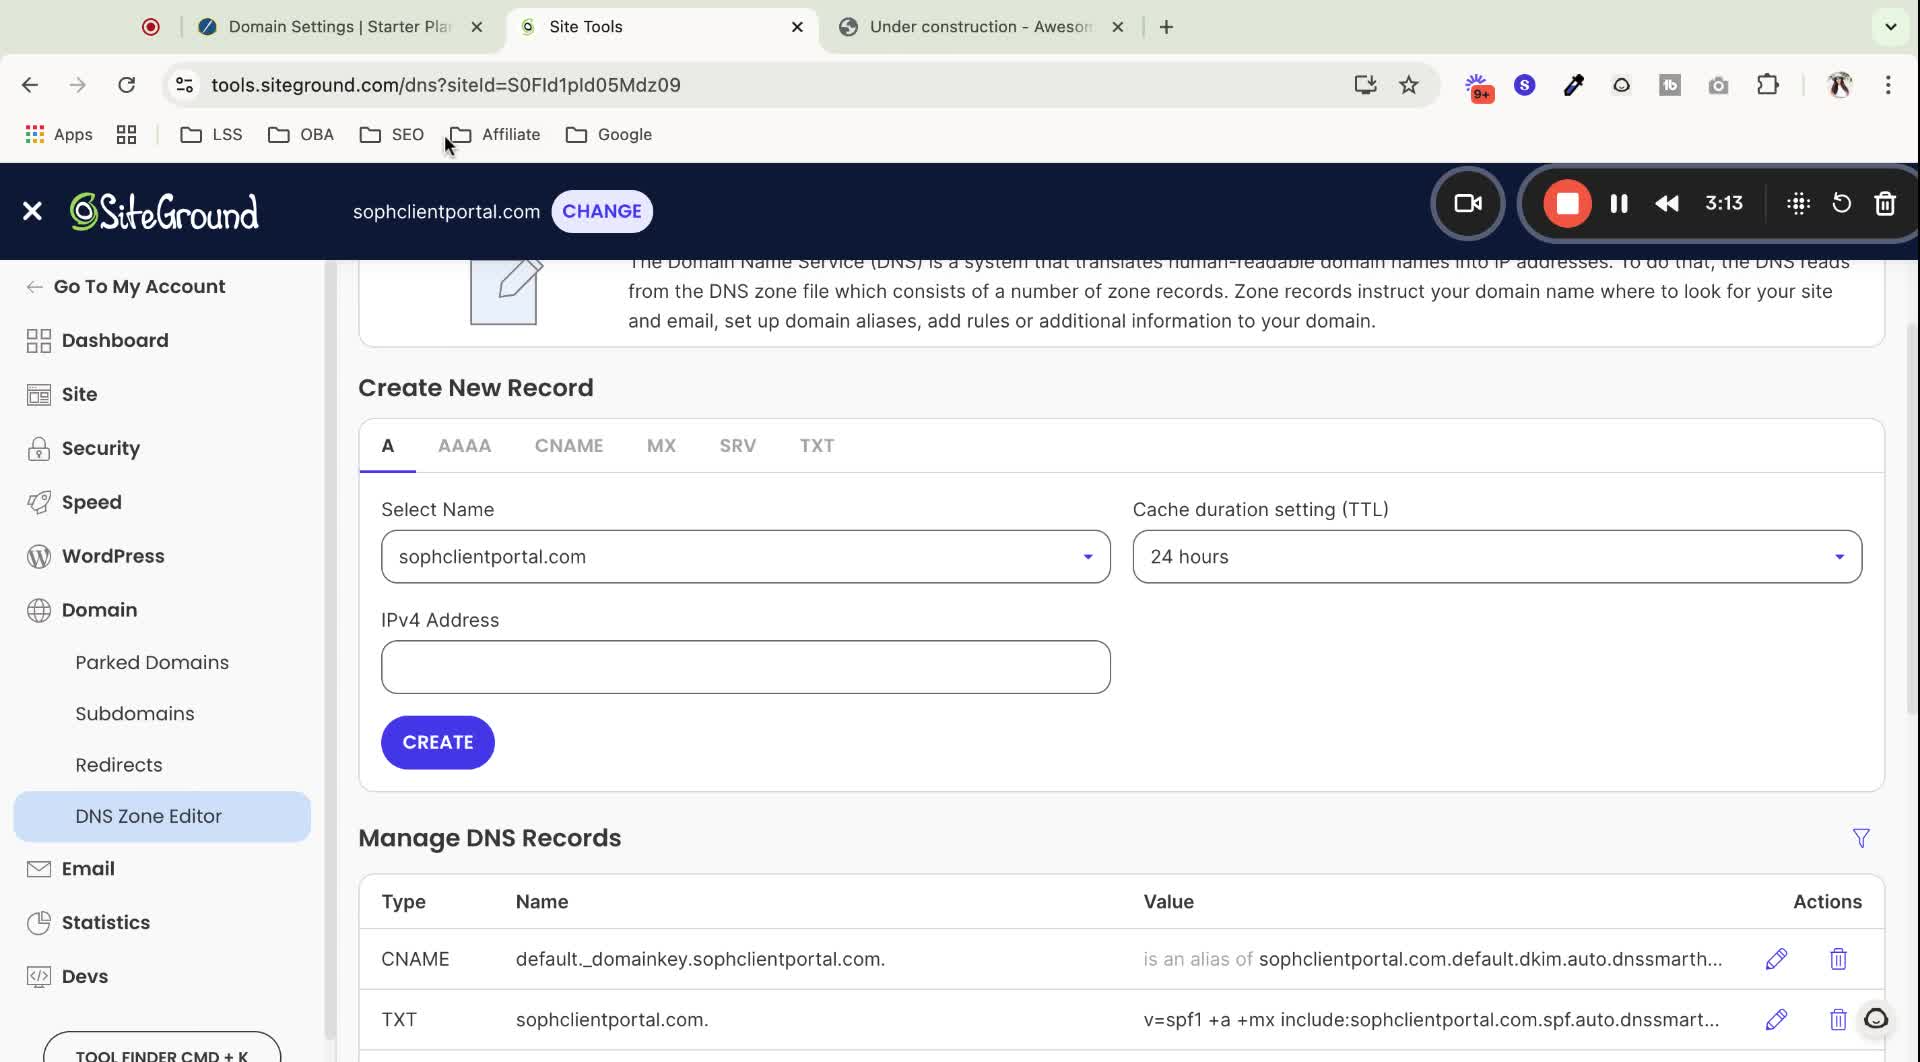
Connect the A record by copying the required value.
Edit existing A records or create a new one if necessary.
12. Add CNAME Record 4:34
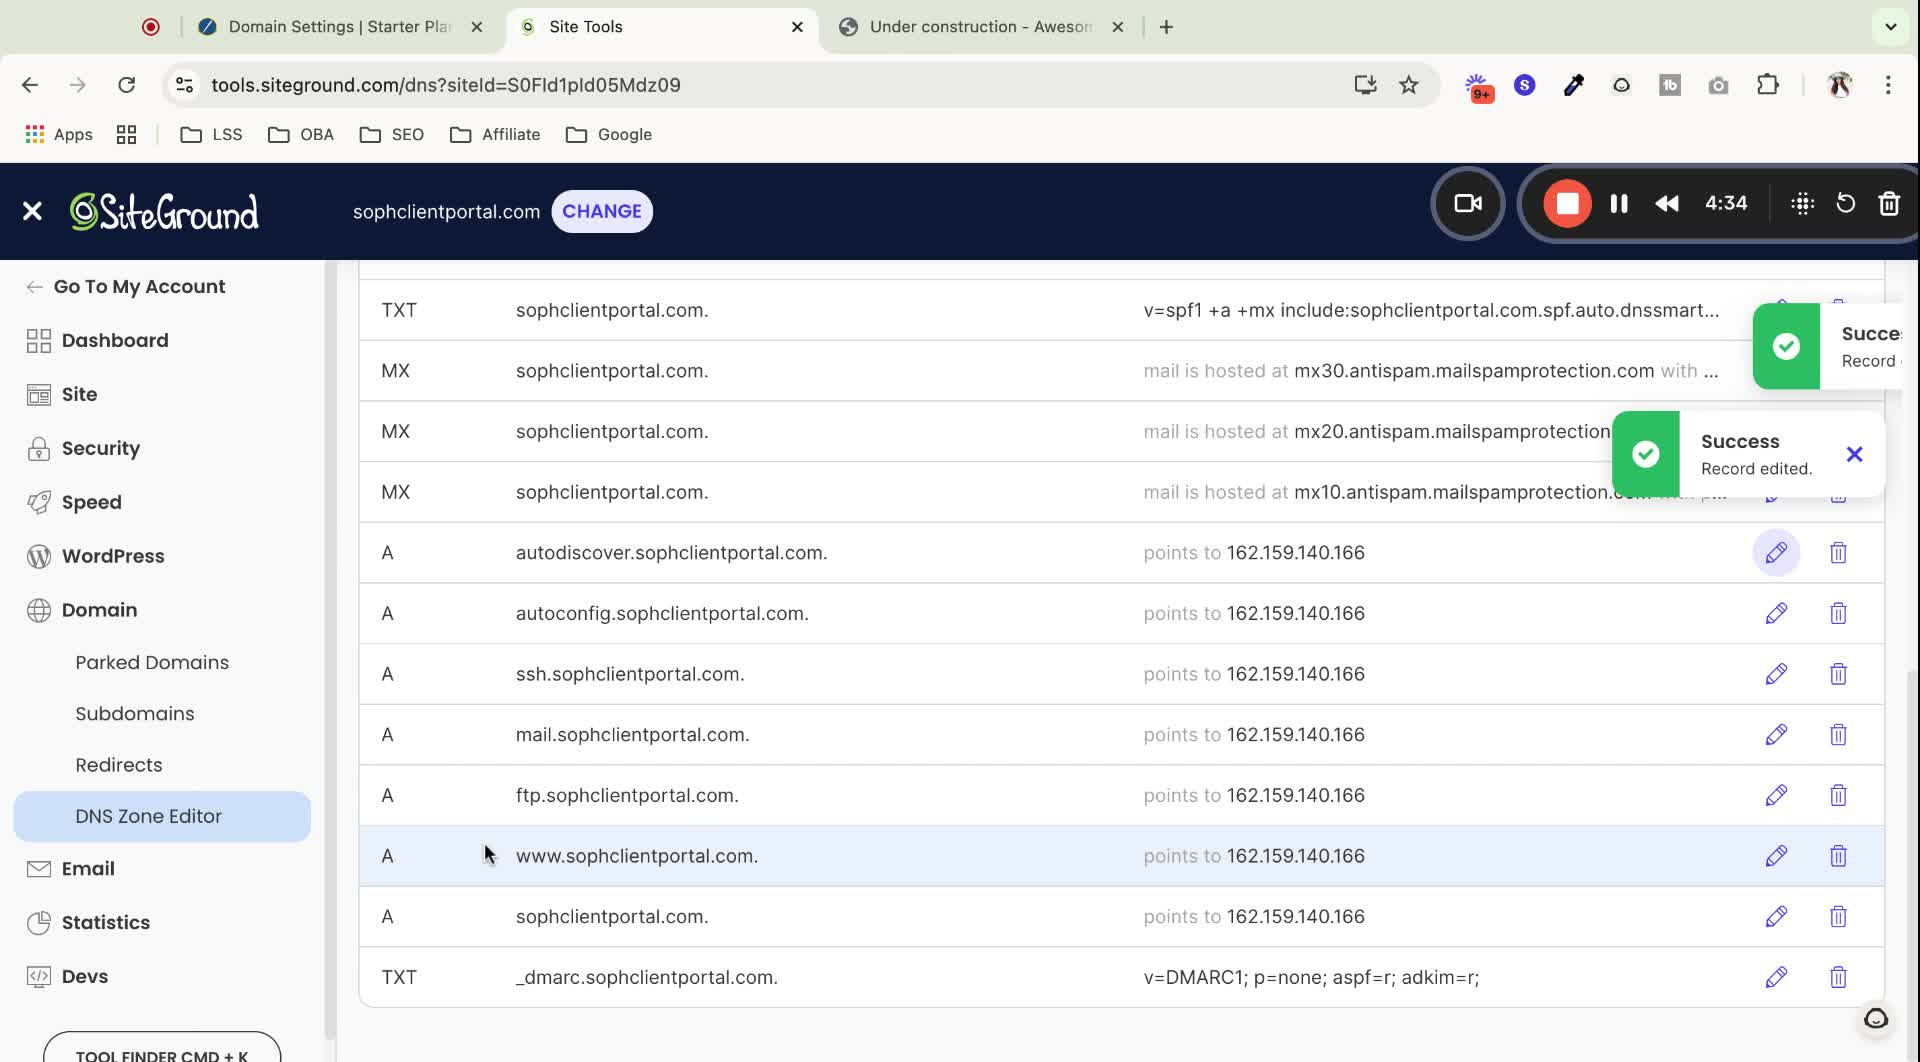
Delete any existing A record for 'www.' and add a CNAME record instead.
Paste the required value and hit 'Create'.
13. Verify DNS Records 5:16

Click 'Verify Records' in your account.
Be patient as DNS changes may take up to 24 hours to propagate.
14. Connect Domain to Website 6:00
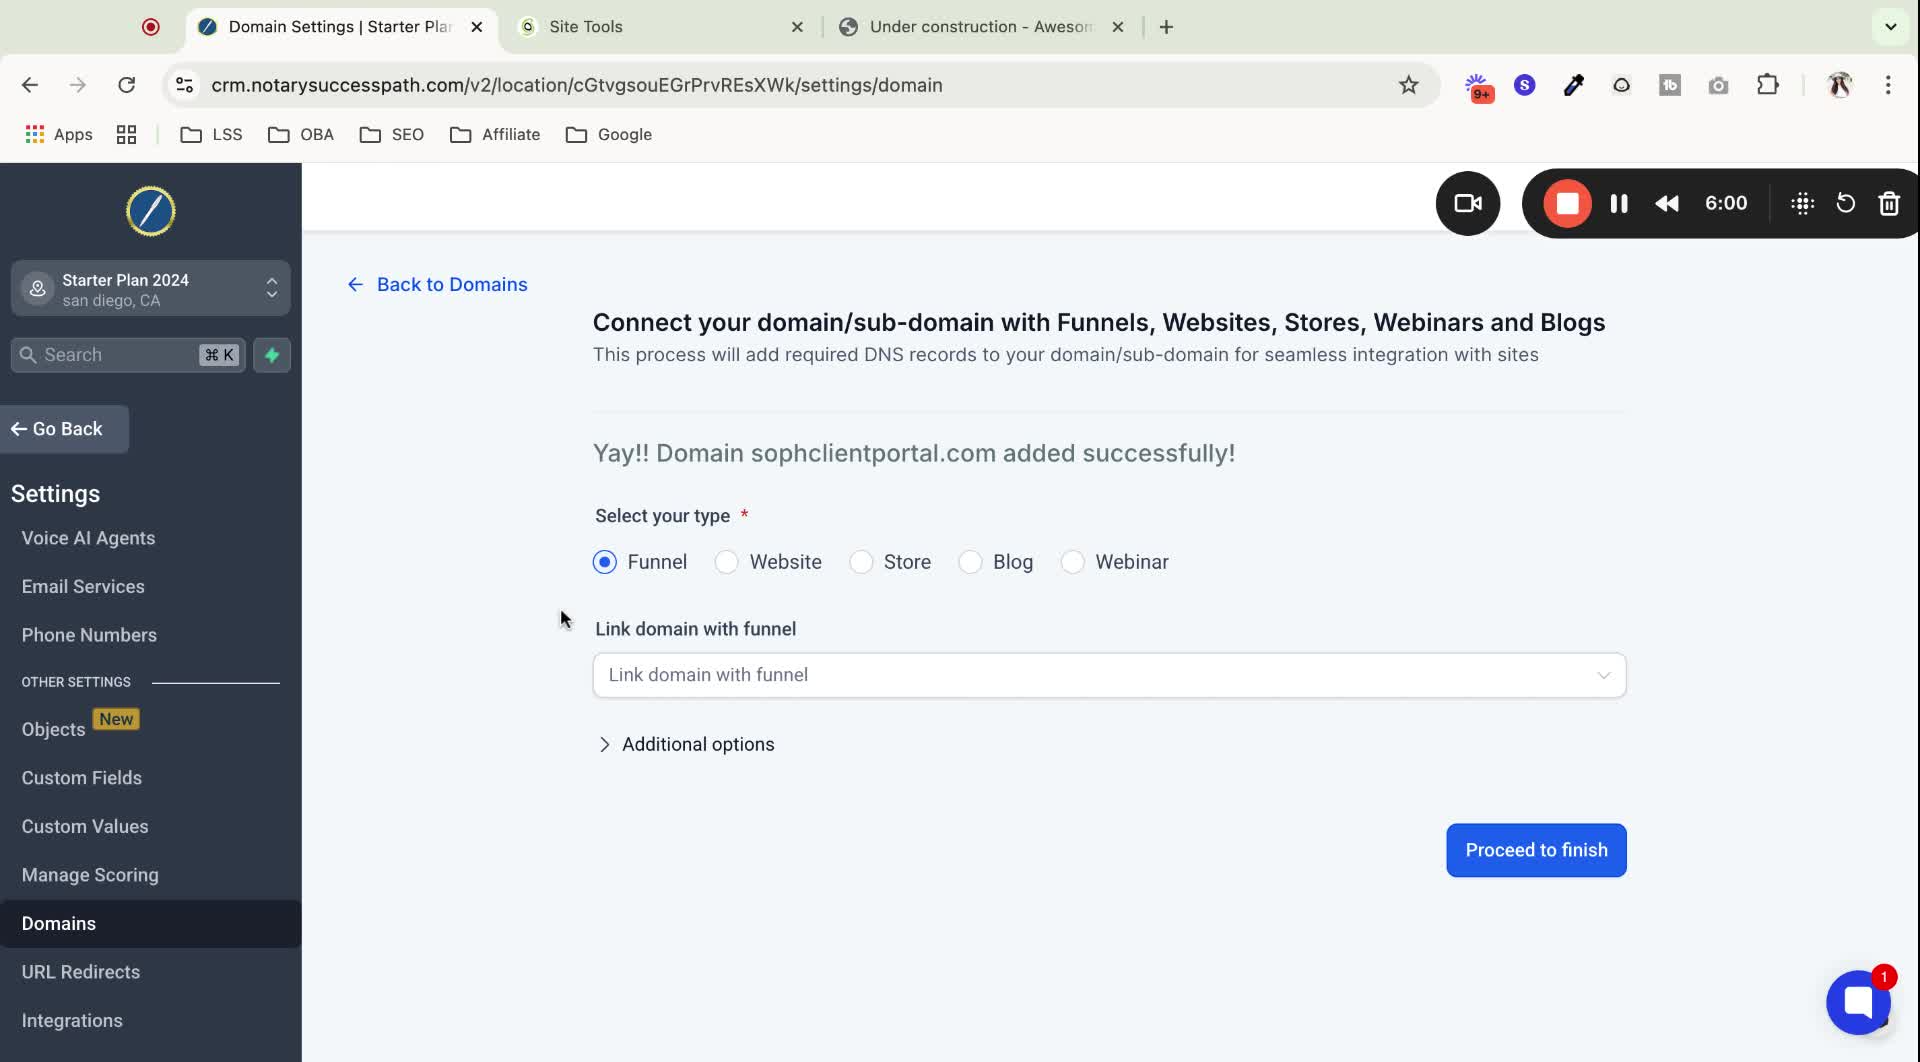
Once verified, select the website you want to connect the domain to.
Set up your default home page and 404 page.
15. Finalize Domain Connection 6:28
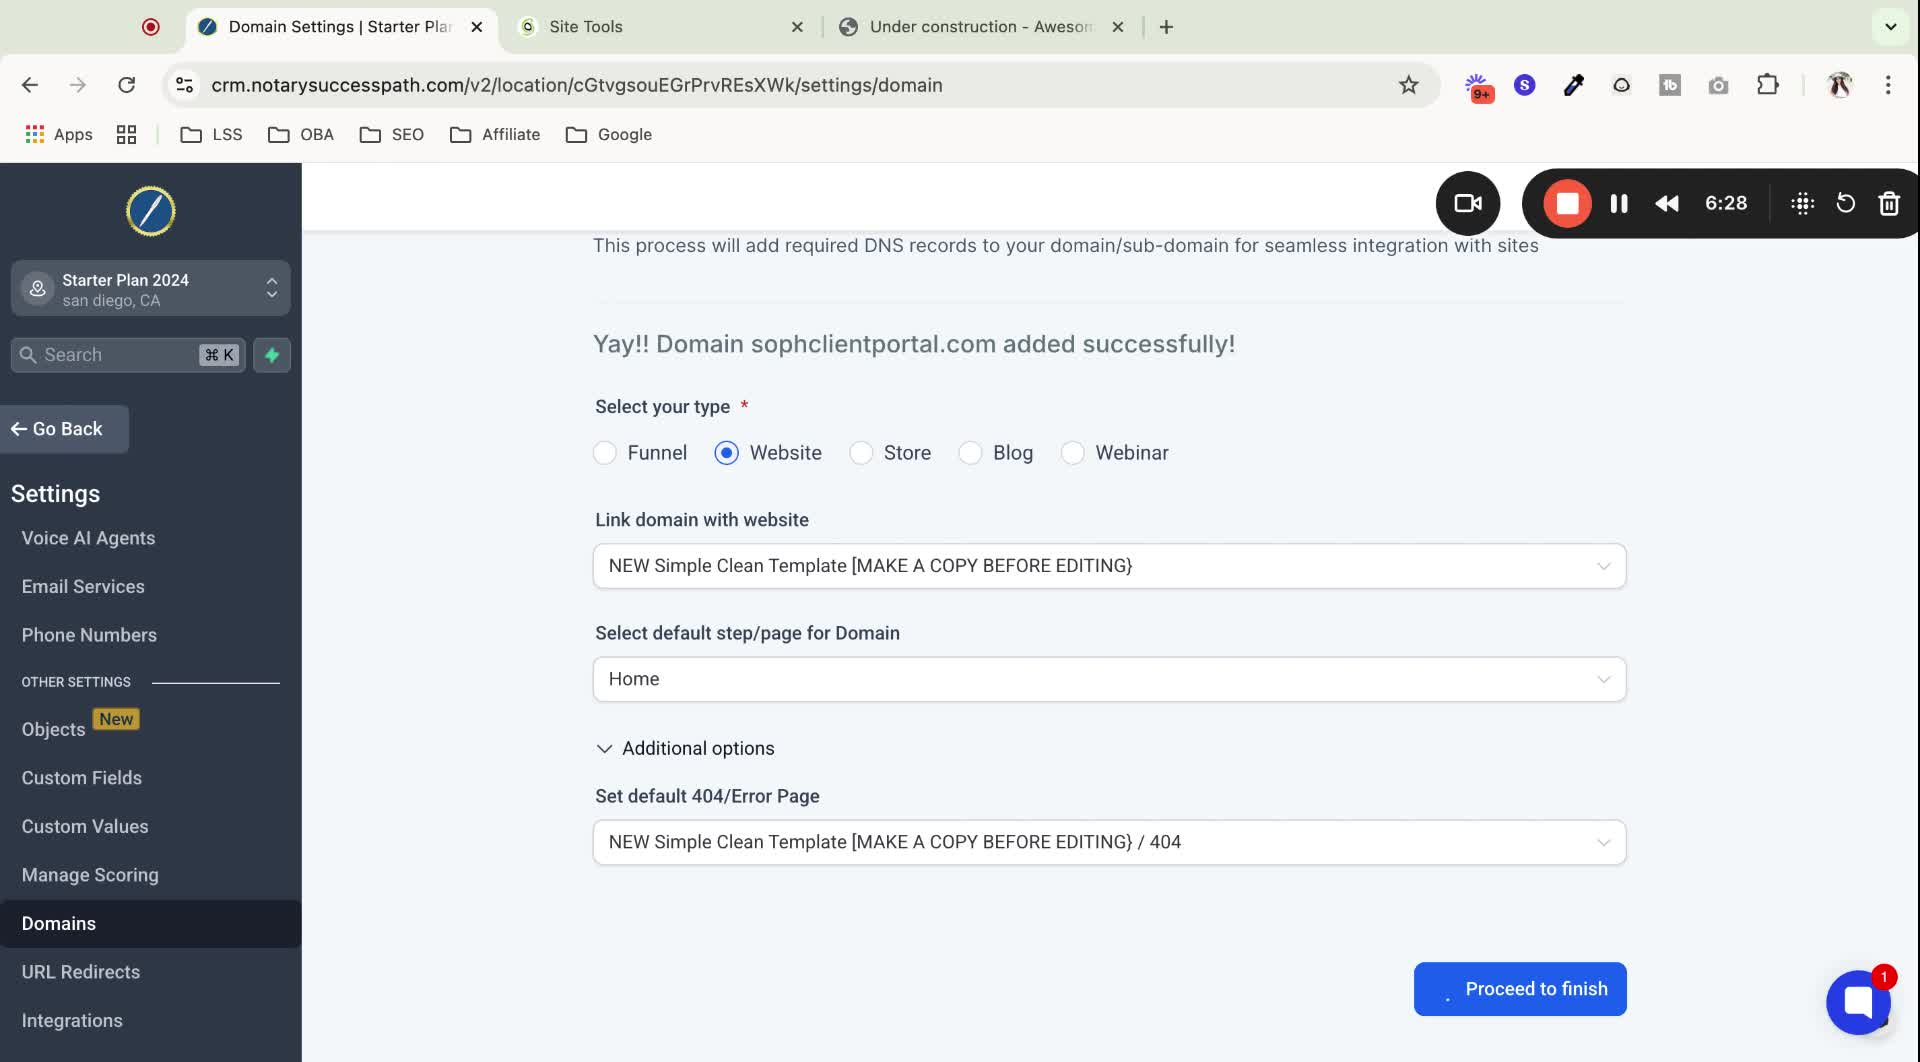
Click 'Proceed to Finish' to complete the connection.
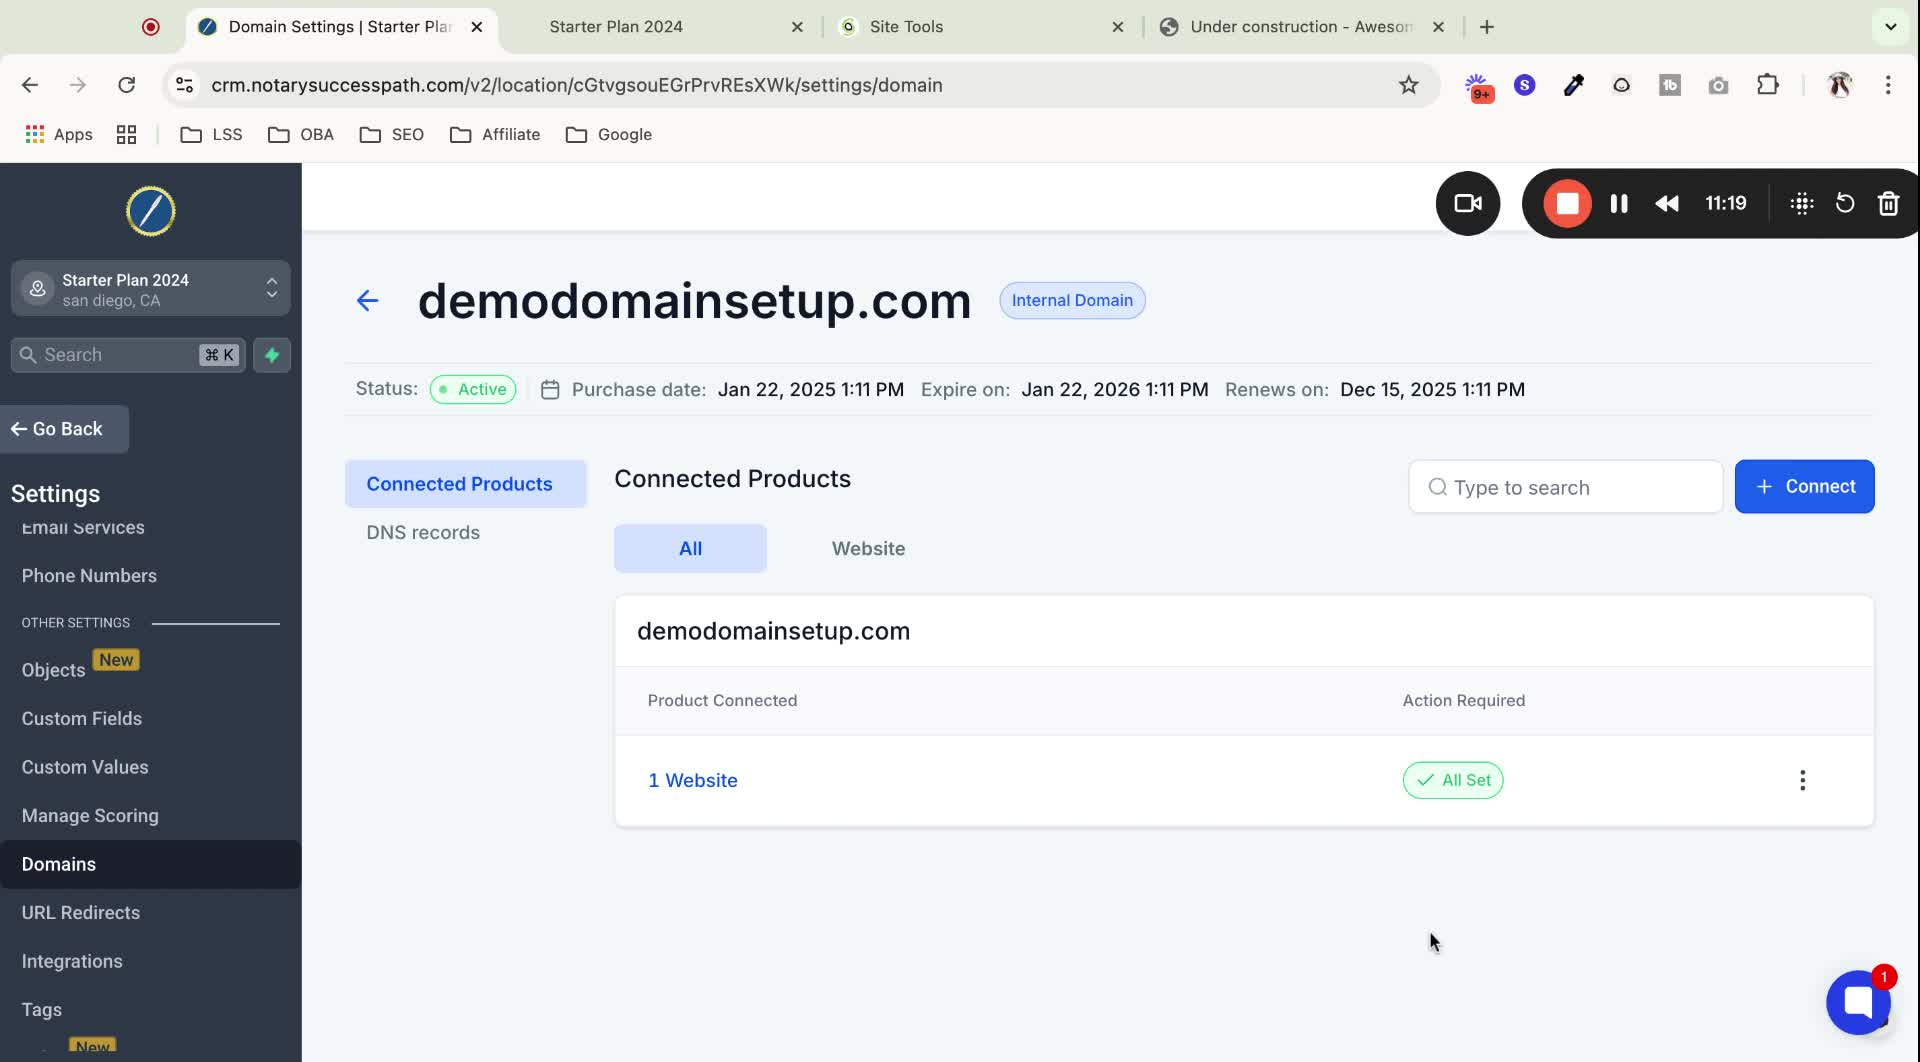
16. Manage Connected Products 7:03
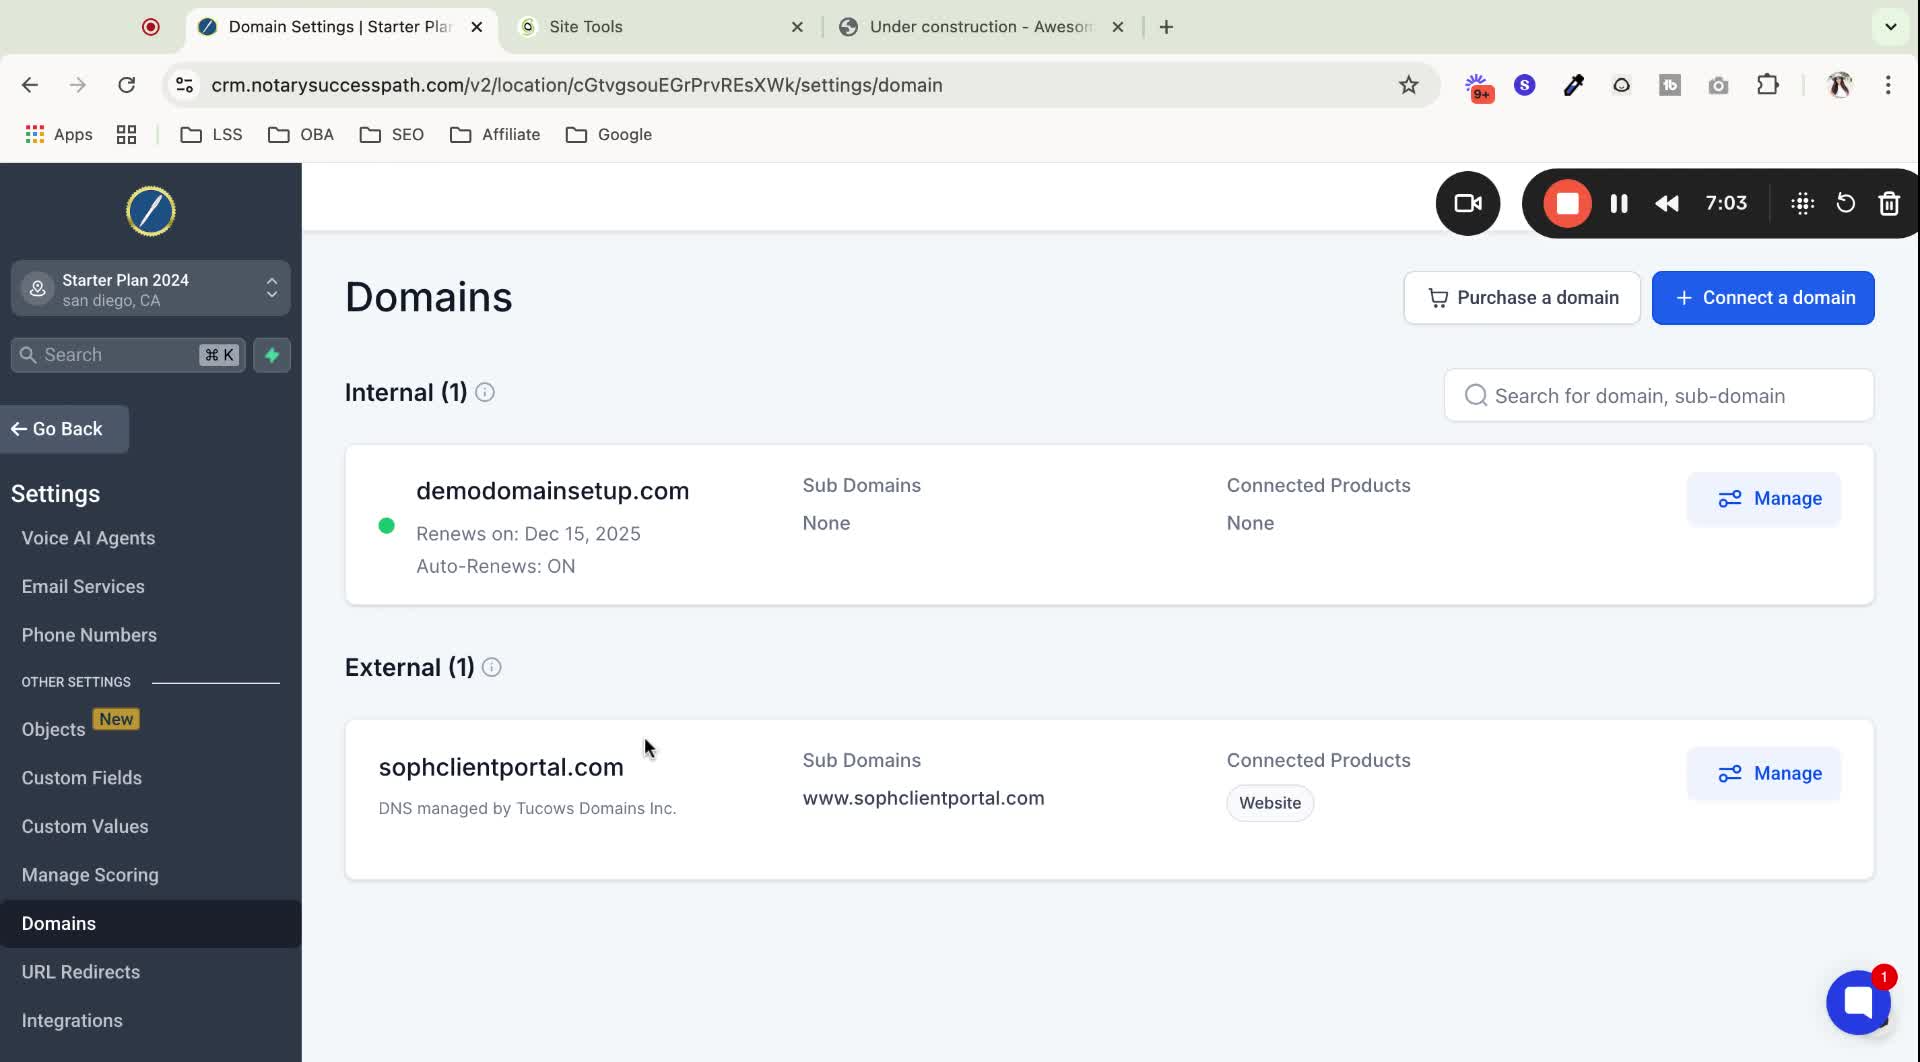
Click on 'Manage' to see all products connected to the domain.
17. Ensure Proper Domain Connection 7:20
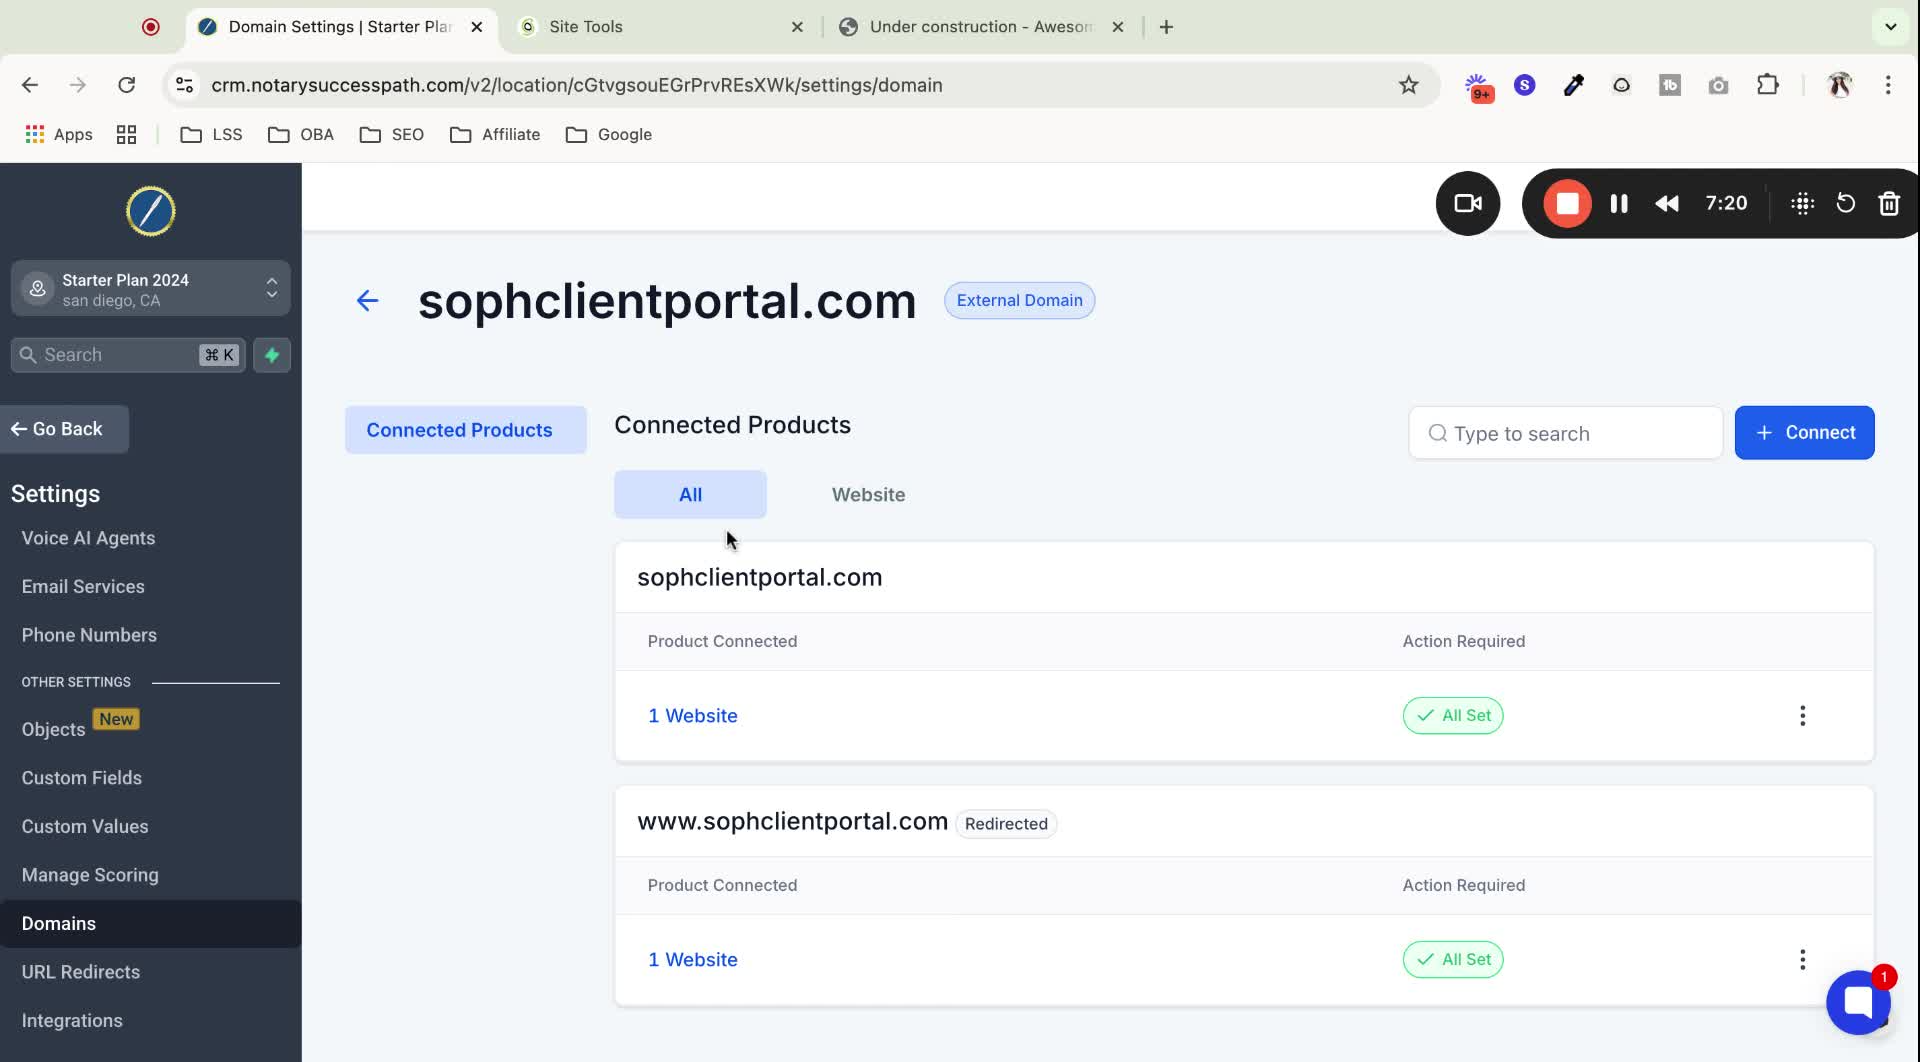
Confirm that the root domain is connected properly to your website.
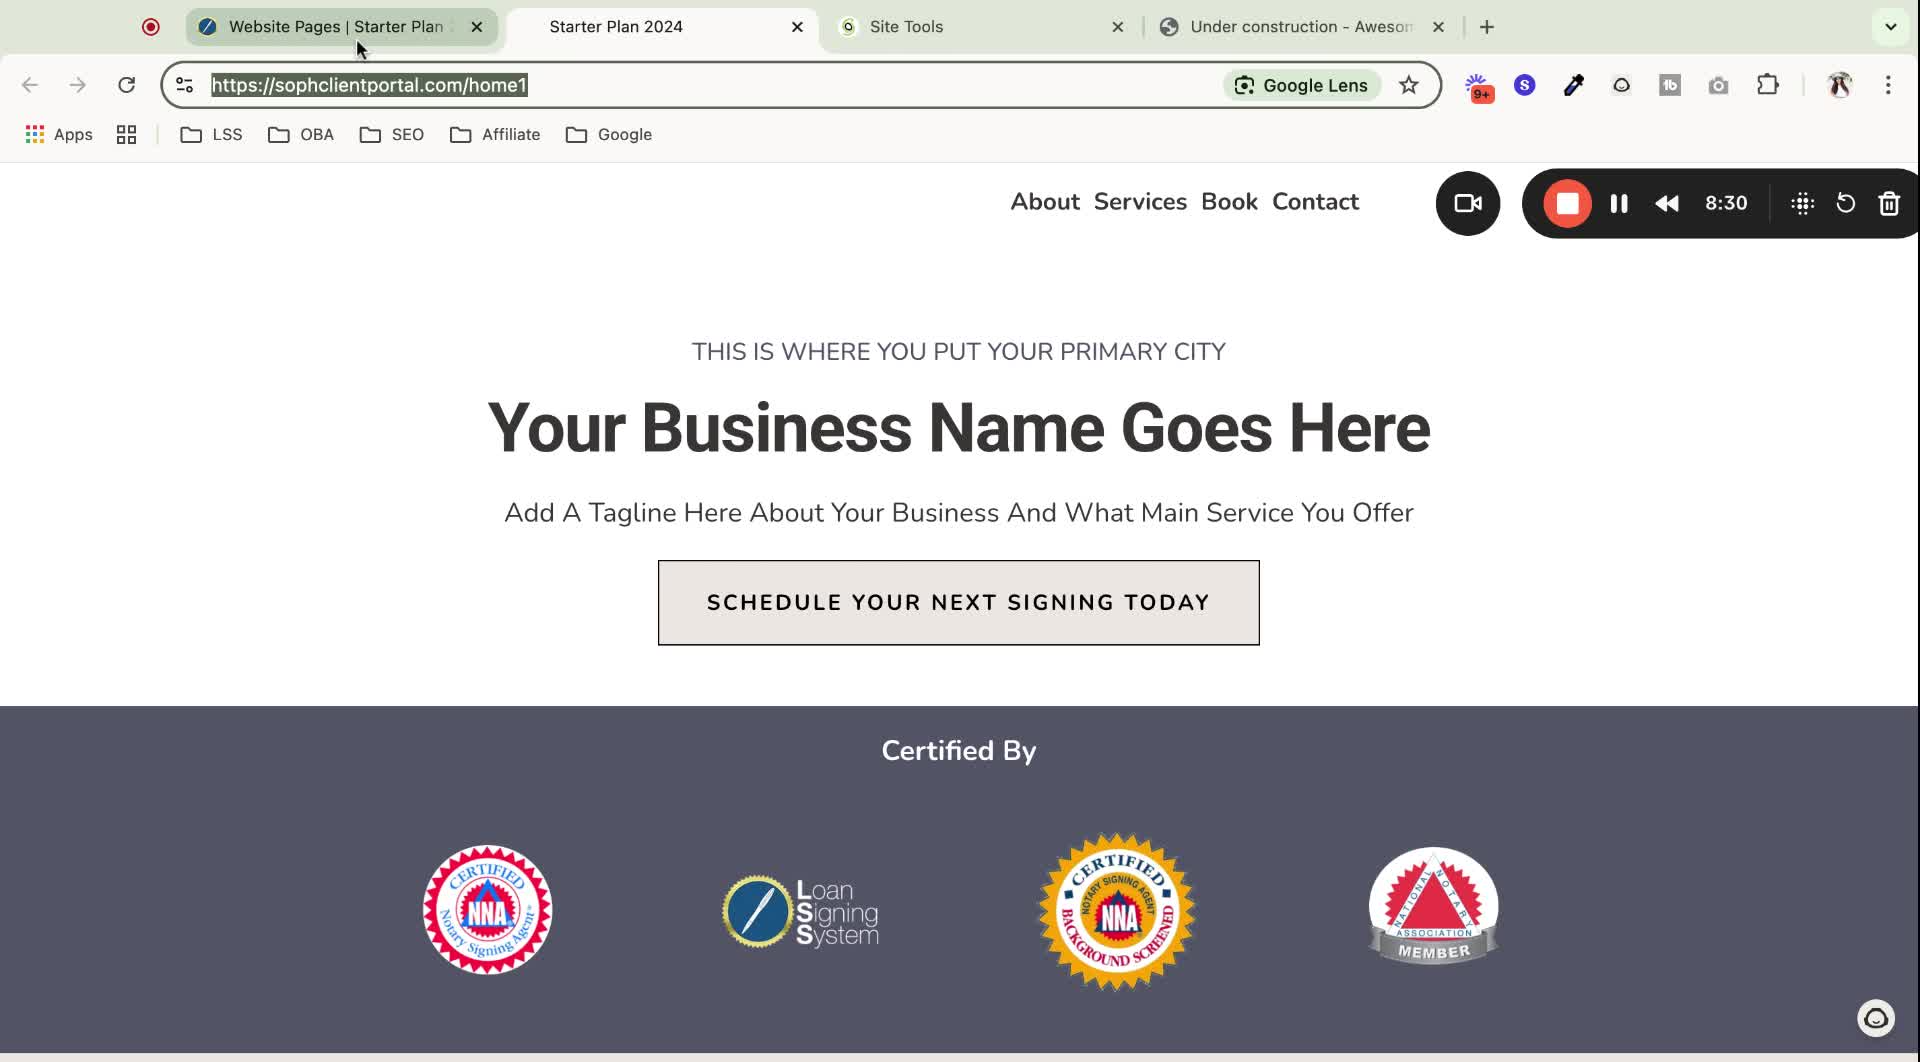
18. Preview Your Website 8:16
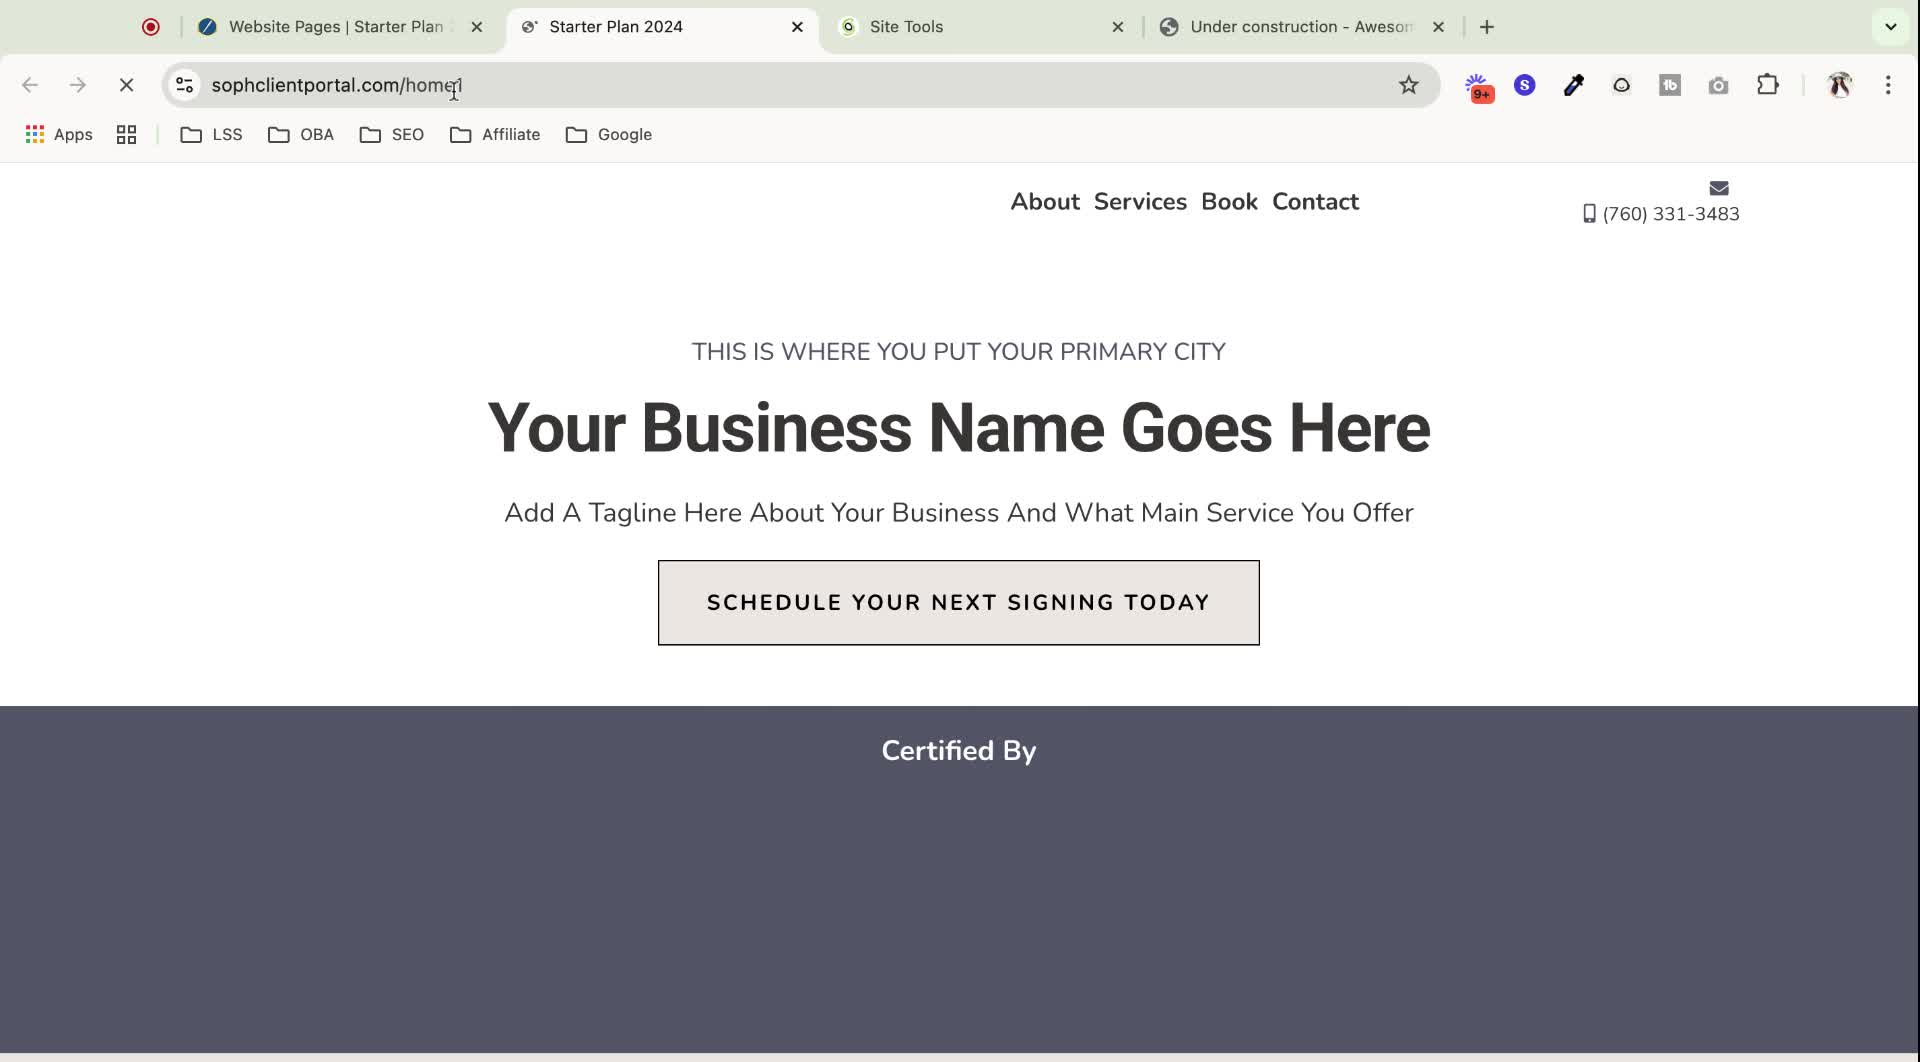
Refresh your website after clearing the cache to see the changes.
19. Connect Internal Domain 8:30
For domains purchased within the CRM, go to settings and domains.
20. Manage Internal Domain 9:08
Click 'Manage' for the internal domain and connect it to your website.
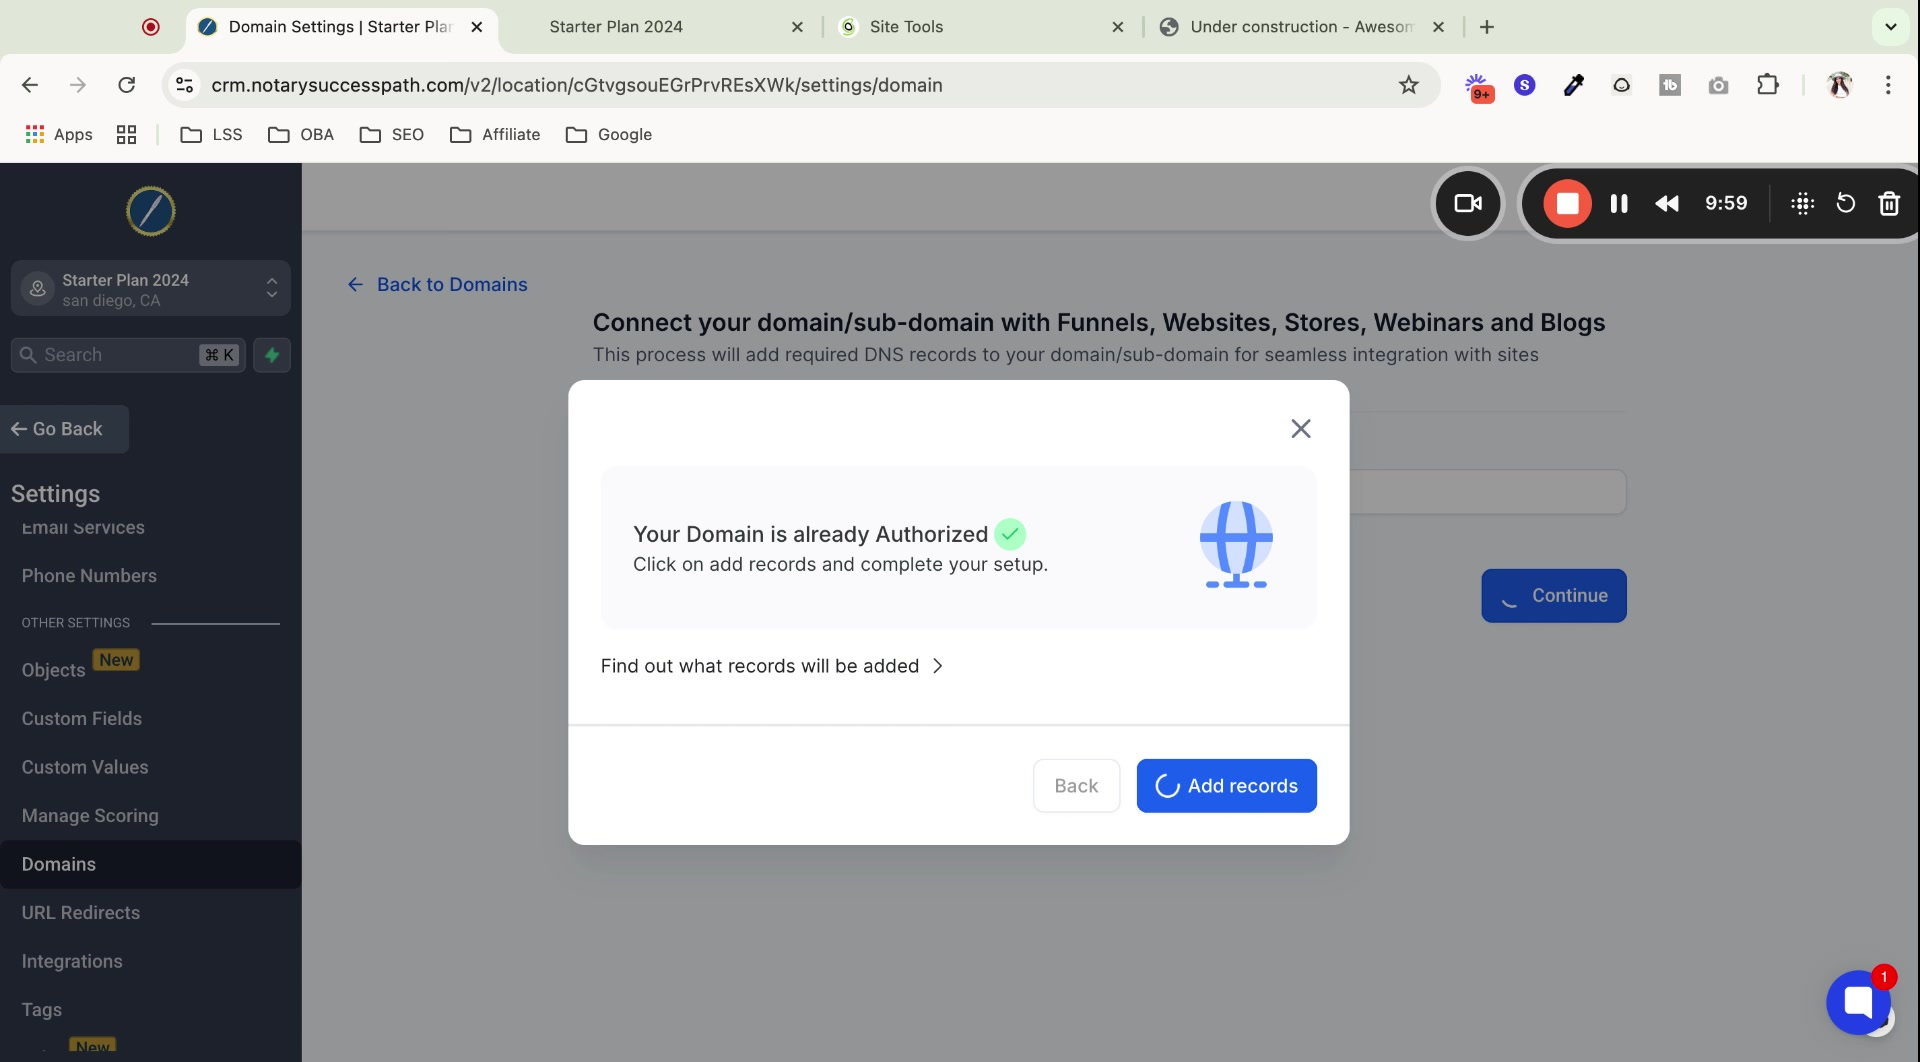
21. Automatic Record Addition 9:34

The system will automatically add necessary DNS records for internal domains.
22. Handle Errors 10:03
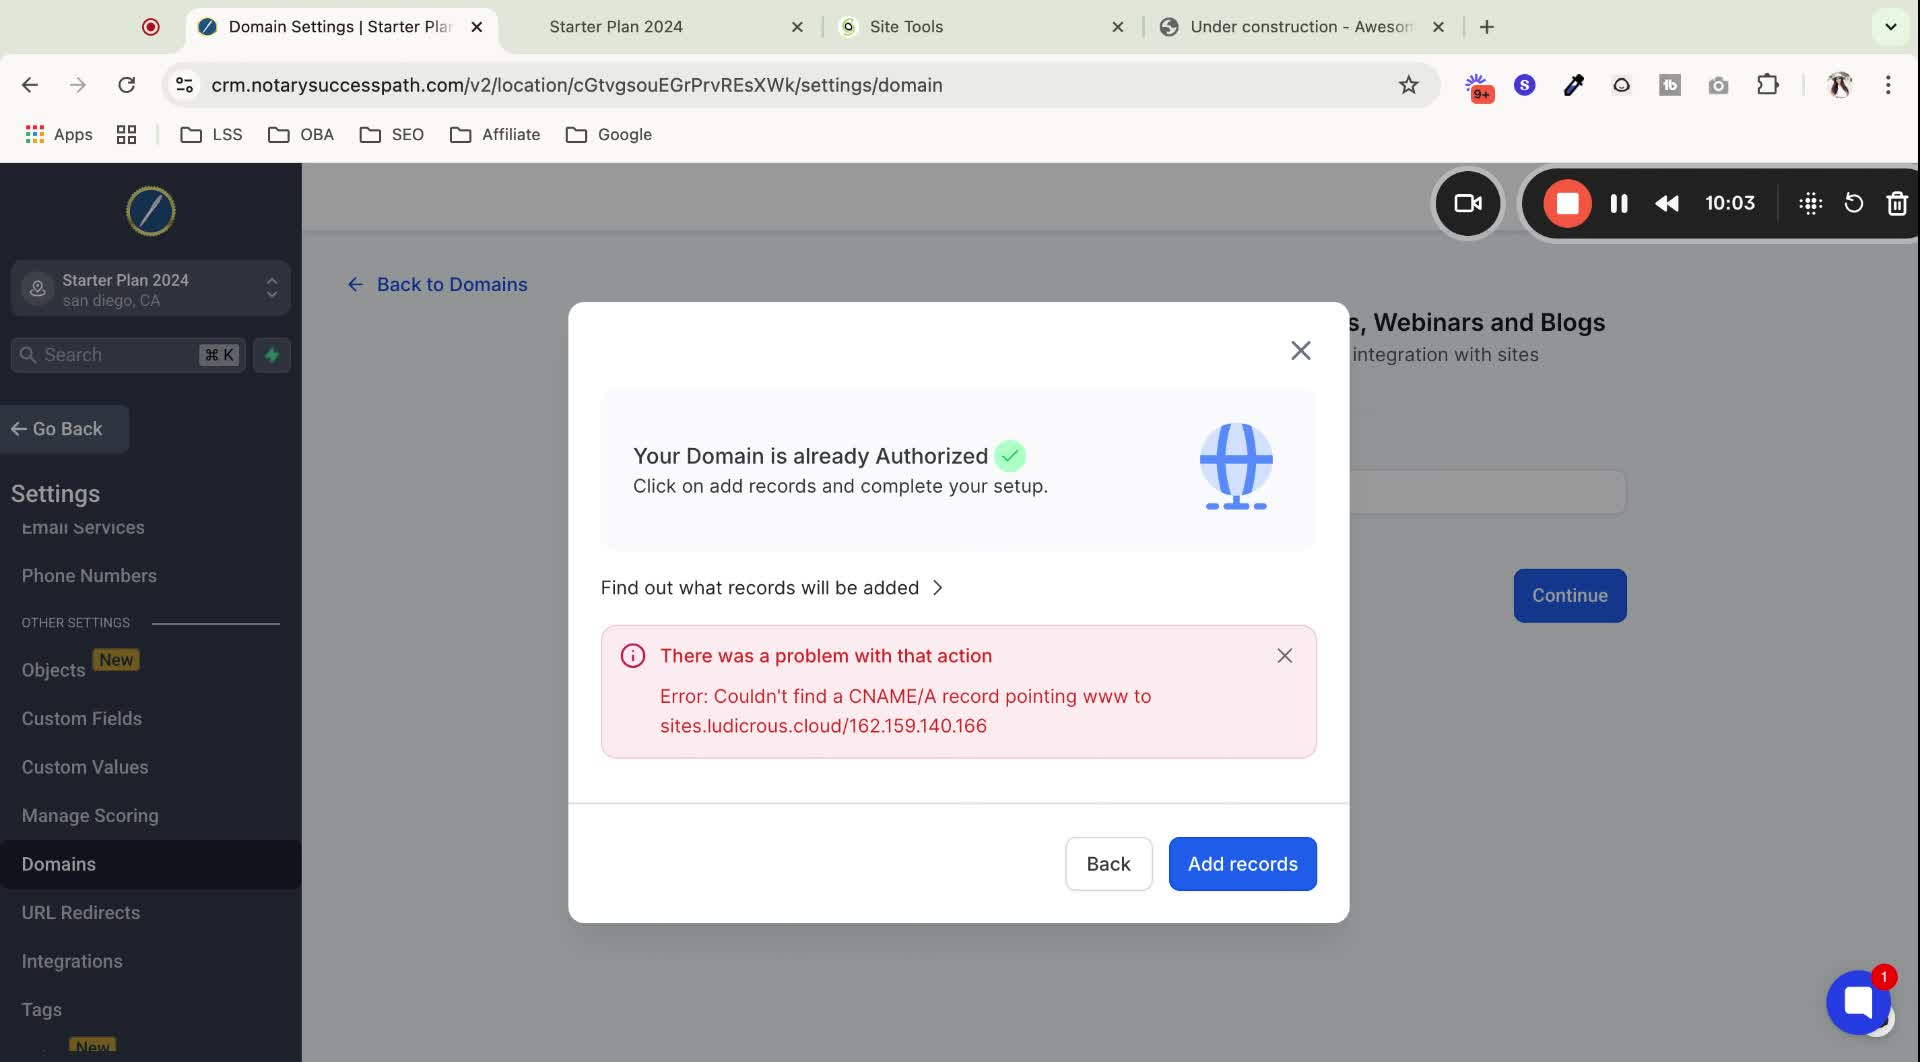
If you encounter an error, check the DNS records for successful addition.
23. Finalize Internal Domain Connection 10:57
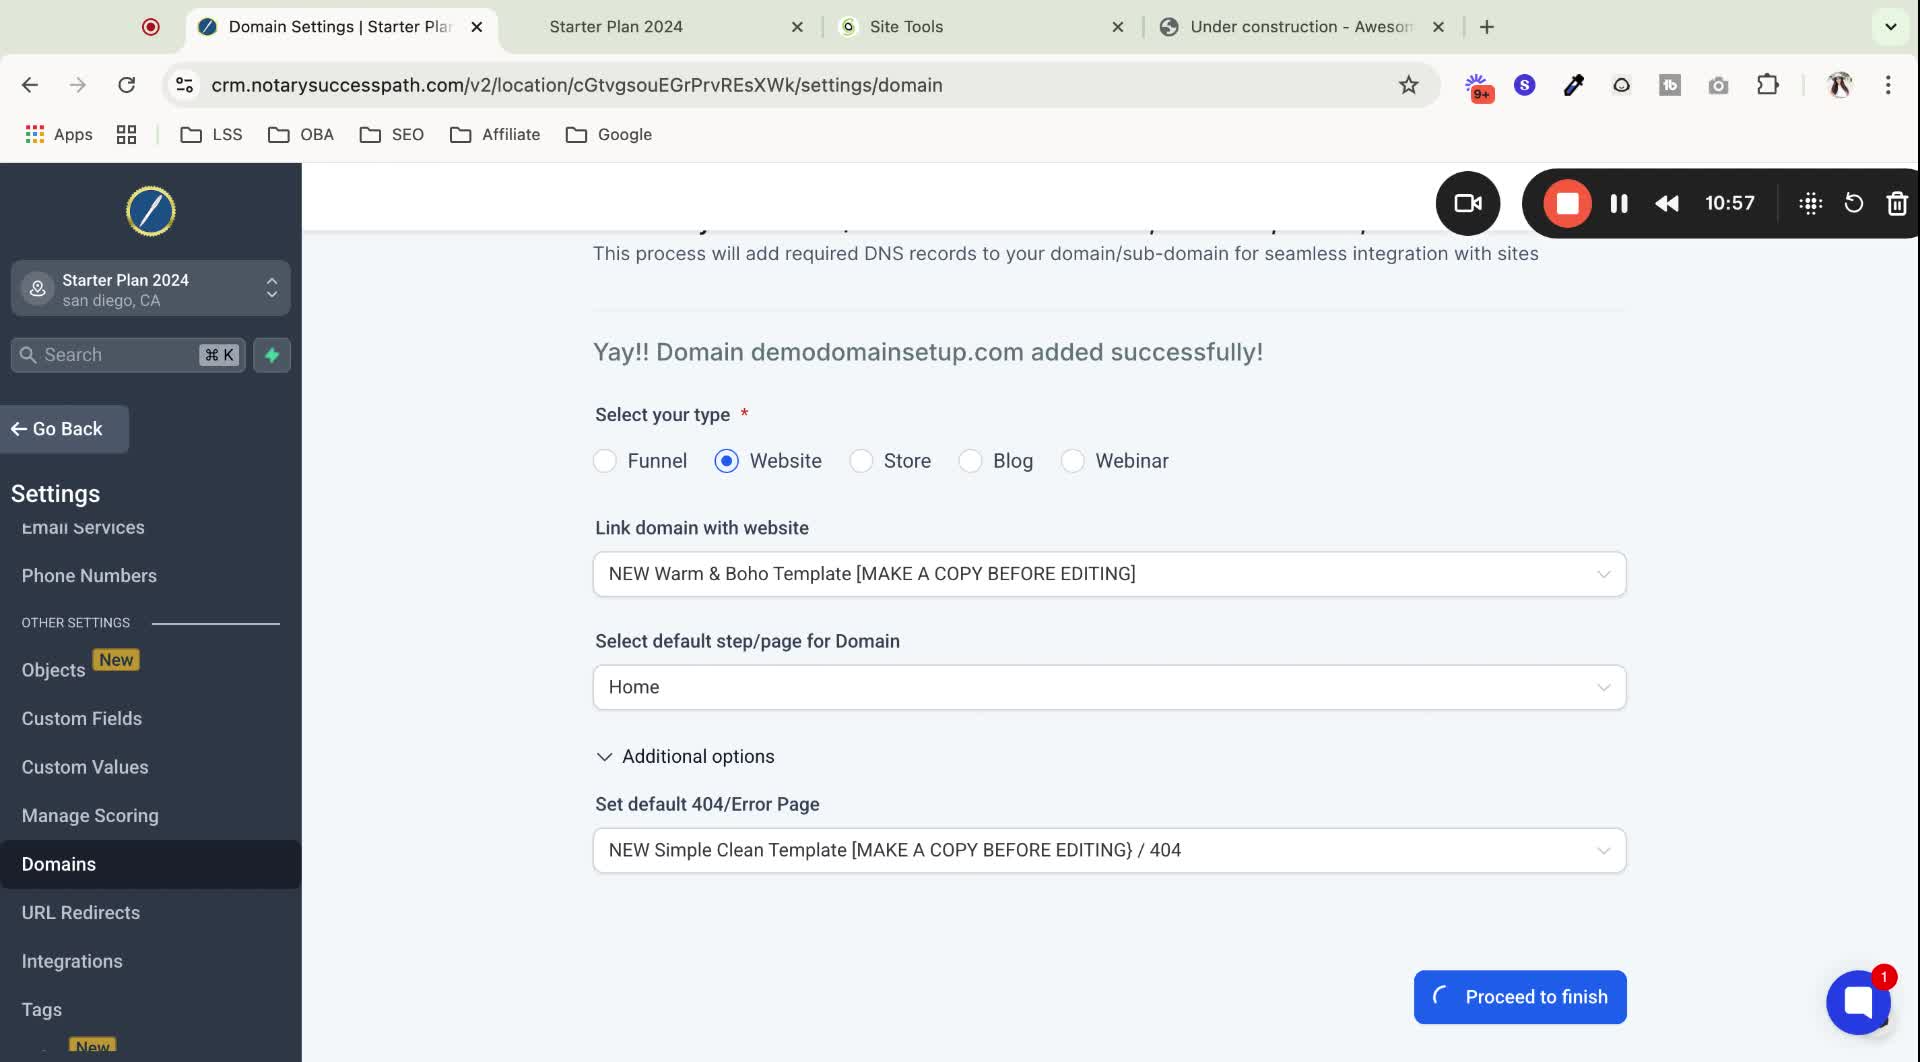
Select the website and proceed to finish the connection.
24. Additional Domain Settings 11:07

Future videos will cover additional settings for email sending and branded domains.
25. Reach Out for Support 11:19
If you have questions, comment below or contact support.