This SOP outlines the steps to connect an internal domain purchased within your account, ensuring proper DNS configuration for functionality.
1. Access Settings 0:00
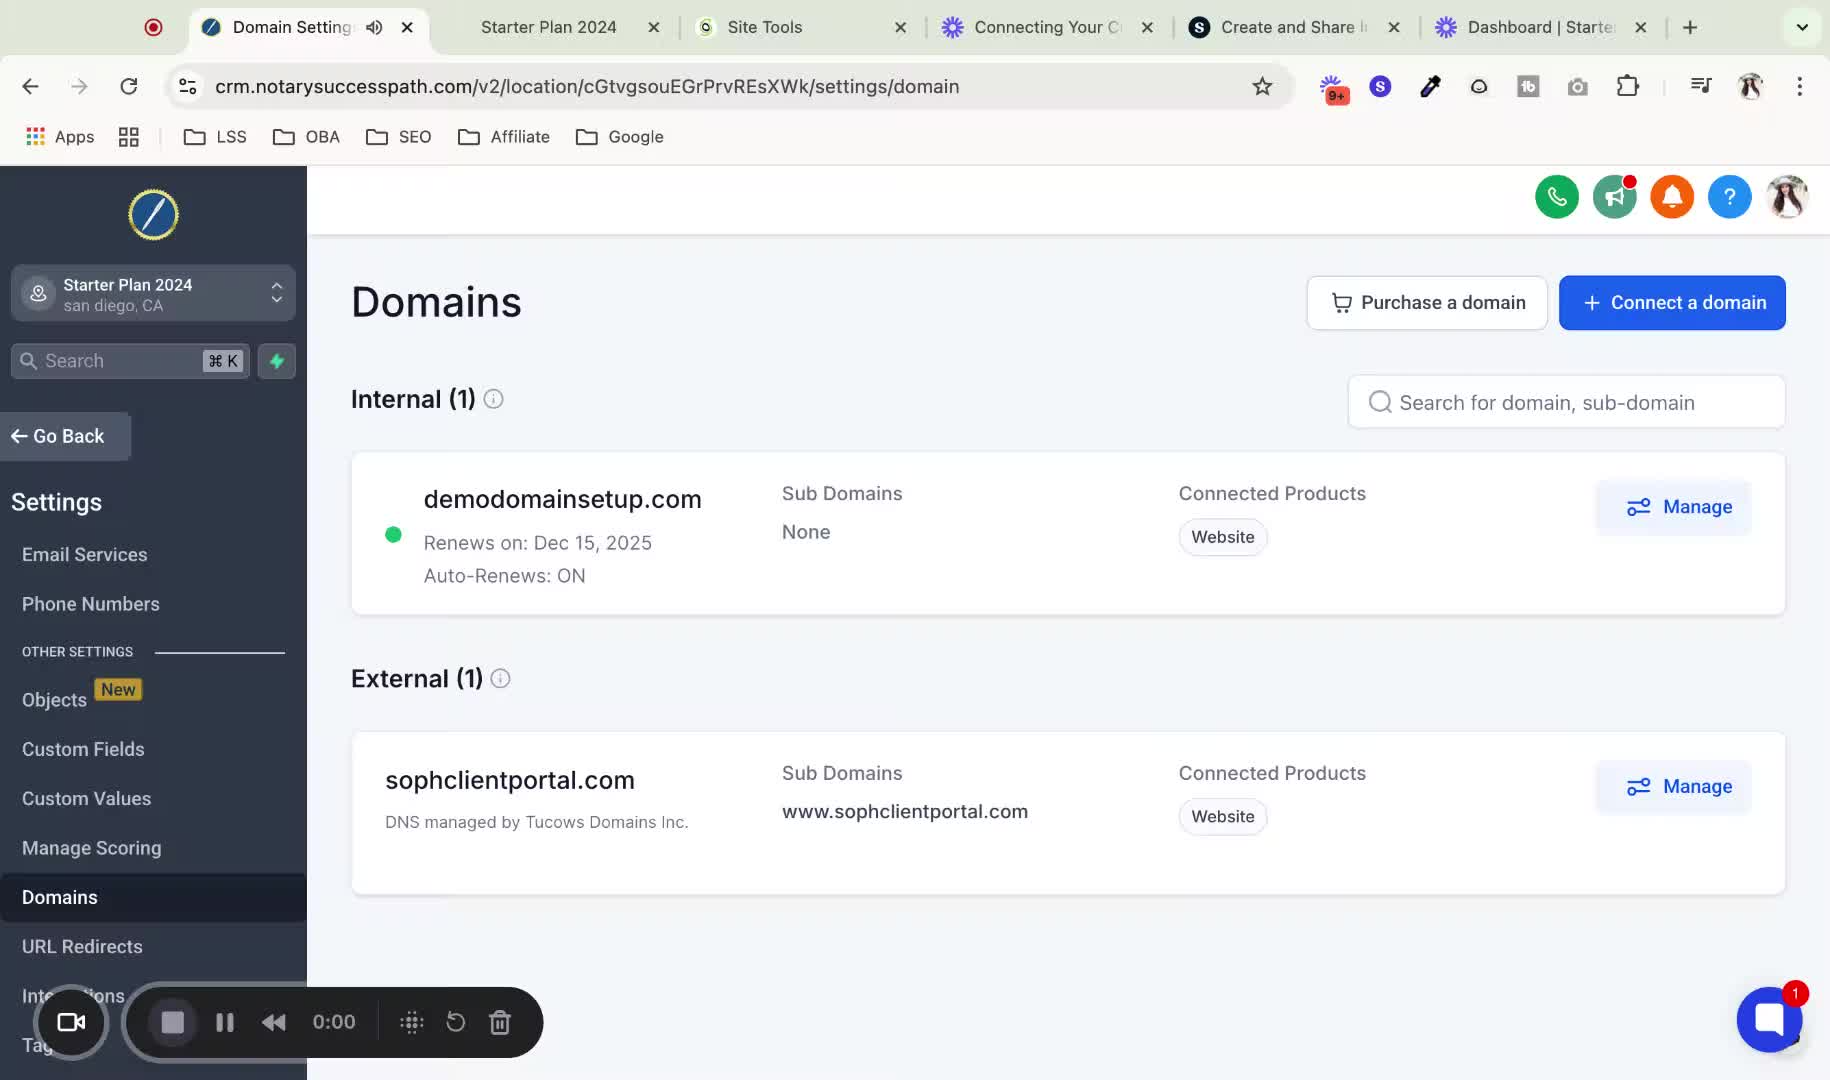
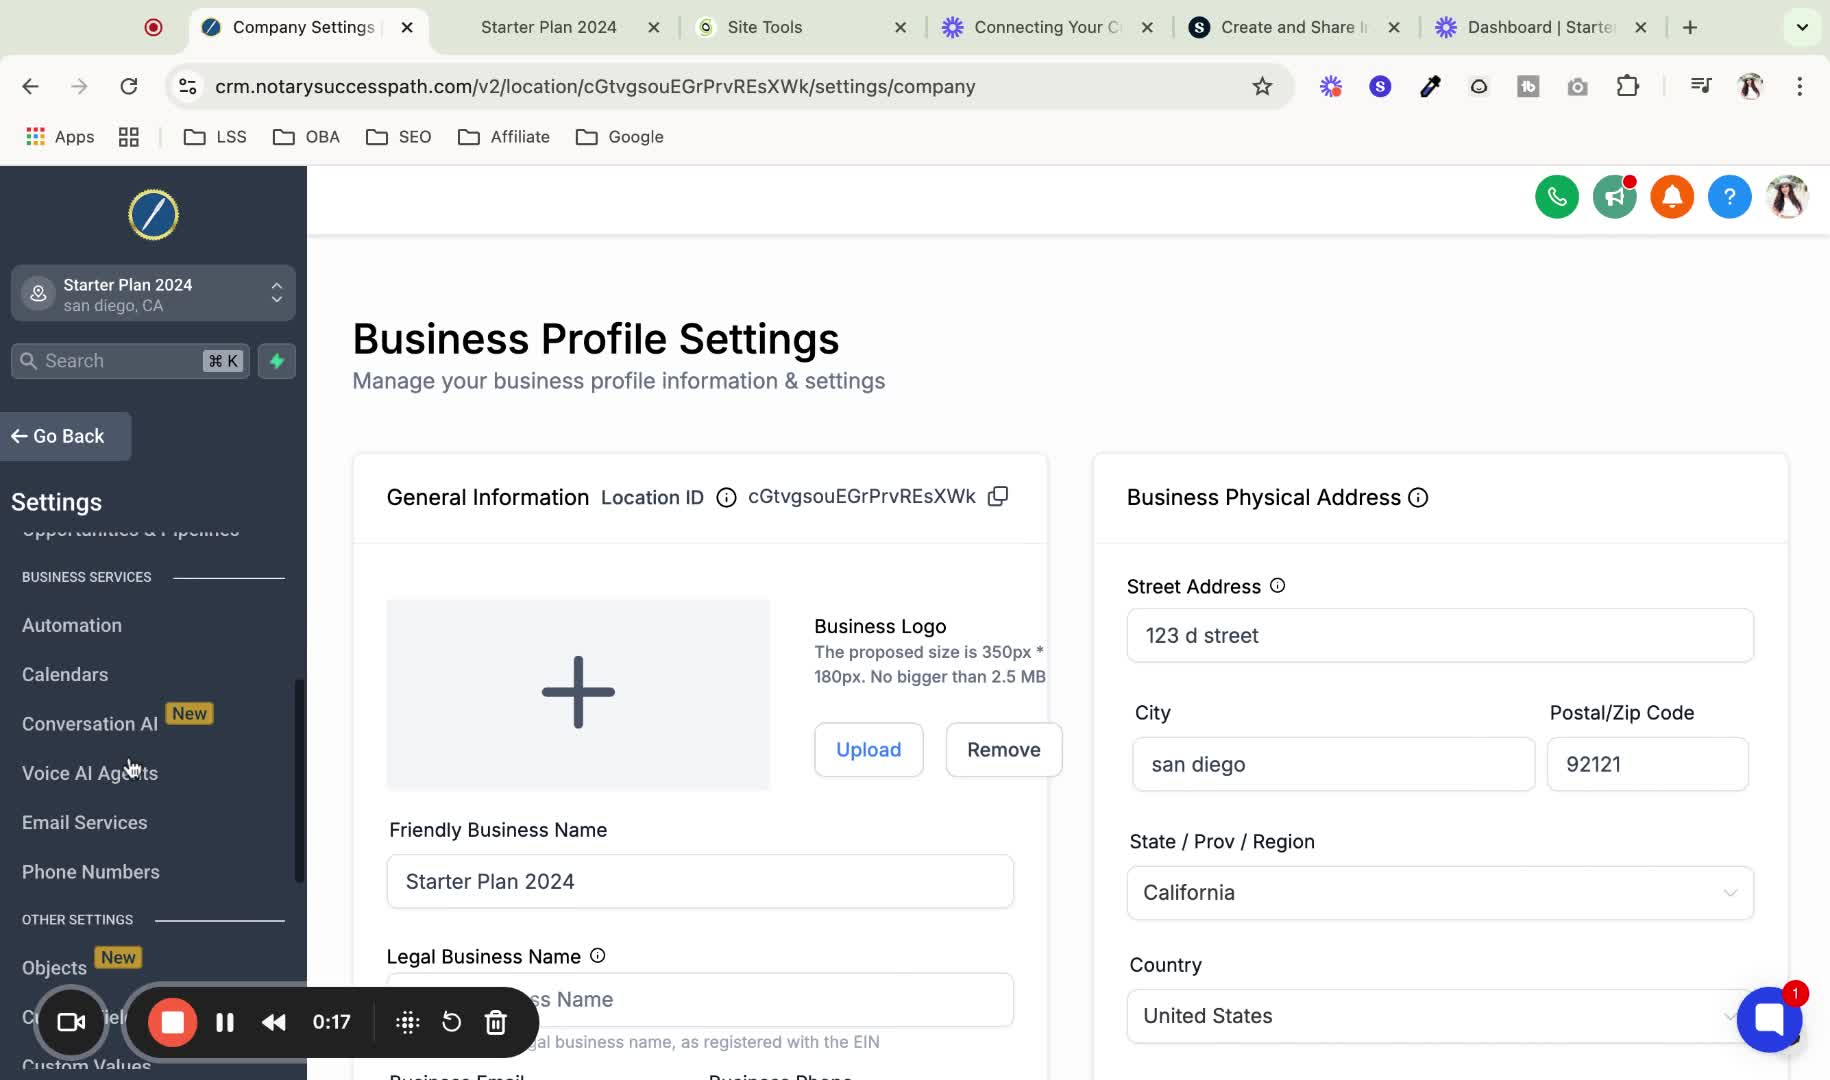
Navigate to the Settings option from the main menu.
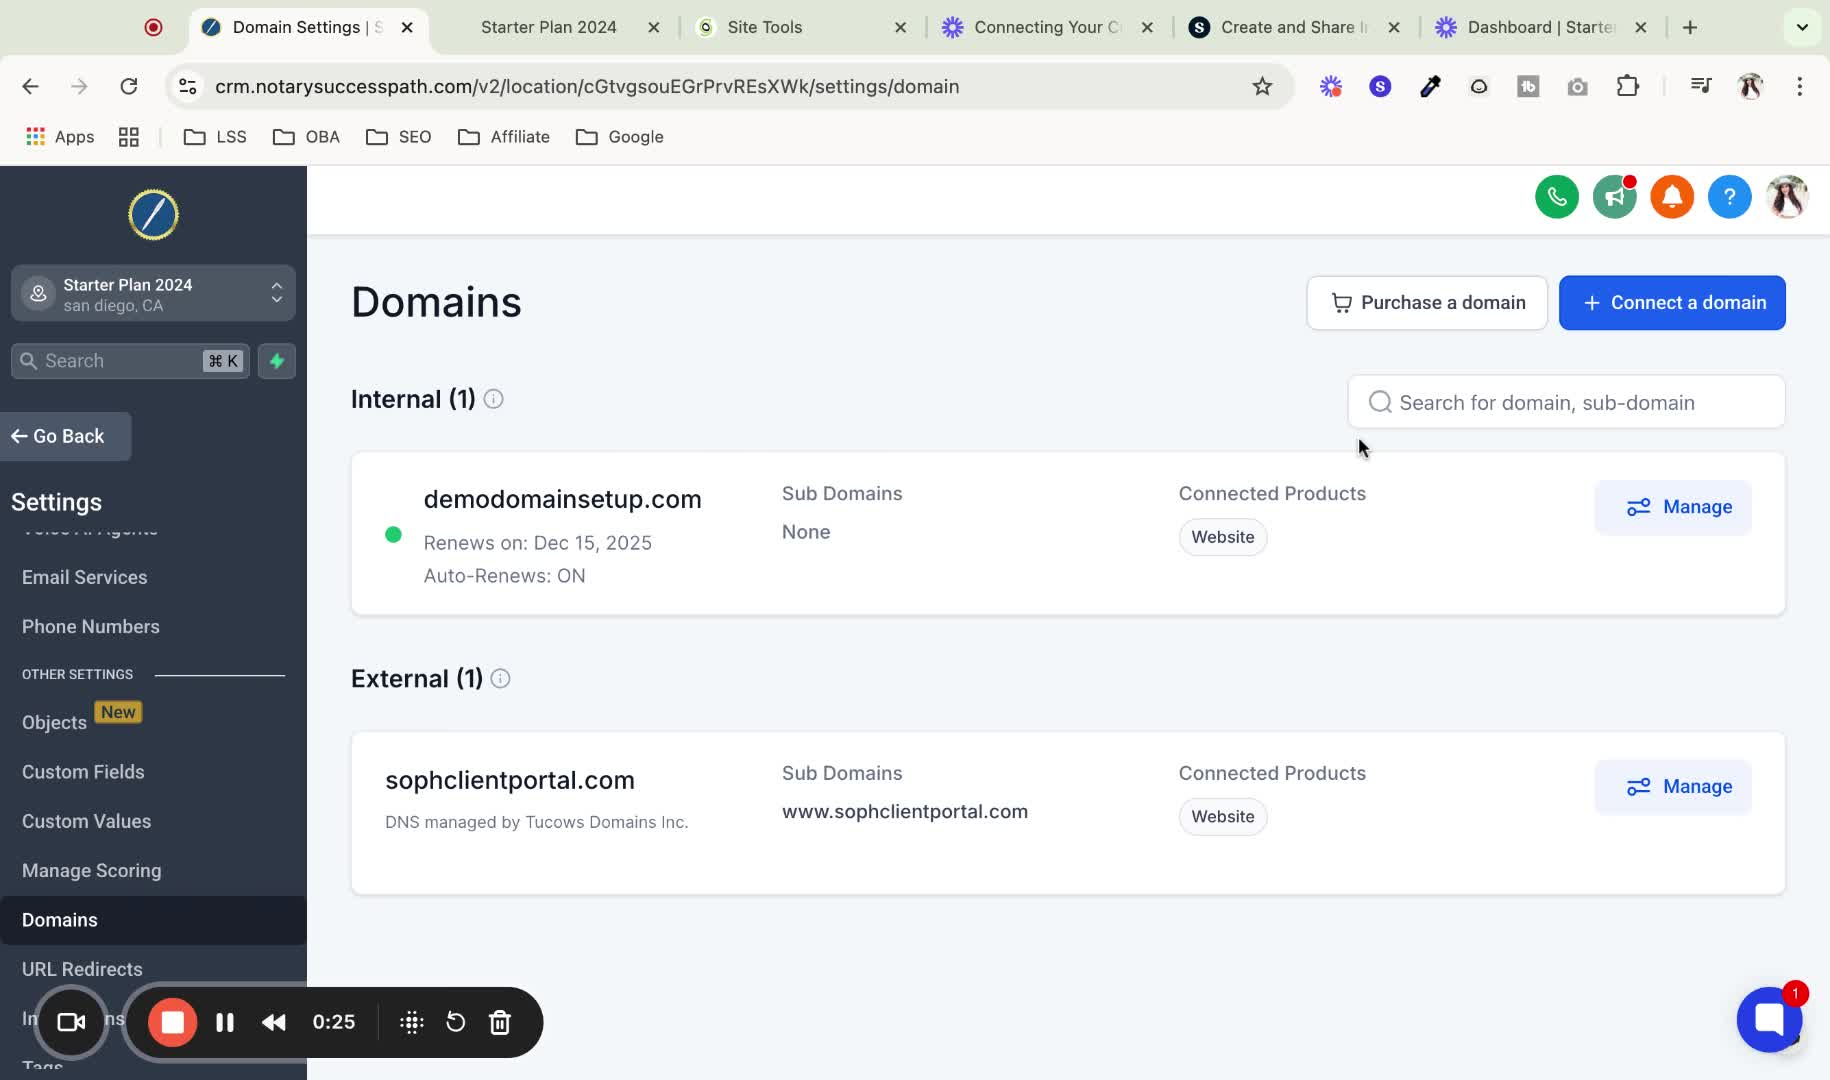
Scroll down to find Domains.
2. Manage Domain 0:18
Click on Manage next to your internal domain.
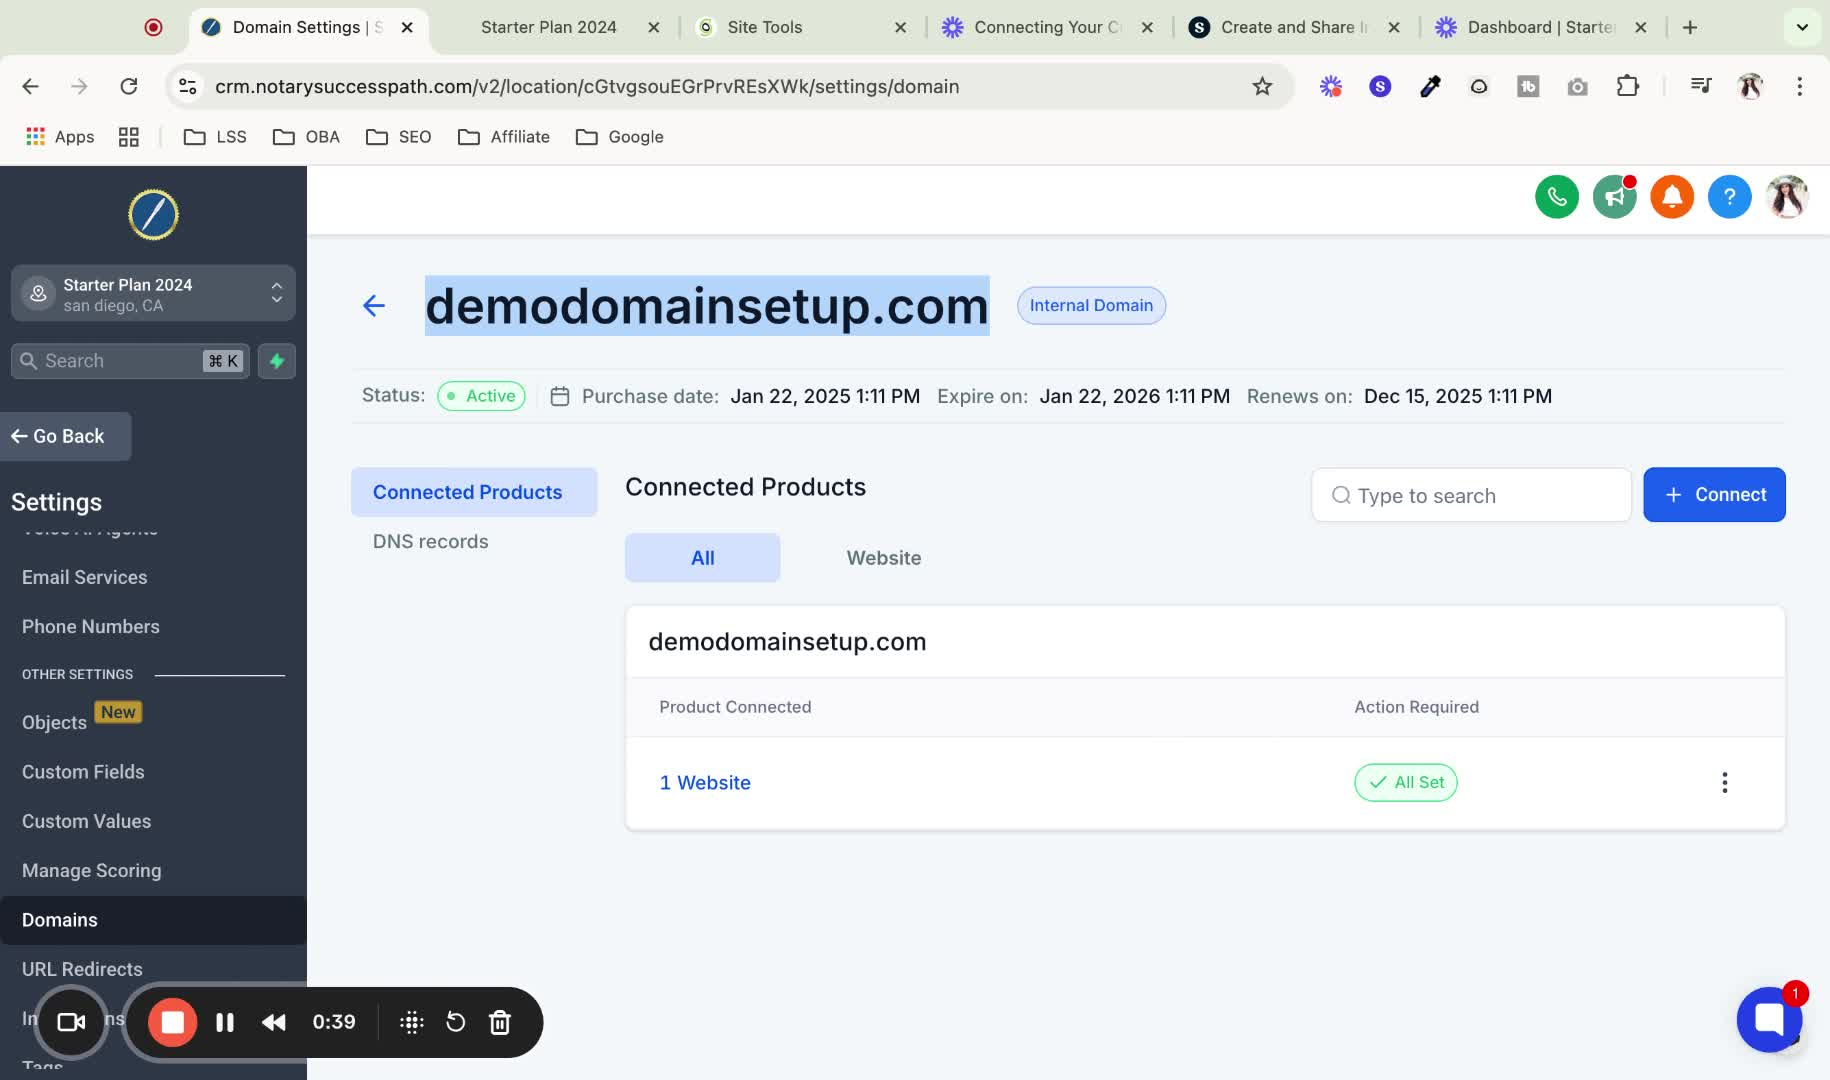
3. Connect Domain 0:26

Click on Connect to add the new product.
4. Copy Domain Name 0:35
Copy the domain name for use in the next step.
5. Select Branded Domain 0:40
Click Connect again, ensuring you select the branded domain option.
6. Add 'go.' Prefix 1:04
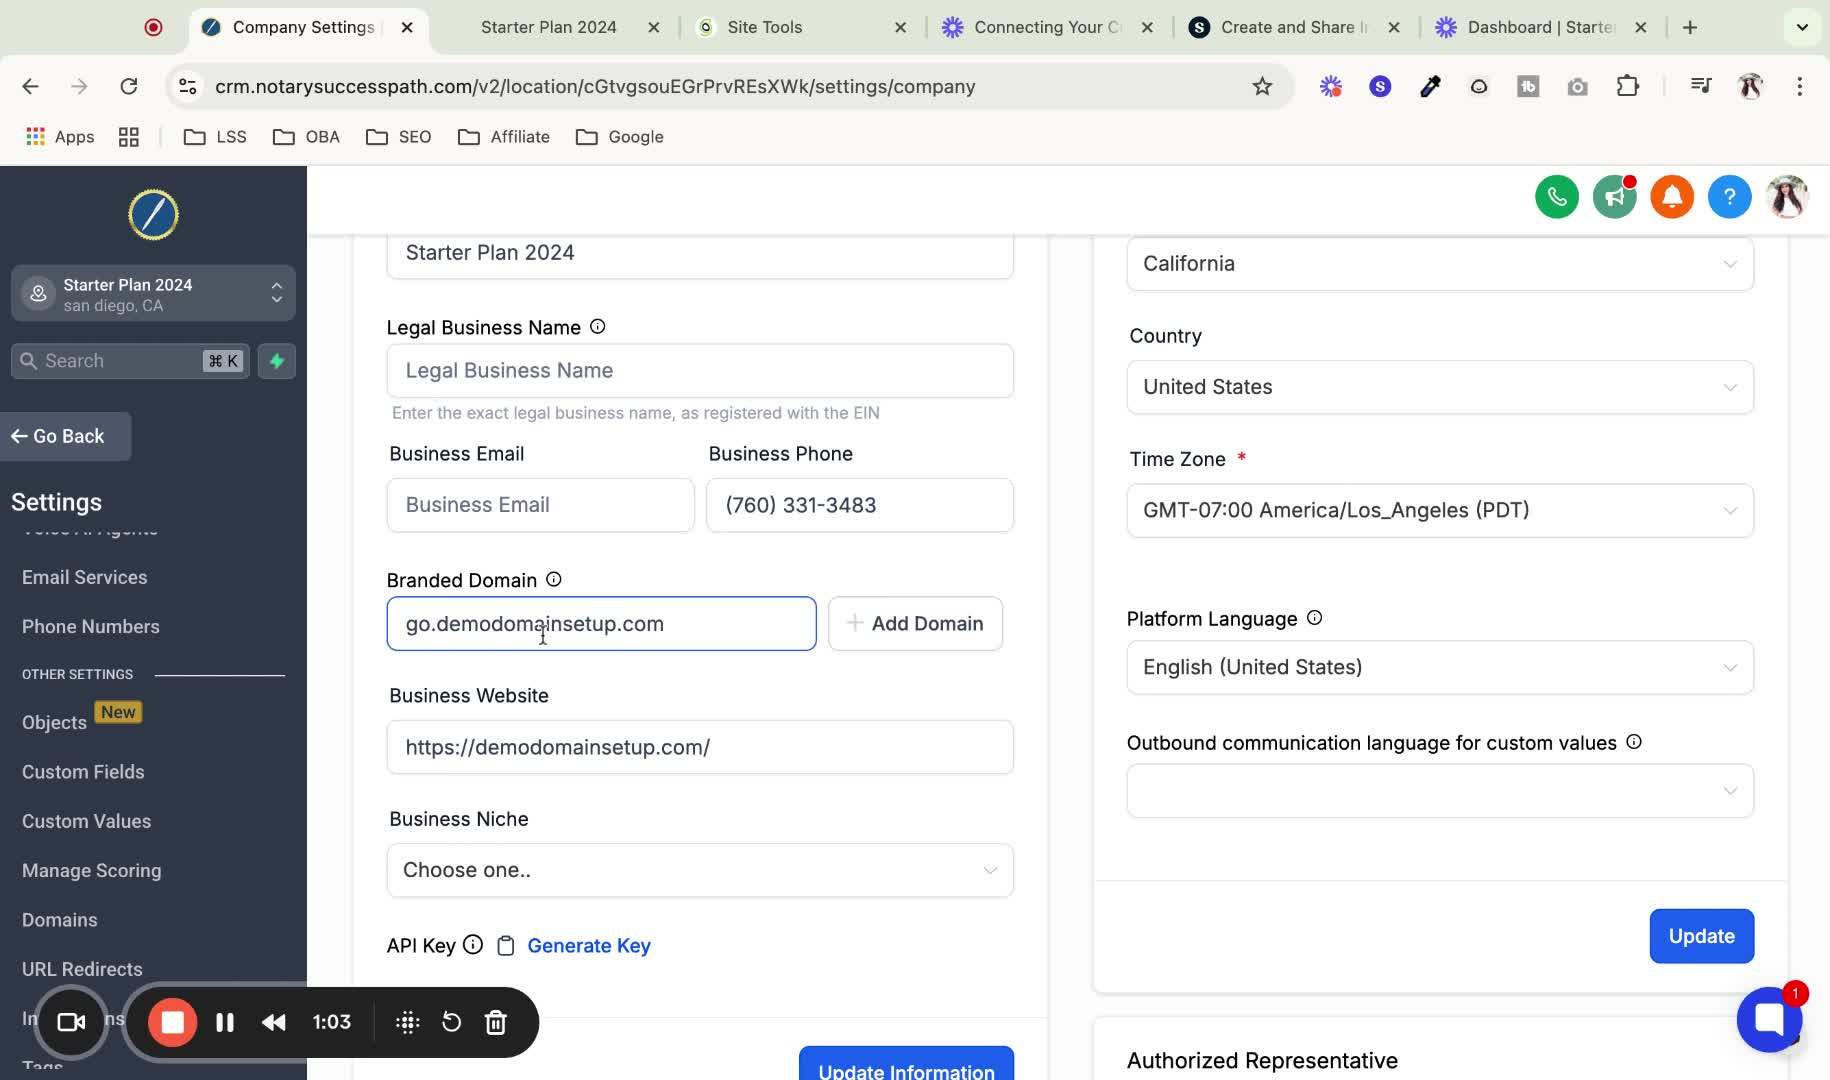
Important: Add go. in front of your domain name before proceeding.
7. Add Domain 1:11

Click on Add Domain after entering the domain with the prefix.
8. Continue with Verification 1:32

Click Continue to allow automatic verification of DNS records.
9. Add DNS Records 1:41
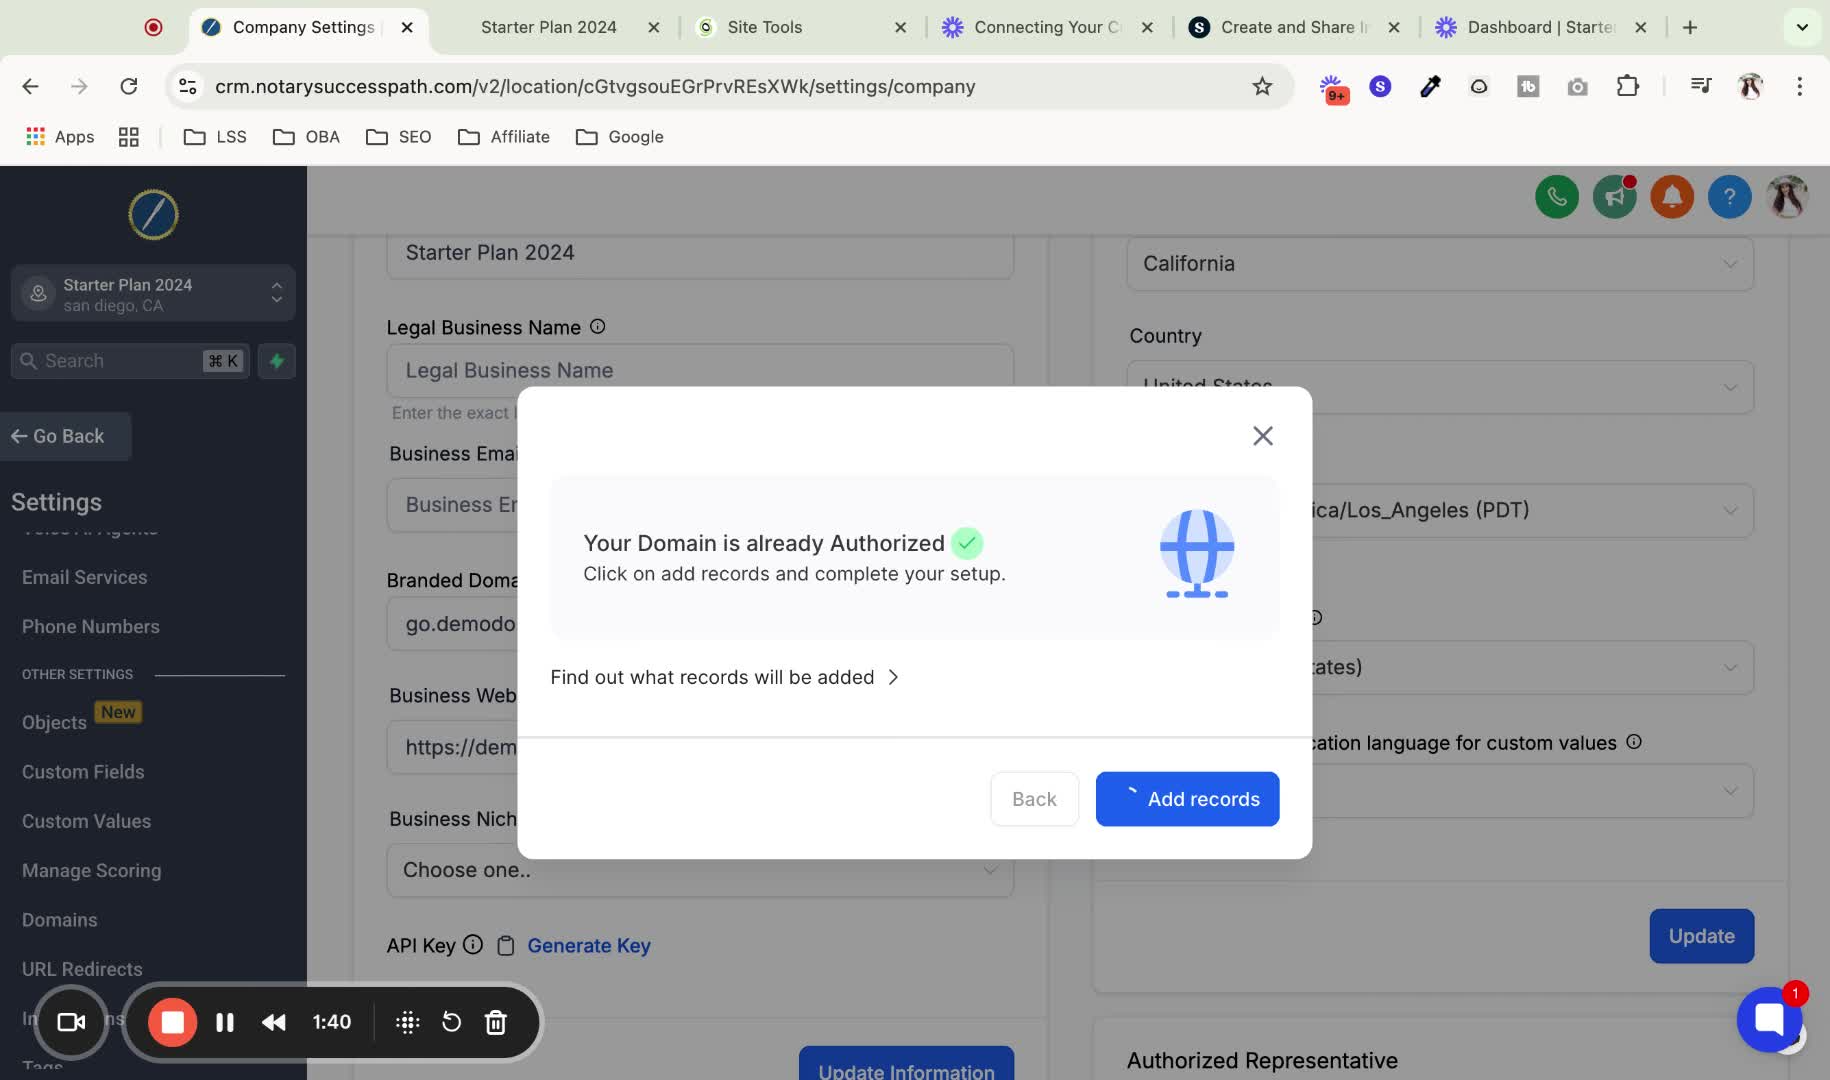
Click on Add Records to automatically configure the necessary DNS records.
10. Wait for Configuration 1:49

Wait a minute for the configuration and propagation to complete.
11. Verify Connection 2:02
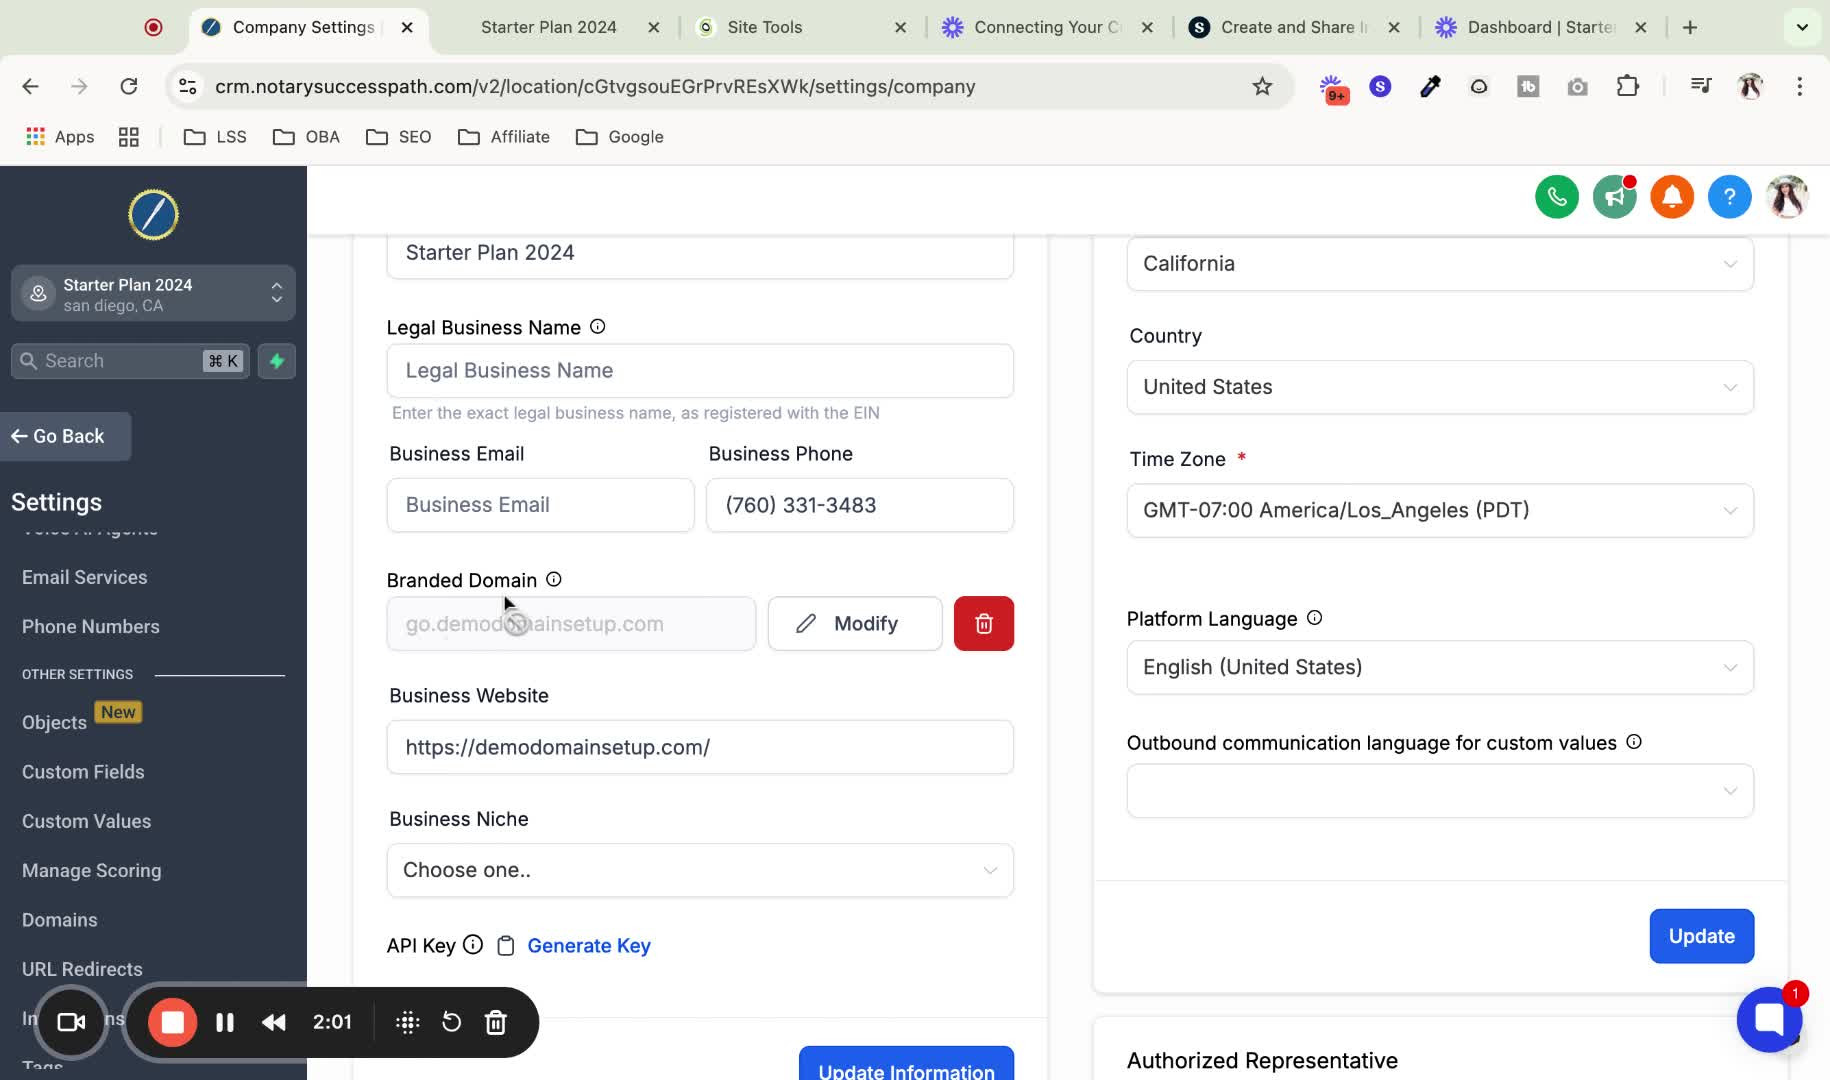
Check that the new domain is connected for calendars and forms.
12. Share Calendar Links 2:14
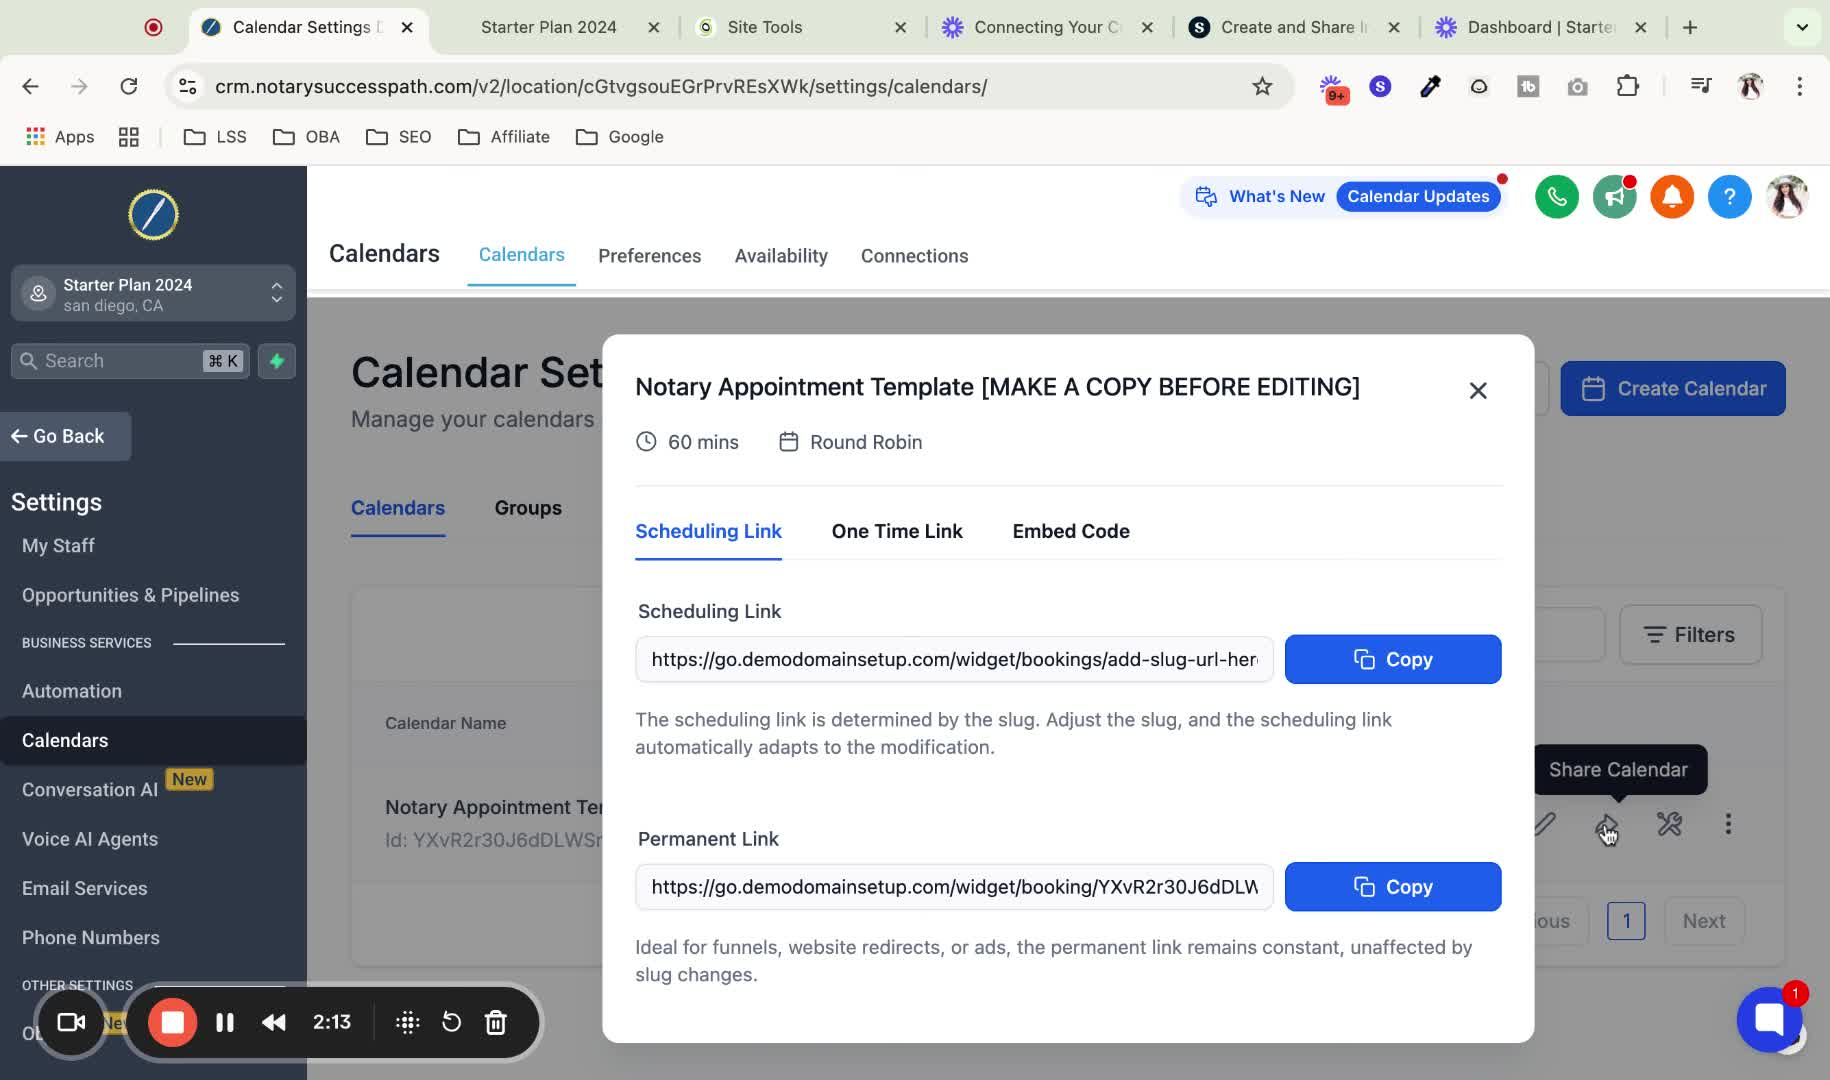
Go to Calendars and click Share to see your branded domain link.
13. Understand Domain Differences 2:29
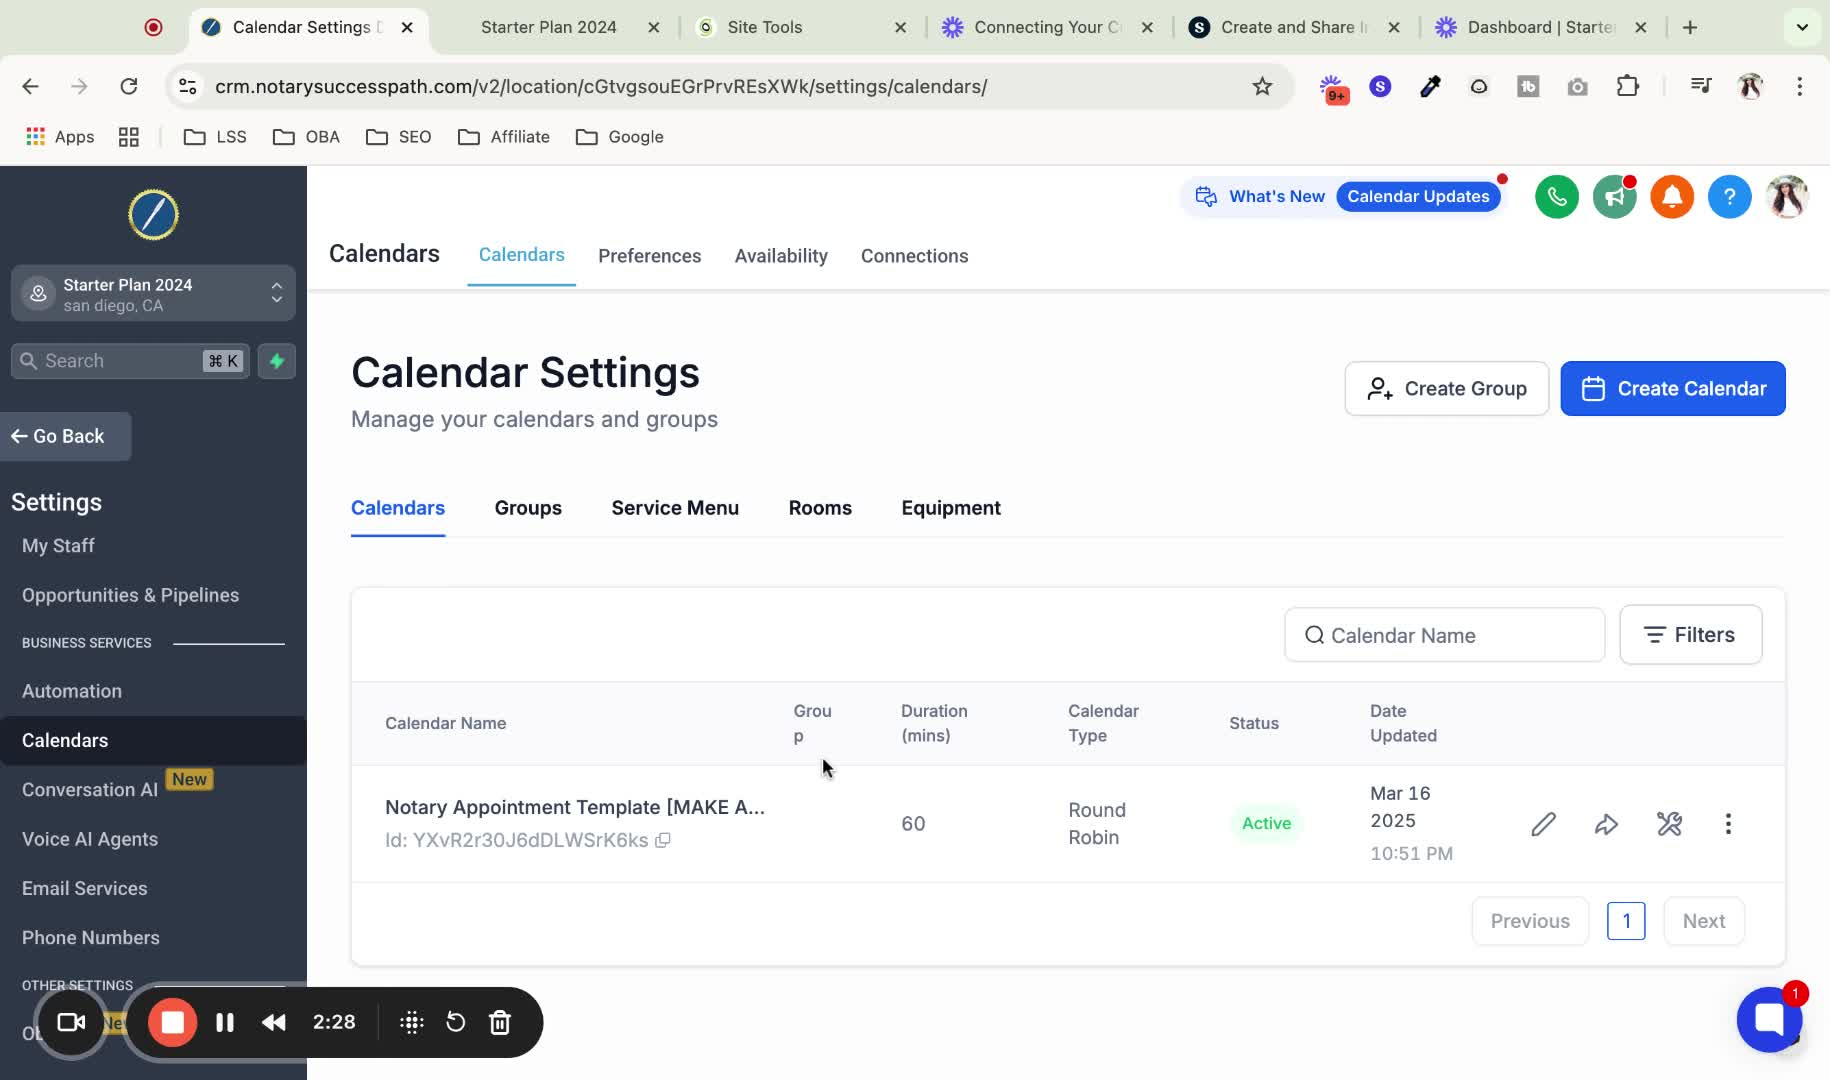
Note that the branded domain is separate from your website domain.
Do not skip adding 'go.' before your domain name, as this will break your website.
Ensure you understand the difference between the branded domain and your website domain to avoid confusion.
Always double-check the domain name for accuracy before adding.
Keep a note of your branded domain for easy access when sharing links.
https://www.loom.com/share/a26233cac7984571987c7e5e40da3013
