This lesson will guide you through the first step of setting up your CRM account by showing you how to find and update your Personal and Business Profile Settings. You’ll use this section anytime you need to update your information.
STEP 1. Log In to Your CRM
Make sure you are logged into your CRM account. For the best experience, use Google Chrome or Safari as your web browser.
STEP 2. Open the Main Navigation Menu
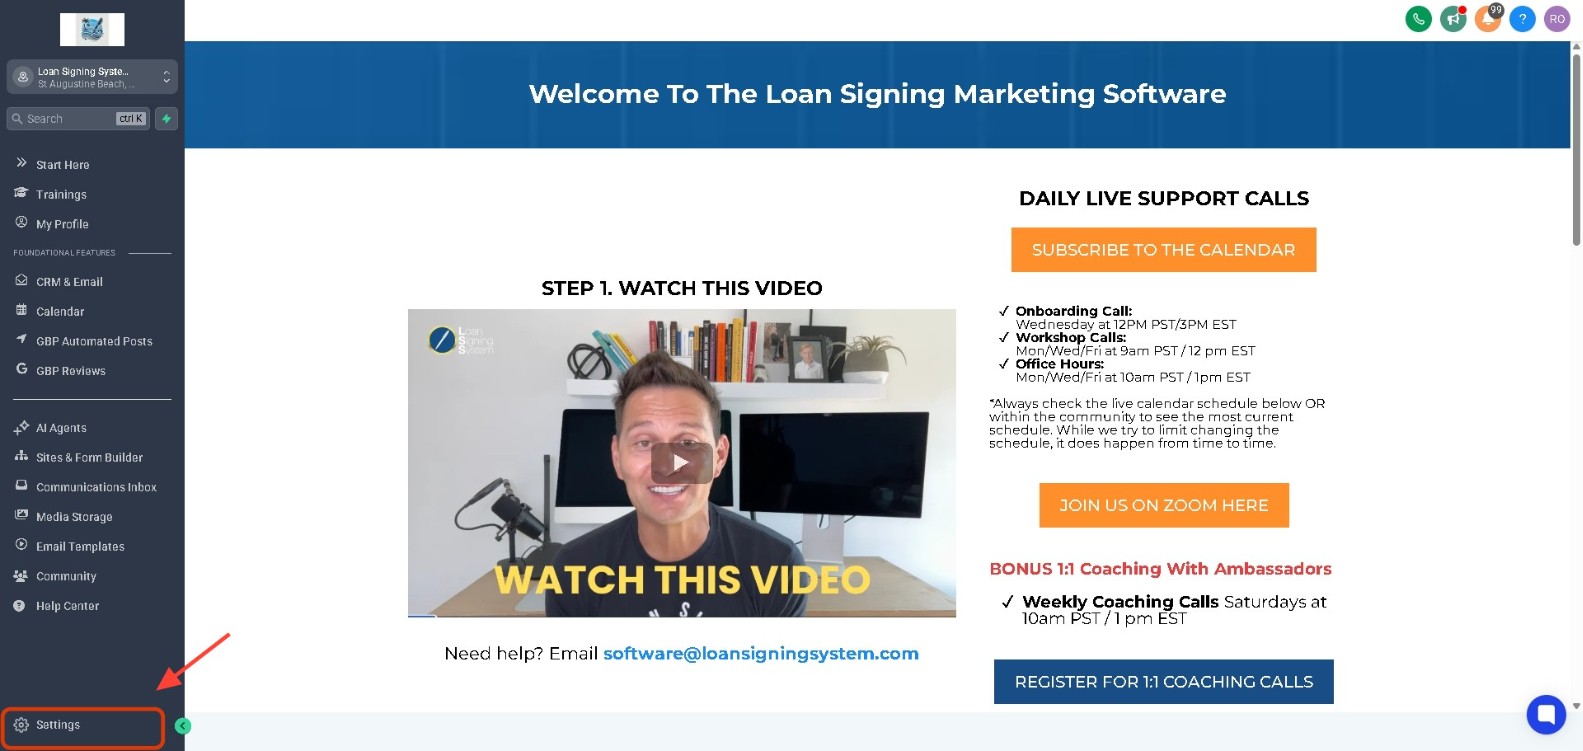
Look to the left-hand side of your screen. Scroll all the way down the menu and click on the “Settings” tab.
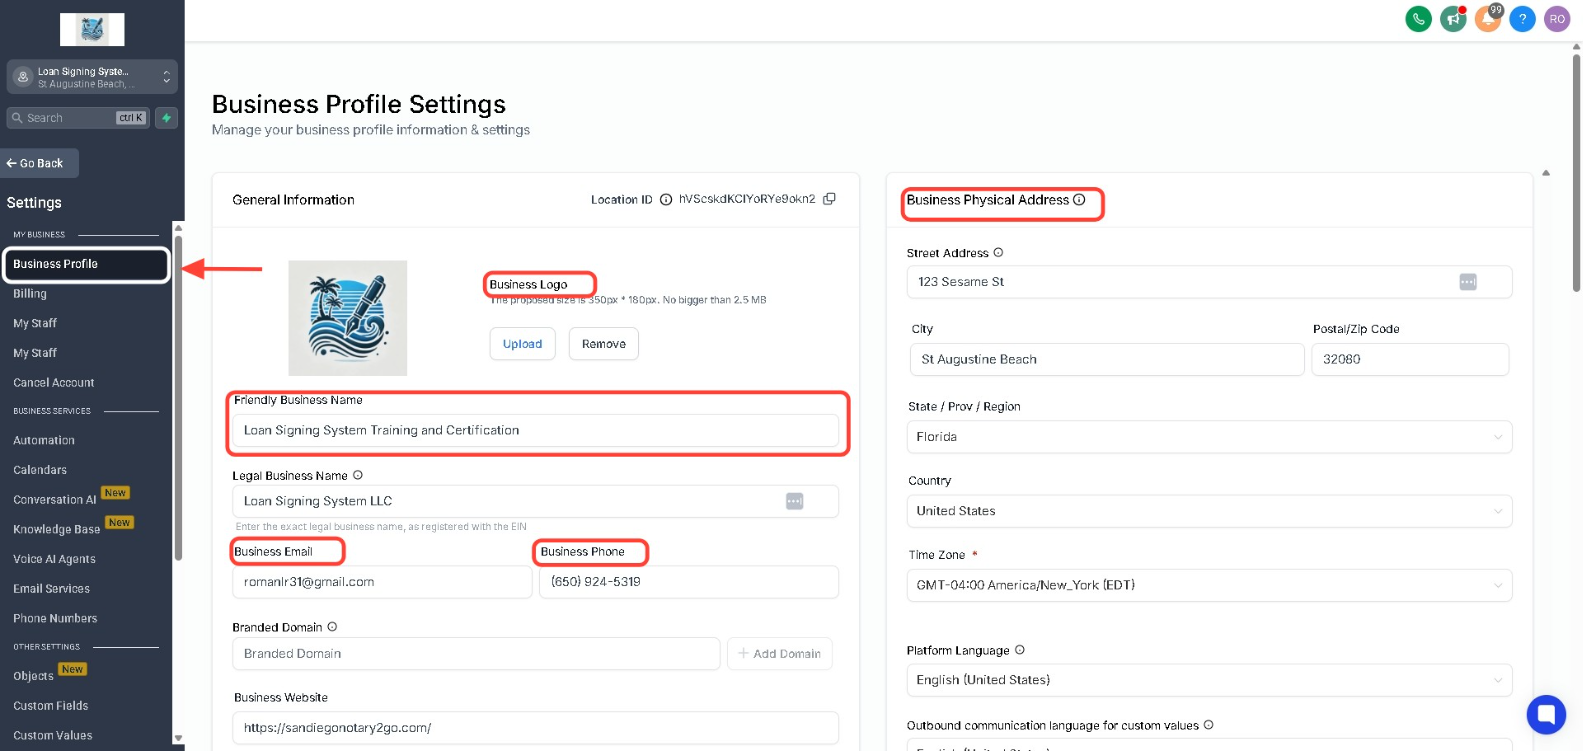
This opens a new submenu with more options
Here you can enter or update:
Your business name
Address
Phone number
Business email
Company logo and branding details
This information will be used across your CRM for communication and branding.
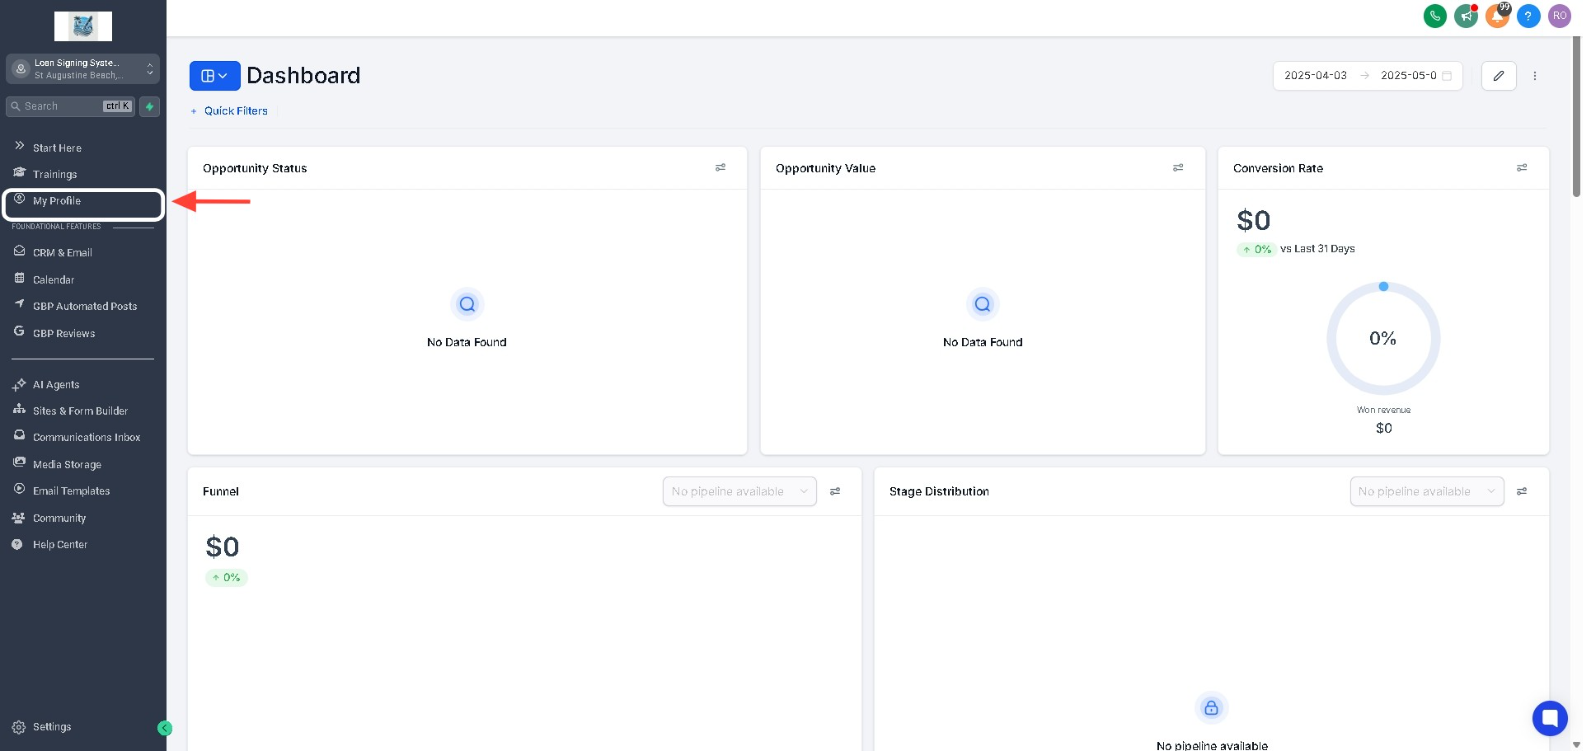
STEP 5. Click on “My Profile”
Back to your main menu under the Trainings tab, click on “My Profile”
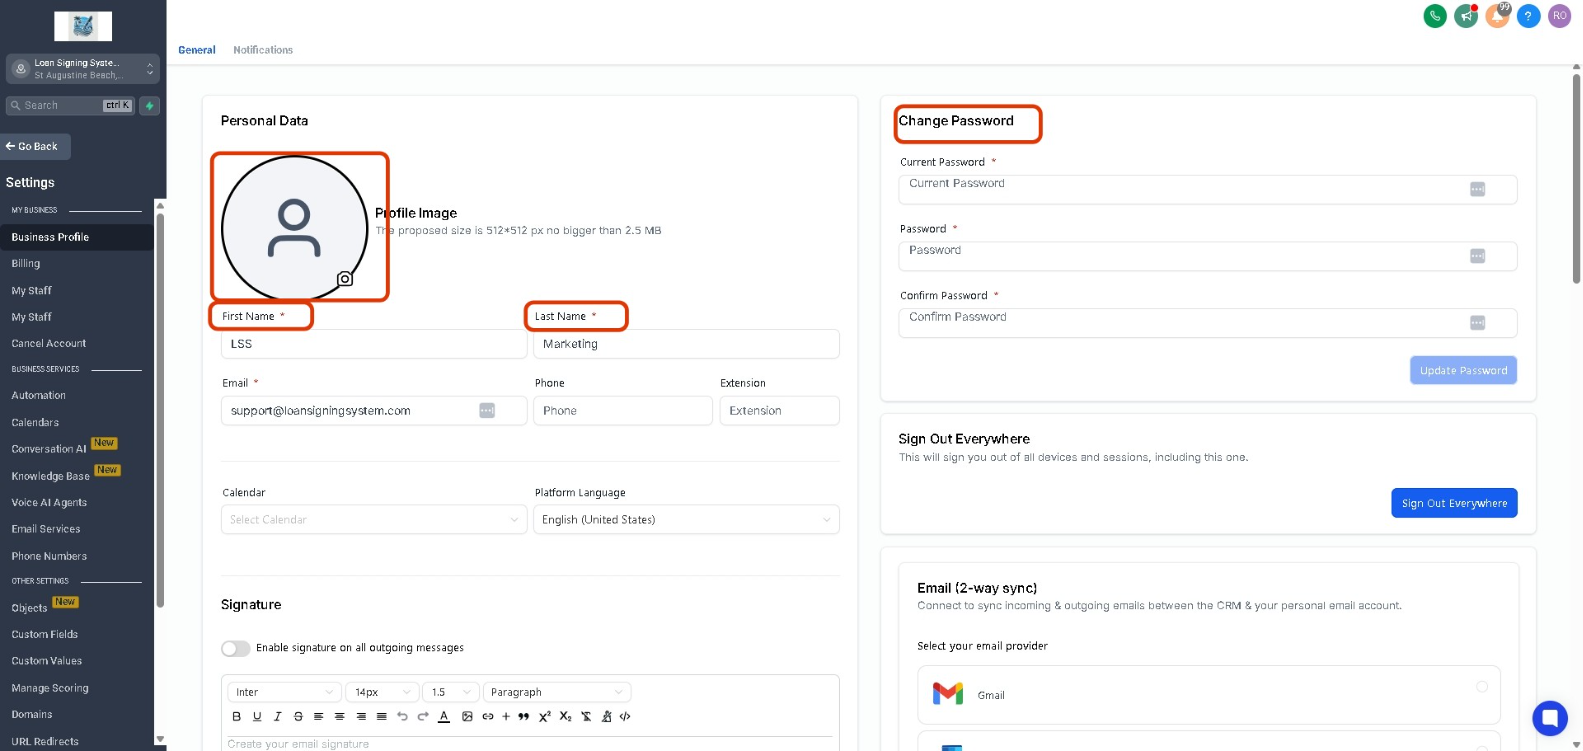
This section is for your personal account settings, including:
Your Name
Email Address
Profile Photo (Optional)
Password
Timezone and notification settings
STEP 6. Review and Save your Changes
After updating your Business or Personal Profile, scroll down and click “ Save” to make sure all your information is stored properly
 You’re Done
You’ve now located and updated your Personal and Business profile settings. You can return to this section at any time to make changes or updates as your business grows.
