This SOP outlines the steps to create and customize a follow-up email automation workflow, as well as how to add contacts to it.
Click Here To Watch The Full Tutorial1. Access Email Template Section 0:16
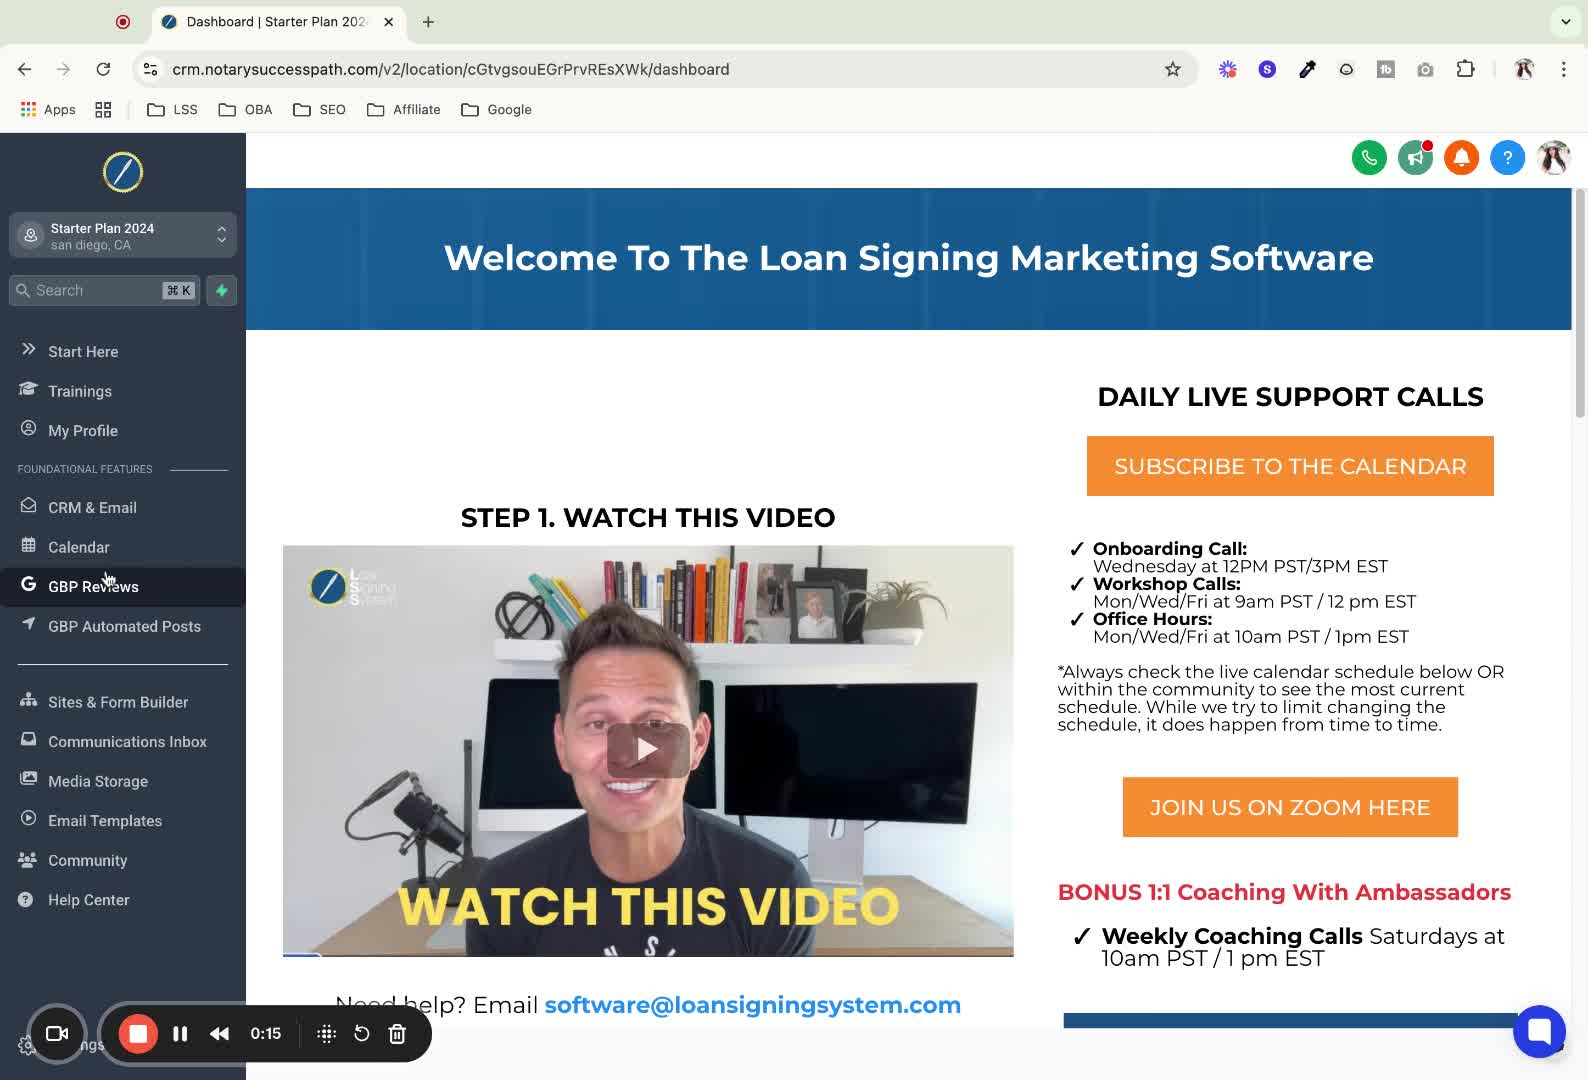
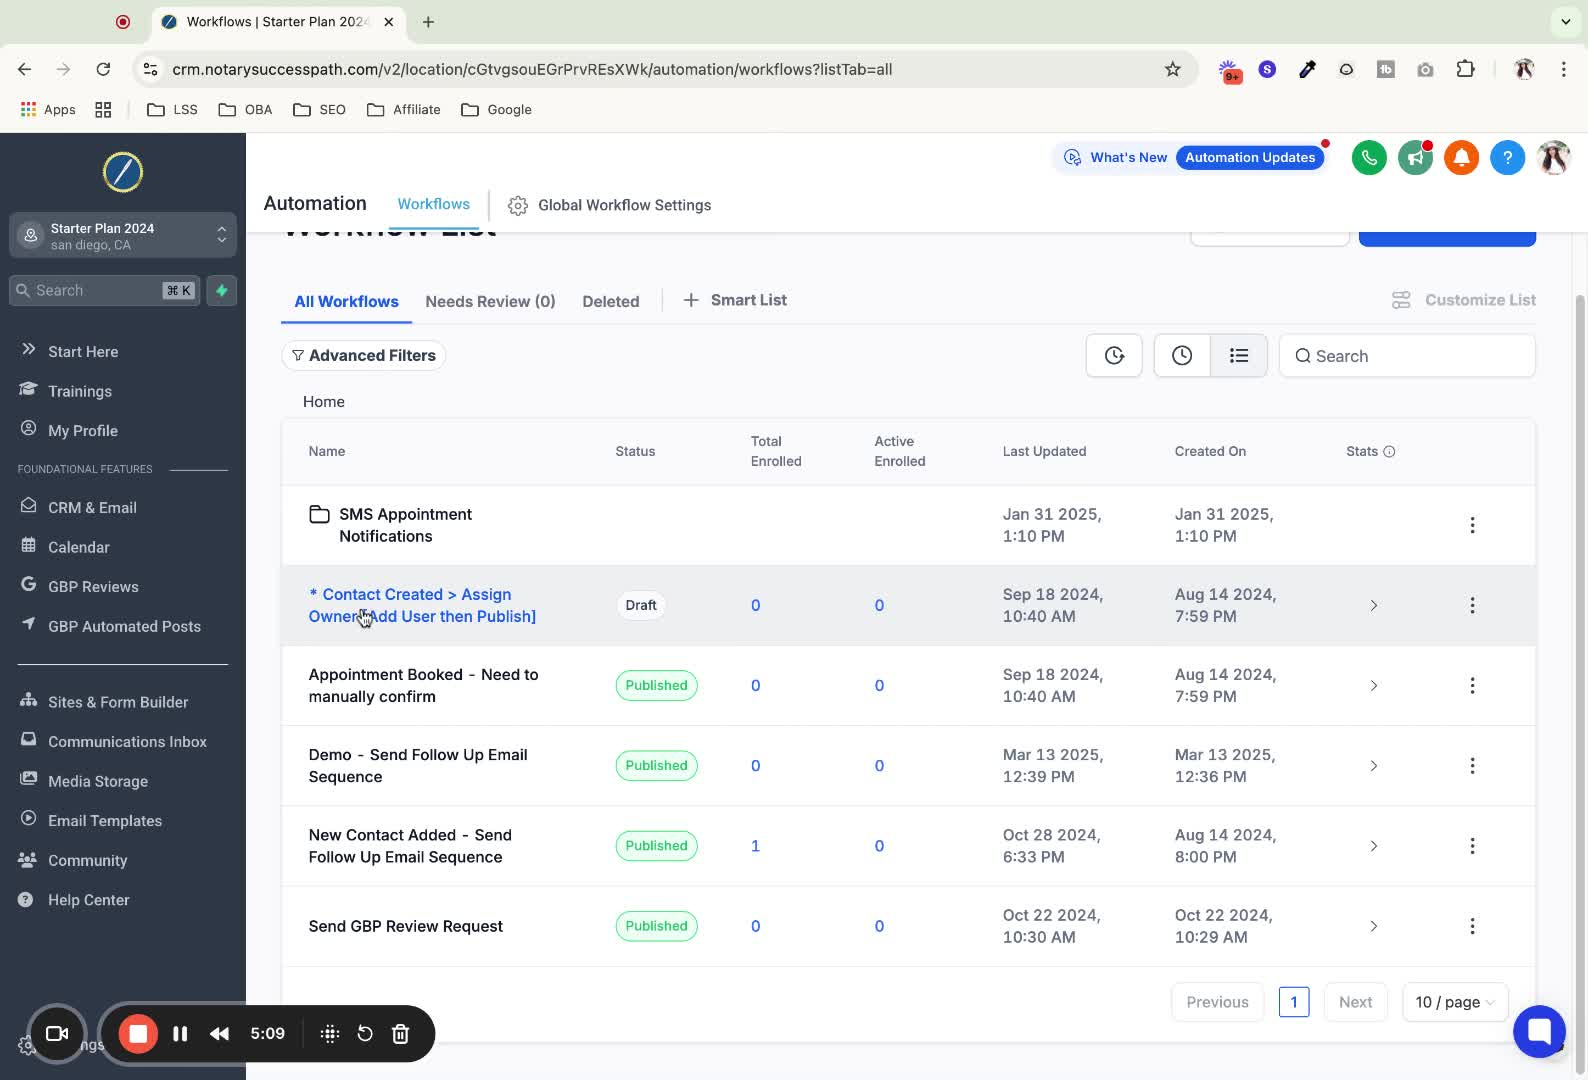
Navigate to the email template section where workflows and automations are located.
2. Clone Previous Template 0:28
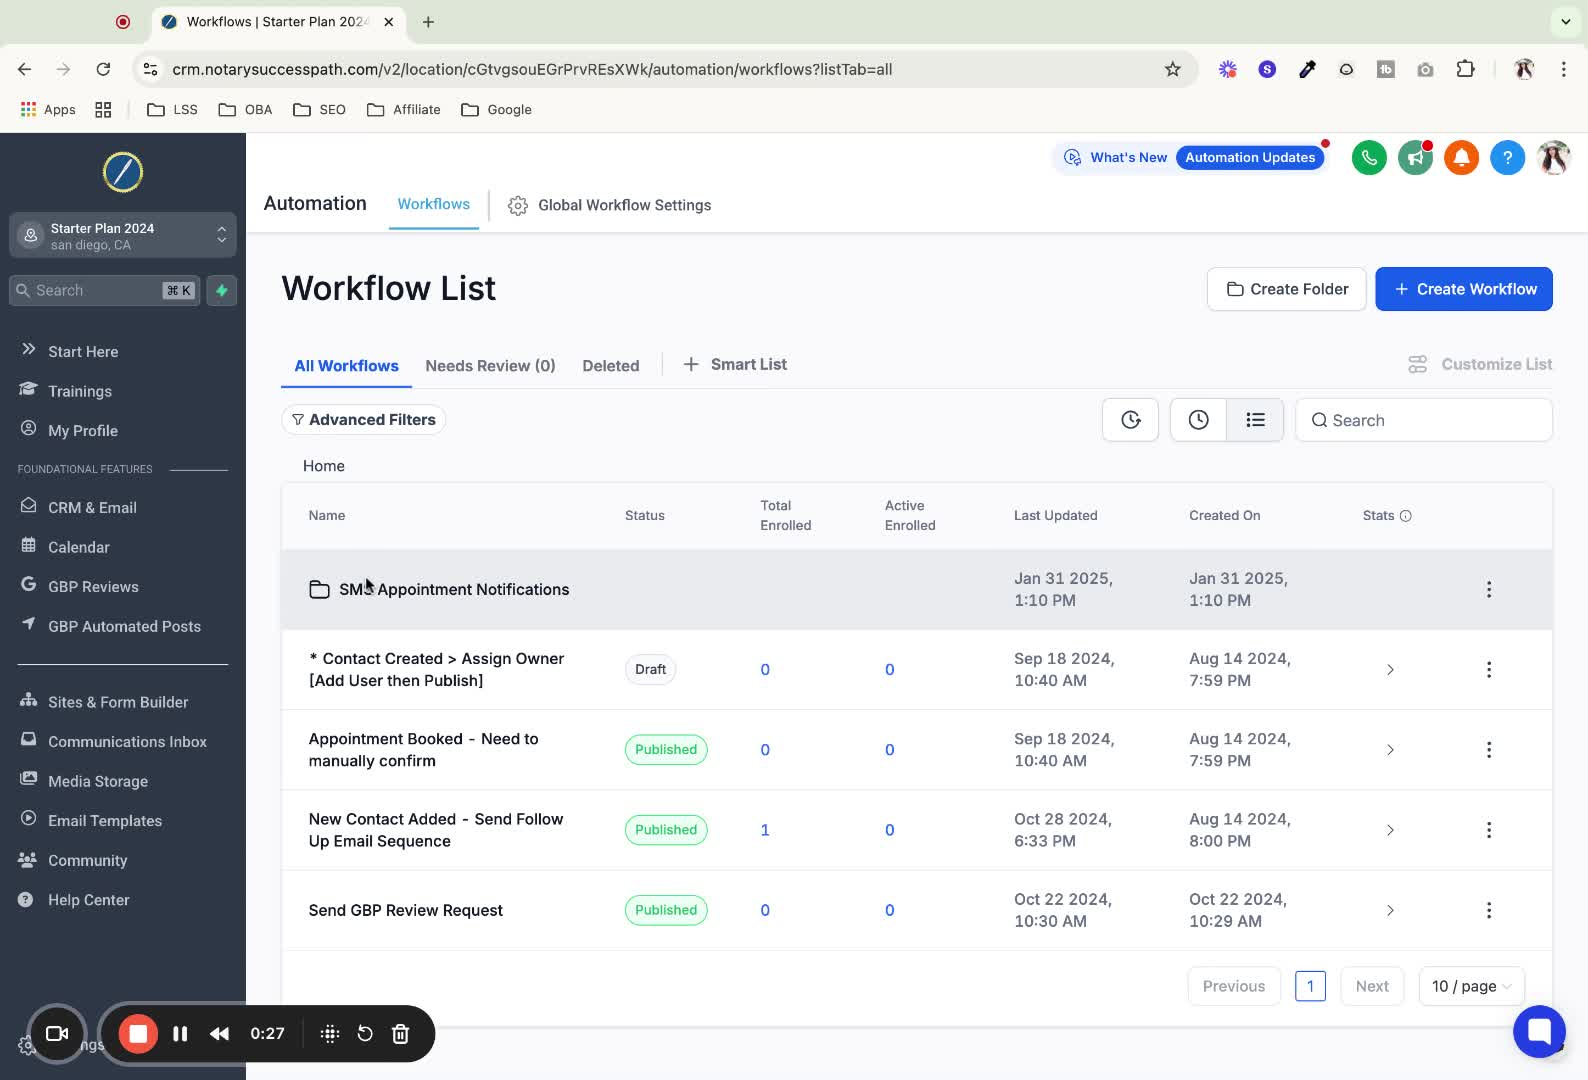
Find a previous template (e.g., 'new contact added, send follow-up email sequence').
Click on the three dots on the right-hand side and select 'Duplicate Workflow'.
3. Relabel the Workflow 0:44

After clicking 'Duplicate Workflow', relabel it to your desired title.
Click 'Create' and wait for the cloned version to be created.
4. Open the Editor 1:01
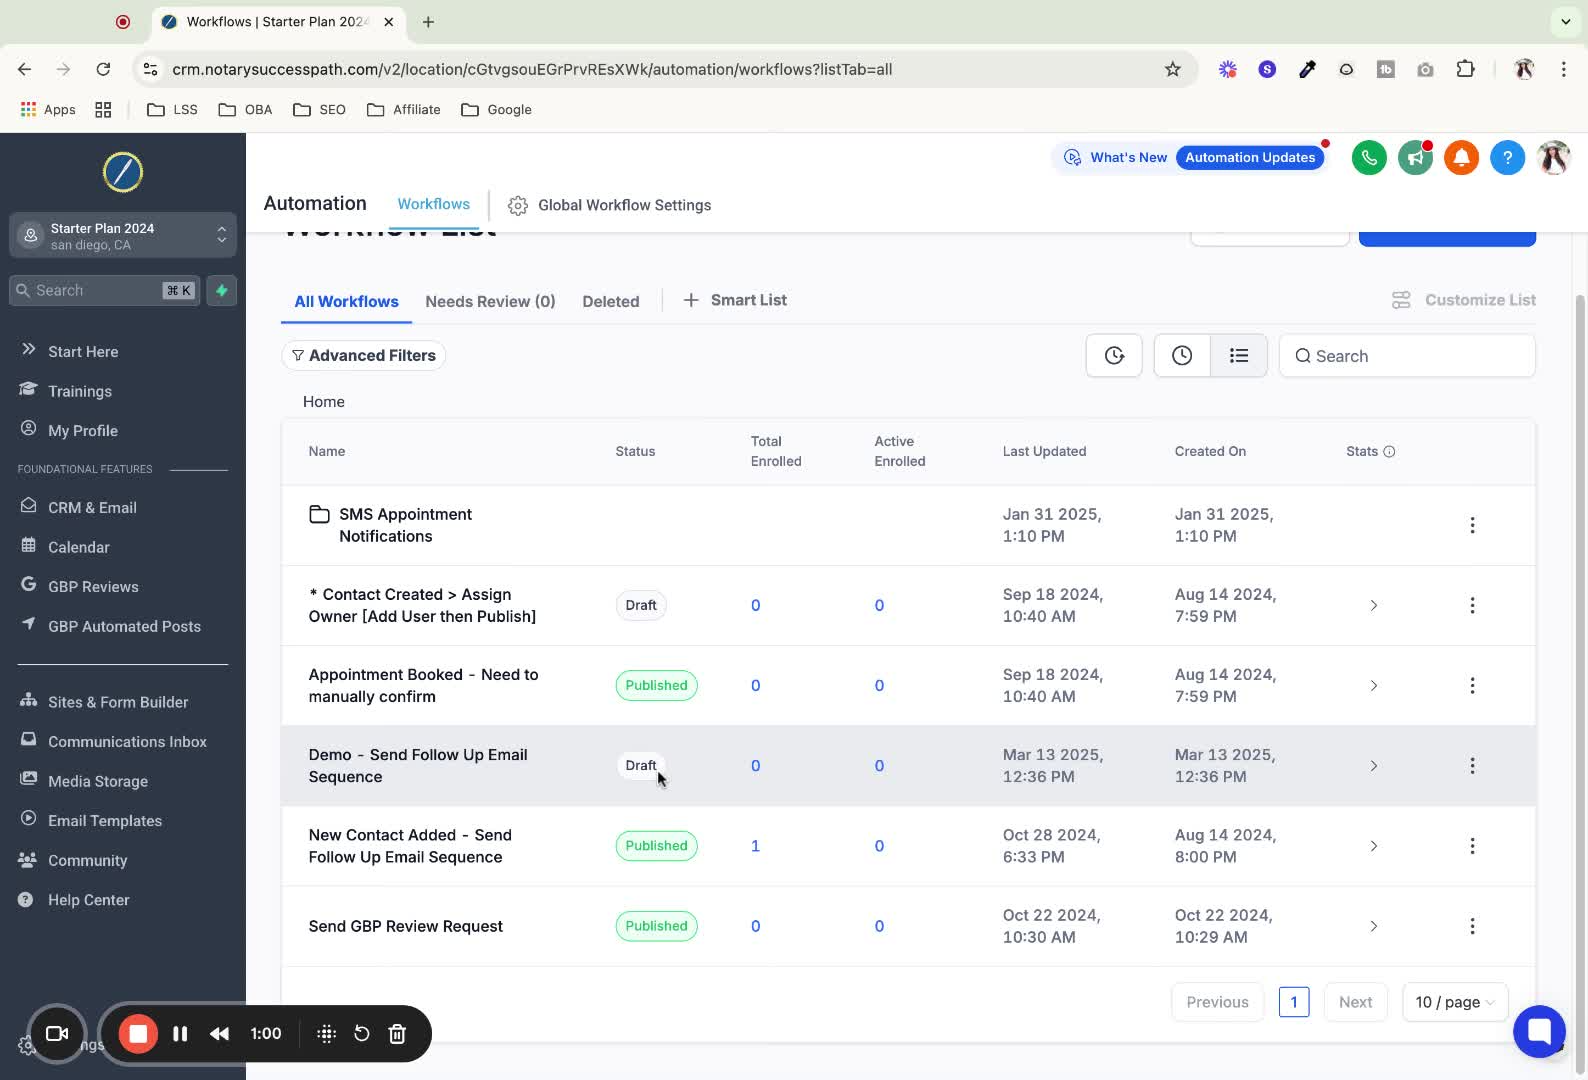
Click on the name of the draft to open the editor for customization.
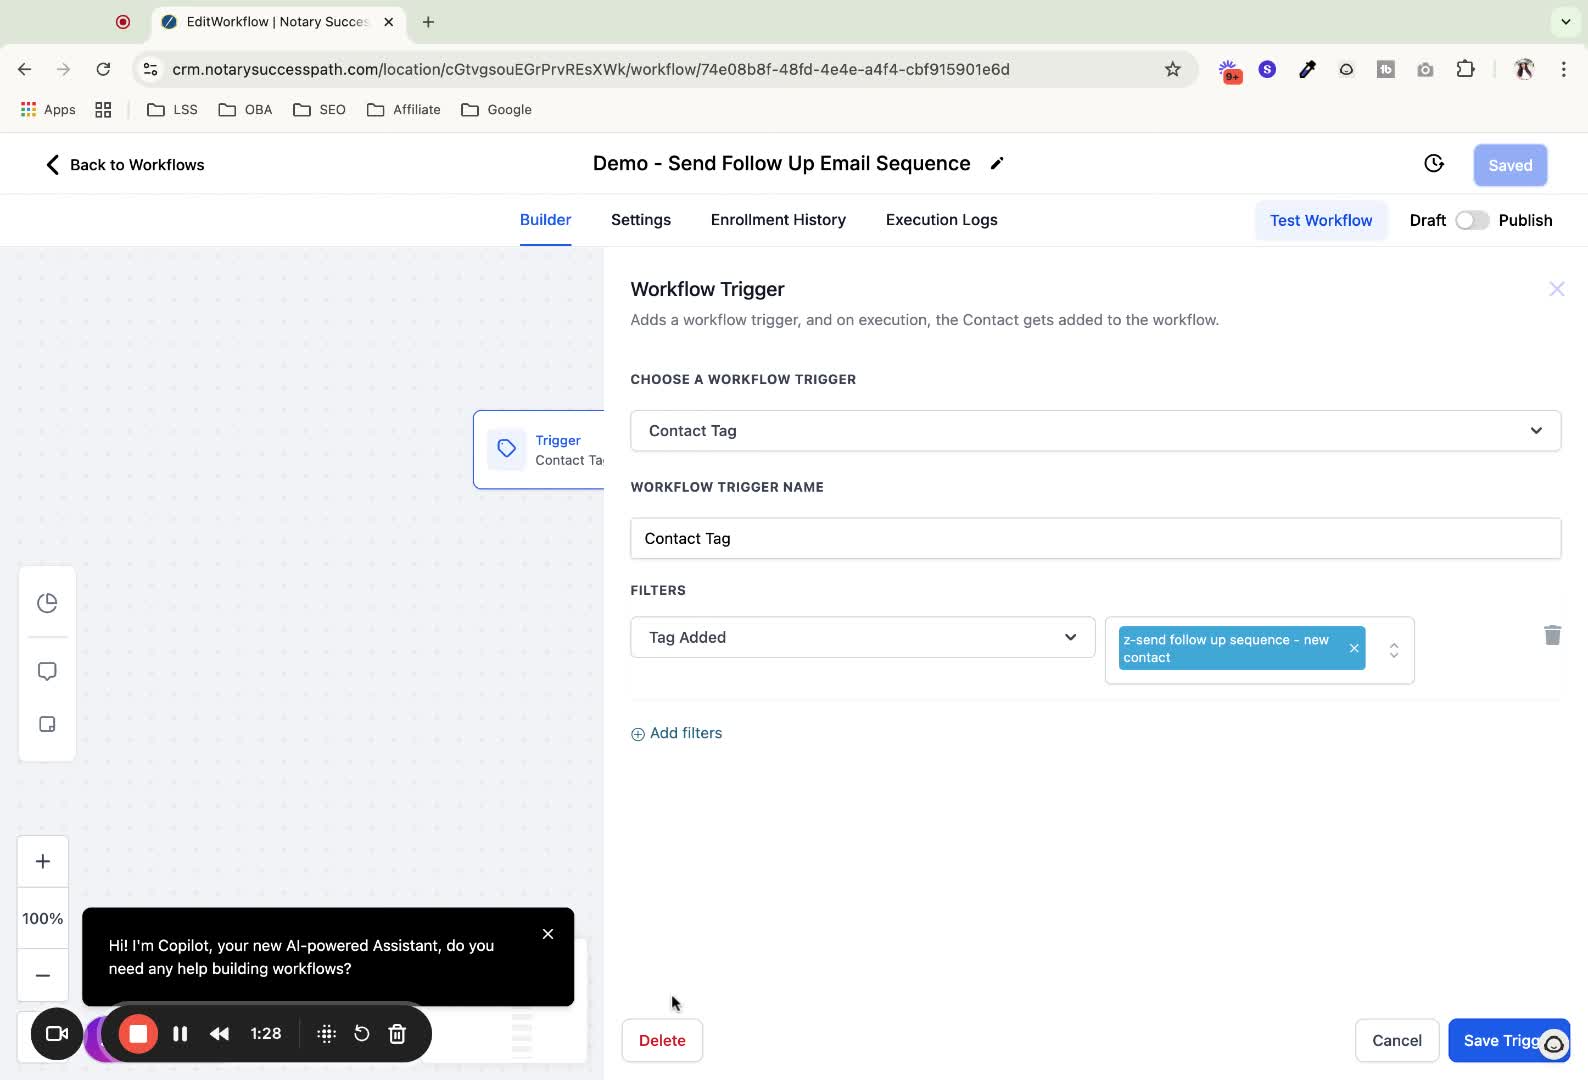
5. Remove Trigger 1:12
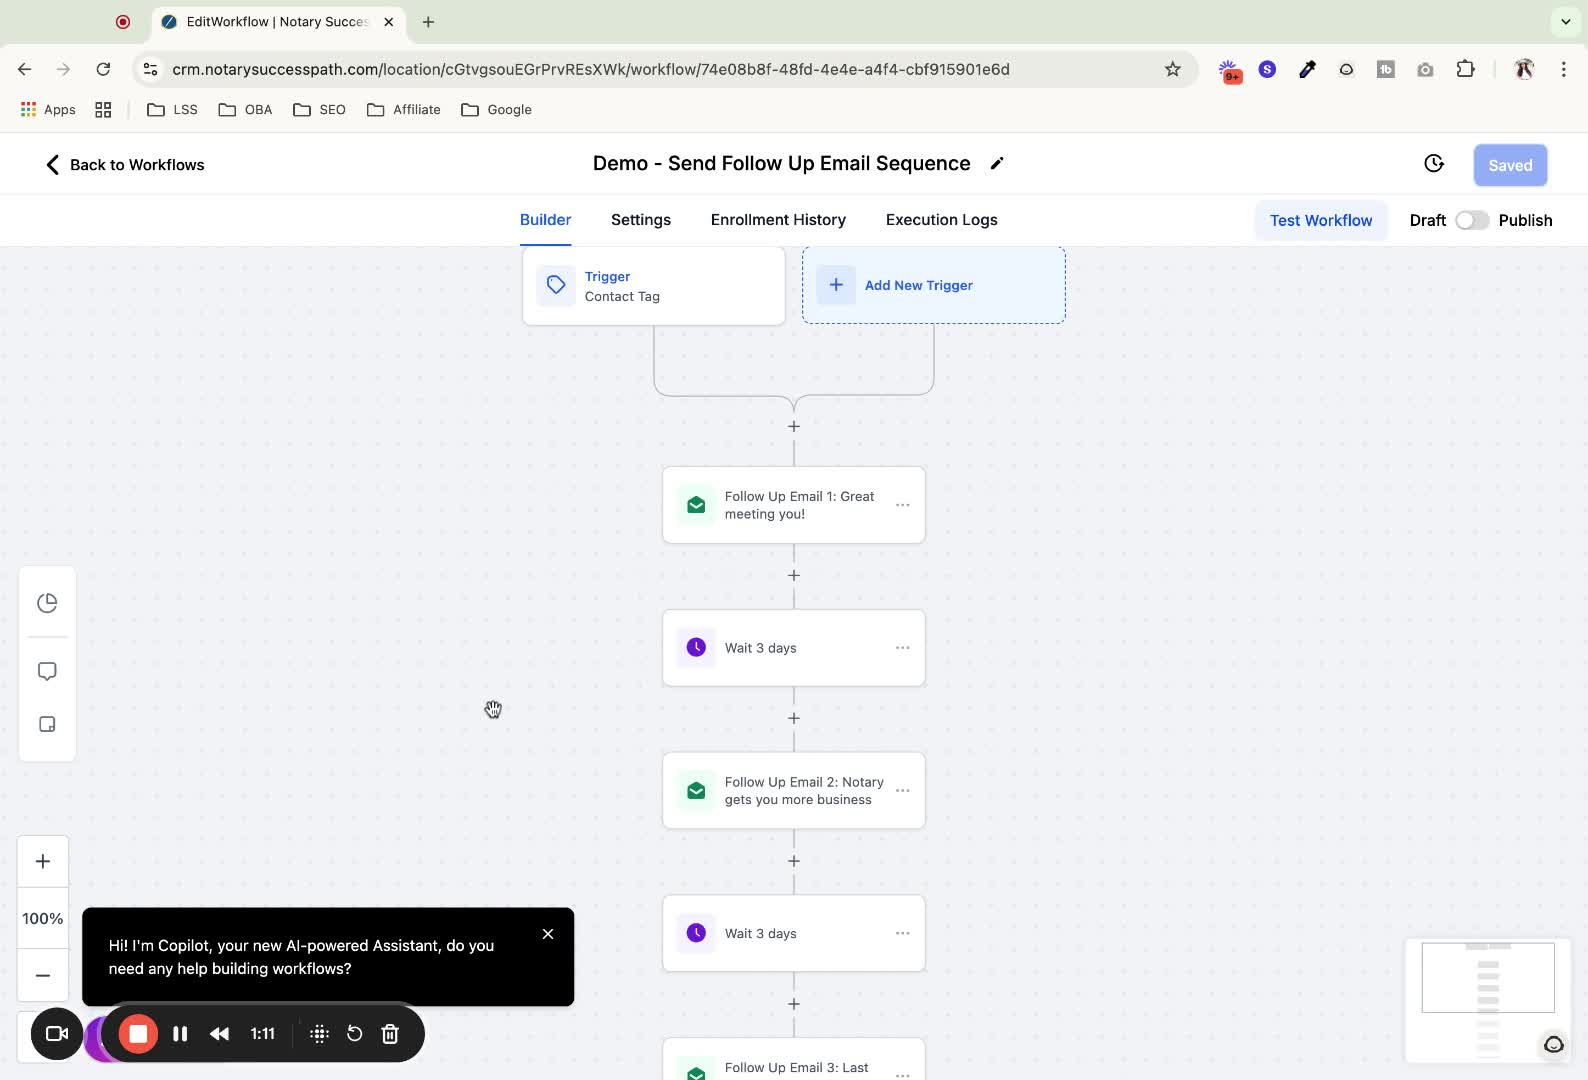
Delete the existing trigger to prevent both automations from firing simultaneously.
Click 'delete' to remove the trigger.
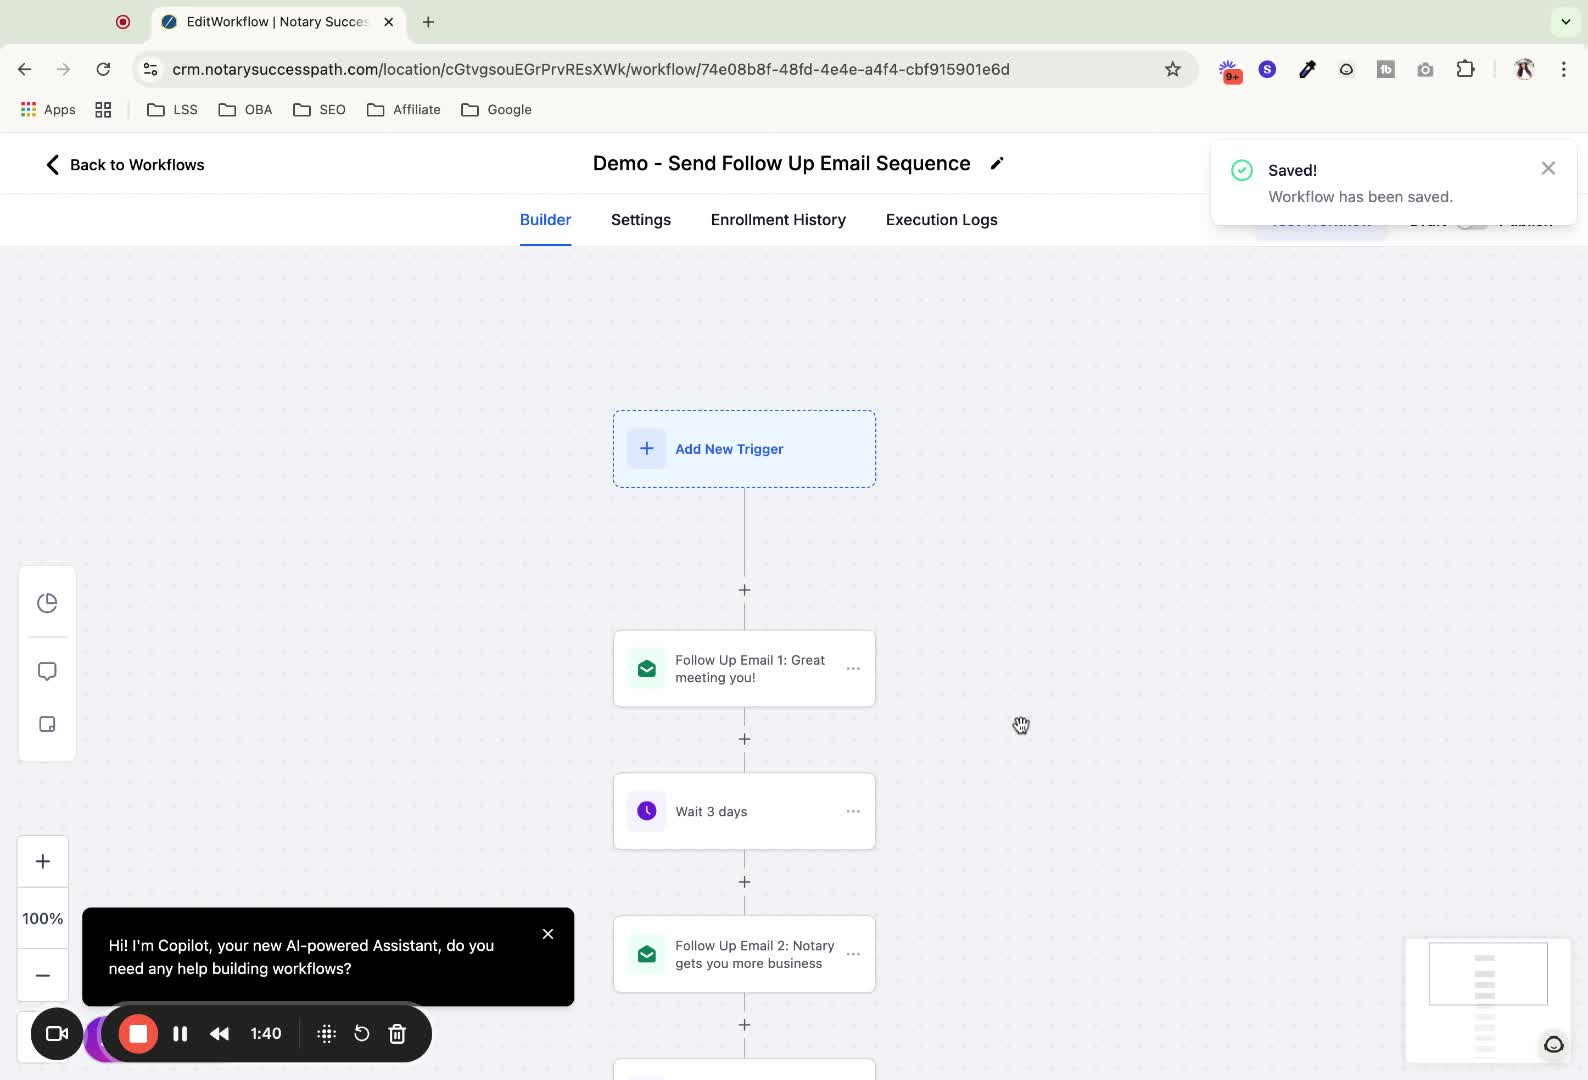
6. Save Progress 1:29
Click 'save' on the top right to save your progress.
7. Customize Email Copy 1:40
Click on any email section to edit the email copy as needed.
8. Save Email Changes 1:53
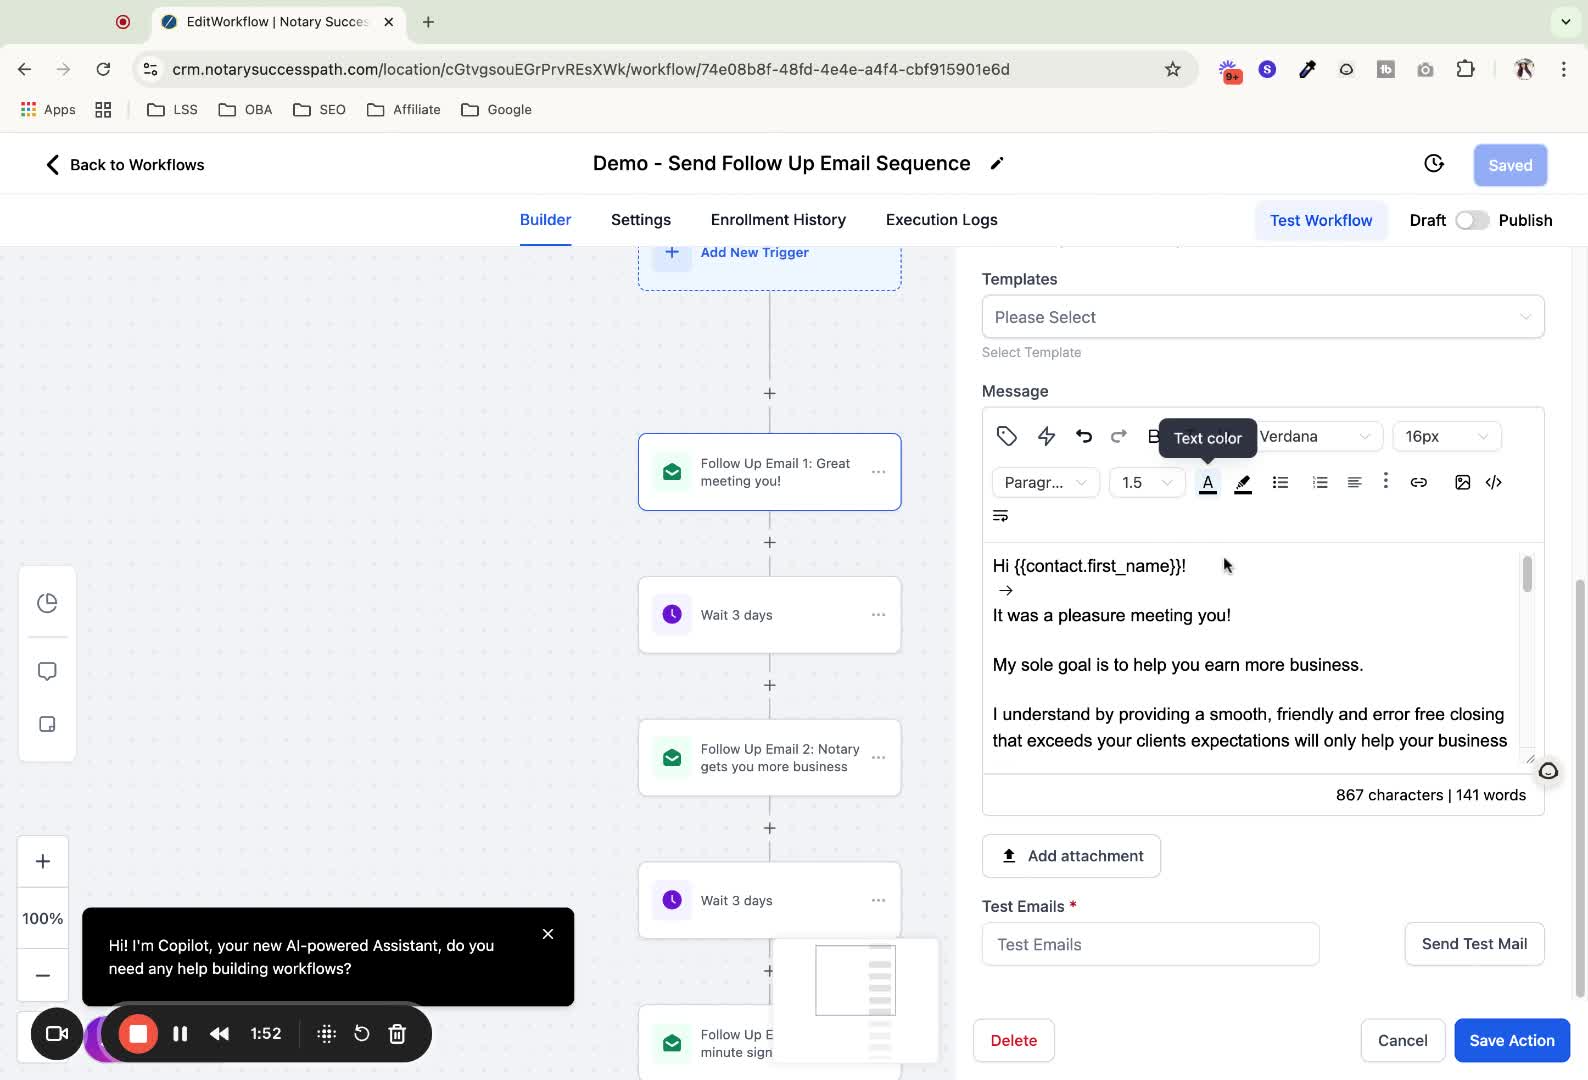
After editing, click 'save action' and then 'save' again.
9. Delete Email Section (if needed) 2:05
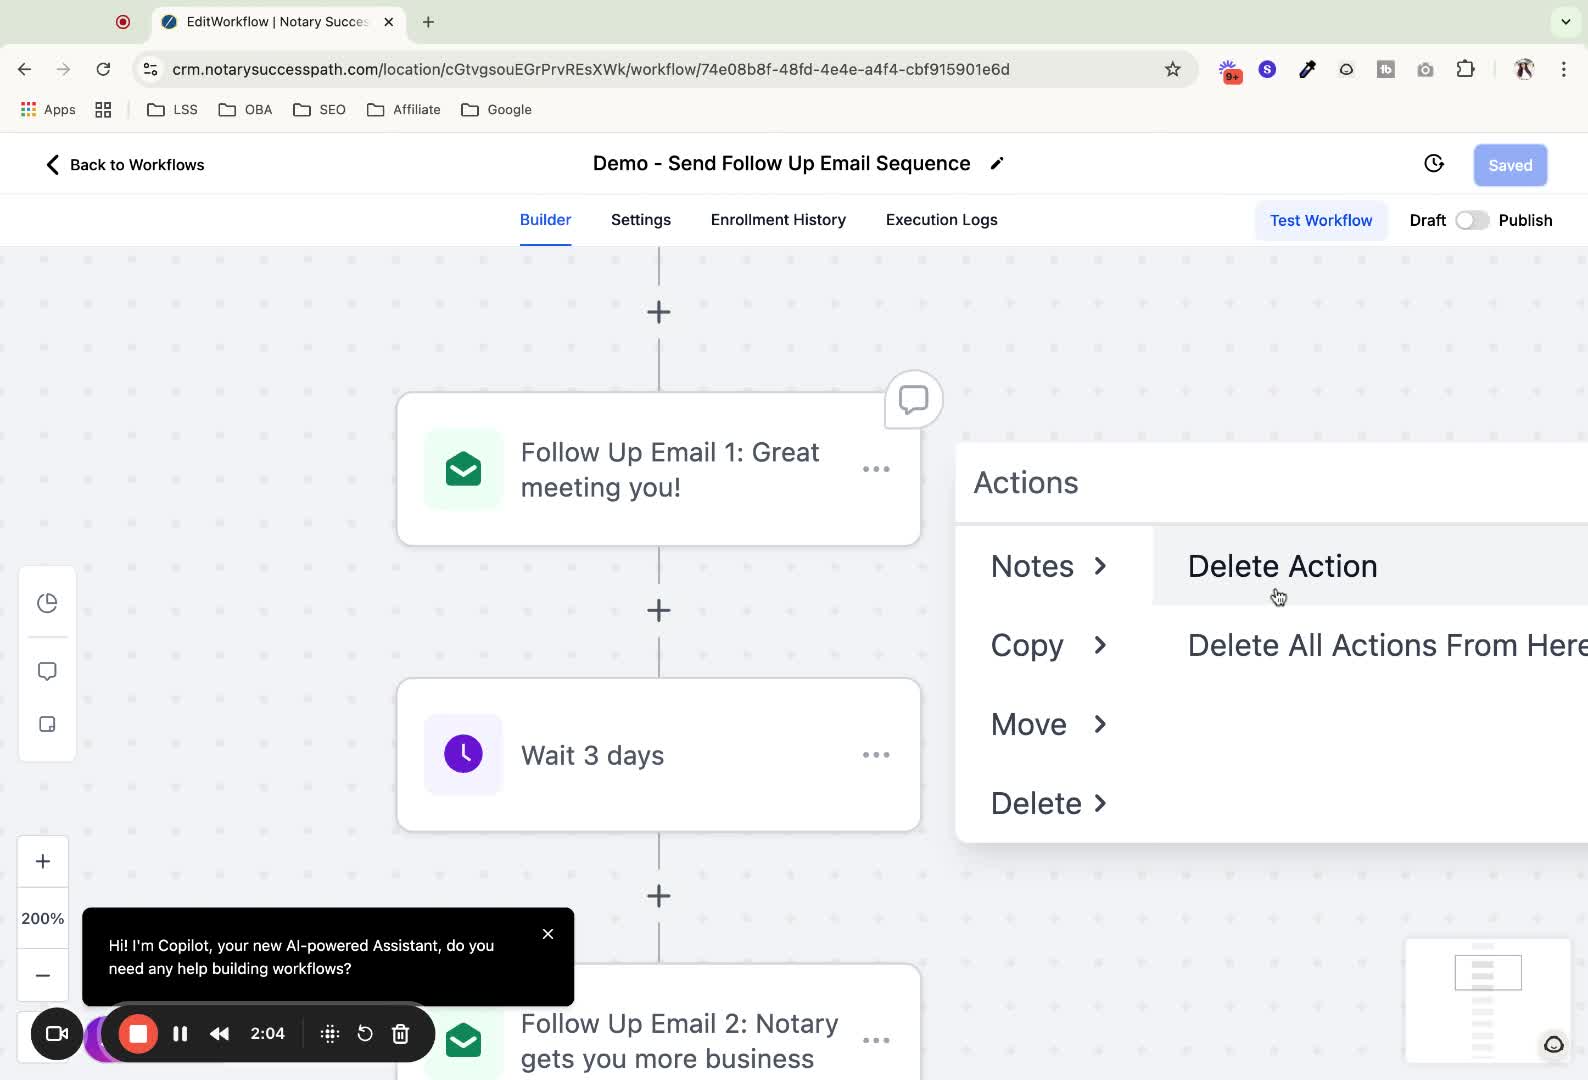
To delete an email section, click on the three dots for that email and select 'delete'.
10. Change Wait Period 2:13
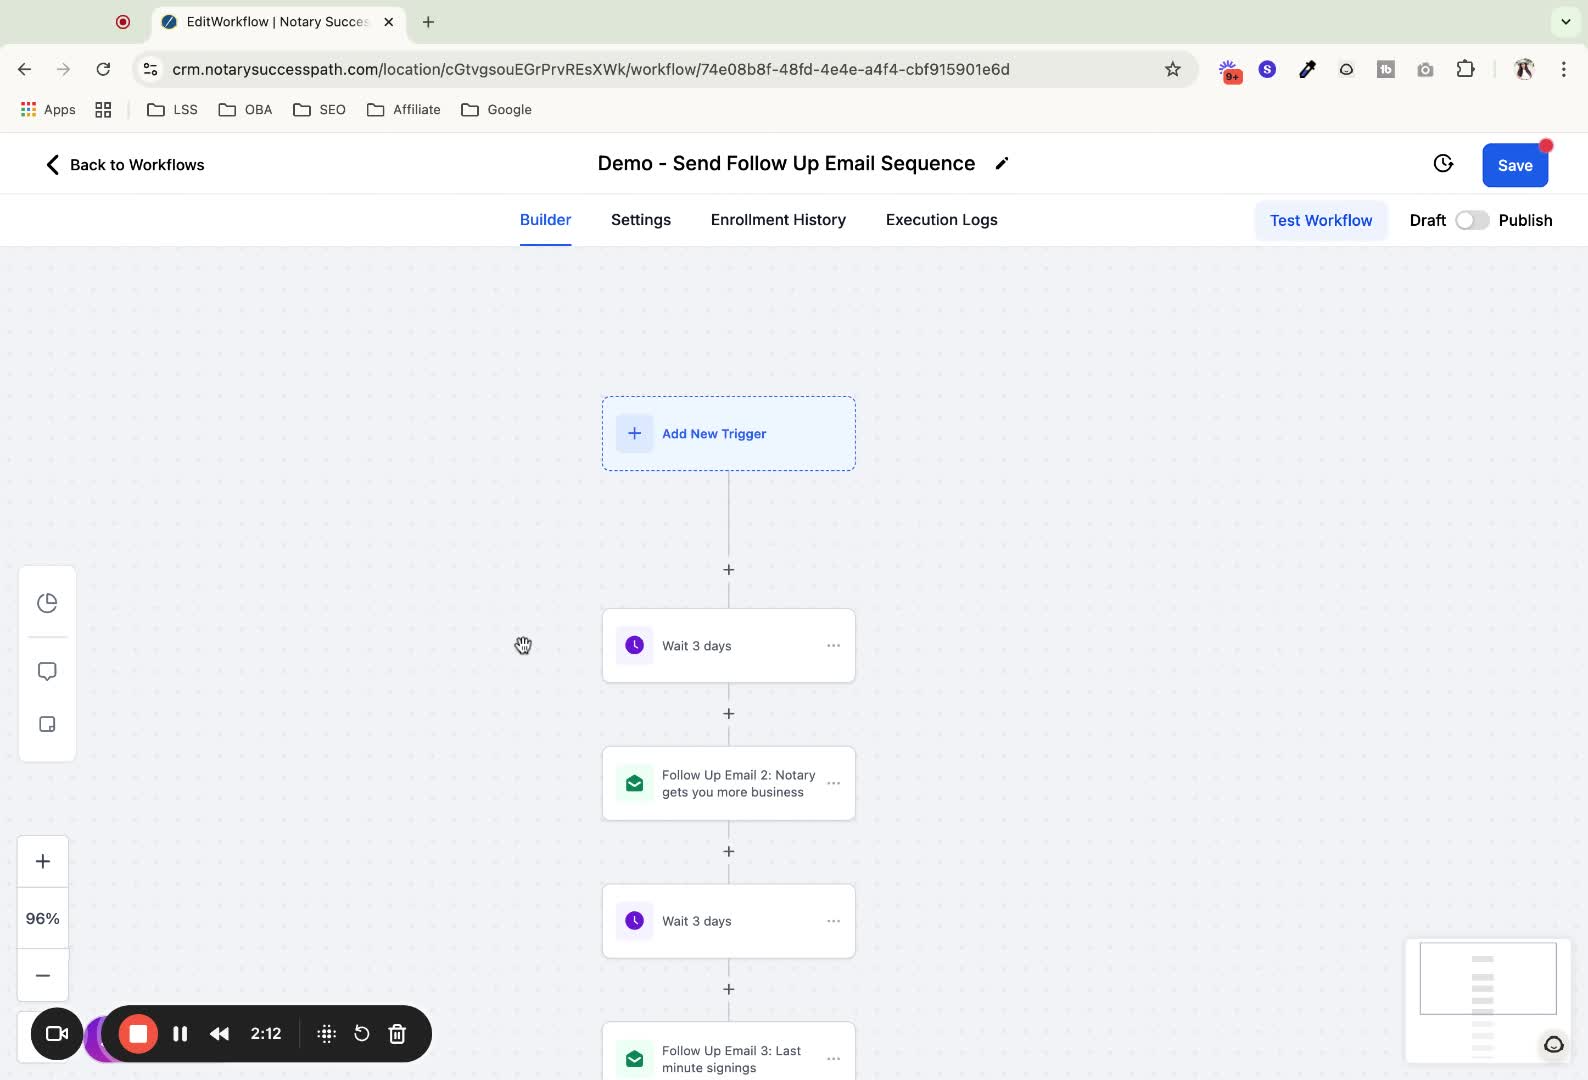
Click on the wait period element to customize how long the system waits between emails.
Adjust the settings as needed and click 'save'.
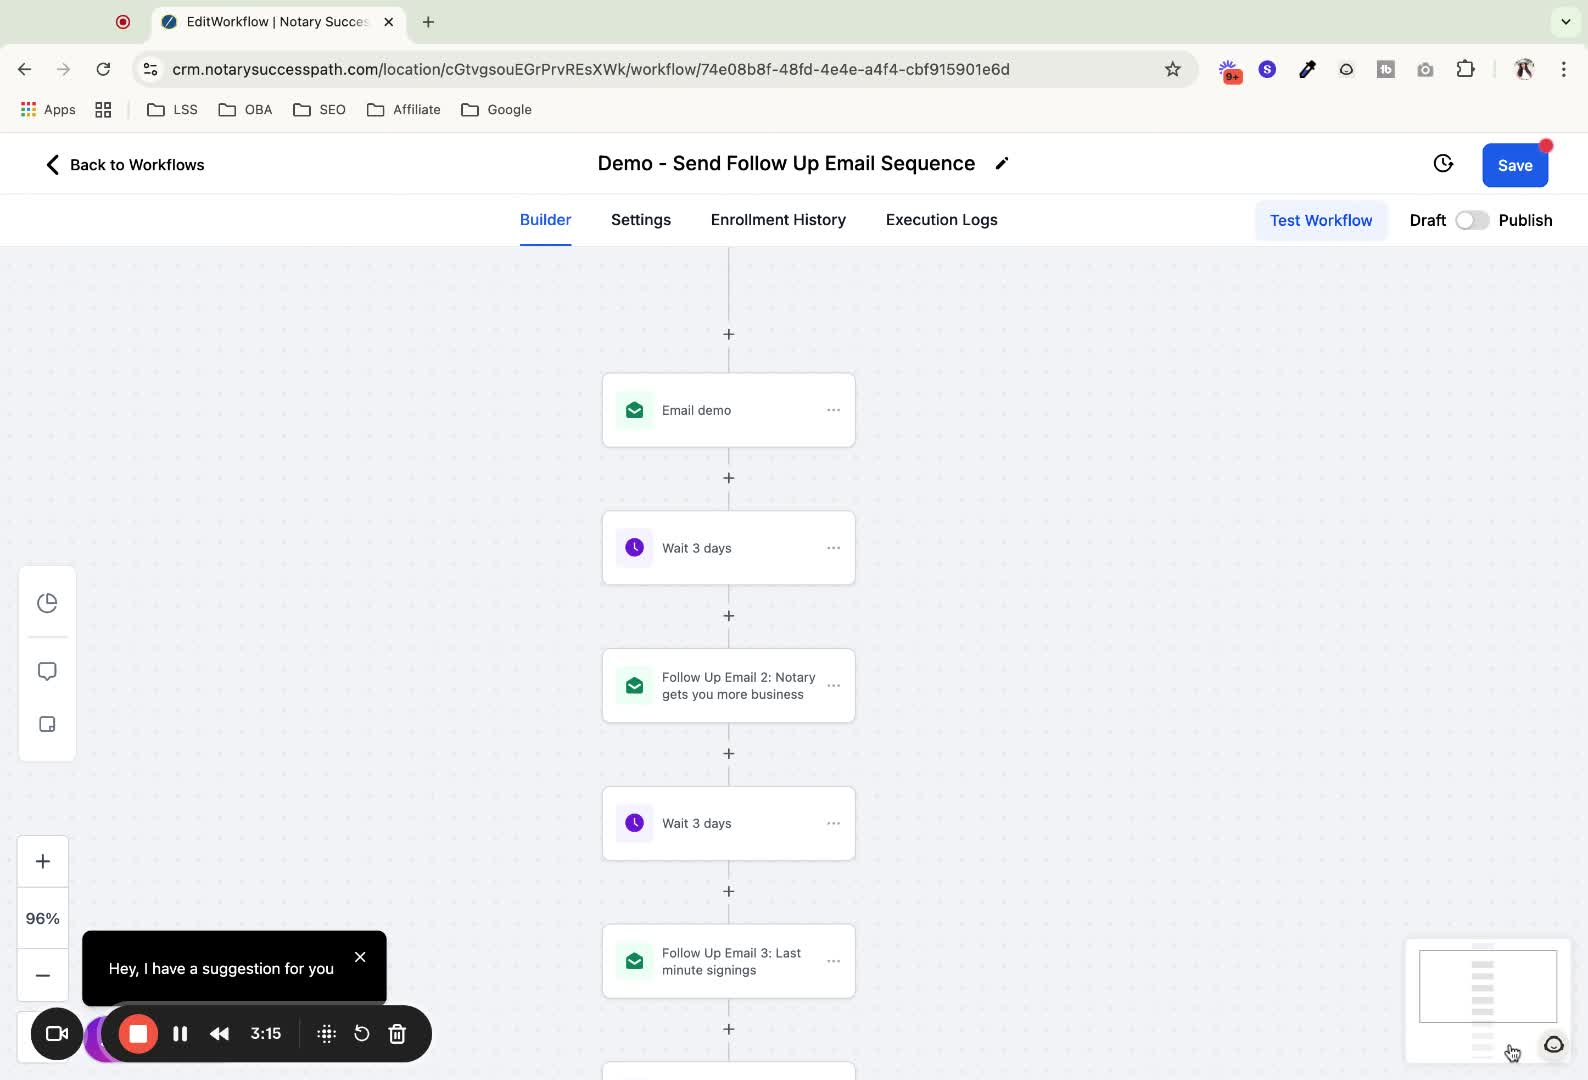
11. Add Additional Emails 2:49
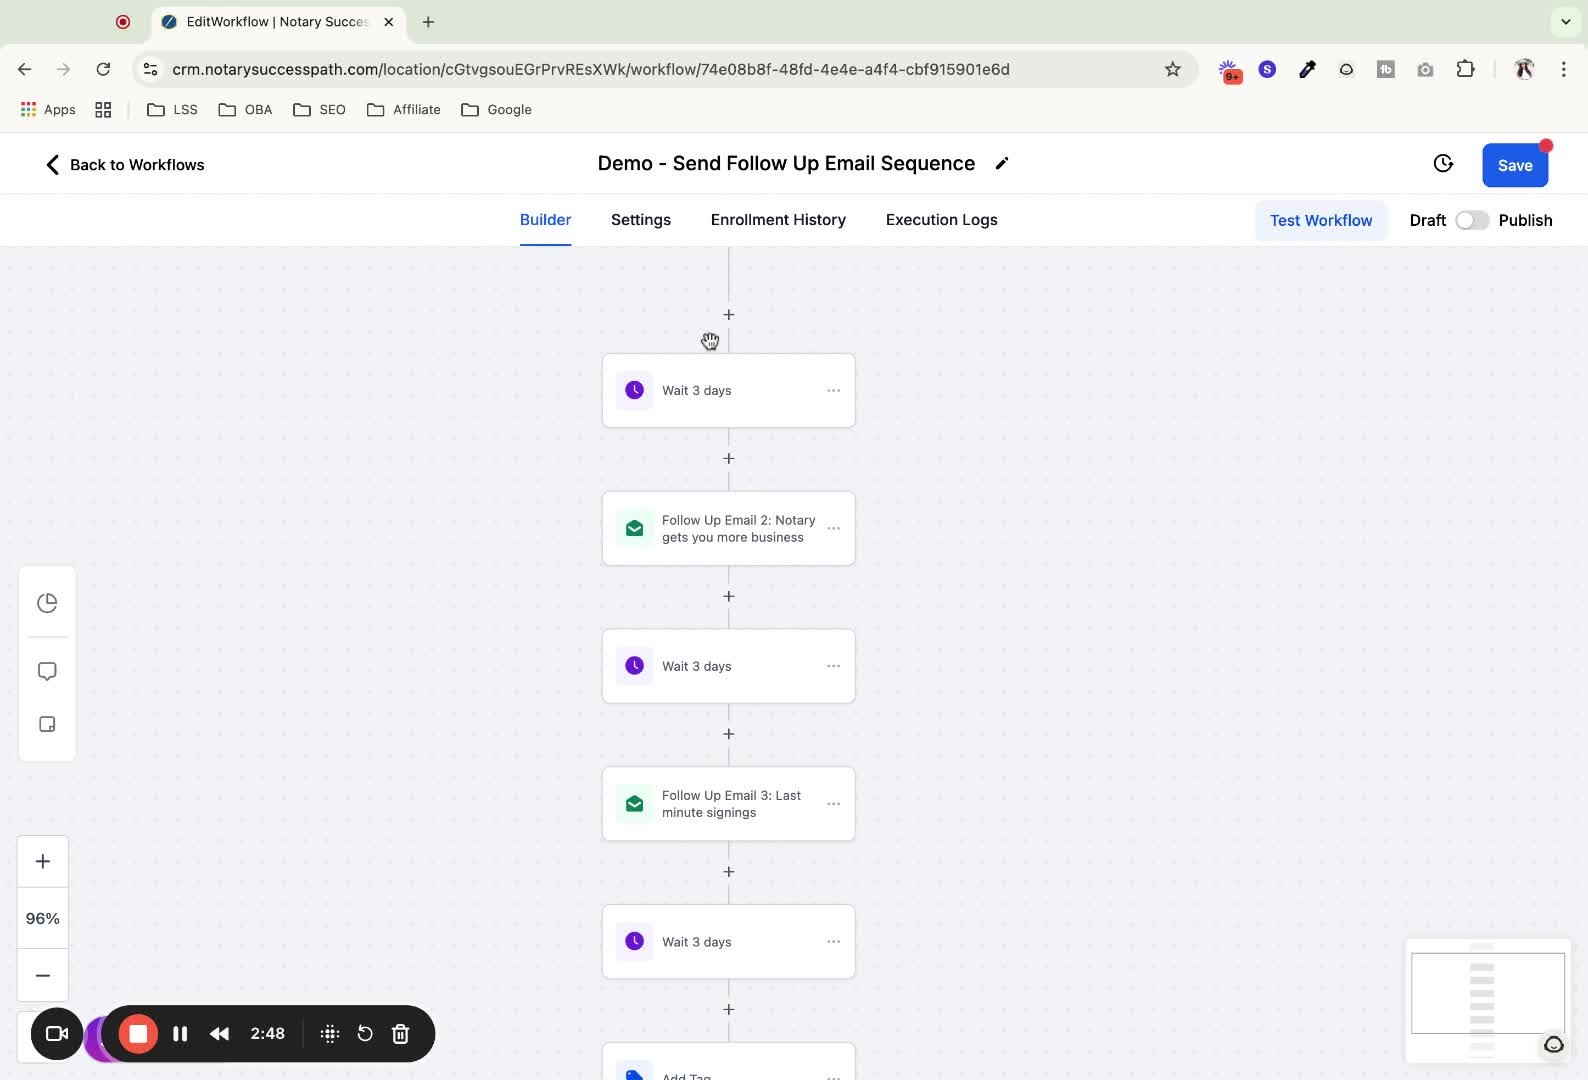
Decide where to add an email in the sequence and click the plus sign.
Choose 'send an email', enter the subject line and email content, then click 'save'.
12. Remove Additional Settings (if needed) 3:16
To remove additional settings, click on three dots, select 'delete', and confirm to delete all actions.
13. Publish and Save Workflow 3:33

Once all updates are complete, click 'publish' and then 'save' to activate the workflow.
14. Add Contacts to Workflow 3:48

Exit the workflow and go to CRM and email.
Select multiple contacts and click 'add to automation'.
15. Schedule Contact Addition 4:09
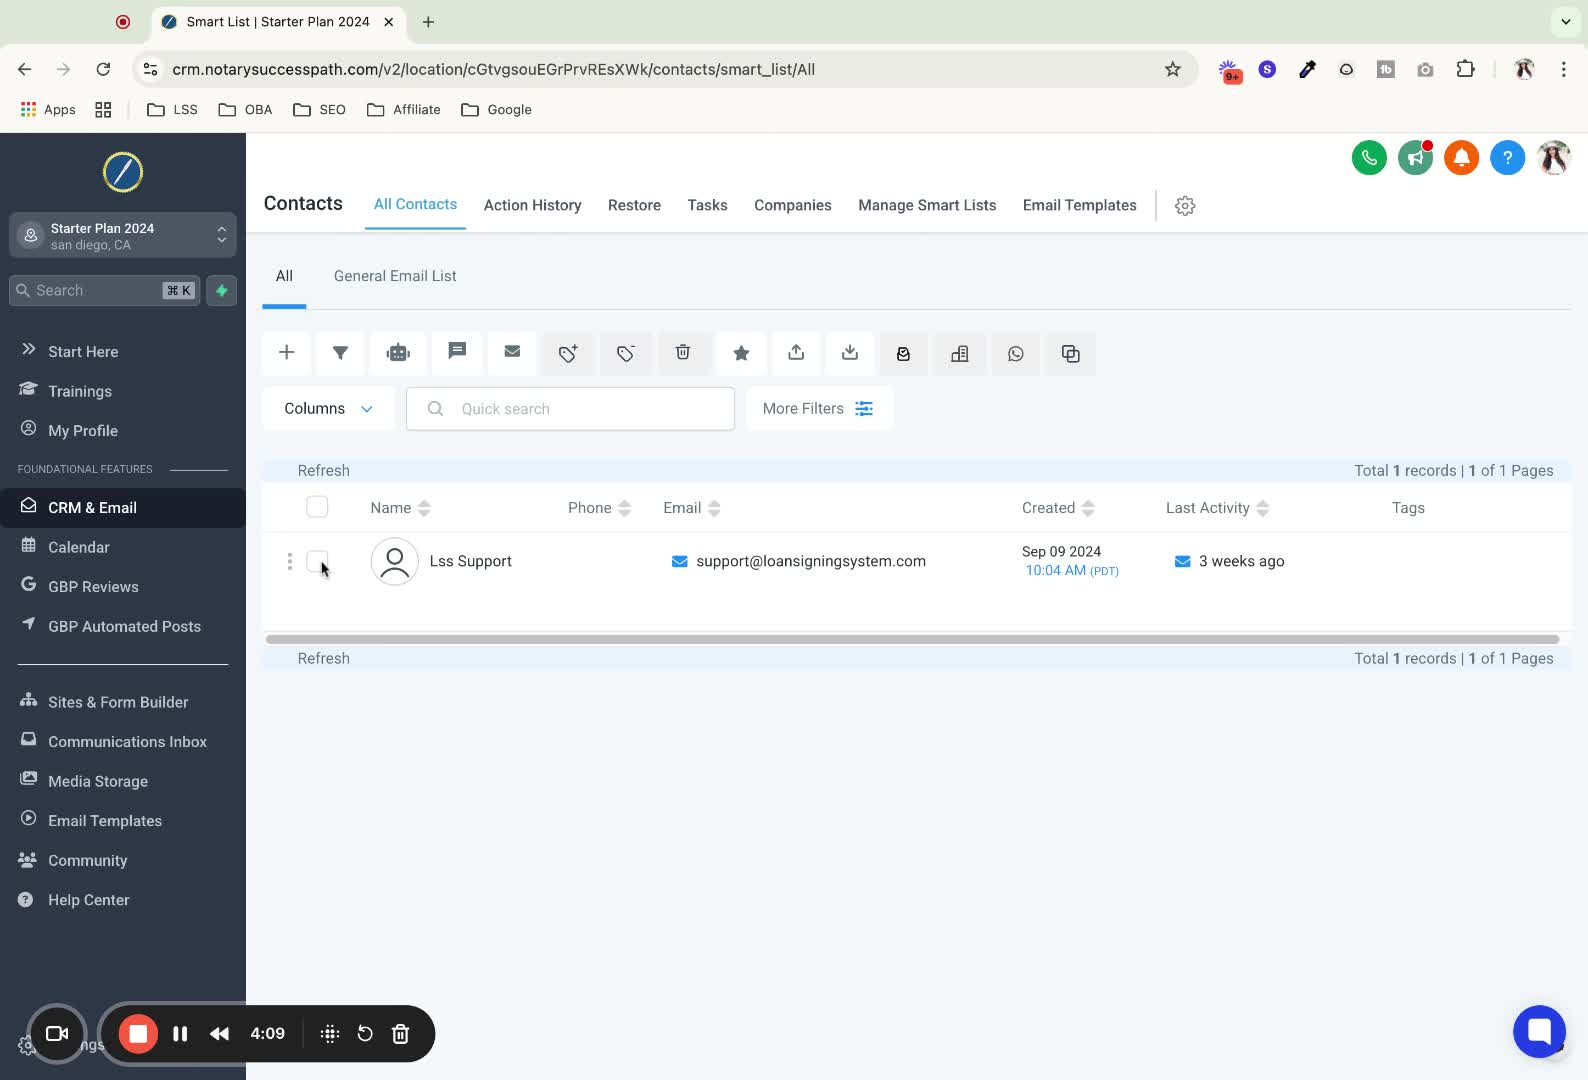
After selecting contacts, choose the automation you created.
Decide whether to send immediately or schedule for a future time.
16. Confirm Automation Setup 4:52

Check the automation section to confirm that the wait period is set and contacts are added.
17. Add Single Contact to Automation 5:10
Go to CRM and email, select the contact, scroll to the automations tab, and click 'add new'.
Select the workflow and click 'add'.
Ensure that the trigger is removed to avoid conflicts with other automations.
Always save your progress frequently to prevent data loss.
Use previously created templates to save time.
Schedule contact additions during off-peak hours to manage workflow better.
https://loom.com/share/8ca1255689f84acf81cd2a35d1834979
