This SOP outlines the steps for creating and sending marketing emails using the email builder and campaign features.
1. Navigate to Email Section 0:00
Go to the Marketing tab.
Click on the Email section at the top.
2. Understand Email Builder Features 0:16

The email builder offers advanced features compared to the CRM email section.
3. Create Email Templates 0:27
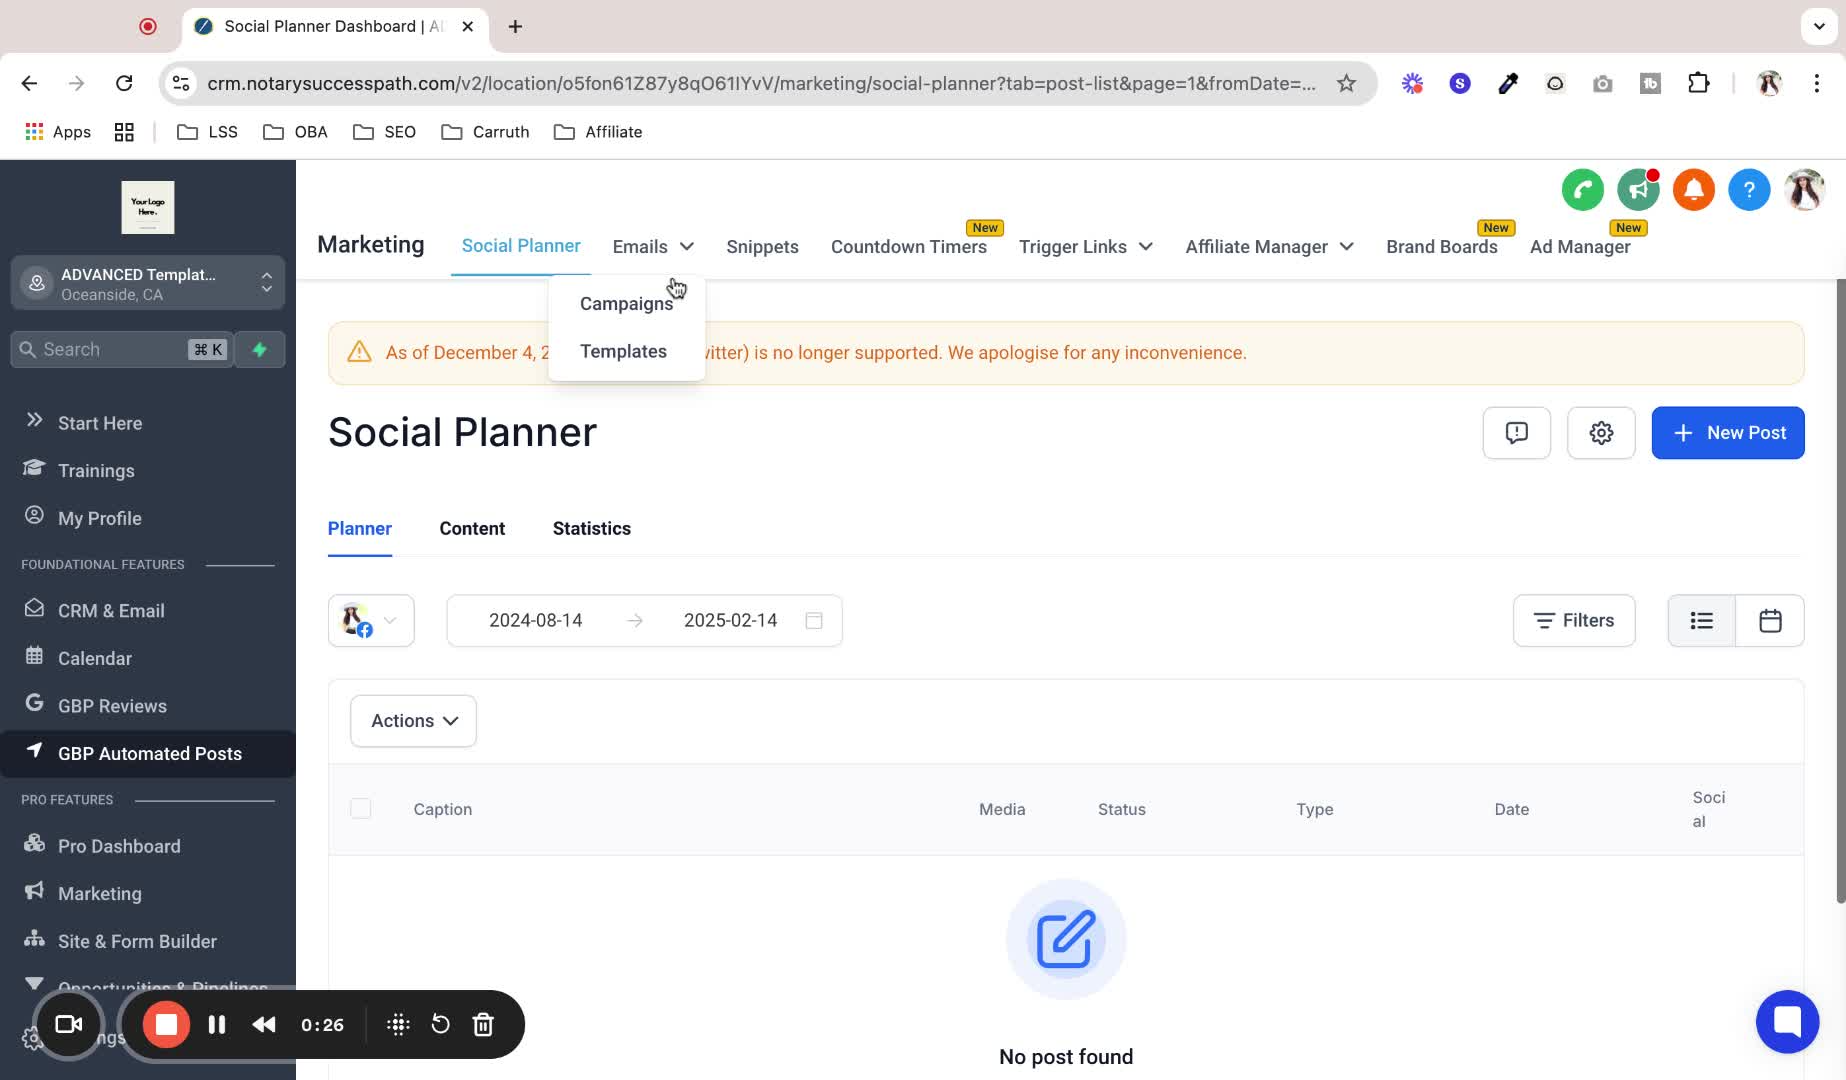
Click on Templates to create reusable email templates.
Use templates for common emails like invoices or thank you notes.
4. Start a New Template 0:54
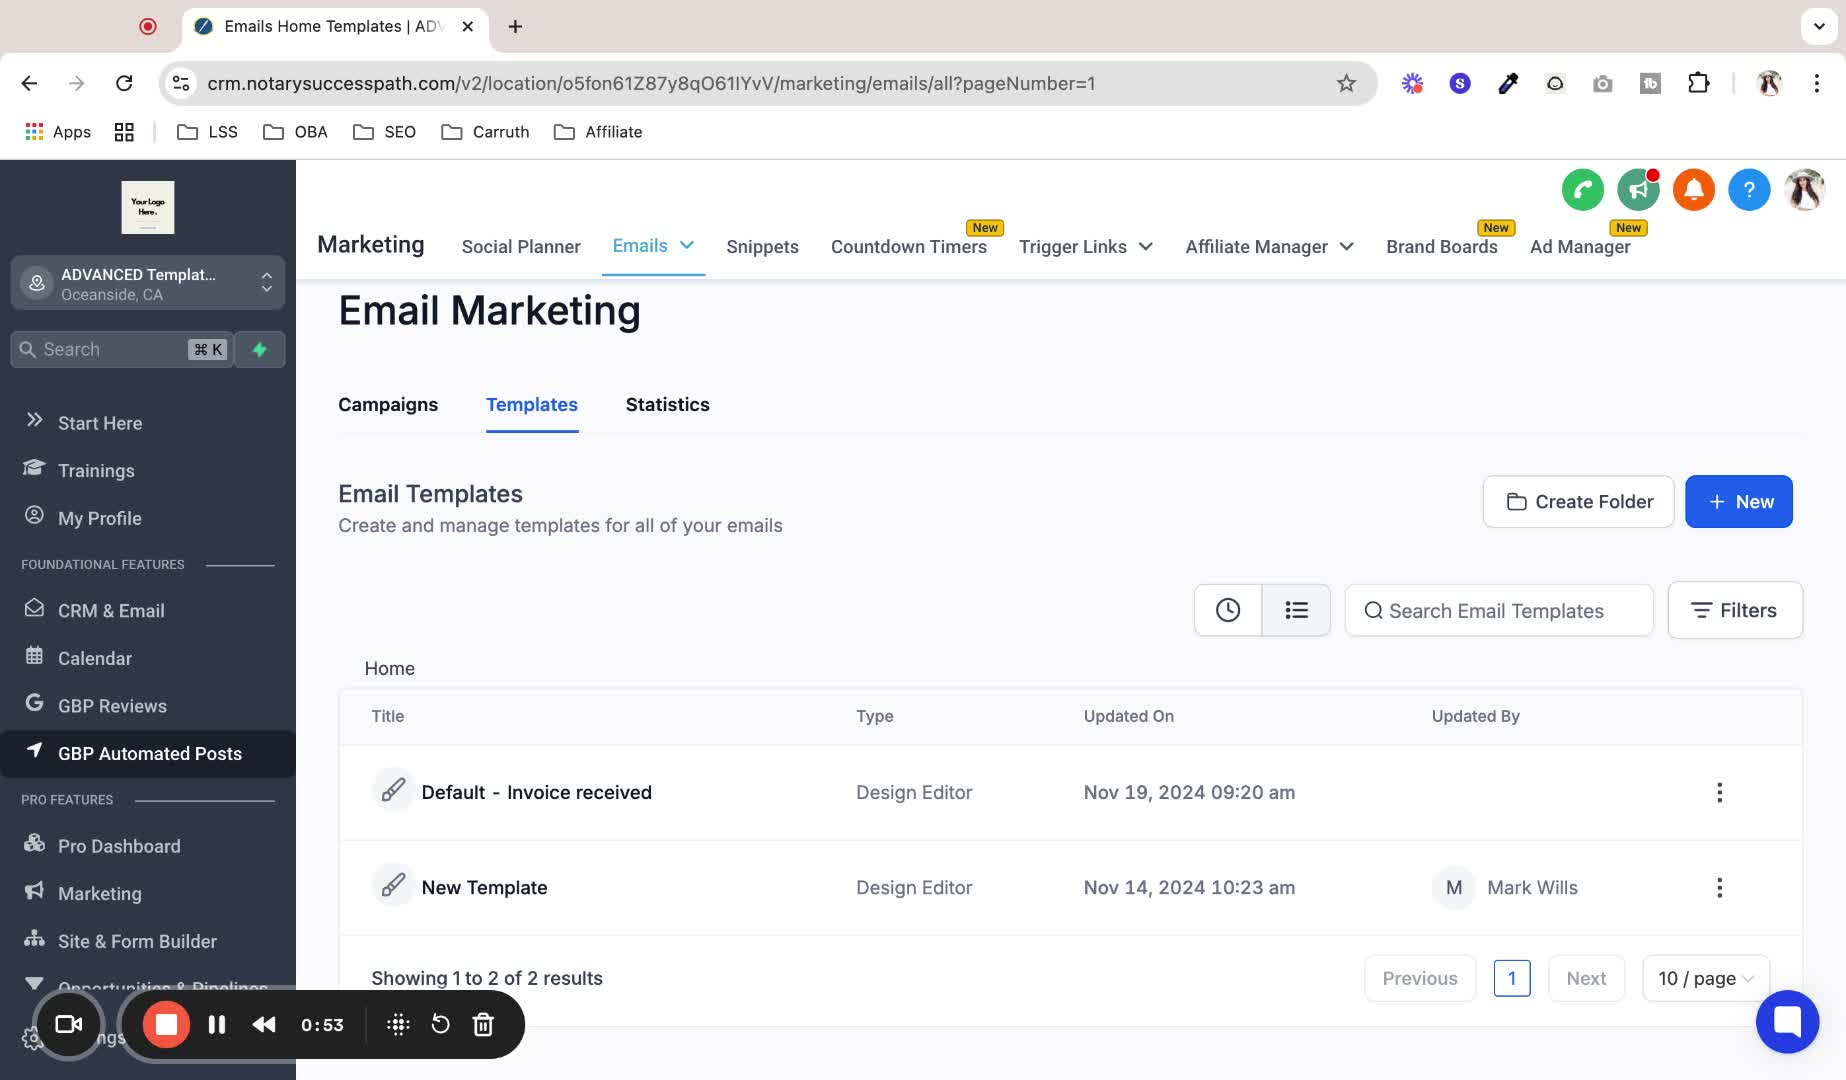
Click on Create New.
Choose to create a blank template, use a provided template, or create from an existing campaign.
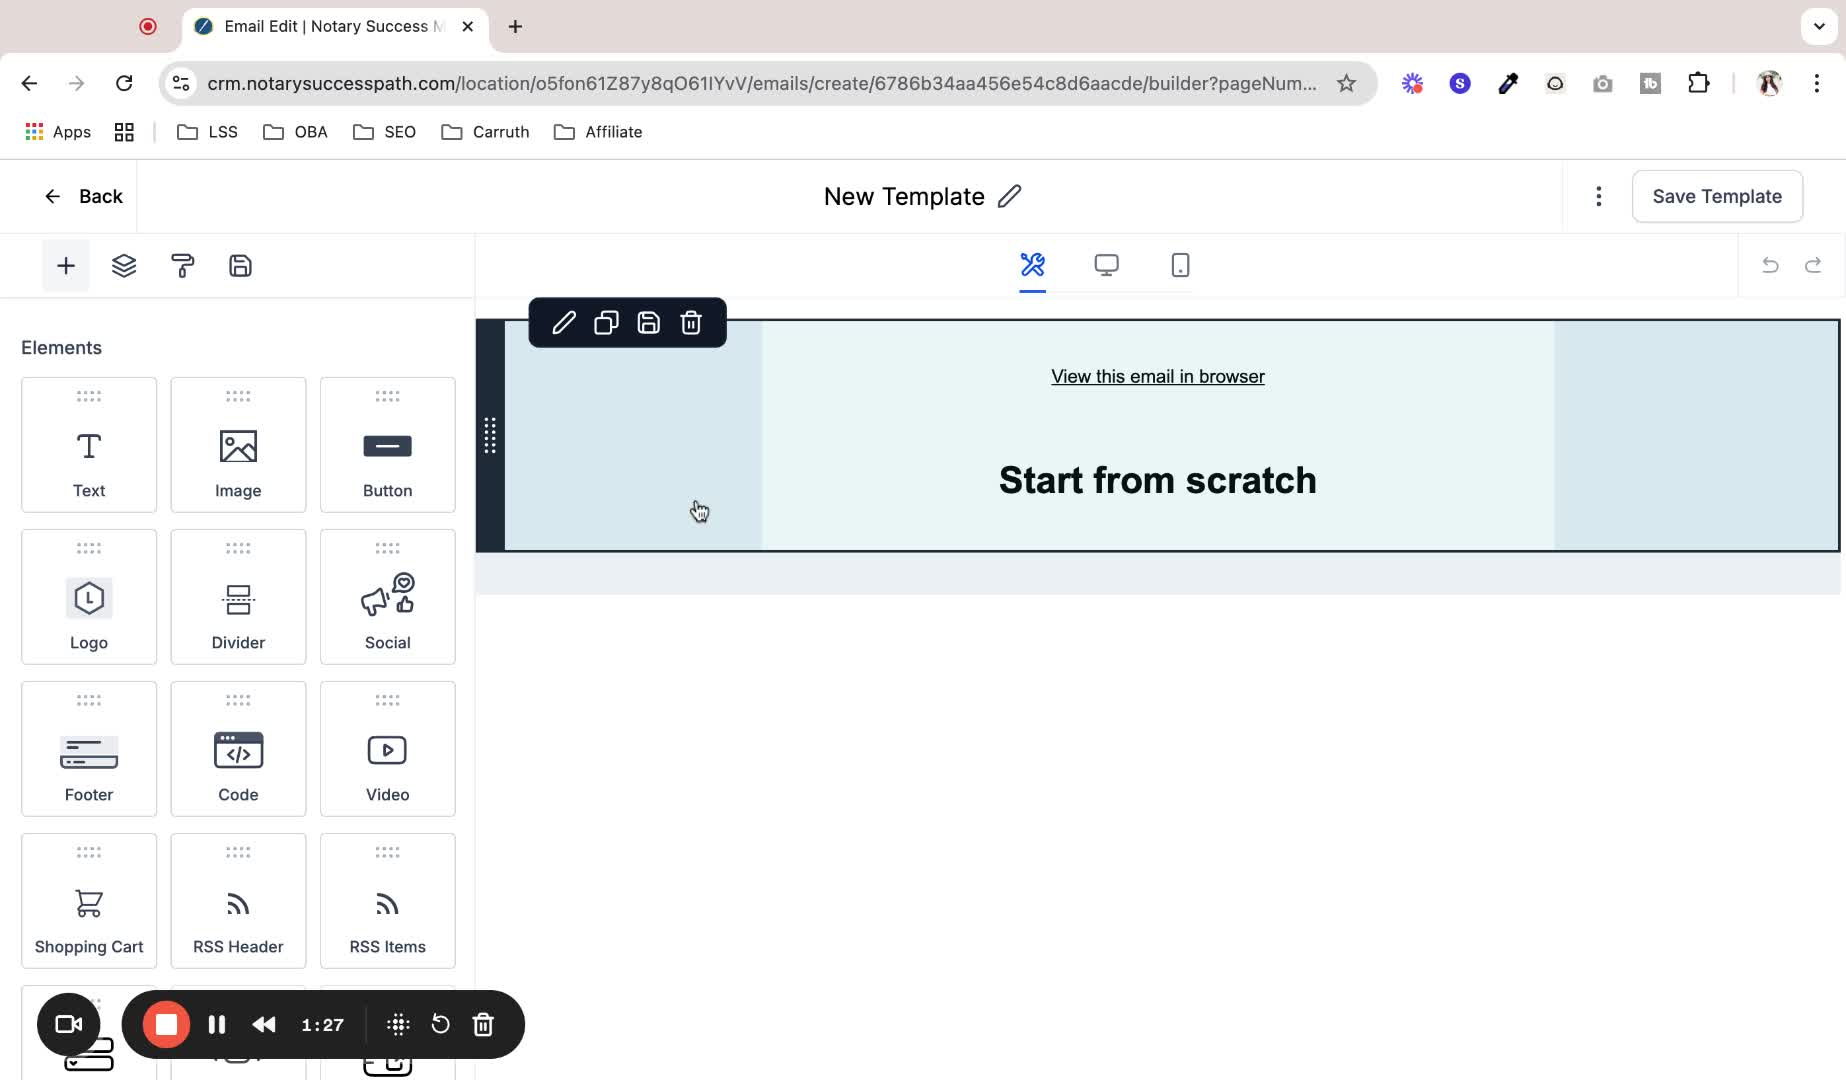
5. Use the Template Builder 1:10

Select the design editor to open the template builder.
Utilize the drag-and-drop interface to design your email.
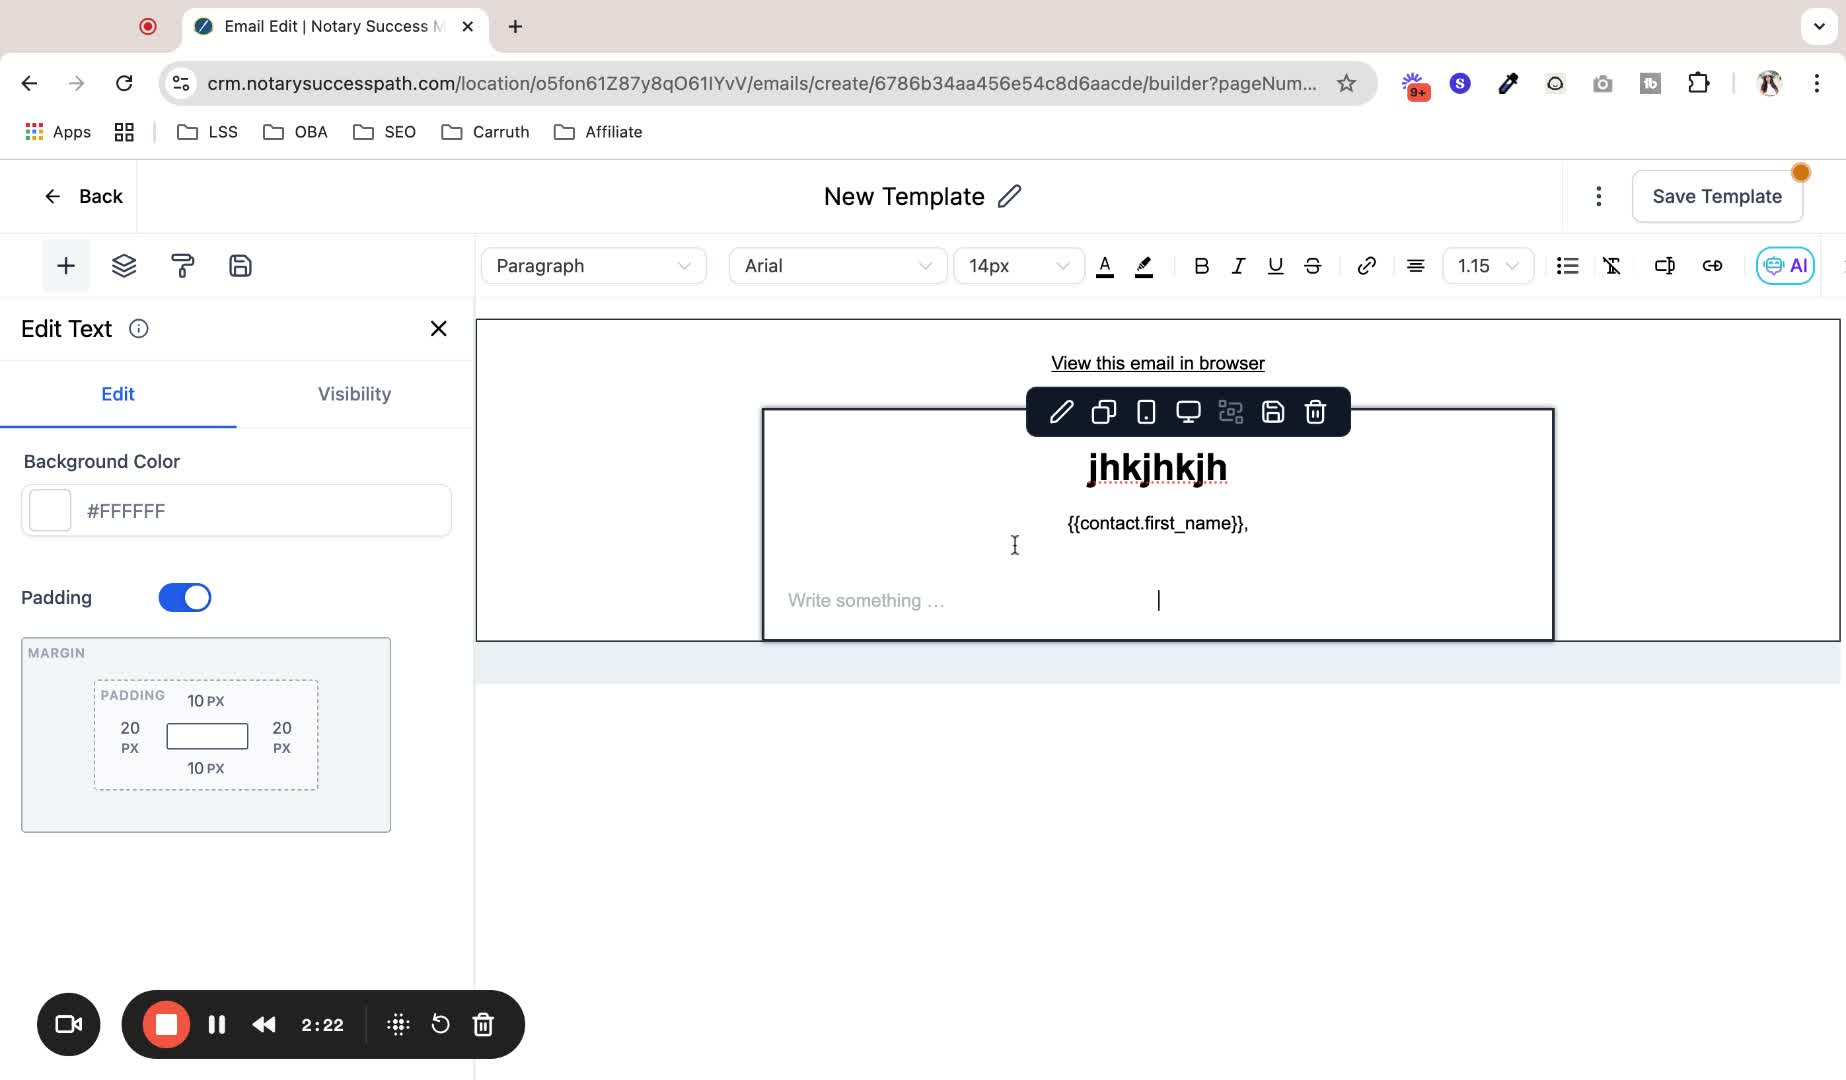
6. Customize Email Settings 1:28
Set the email to full width for a natural look.
Edit text and use custom values (e.g., contact name) for personalization.
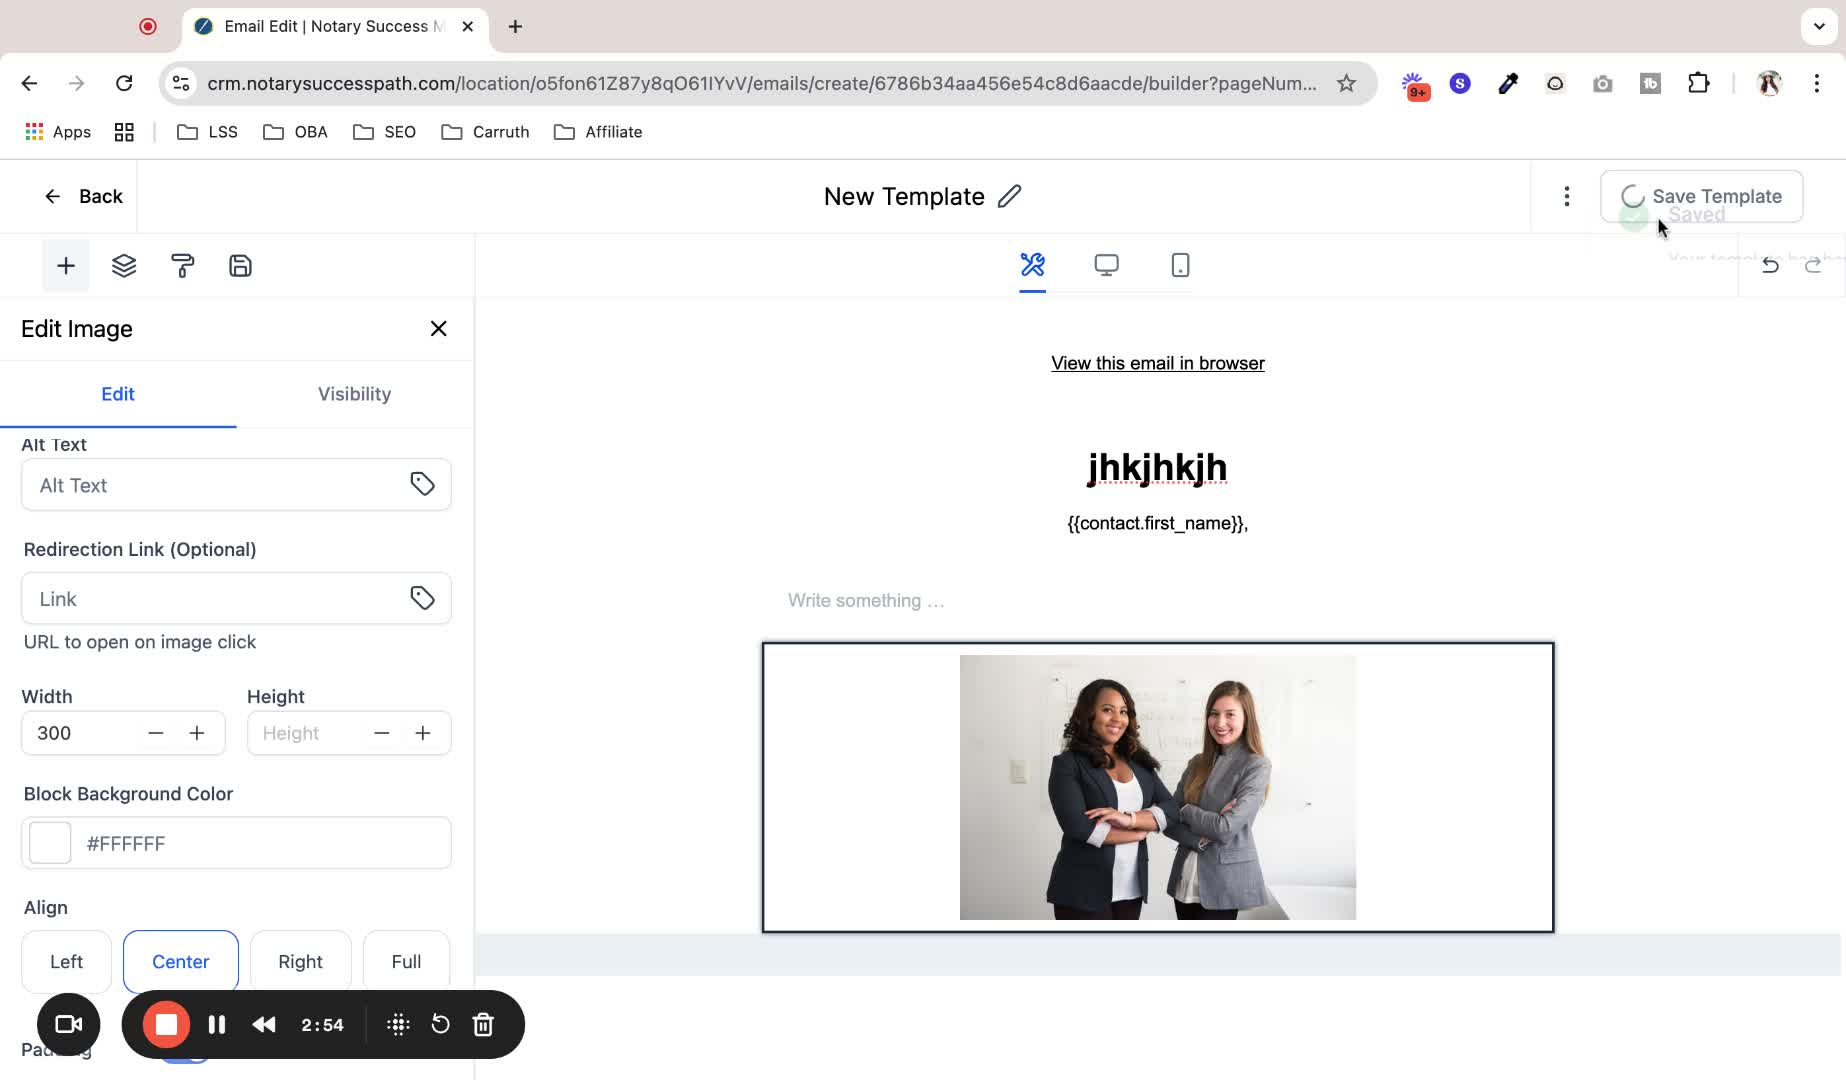
7. Add Elements to Email 2:23
Drag and drop elements like images, videos, and buttons into your email.
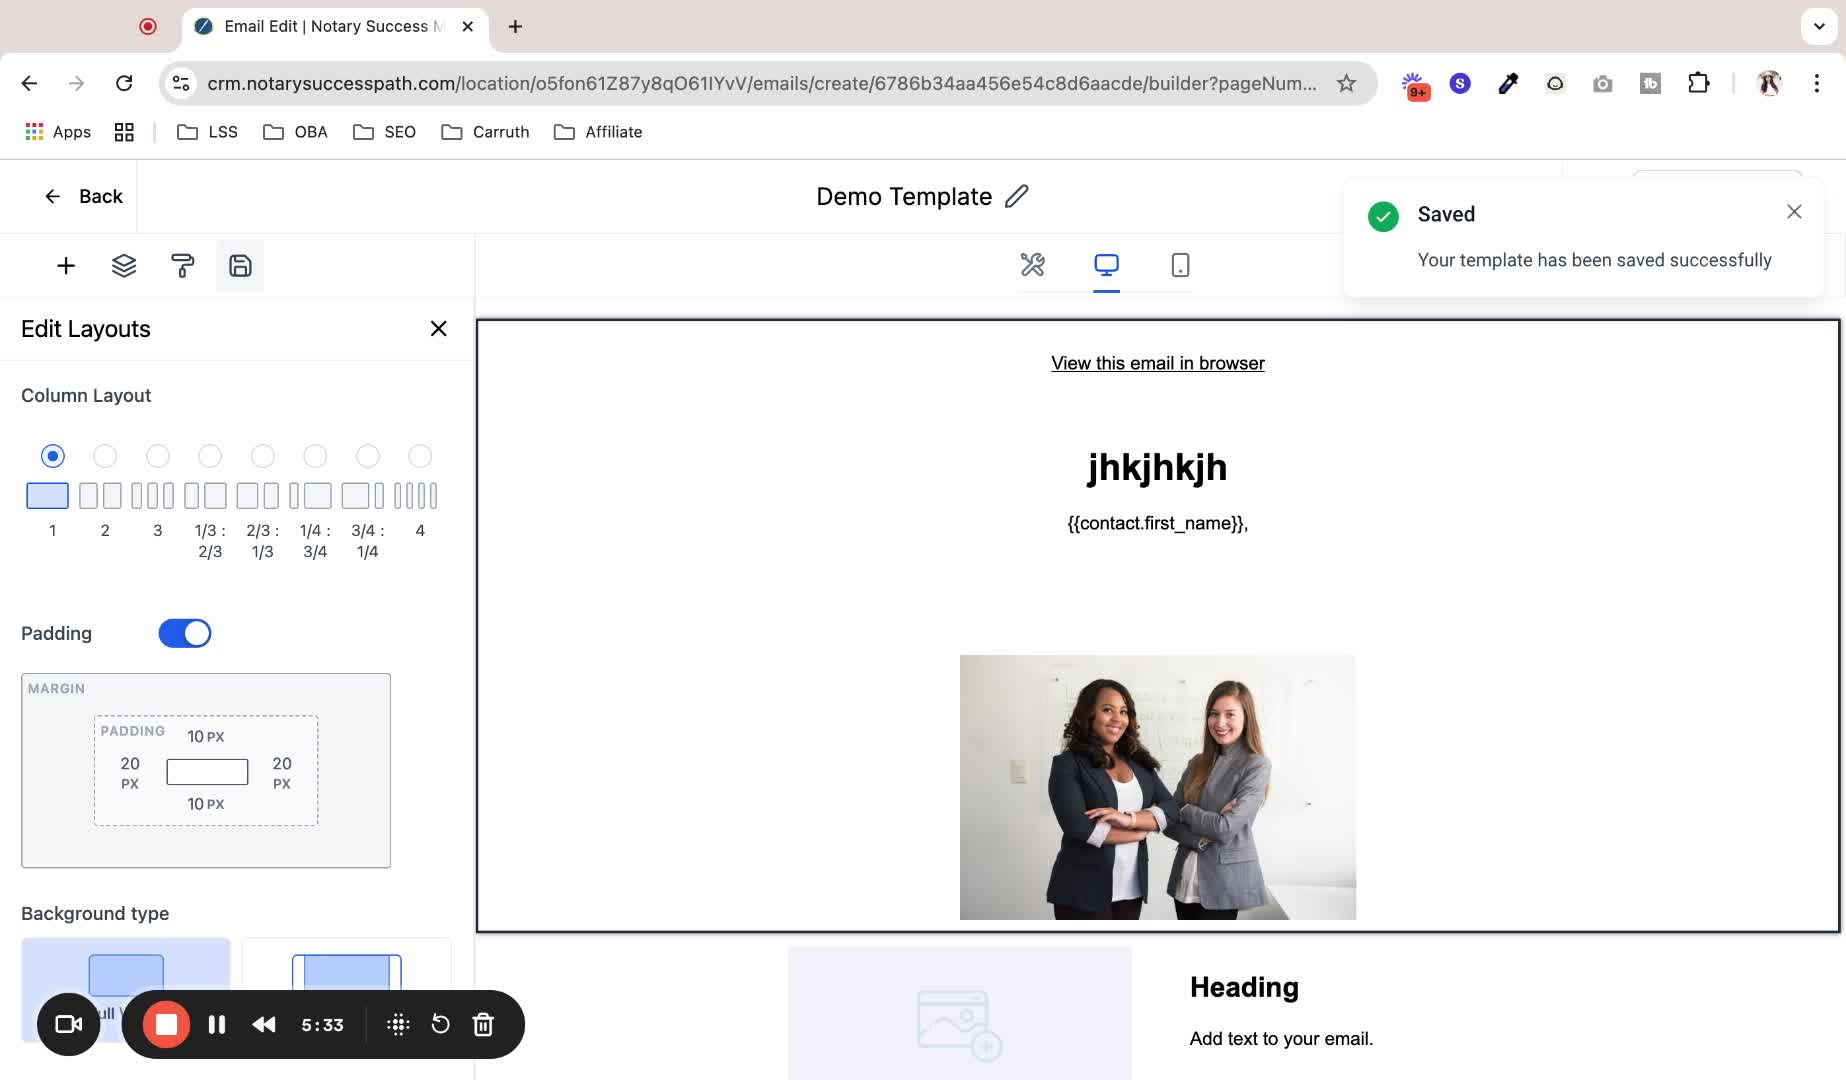
8. Save Your Template 2:55
Regularly save your template during the creation process.
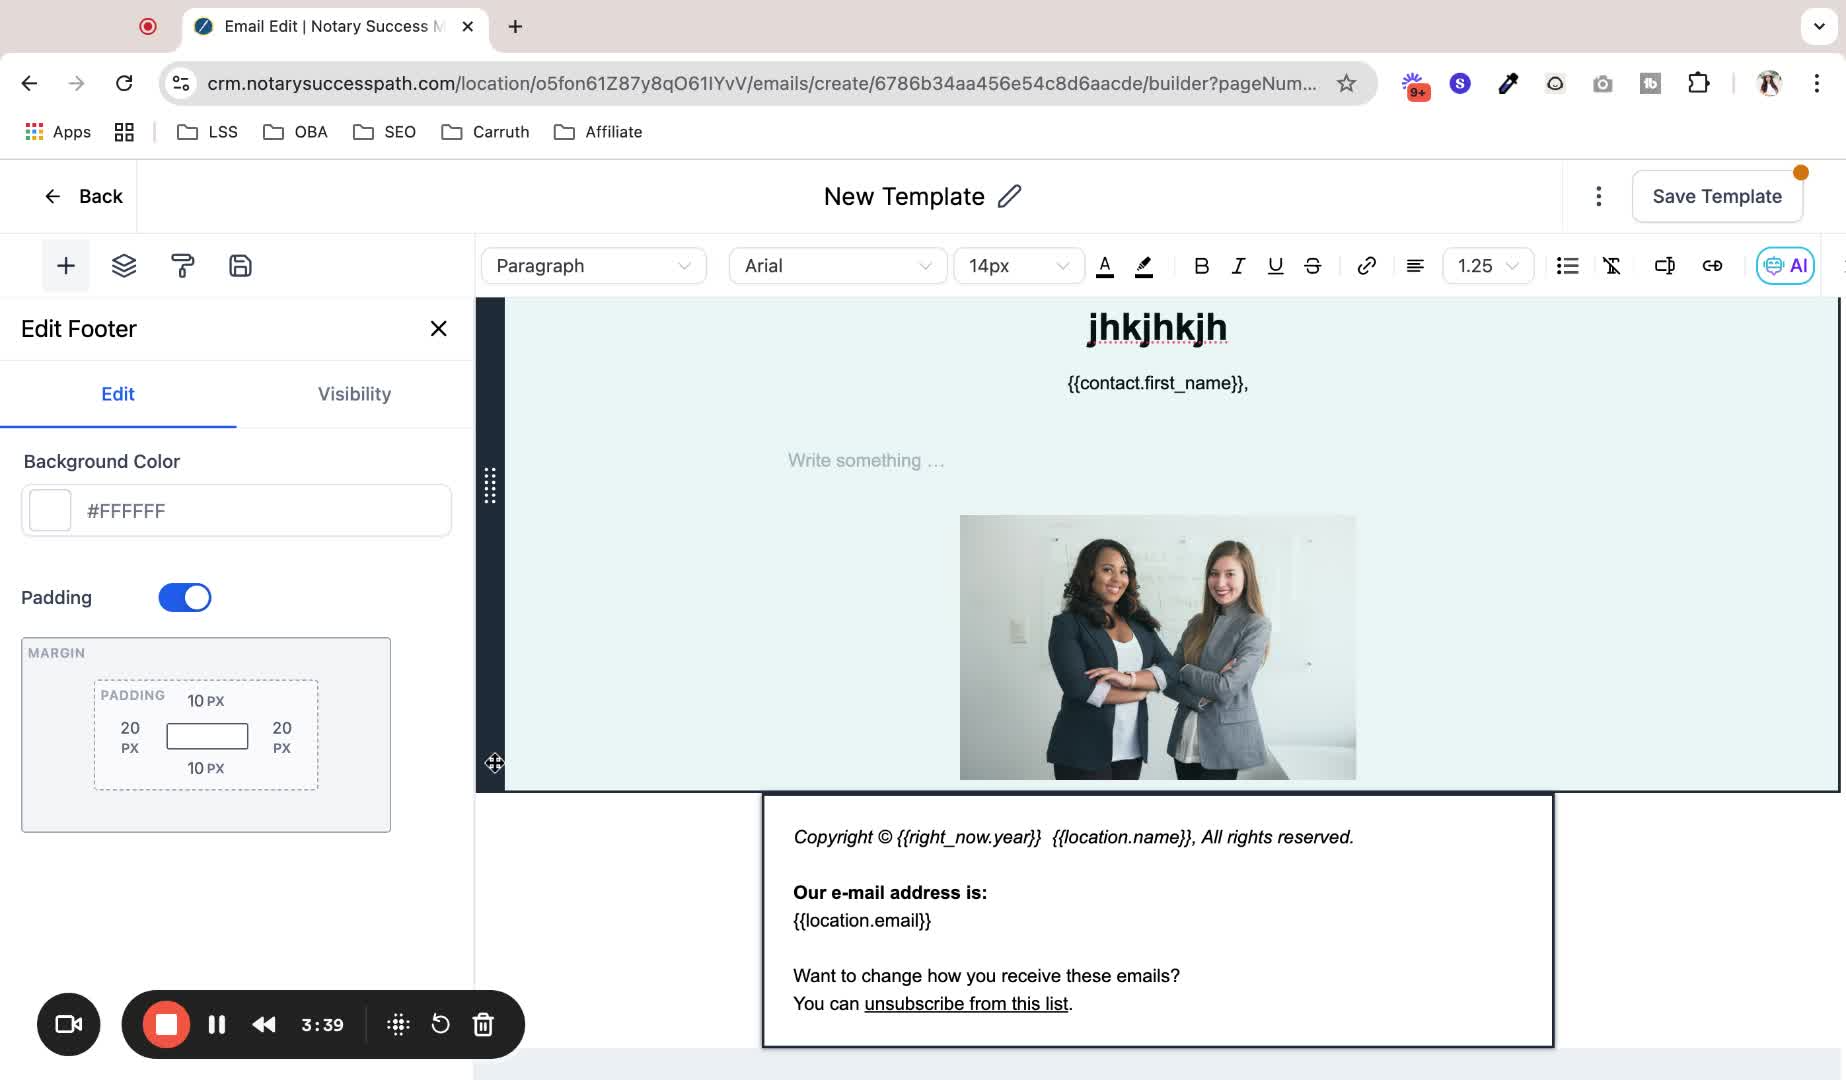
9. Create a Footer 3:09
Add a footer element to your email, including an unsubscribe option.
10. Design Email Signature 3:40
Create a branded email signature using a two-column layout.
11. Preview Your Email 5:07
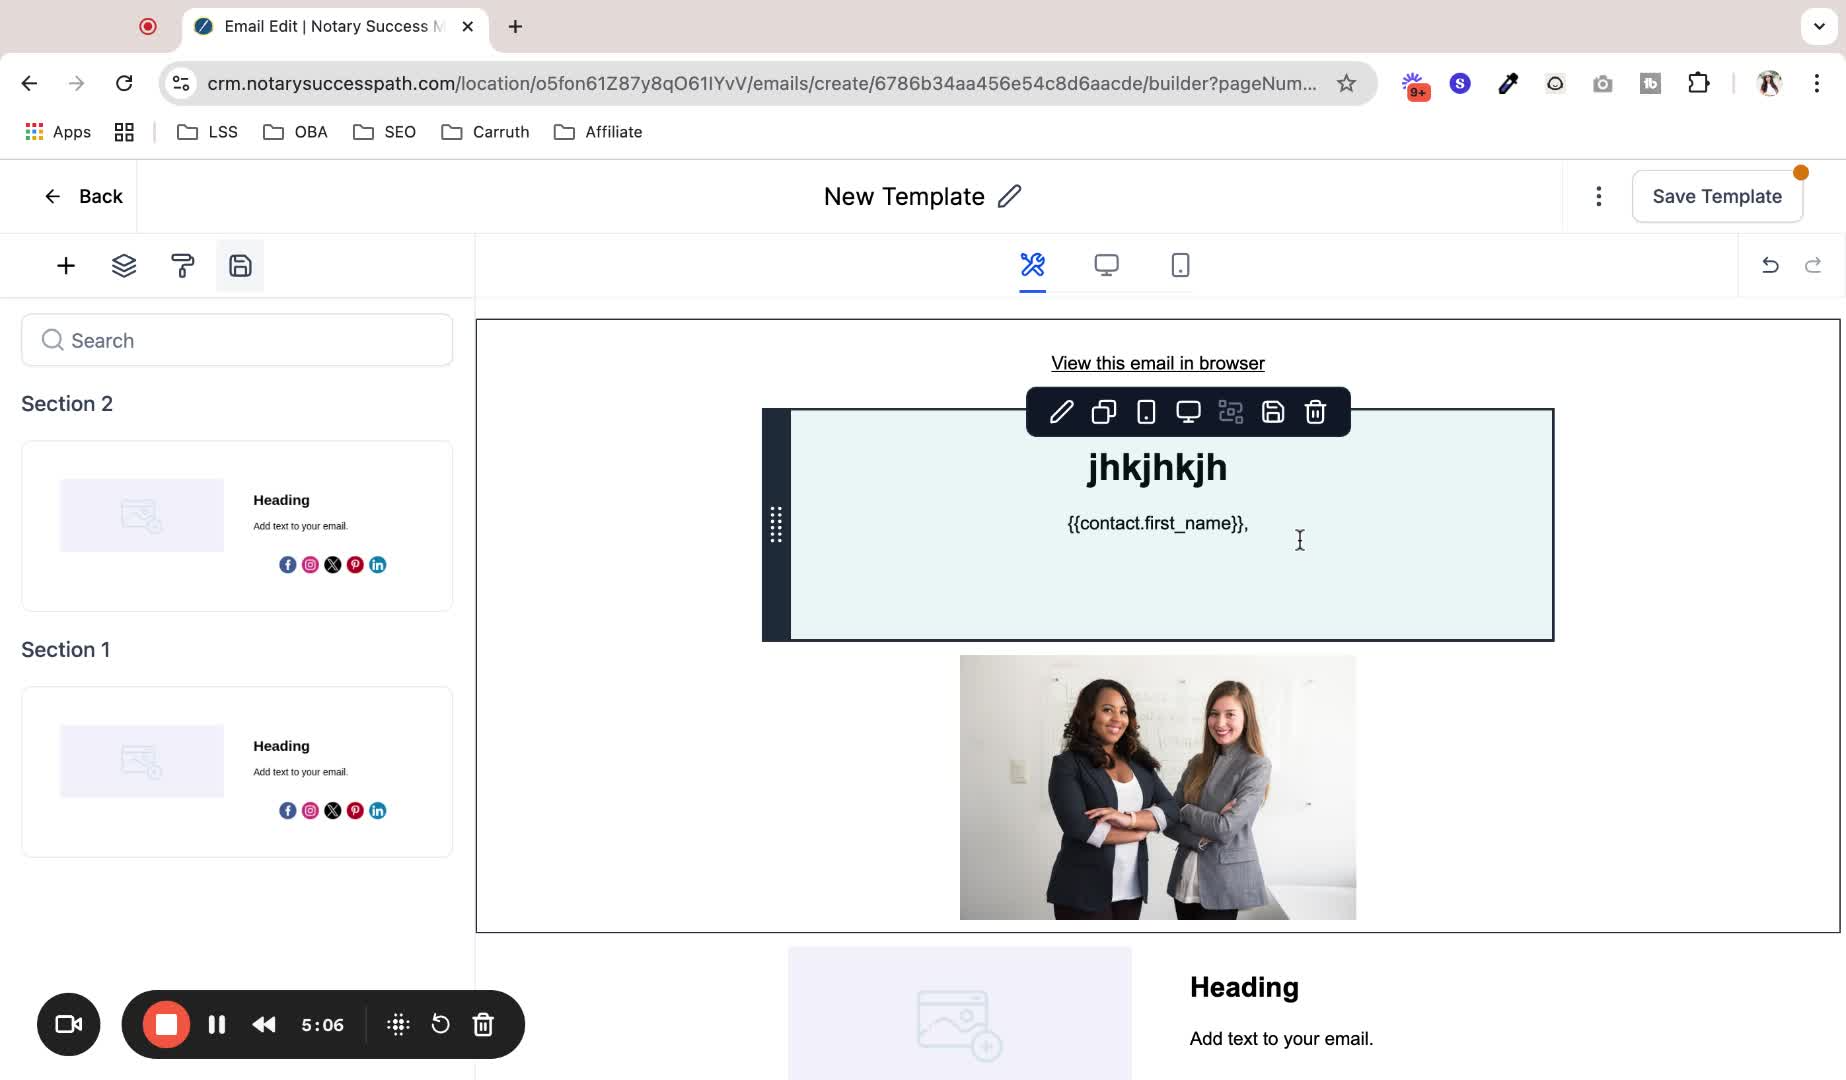
Use the preview feature to check how the email looks on desktop and mobile.
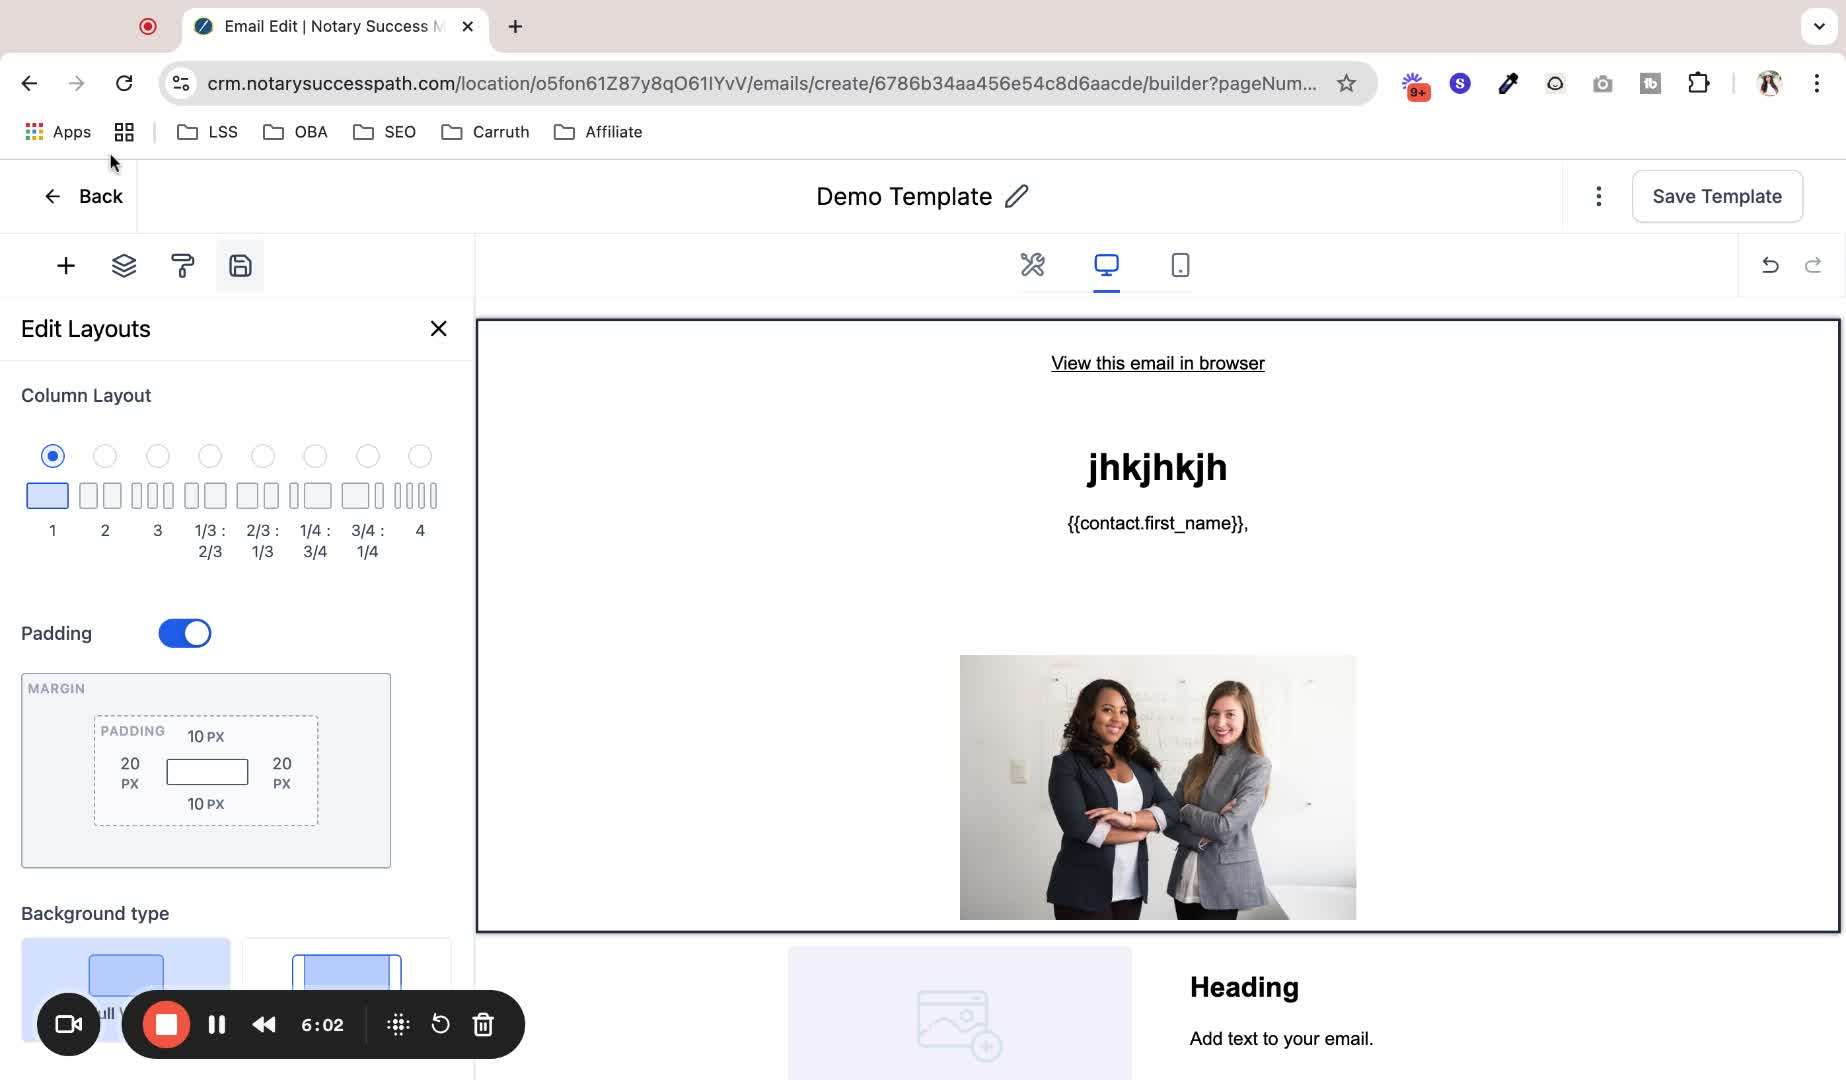
12. Set Template Name and Settings 5:34
Label your template clearly for easy identification.
Set the from name, from email, and subject line.
13. Navigate to Campaigns to Send Emails 6:03
Exit the template builder and go to the Campaigns section to send emails.
14. Create a New Campaign 6:26
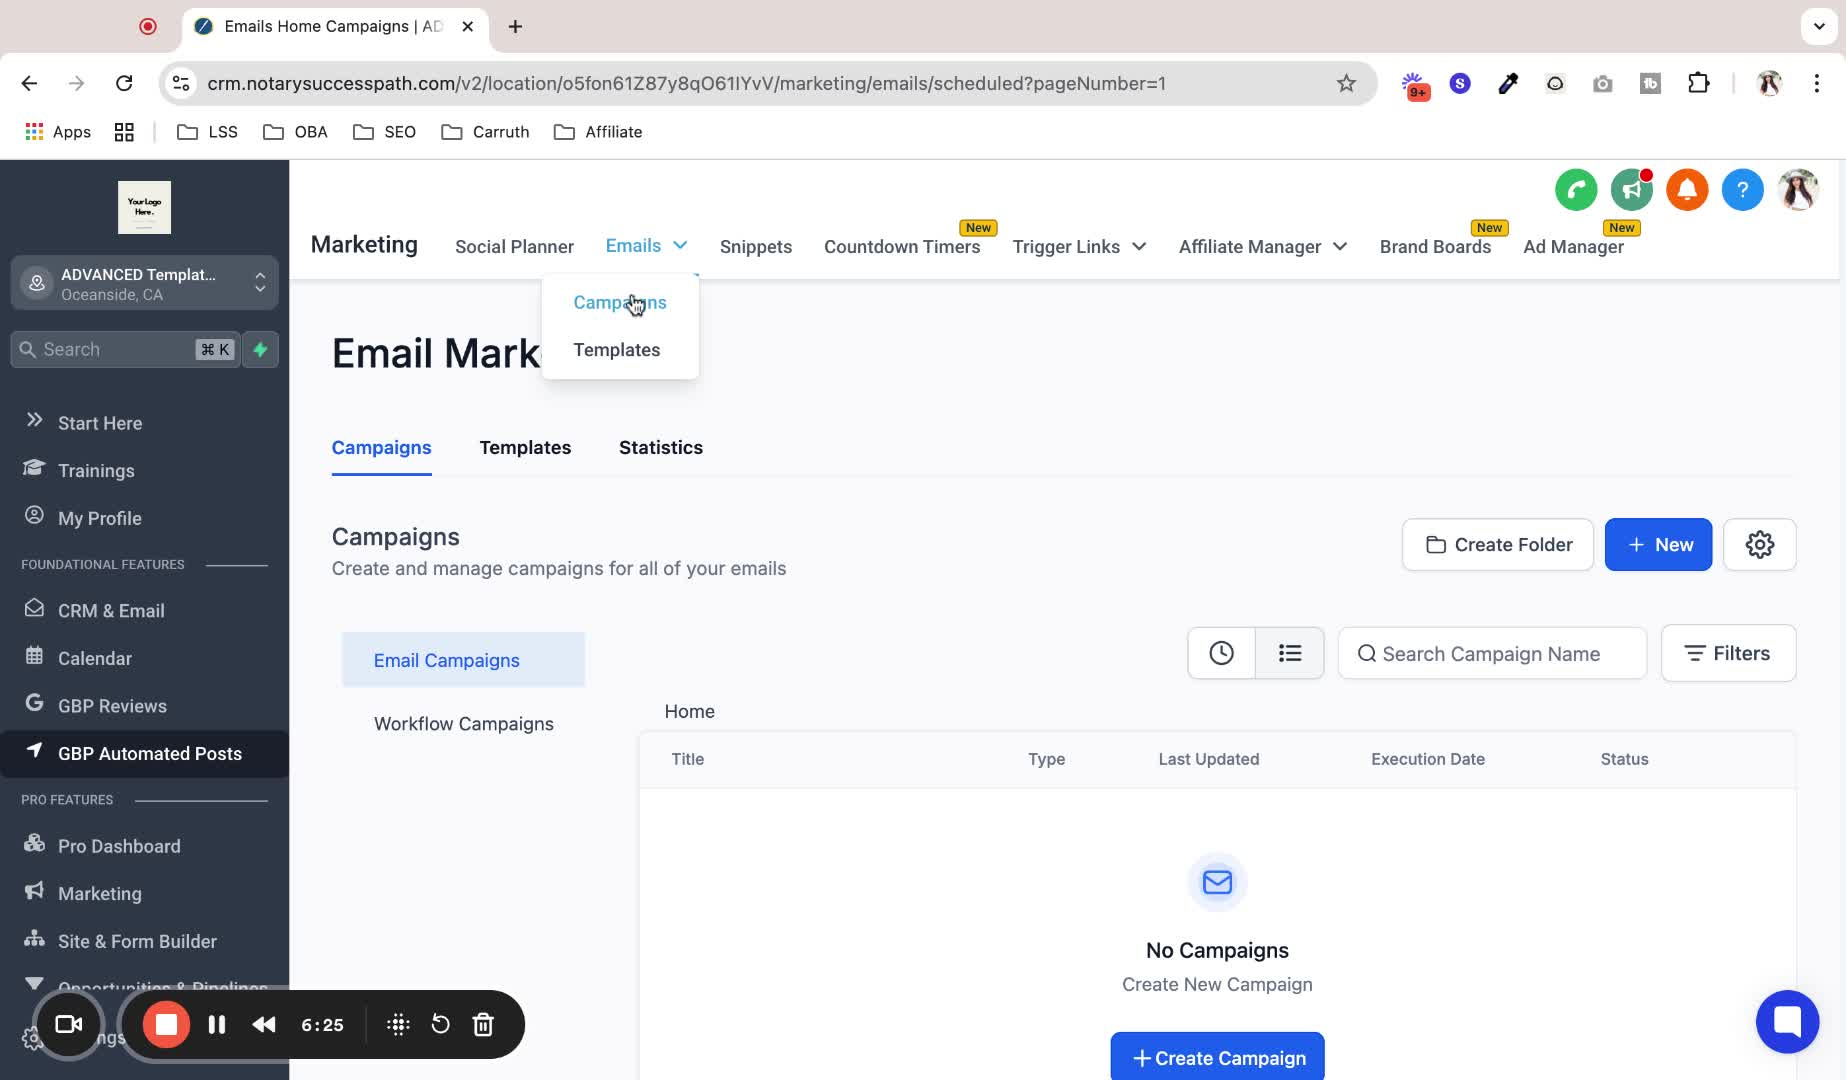
Click on Create New Campaign.
Select a previously created template or start from scratch.
15. Edit Campaign Email 6:54
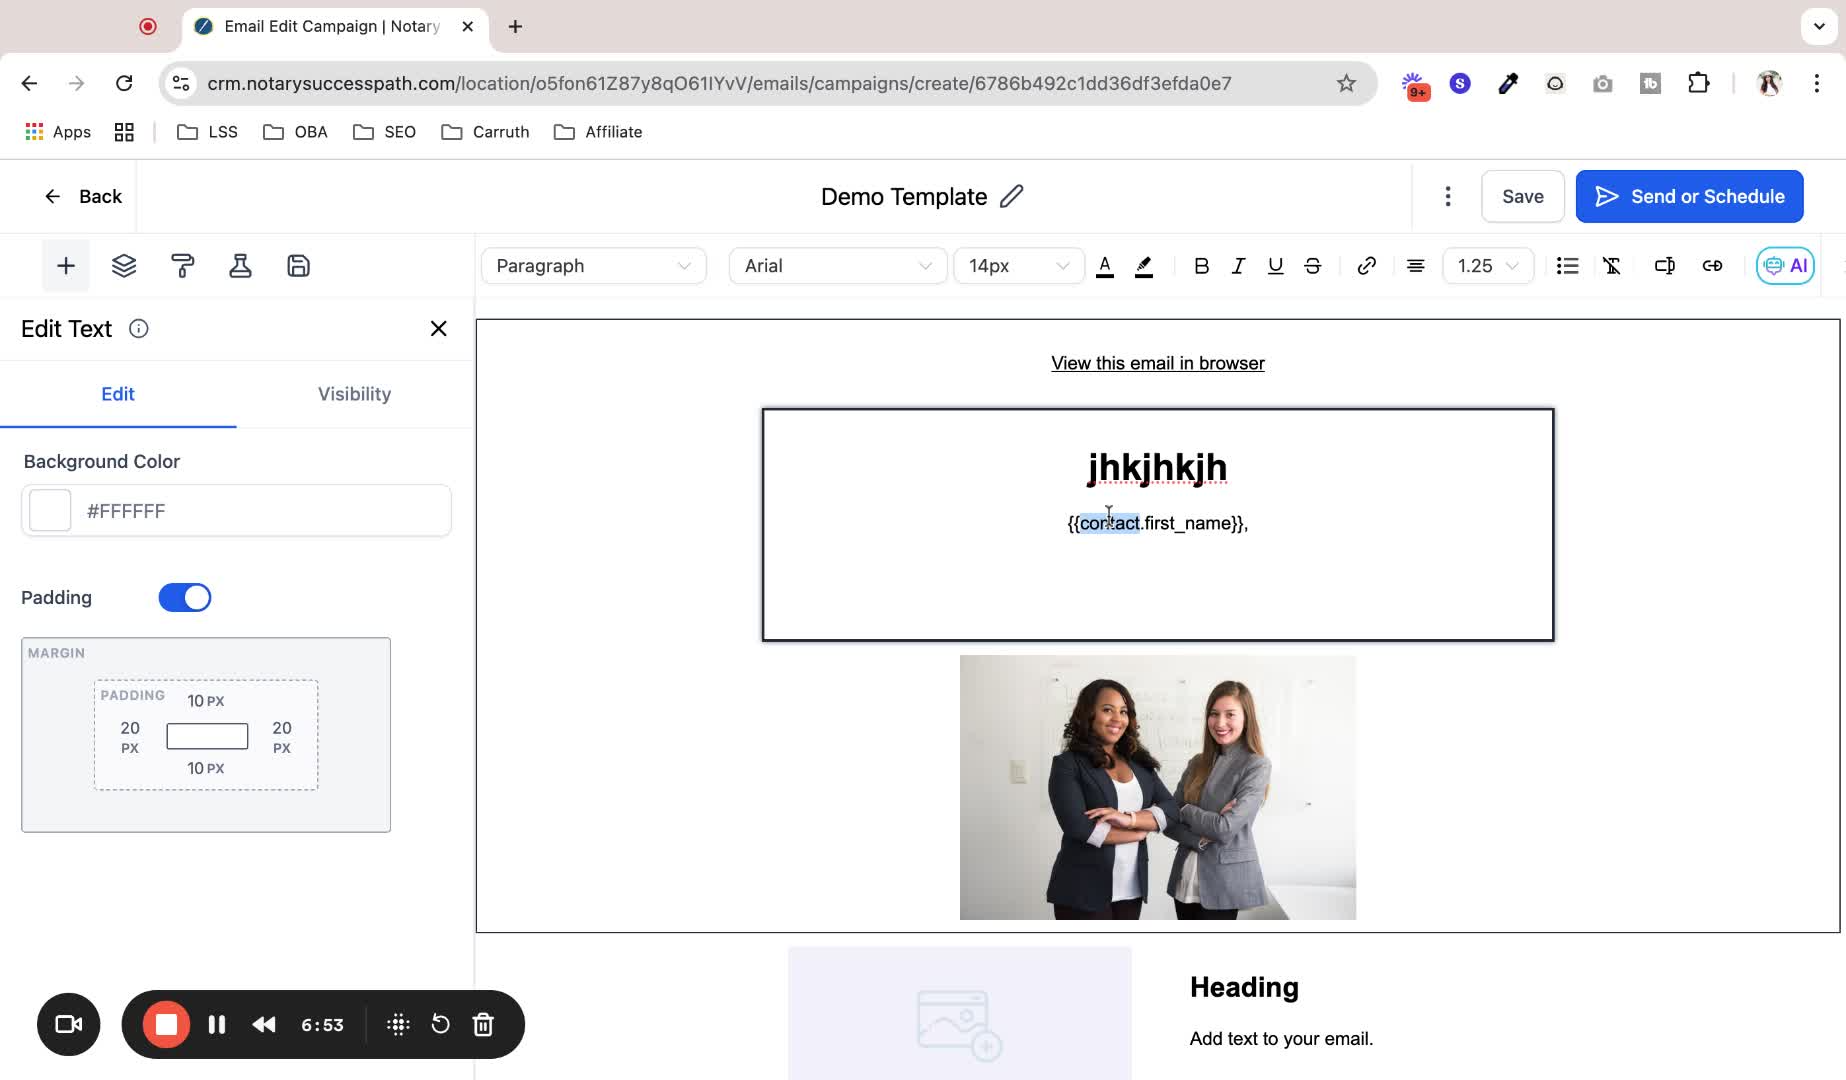
Make changes to the email content in the campaign builder.
16. Include File Attachments 7:31
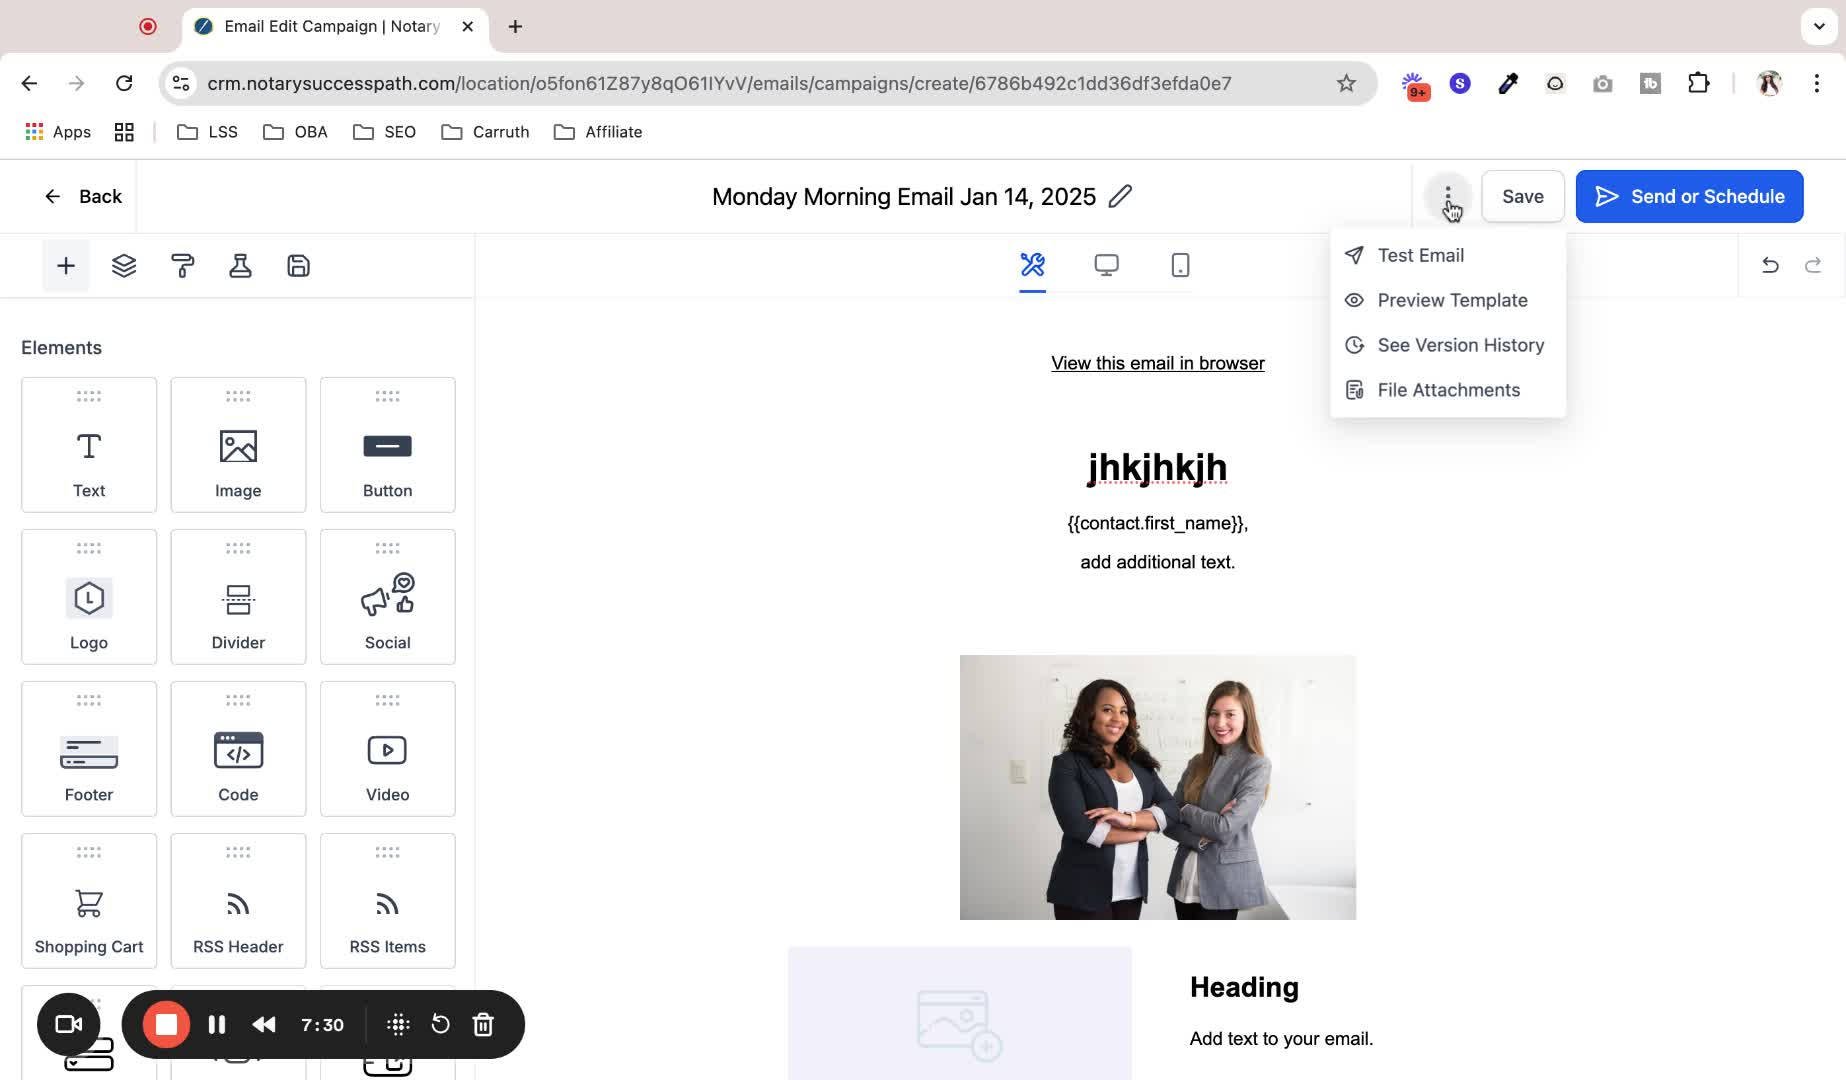
Use the File Attachments option to upload any additional files.
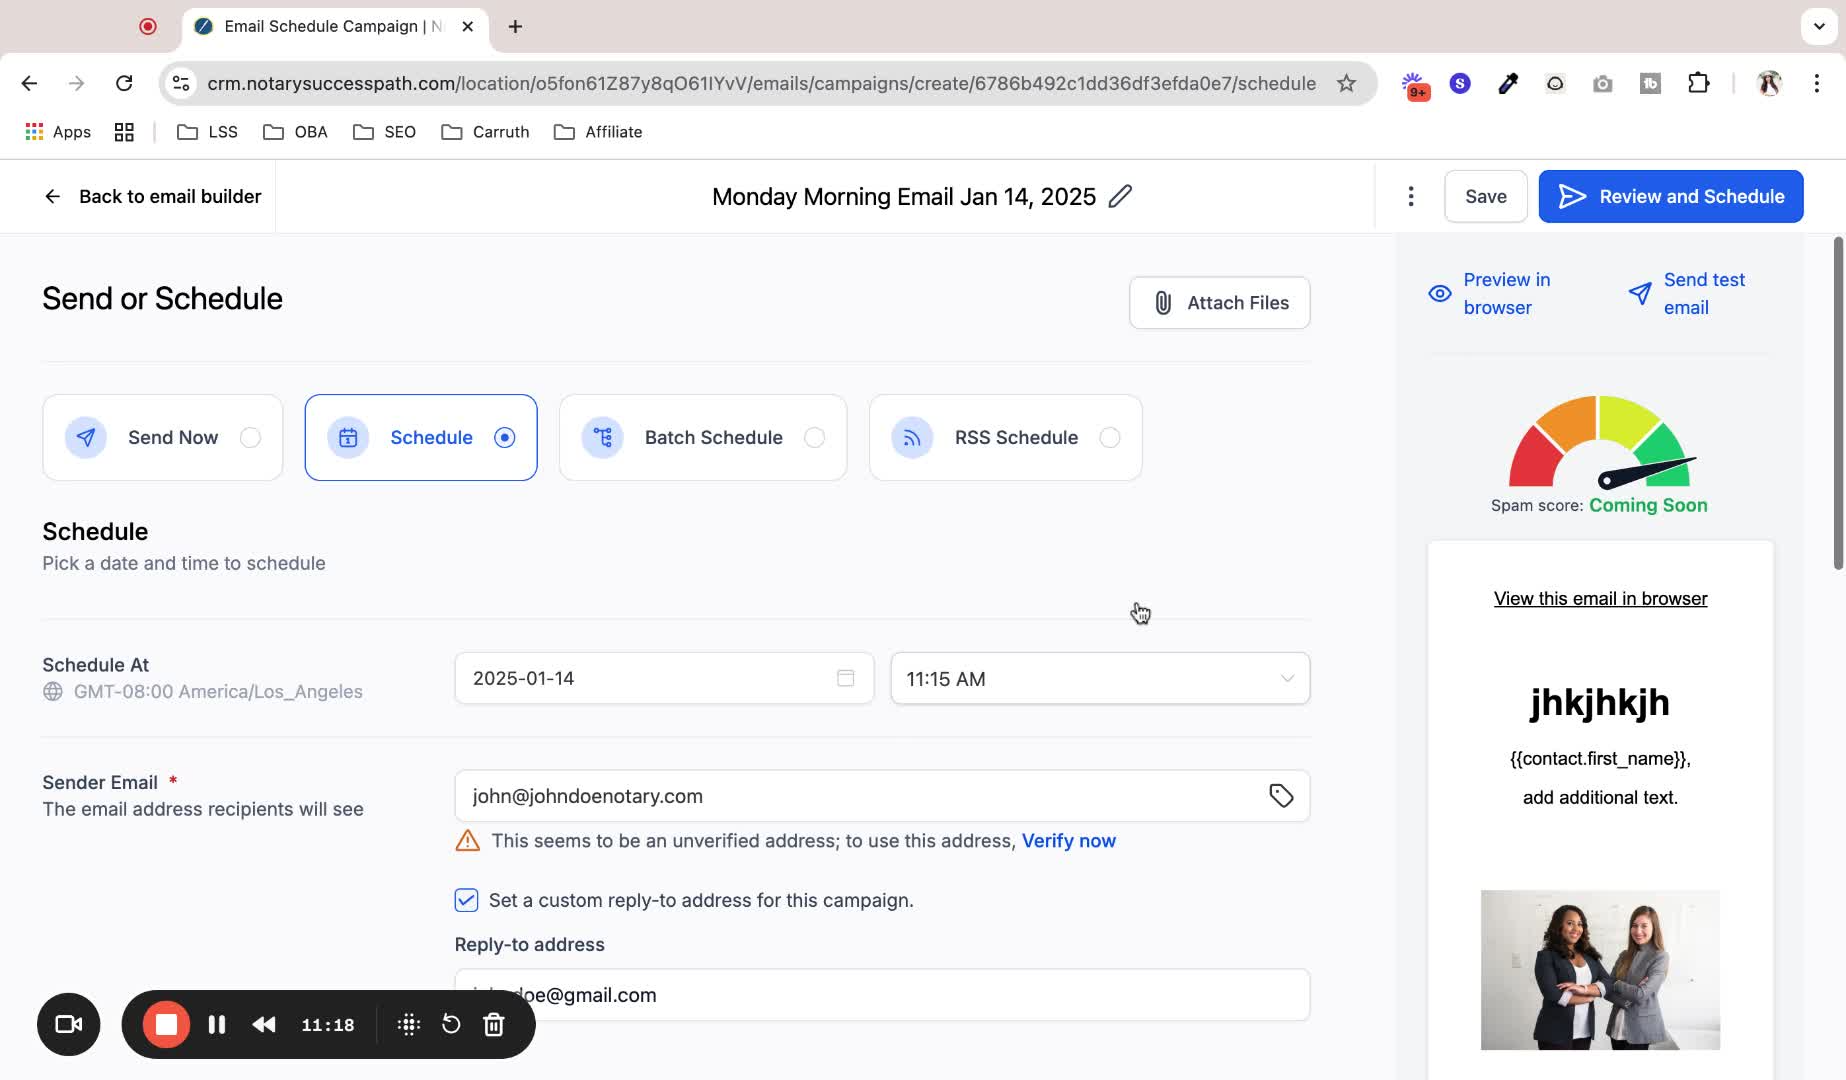
17. Send or Schedule Email 7:57
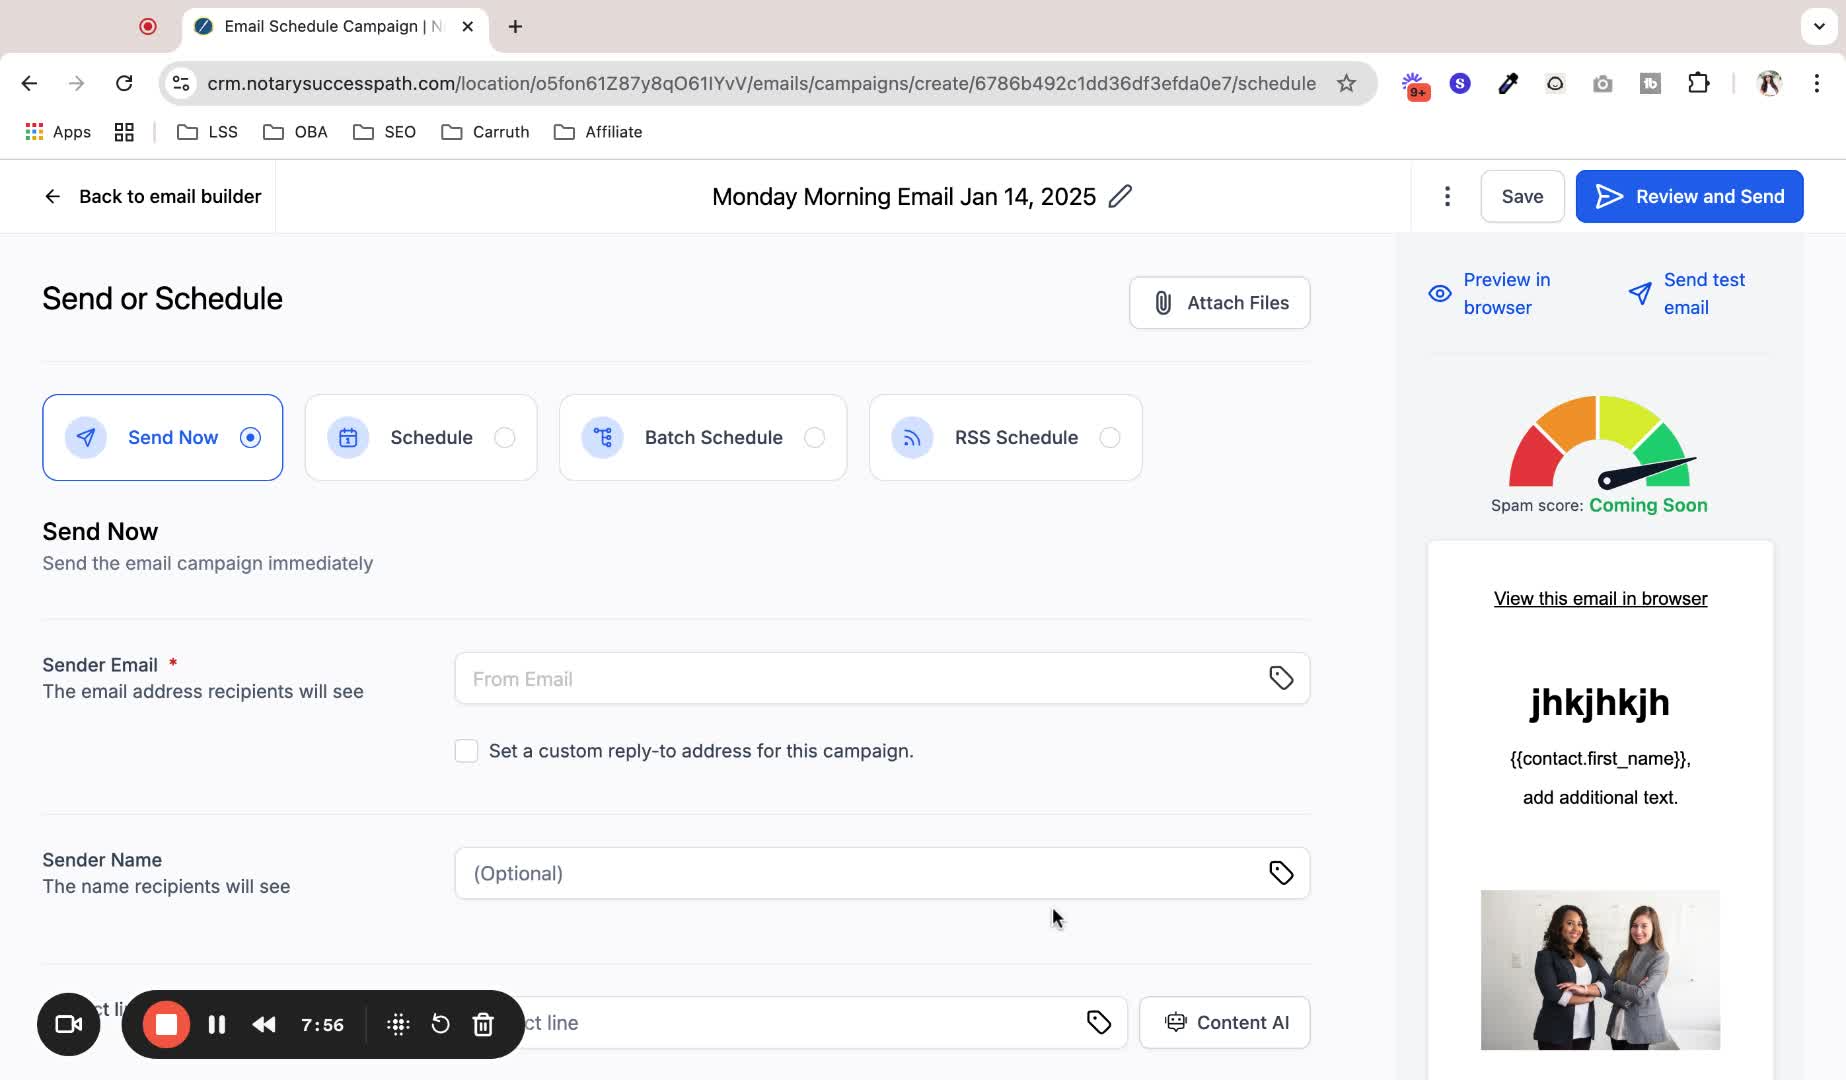
Choose to send the email immediately or schedule it for a later date.
18. Verify Sender Email 8:24
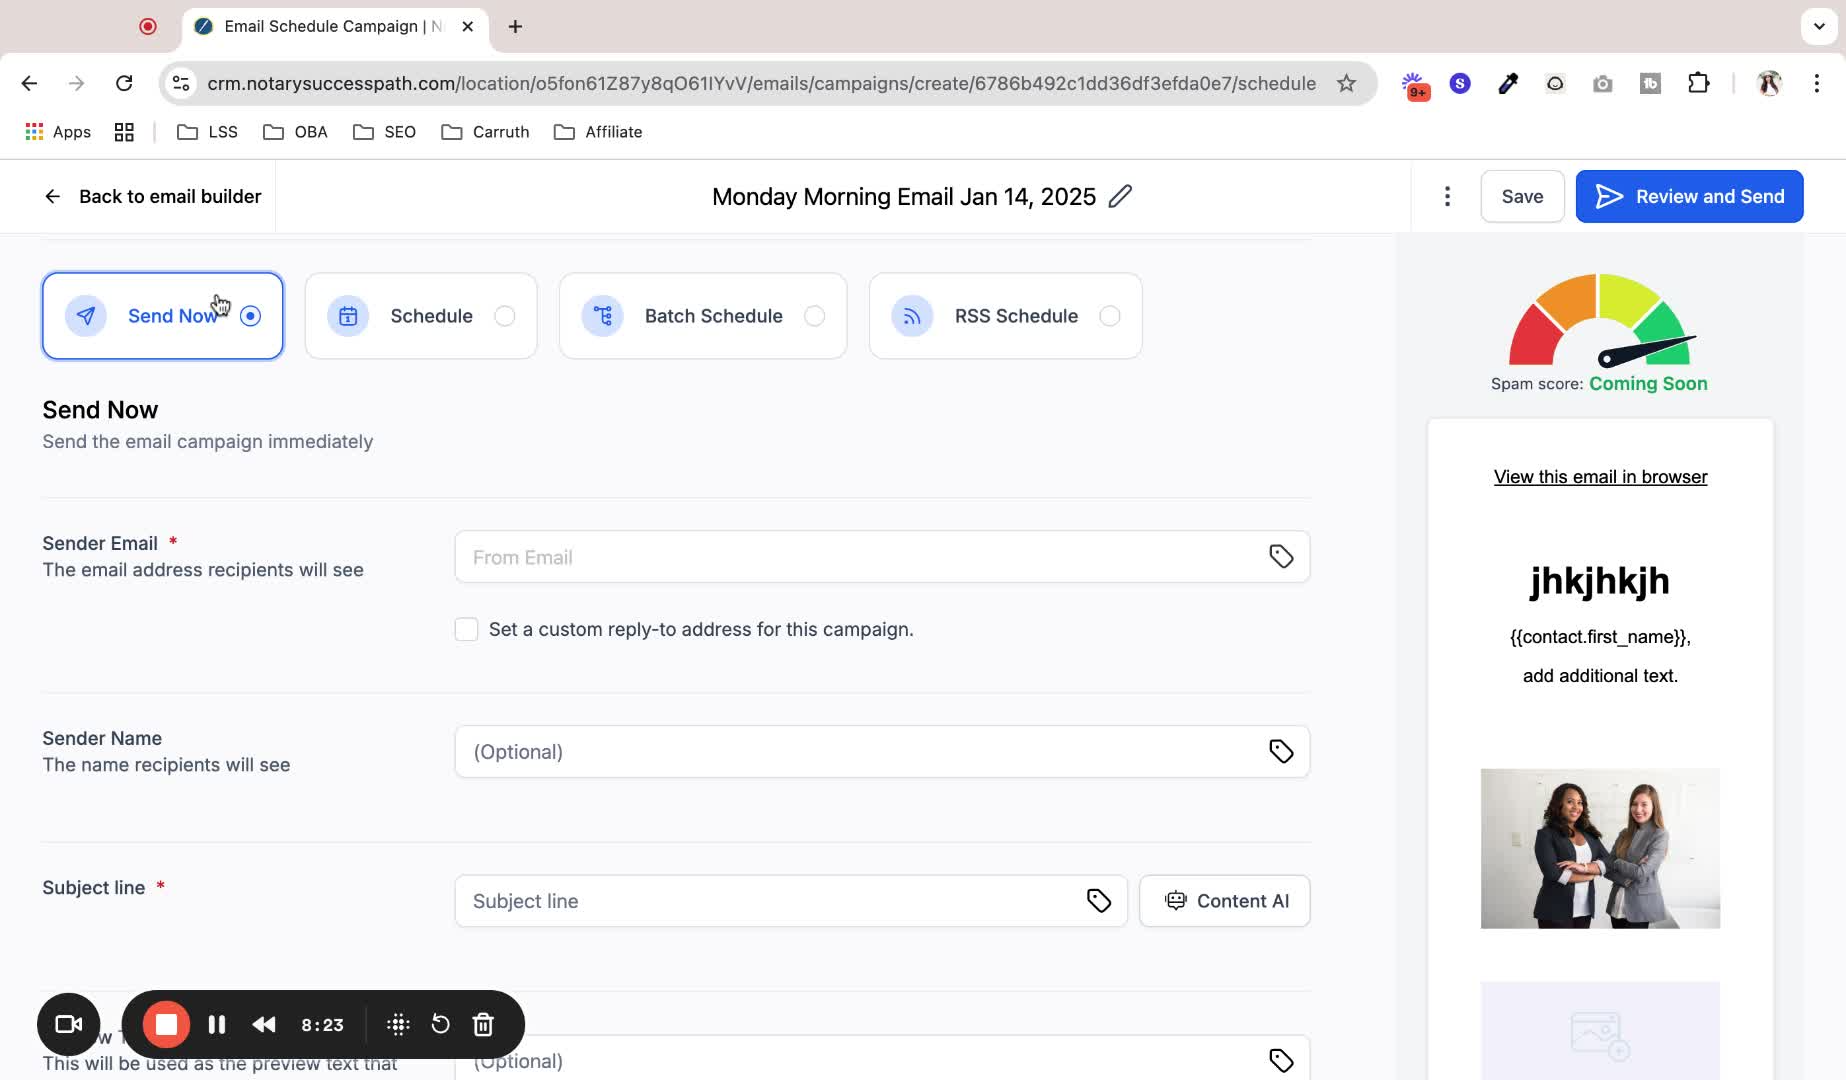
Ensure the sender email is verified and correctly set.
19. Select Recipients 9:34
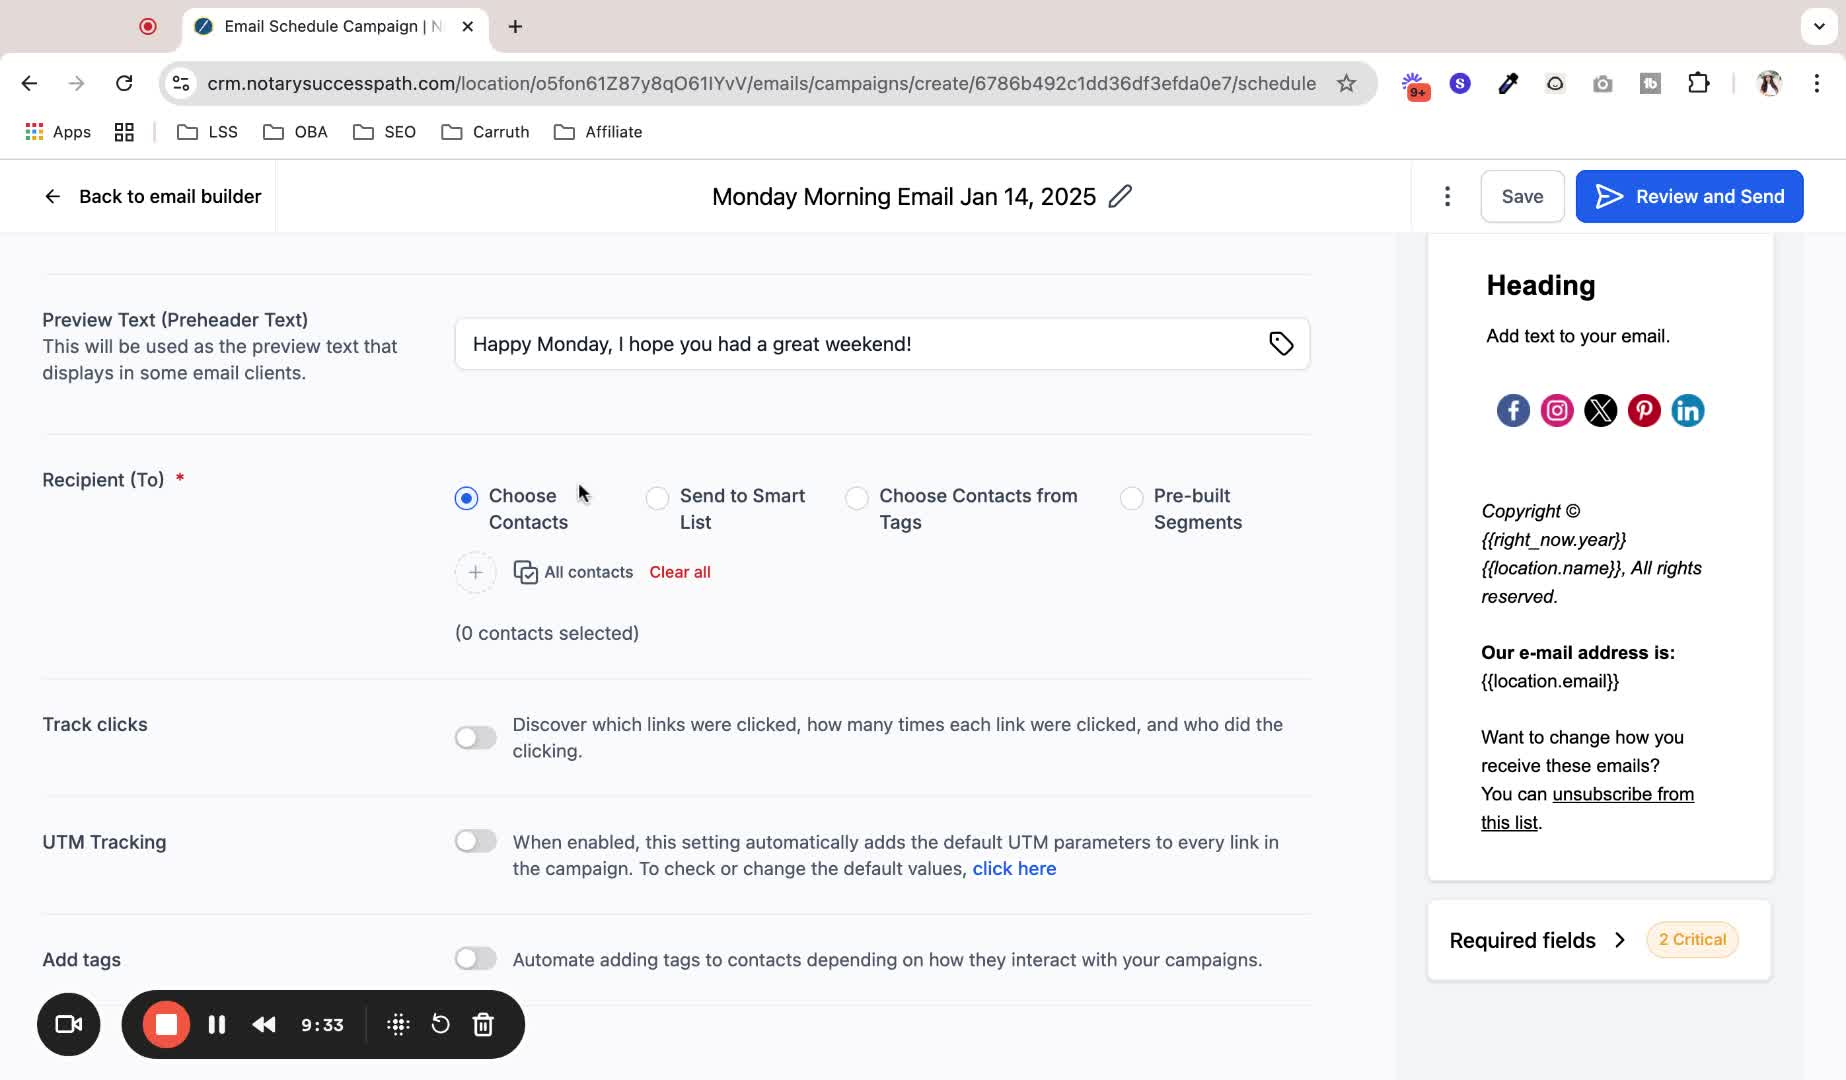
Choose recipients from your contacts or smart lists.
20. Schedule Email Options 10:41
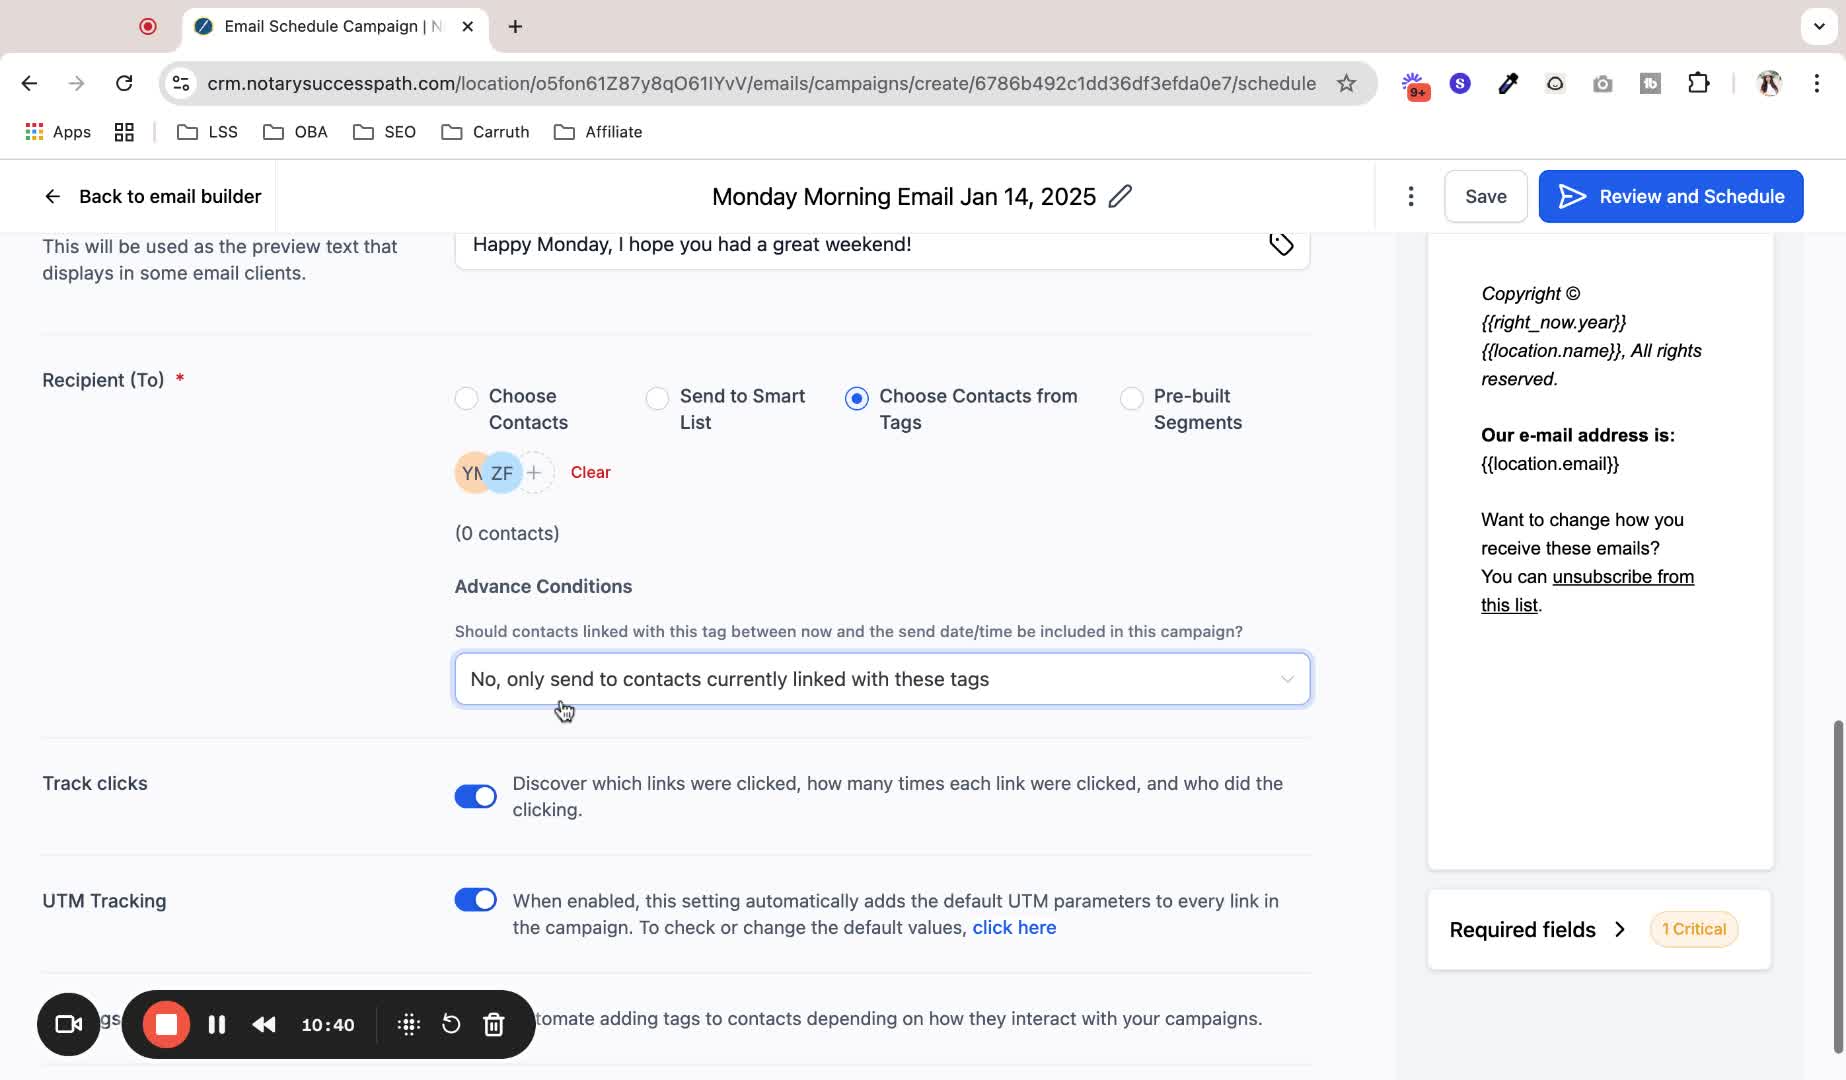
Decide if new contacts added after scheduling should receive the email.
21. Review and Schedule Email 11:19
Review all settings and schedule the email.
22. Review Sent Emails 11:37
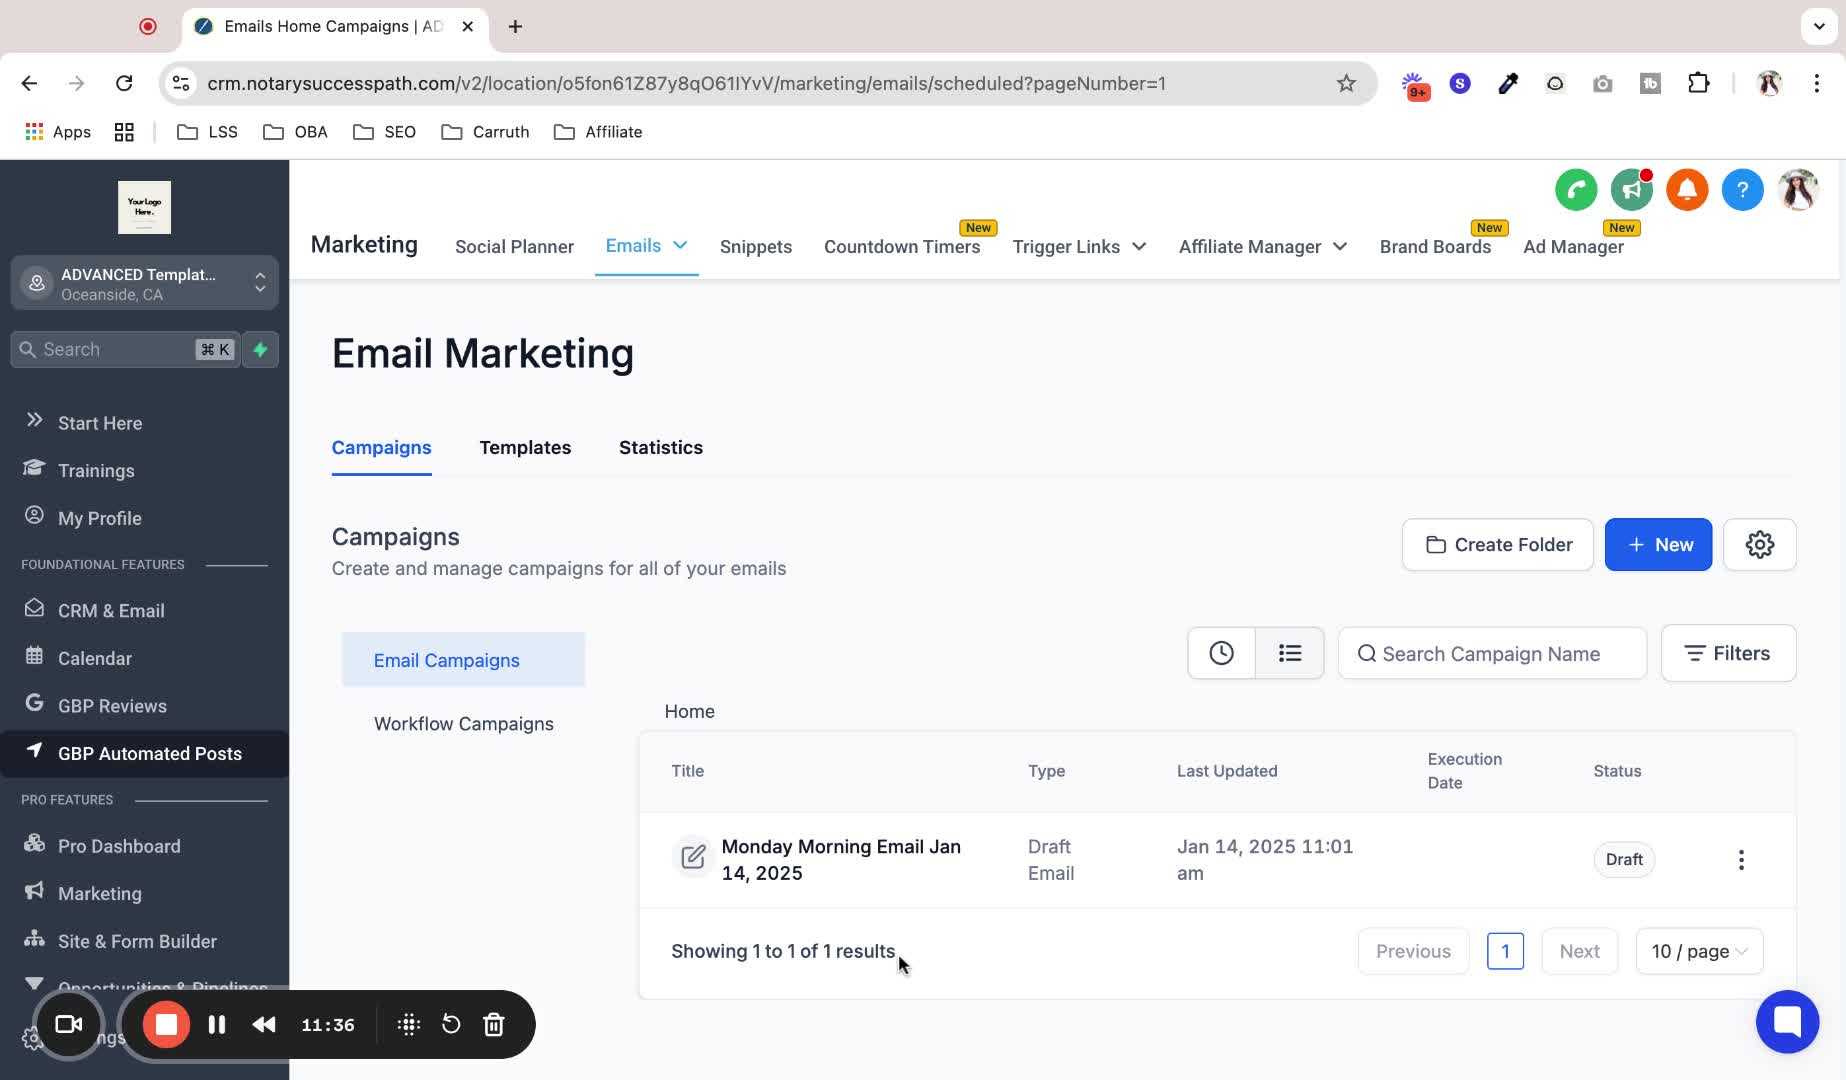
Check the list of drafted, scheduled, or sent emails and review statistics.
Always ensure that the unsubscribe option is included in your emails to comply with regulations.
Double-check that the correct email address is set as the sender to avoid delivery issues.
Regularly save your work to avoid losing changes.
Use templates for frequently sent emails to save time.
Preview emails on both desktop and mobile to ensure proper formatting.
