This step is crucial for ensuring your A2P Verification gets approved and requires you to have an EIN registered along with your business domain.
Registered Business with an EIN
Purchased Business email with business domain, i.e. info@loansigngingsystem.com
Ensure all details on business profile settings are configured at match EIN EXACTLY
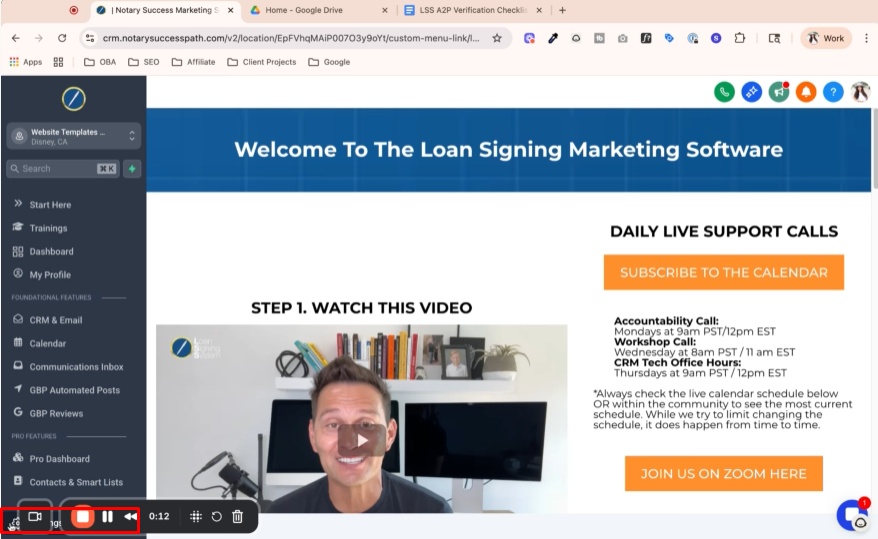
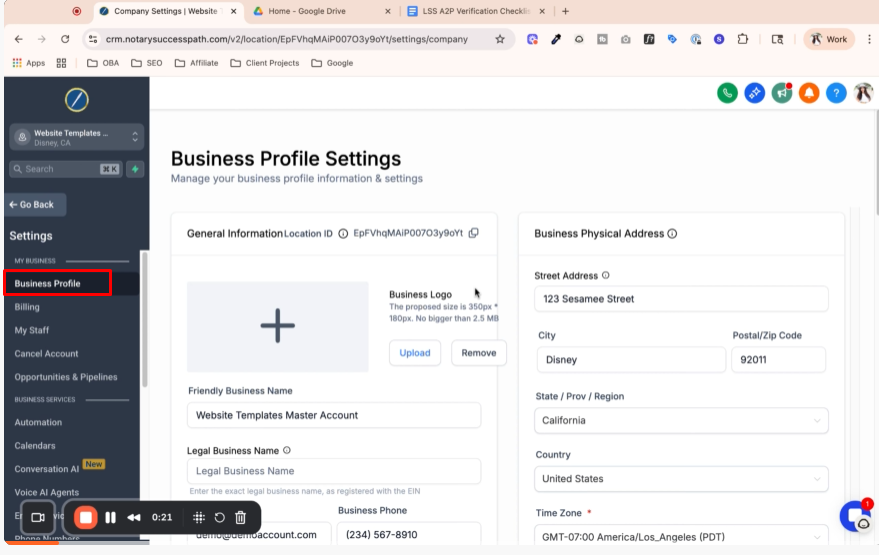
Step 1: Access Business Profile Settings 0:00
Click “Settings” located at the bottom left-hand side of your window.
Navigate to the “Business Profile” page.
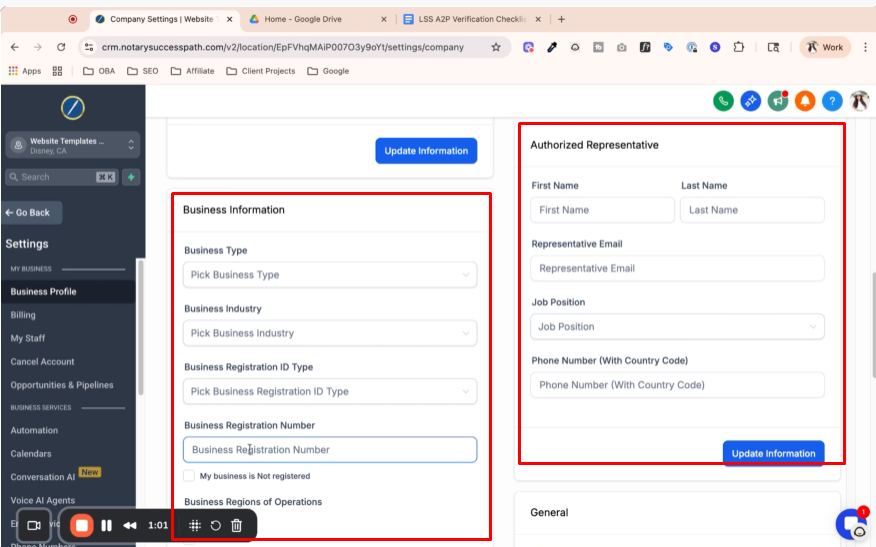
Step 2: Verify Business Information Matches EIN 0:20
Ensure that the information on your business profile matches exactly with your EIN.
Important details to verify:
Legal business name
Business type
Industry
Registration
EIN
Authorized representative information.
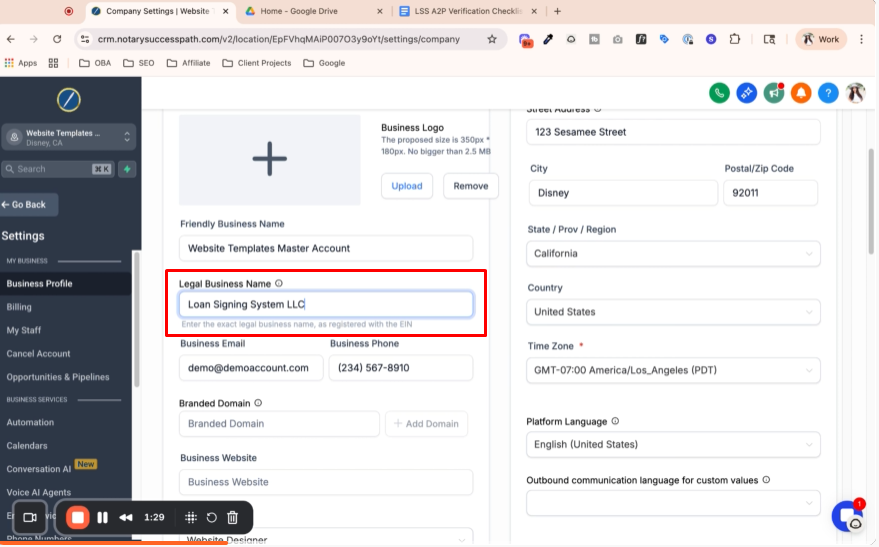
Step 3: Ensure Legal Business Name Matches EIN 1:17
The legal business name must match exactly as it appears on your EIN (e.g., if it includes 'LLC', it must be included here).
Step 4: Set Up Professional Business Email 1:45
Use an email that has your business domain (e.g., name@yourbusiness.com).
Avoid using personal email domains like gmail.com or outlook.com, as this will cause issues in the verification process.

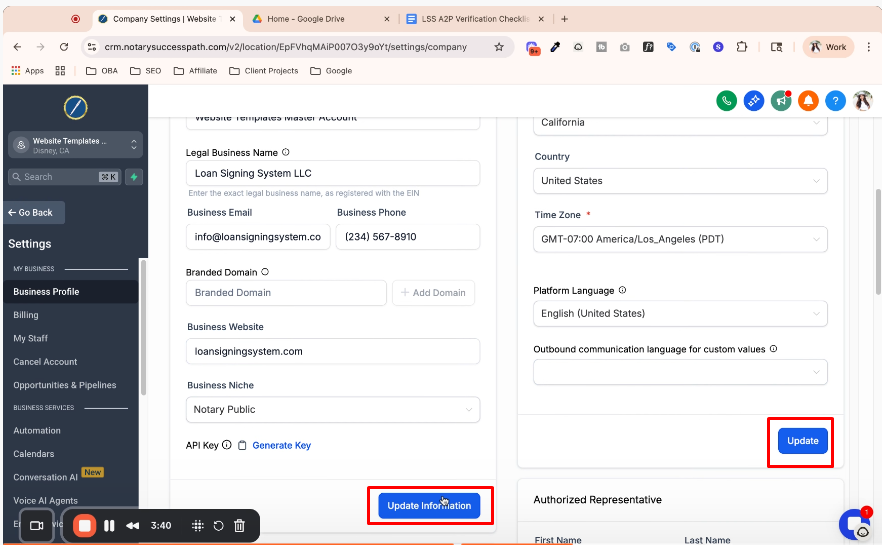
Step 5: Configure Business Website and Niche 2:57
Ensure your business website is correctly set up.
Select the appropriate business niche (e.g., legal, notary public).

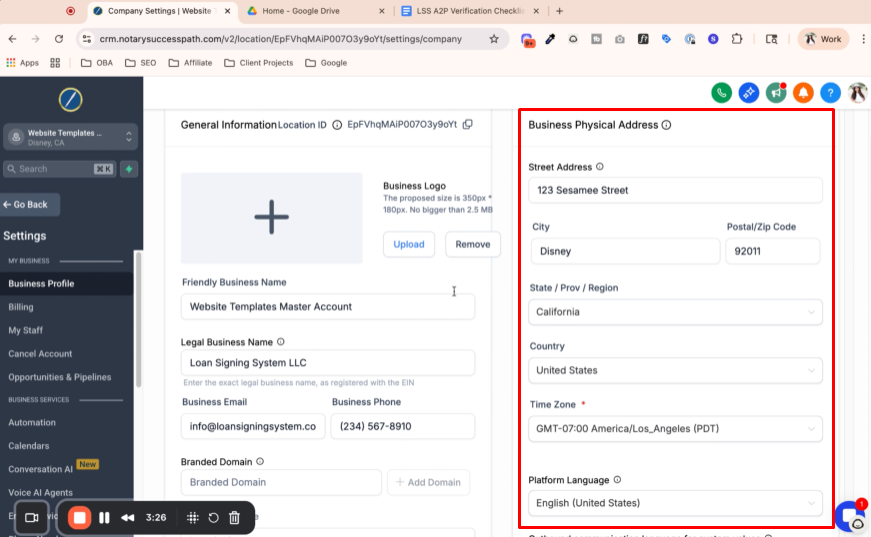
Step 6: Verify Physical Business Address 3:16
Confirm that the physical address matches the EIN information.
You can change this after verification, but it must match for the verification process.
Step 7: Update Business Profile Information 3:39
After confirming all information, hit “Update” to save changes.
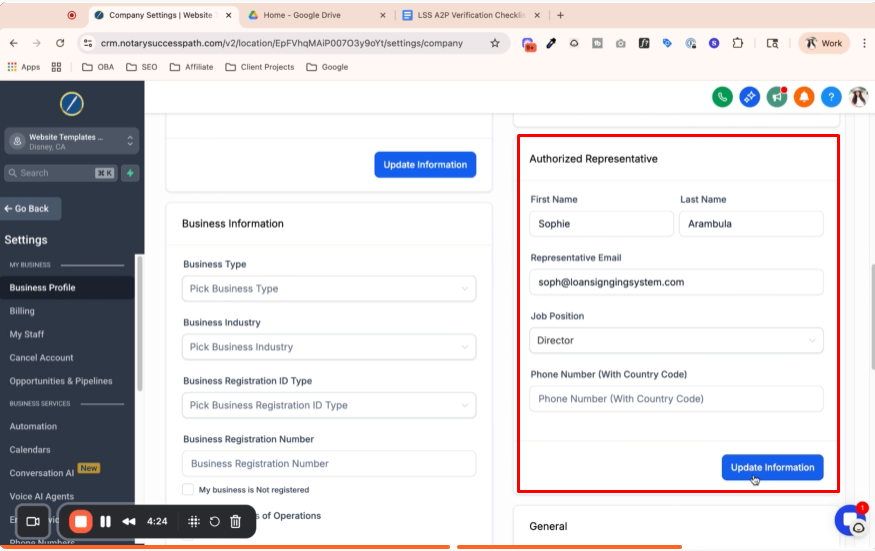
Step 8: Input Authorized Representative Information 3:54
Enter your name as the authorized representative.
Use a business email with your domain, not a personal email.
Step 9: Select Business Type and Industry 4:31
Choose the correct business type (e.g., LLC).
Select the industry (e.g., legal) unless registered under a different niche.
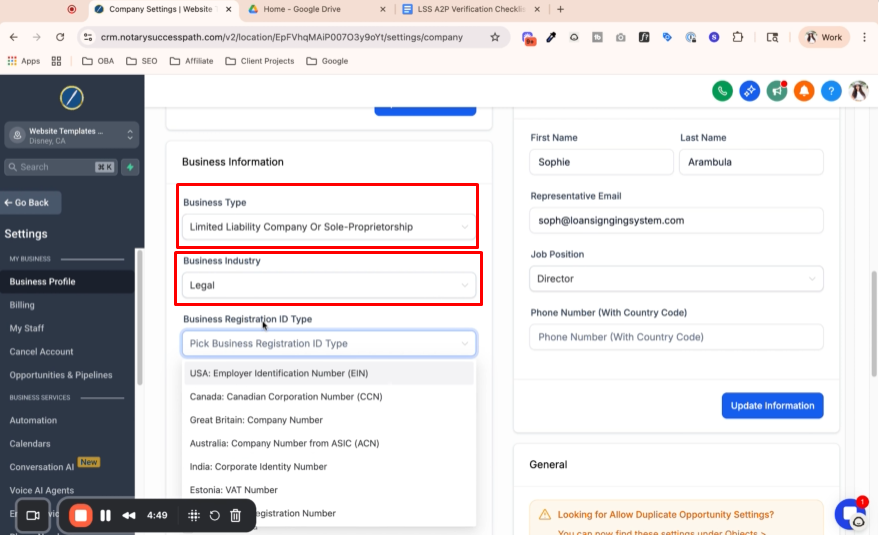
Step 10: Enter EIN and Confirm Registration 4:53
Input your EIN, ensuring it is the correct nine-digit number.
Confirm that you are registered in the USA and Canada.

Step 11: Final Review and Update 5:18
Double-check that all information matches exactly with your EIN.
Hit “Update Information” to finalize your setup.

Step 12: Prepare for Next Steps 5:35
Once everything is configured correctly, you are ready to proceed to the next step, which will be covered in the next video.
