Please ensure you’ve completed Step 1 for configuring your business profile details BEFORE completing this step. If you have not already setup your website, you will need to review the website tutorial trainings to ensure your website and domain are configured correctly before you complete this step.
A LIVE Website setup with your business domain
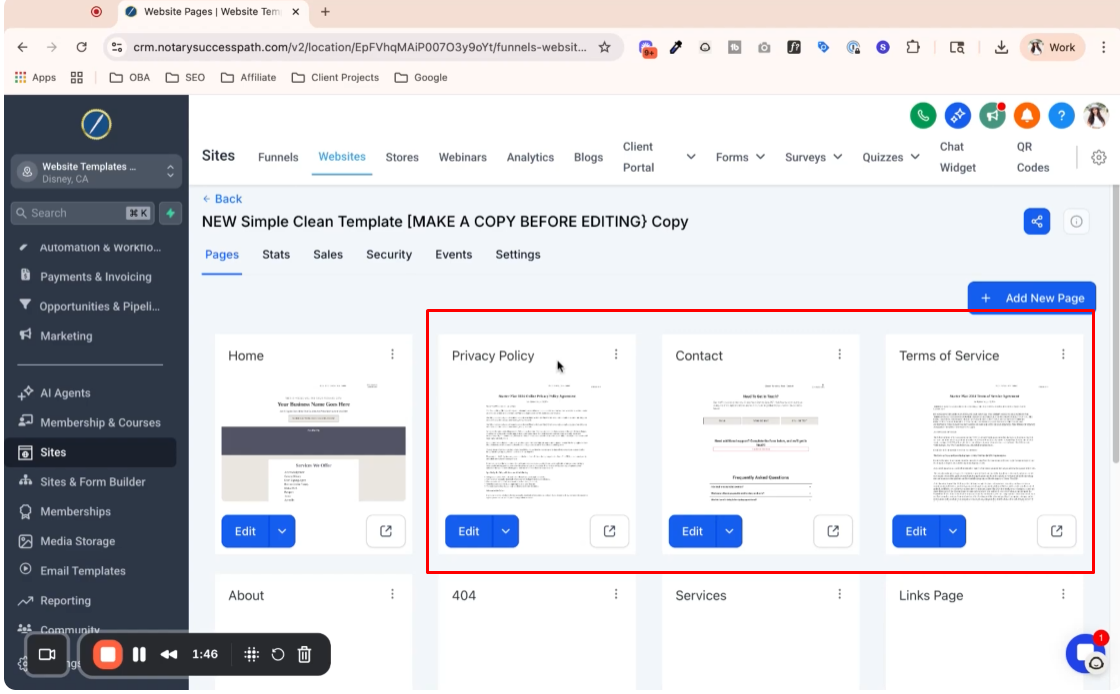
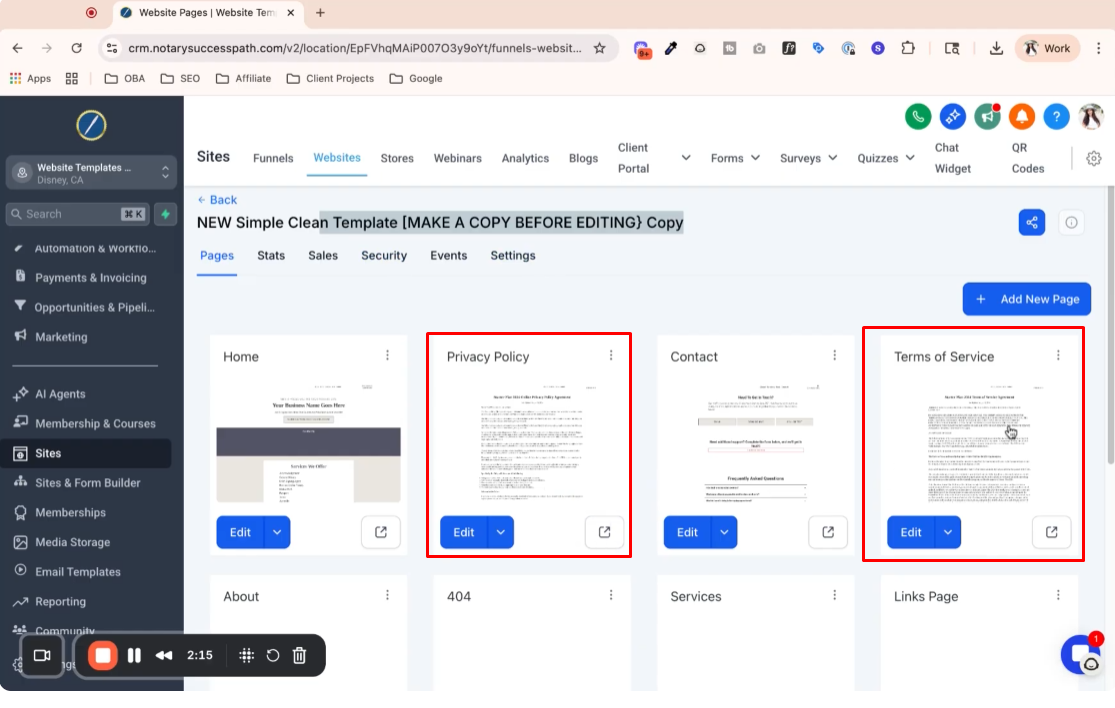
A Privacy Policy Page
A Terms of Service Page
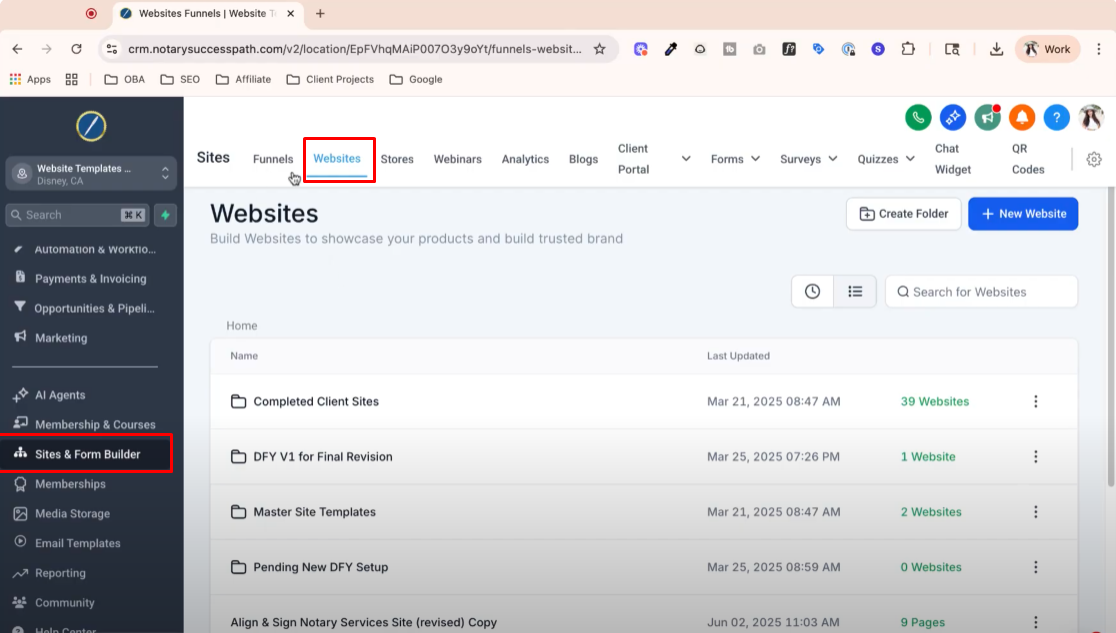
Step 1: Access Your Website 0:00
Ensure you are in your website using the CRM forms or another platform (Wix, Squarespace, Wordpress).
Follow platform-specific guidelines for editing settings.
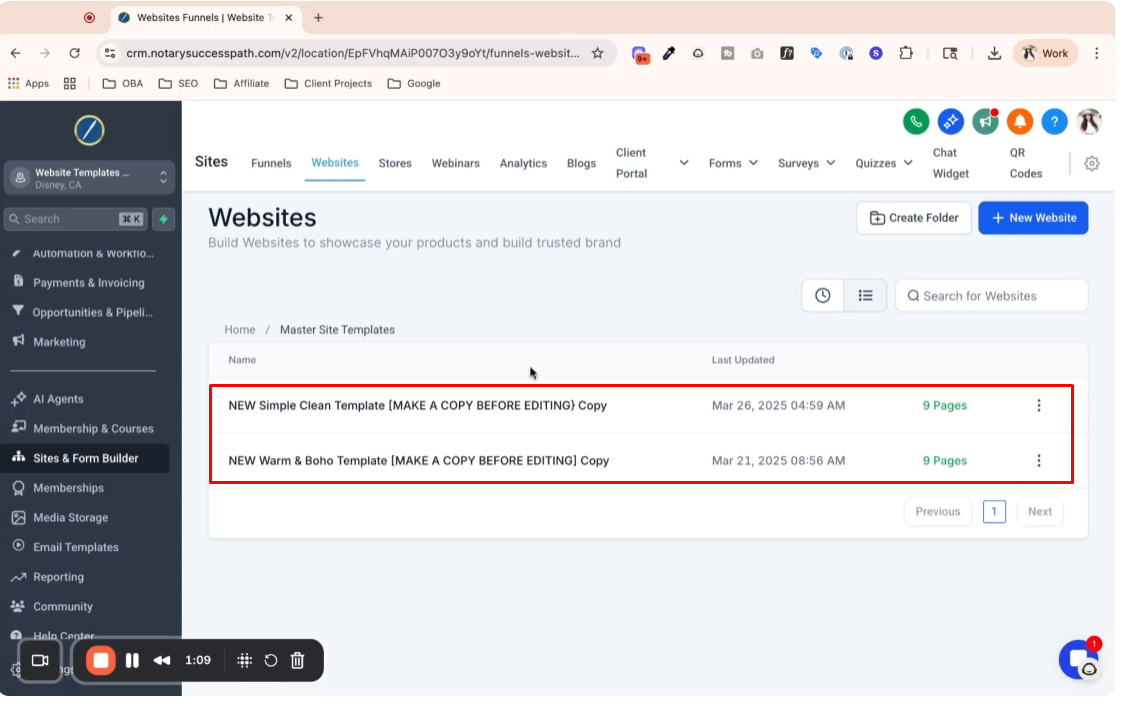
Step 2: Prepare Privacy Policy and Terms of Service 1:24
Locate the privacy policy and terms of service within your site template.
If you haven't set up your website yet, do that first.
Step 3: Link Privacy Policy and Terms of Service 1:55
Ensure your privacy policy and terms of service pages are linked in the footer of your site.
Refer to website setup tutorials for detailed instructions.
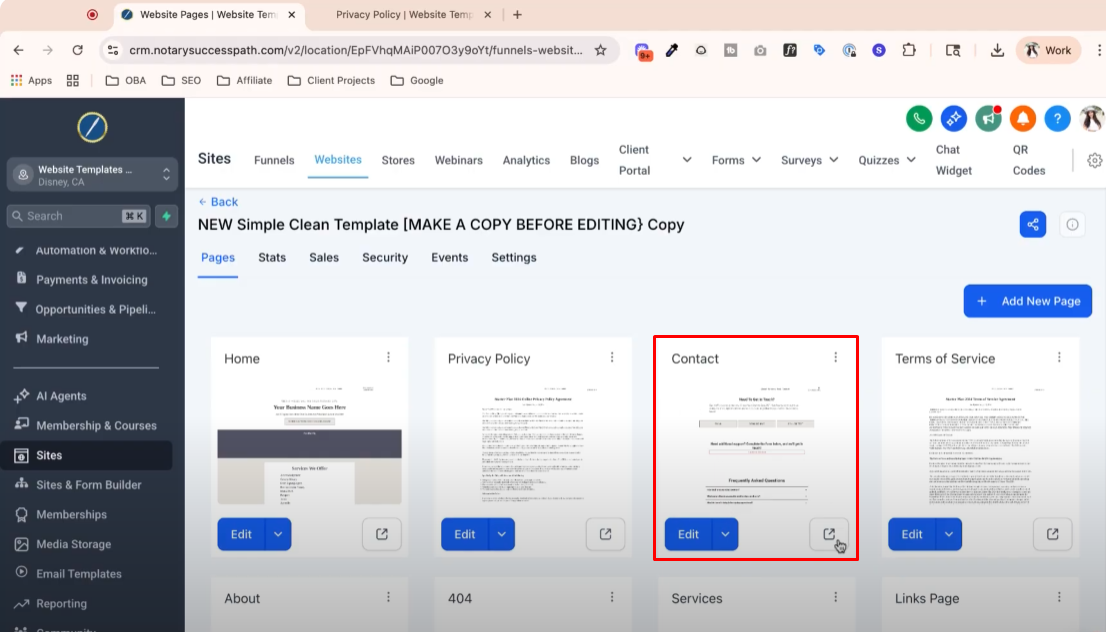
Step 4: Create a Contact Page 2:43
Create a contact page that includes a form for users to opt-in for SMS messaging.
This page must have links to your privacy policy and terms of service.
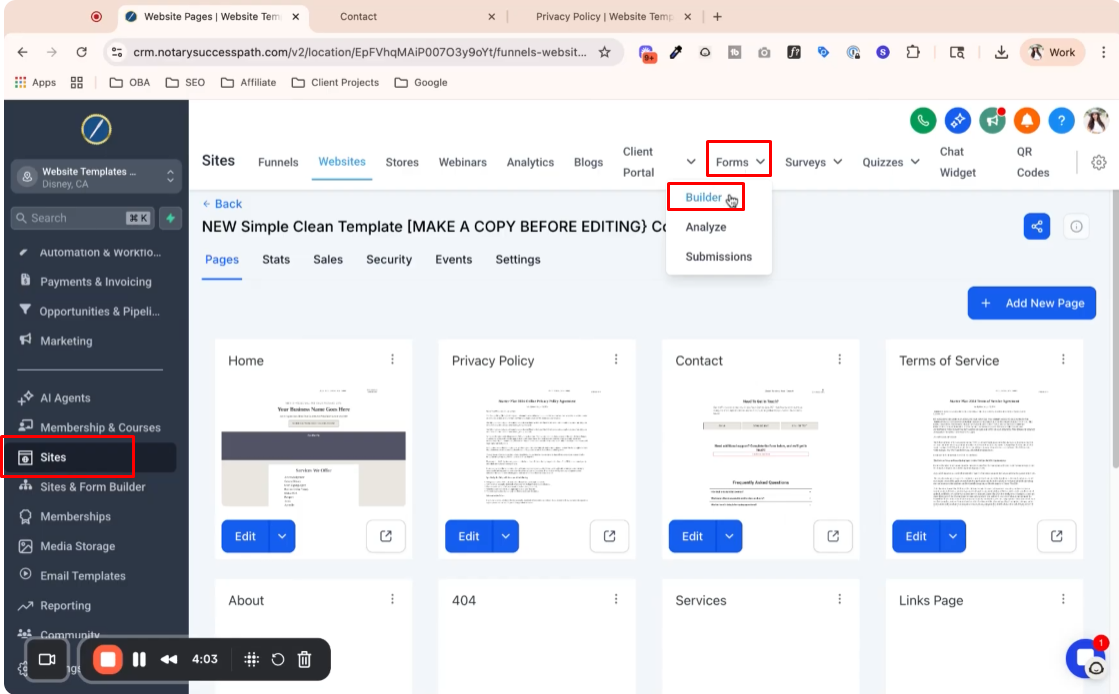
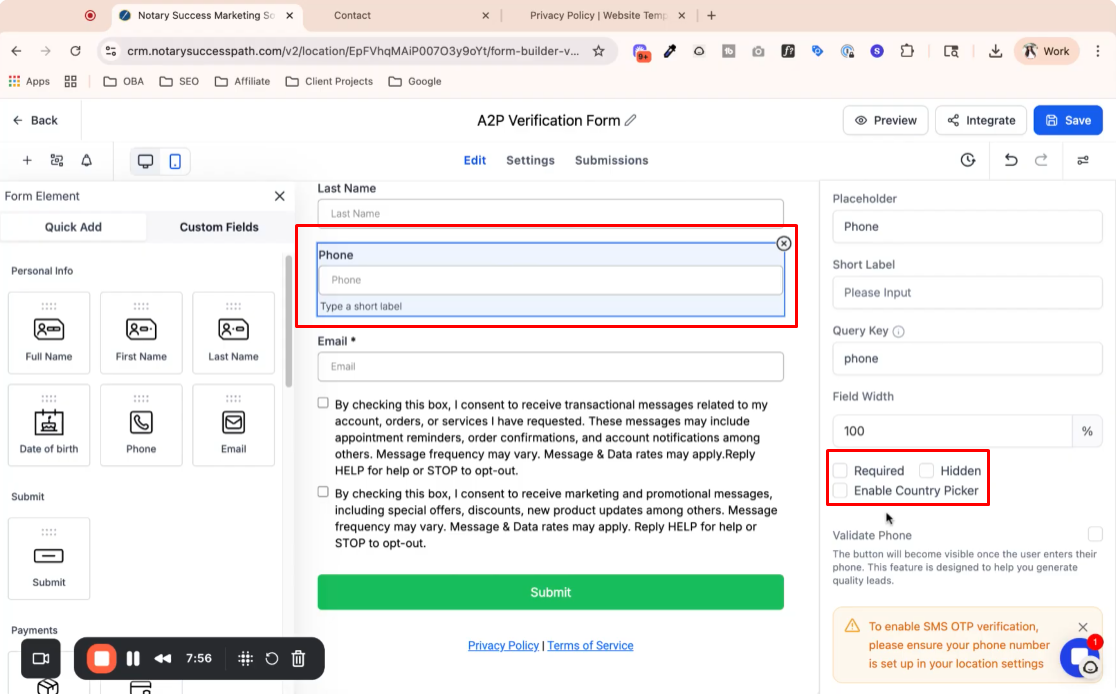
Step 5: Set Up the Contact Form 3:41
Go to the forms and builder section to create or edit your contact form.
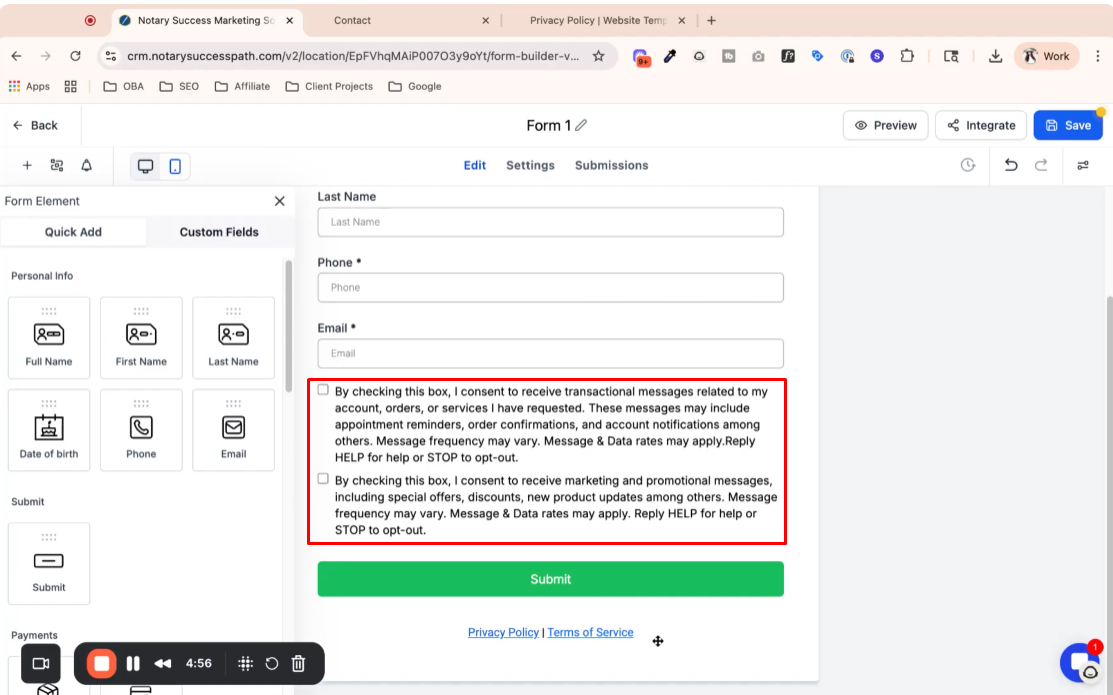
Include fields for first name, last name, email, and phone number.

Step 6: Add Consent Boxes 4:25
Ensure consent boxes are included in the form for users to agree to receive text messages.
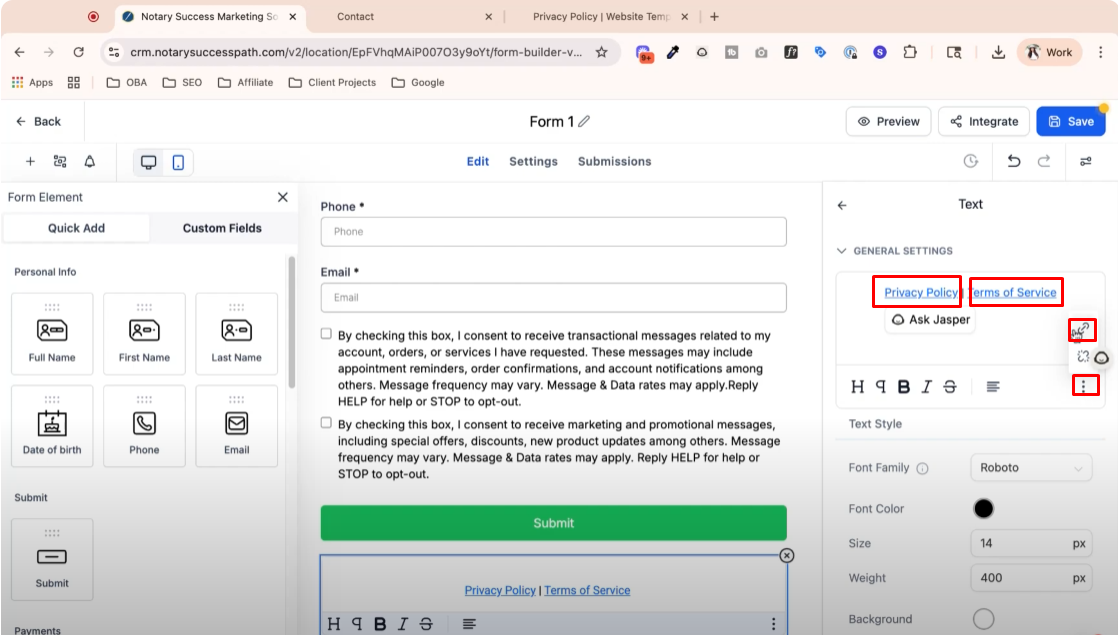
Step 7: Link Privacy Policy and Terms of Service in the Form 3:38
Update the form to include links to your privacy policy and terms of service.
Ensure these links point to your live domain, not a preview.
Step 8: Save and Label Your Form 6:22
Save your form and label it appropriately (e.g., A2P verification form).

Step 9: Make Phone Number Optional 7:10
Change the phone number field to optional in the form settings.
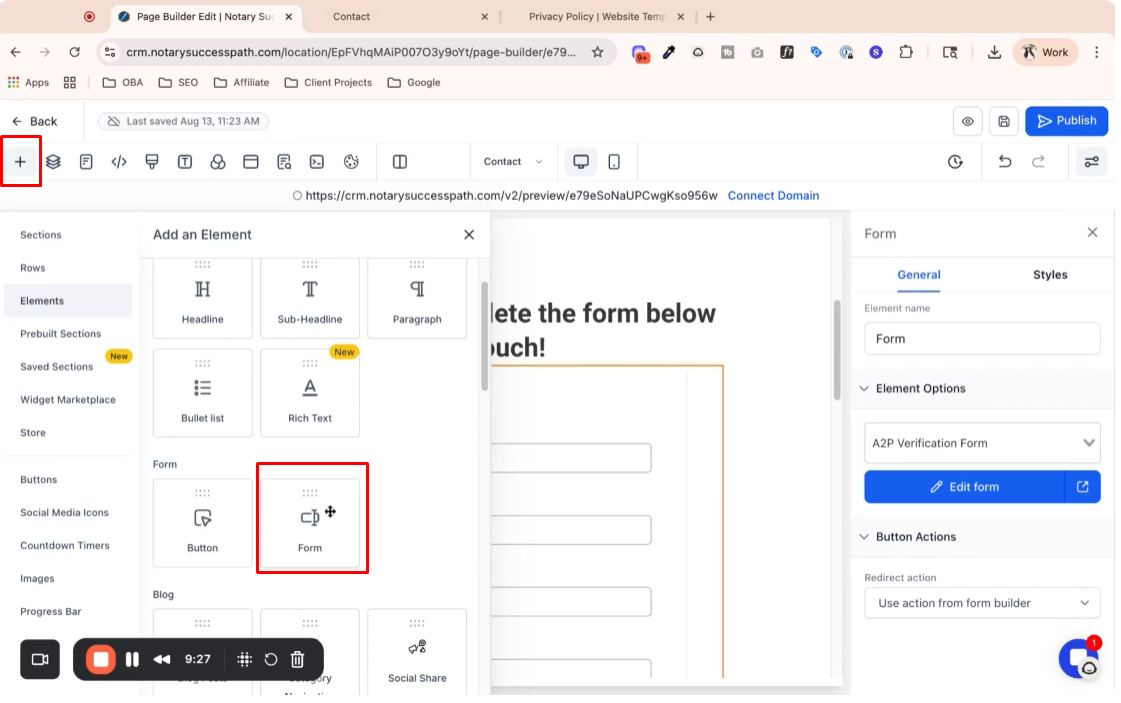
Step 10: Embed the Form on Your Site 8:20
Edit your contact page to add the newly created form.

If a form element exists, select the new form; if not, add a new form element.
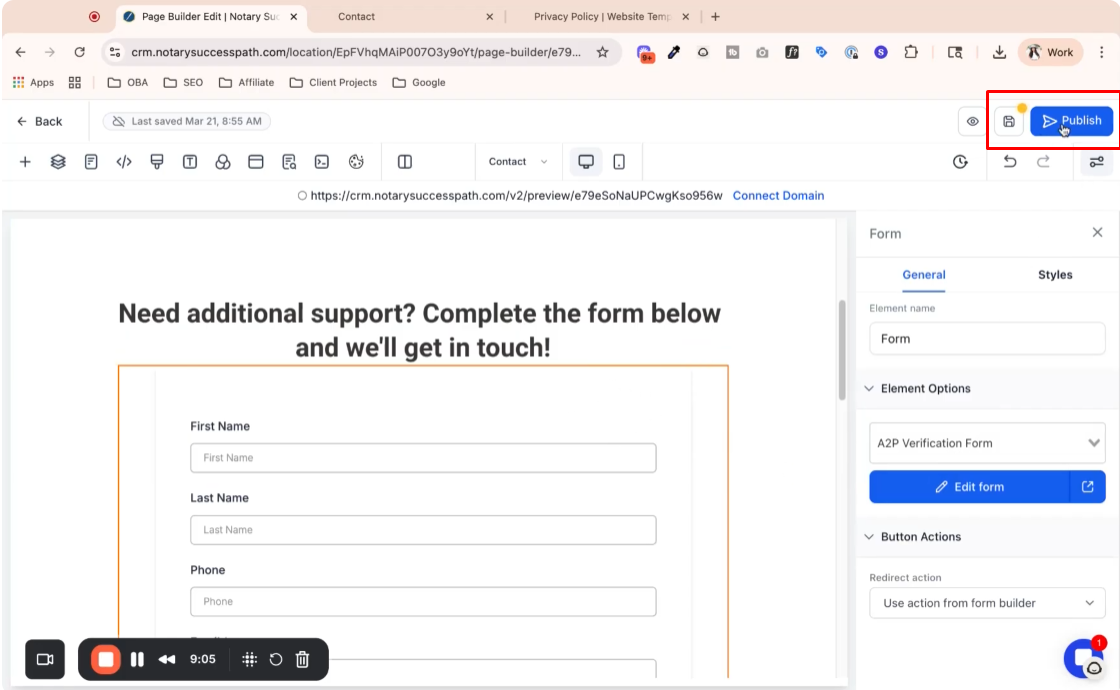
Step 11: Publish Your Changes 8:48
Save and publish your changes to make the form live.
Step 12: Confirm Completion of Steps 9:37
Ensure all previous steps are completed to avoid issues during A2P verification.
