Completed Your Business Profile Setup with Your EIN in Step 1
Completed Your Privacy Policy, Terms of Service and Contact Form setup in Step 2
Completed The A2P Verification Process
Step 1. Configure Business Profile Settings
Step 2. Configuring Privacy Policy, Terms of Service, and Contact Form
Editing Your Website: A Step-by-Step Guide
Step 3. Completing The A2P Verification Form For Brand and Campaign
Step 1: Introduction 0:00
Ensure you complete the A2P verification process before proceeding, as failure to do so may result in issues with sending and receiving text messages.
Step 2: Accessing Settings 0:33
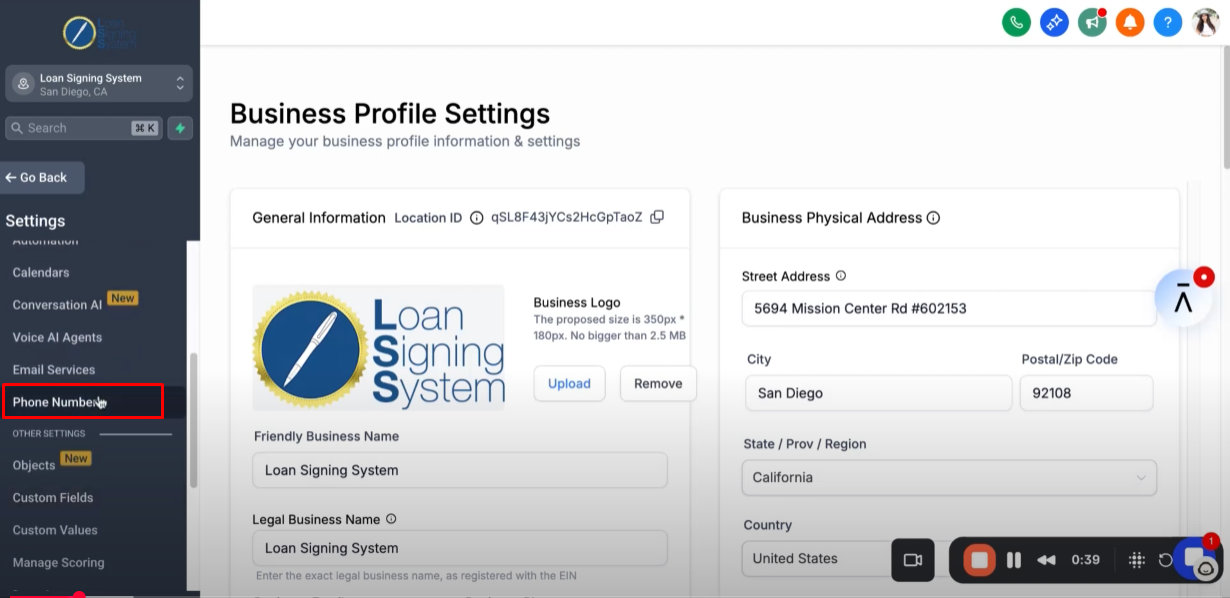
Navigate to the “Settings” tab at the very bottom of your account menu.
Select the “Phone Numbers” section.
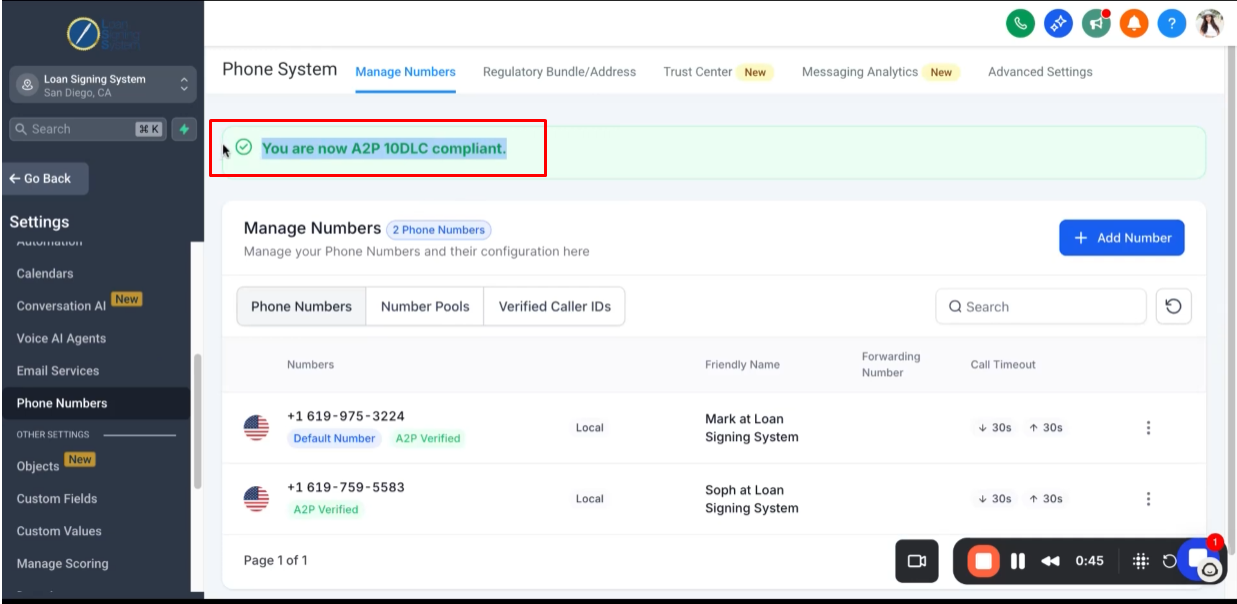
Step 3: How to know if you are approved or verified 0:41
You will see a green label indicating that you are now A2P 10DLC compliant, which is required to start sending and receiving text messages and making phone calls through the system.
Step 4: If label showing pending verification or not verified 0:59
You’ll need to return to Steps 2 and 3, ensure everything is configured correctly, and then proceed to Step 4 once you receive the green A2P 10DLC compliance label.
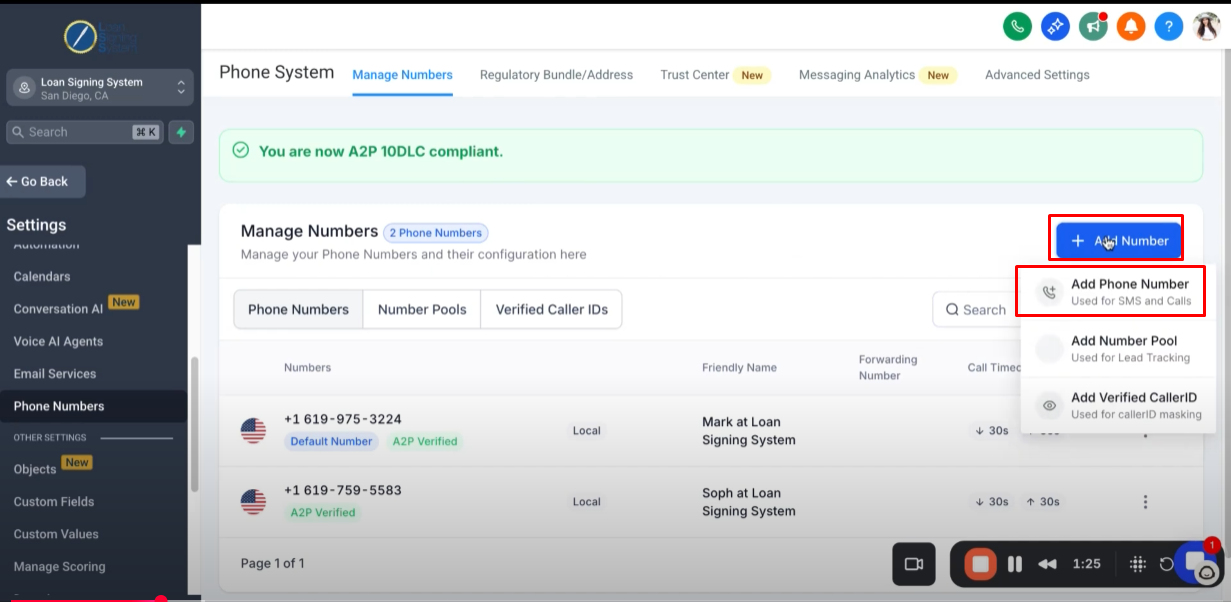
Step 5: Adding a Phone Number 1:16
Click the “Add Number” button and select “Add Phone Number.”
By default, you will see random numbers that you can choose from.
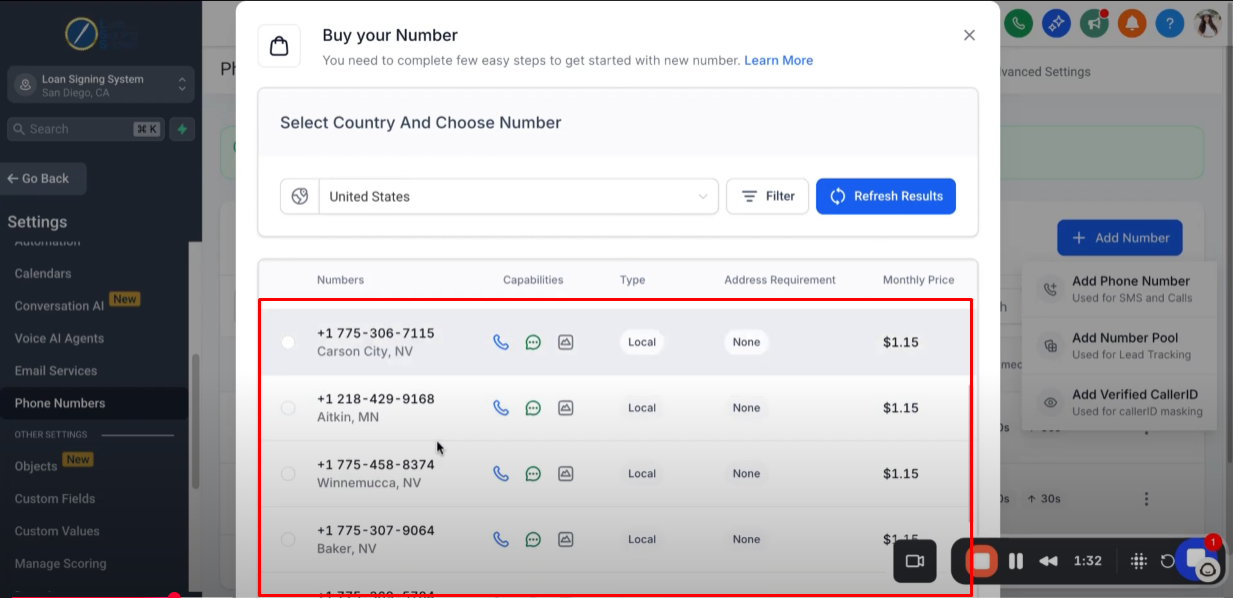
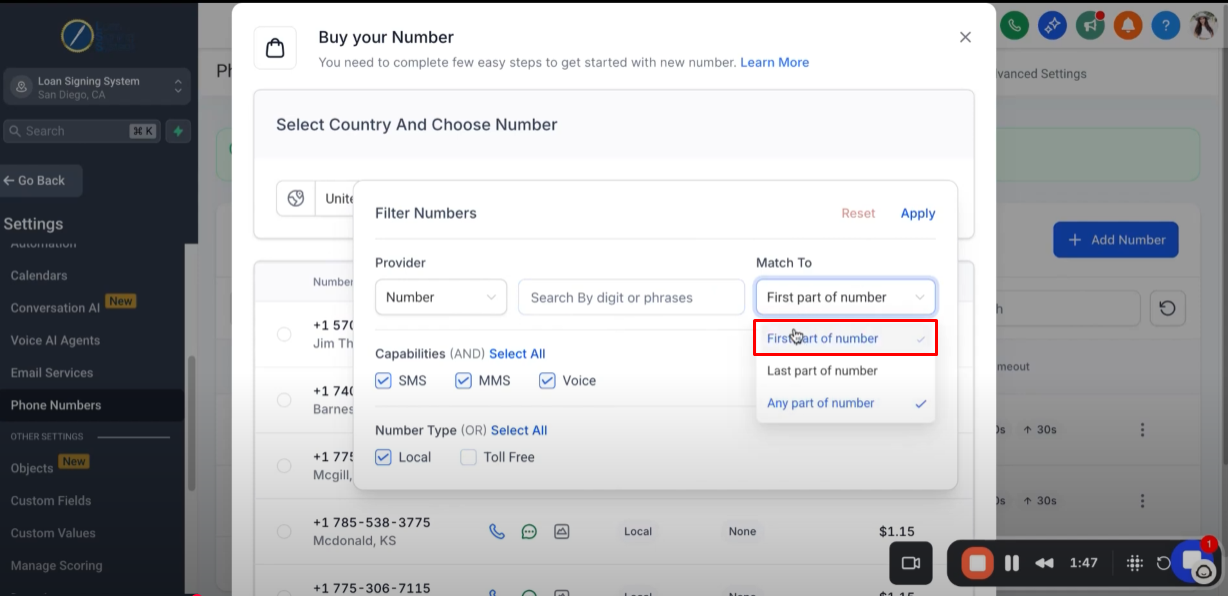
Filter the available numbers by entering a specific area code for your local region to ensure the number is familiar and recognizable to your contacts.

Turn off the Toll Free.

Use the option to match to First part of number aka the area code.
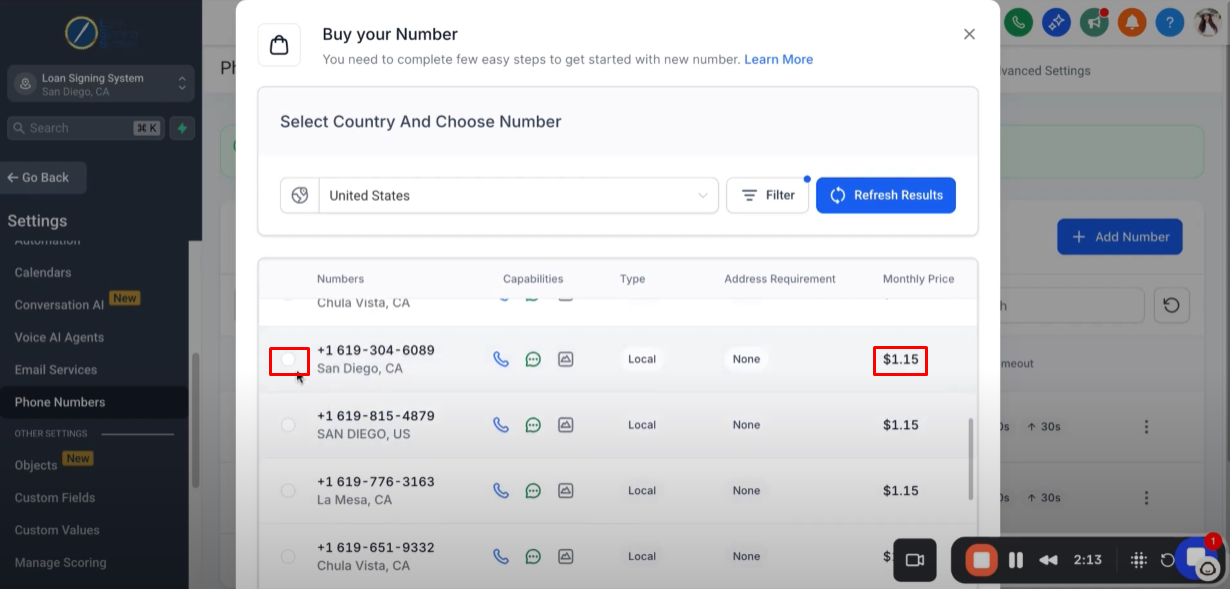
Select your preferred number by clicking the checkbox. Please note the monthly price is $1.15.
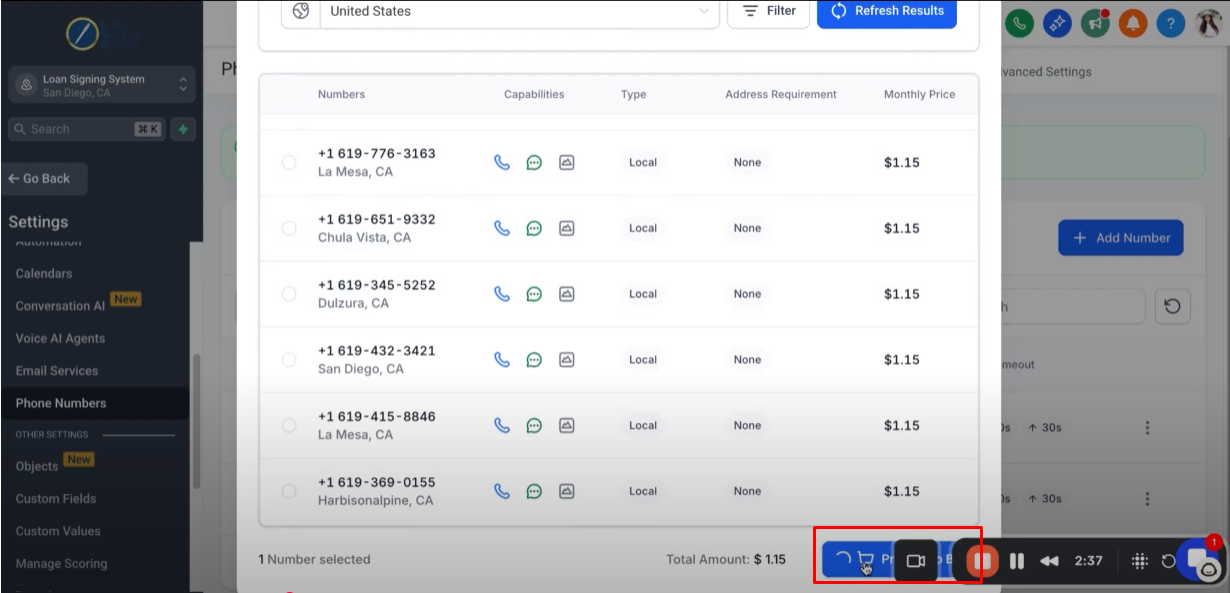
Once you select your phone number, scroll to the bottom and click “Proceed to Buy”.
After you click the “Proceed to Buy”, you will see a pop-up asking you to configure and register the phone number.
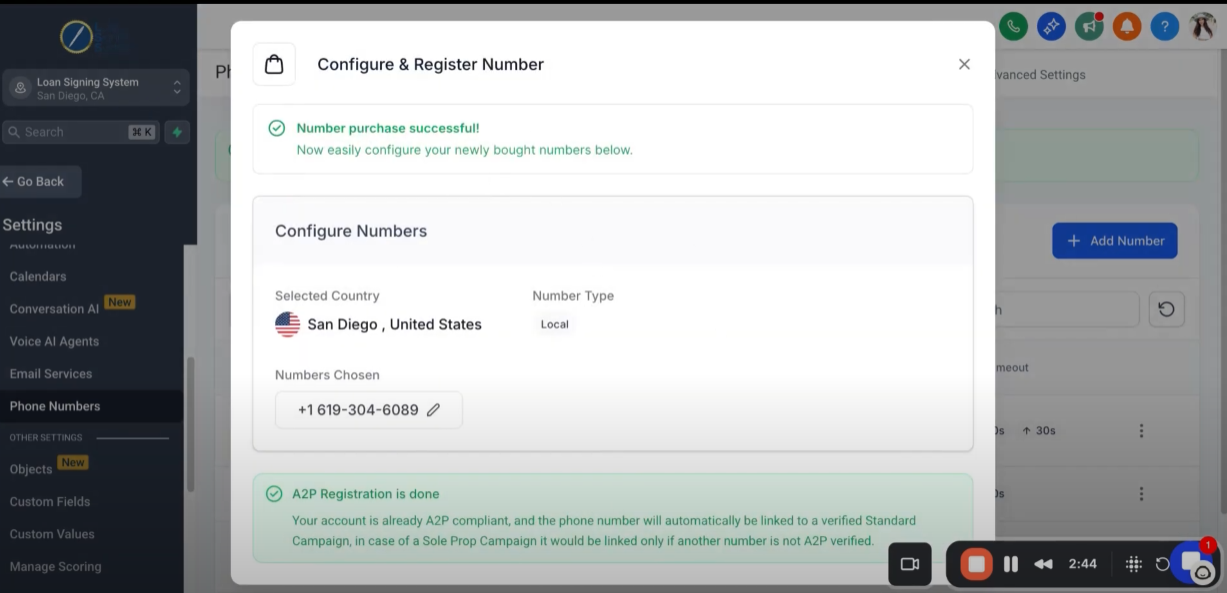
If you completed the “A2P Process” you will see this green banner.

Step 6: Configuring the Phone Number 2:58
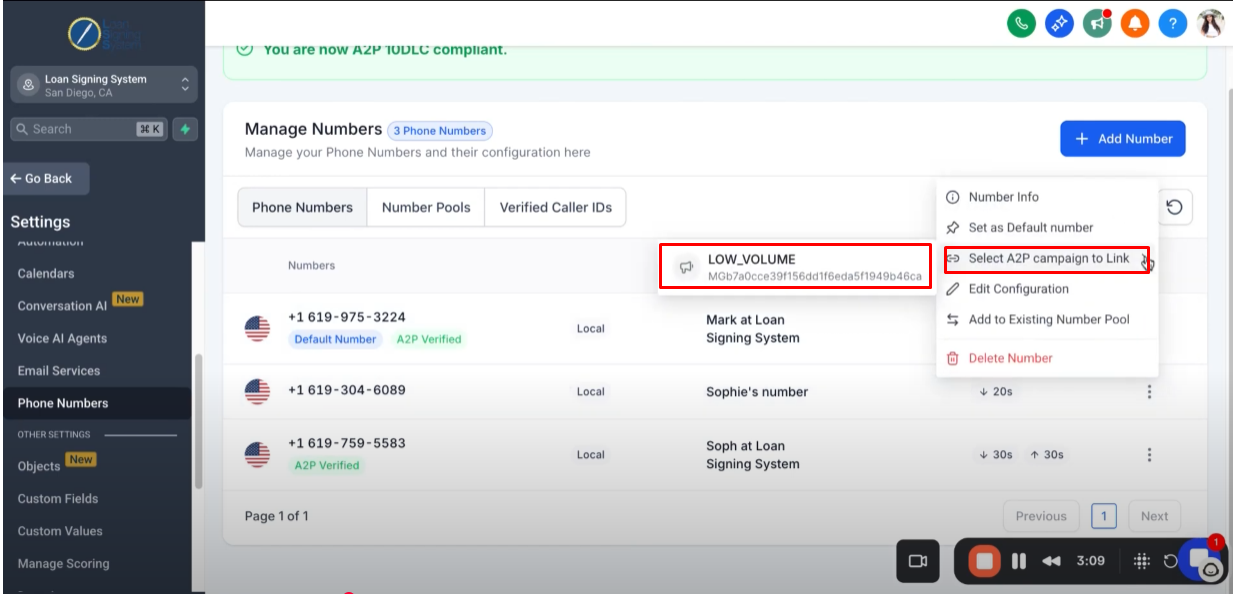
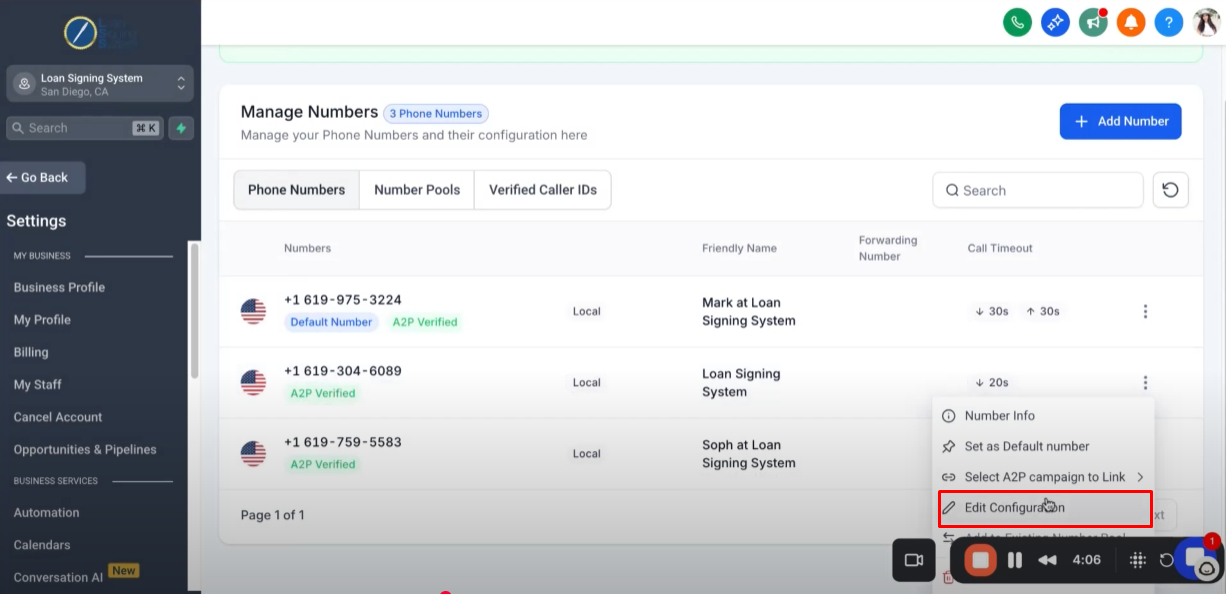
Click the three dots on the right side of your phone number.
(Ensure that the phone number you are configuring displays the A2P verified indicator.)

From the options, select "Select A2P Campaign to Link" to associate the phone number with your A2P campaign.
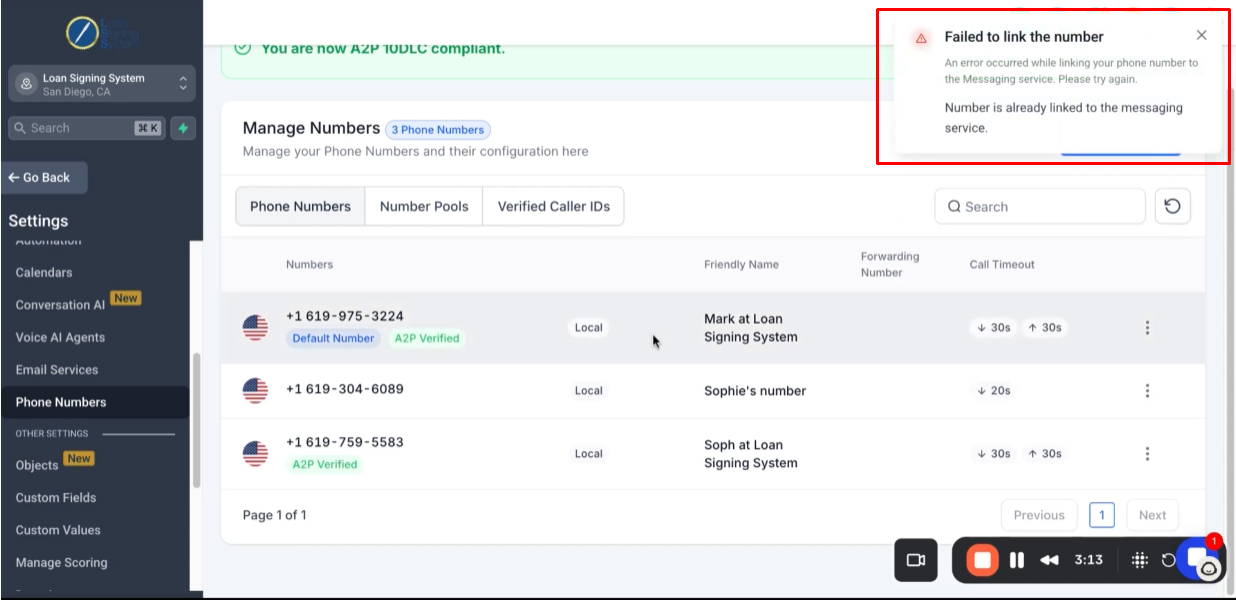
If you see this error you might need to refresh the feed.
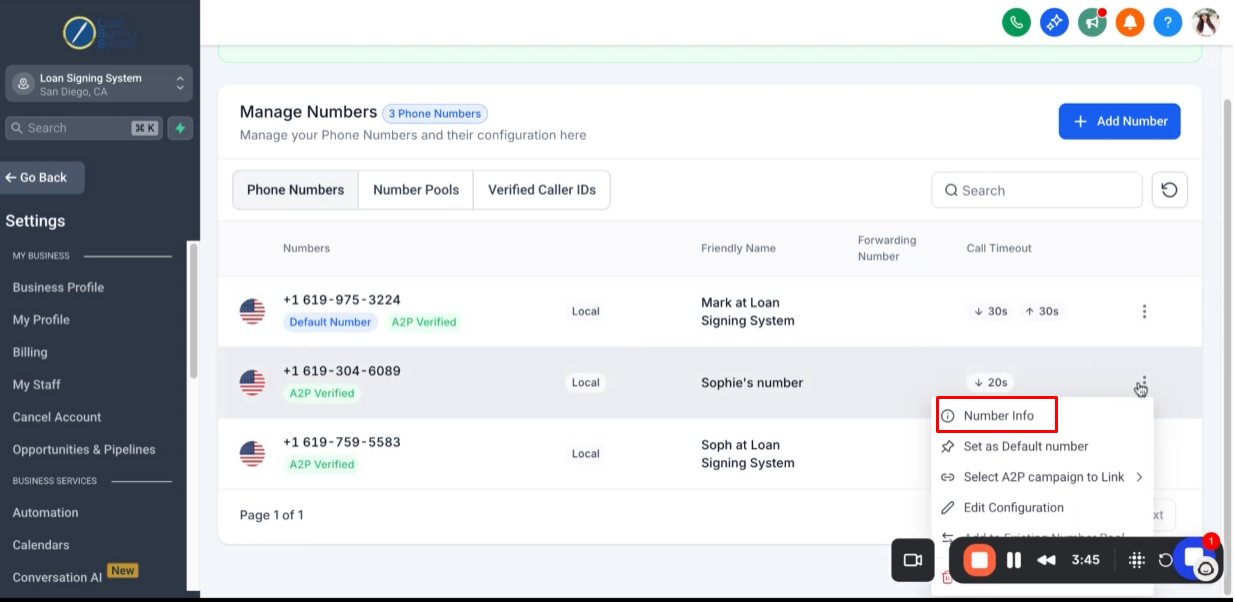
Click the three dots on the right side of your phone number, then select “Number Info” to view the details associated with your number.
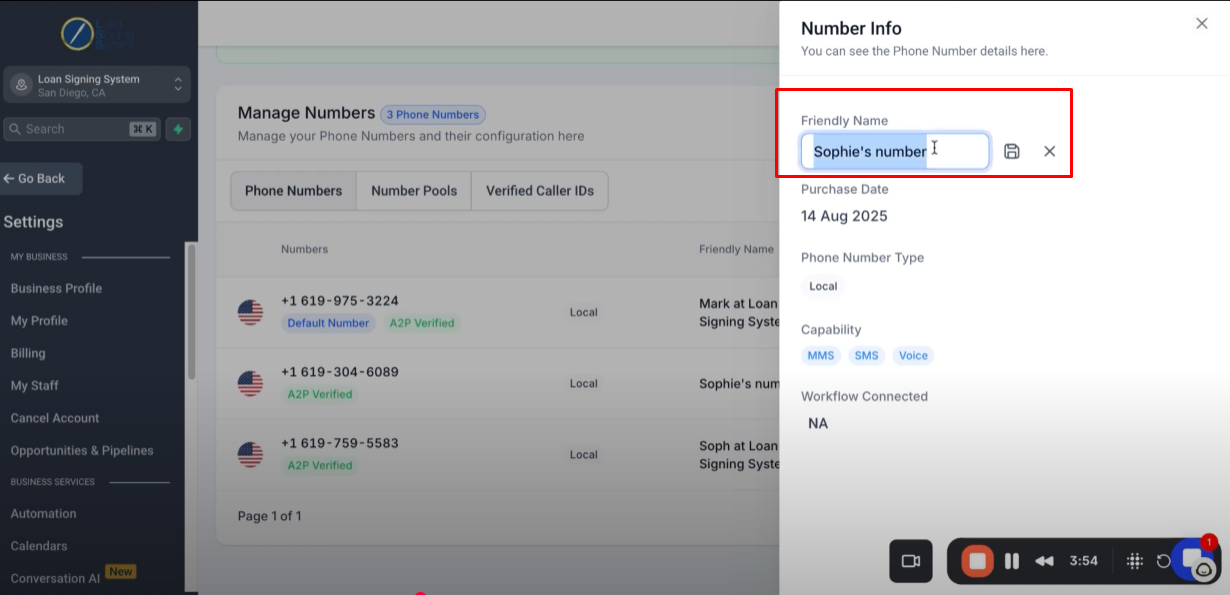
Here, you can change the name of your phone number to help identify it more easily within the system.
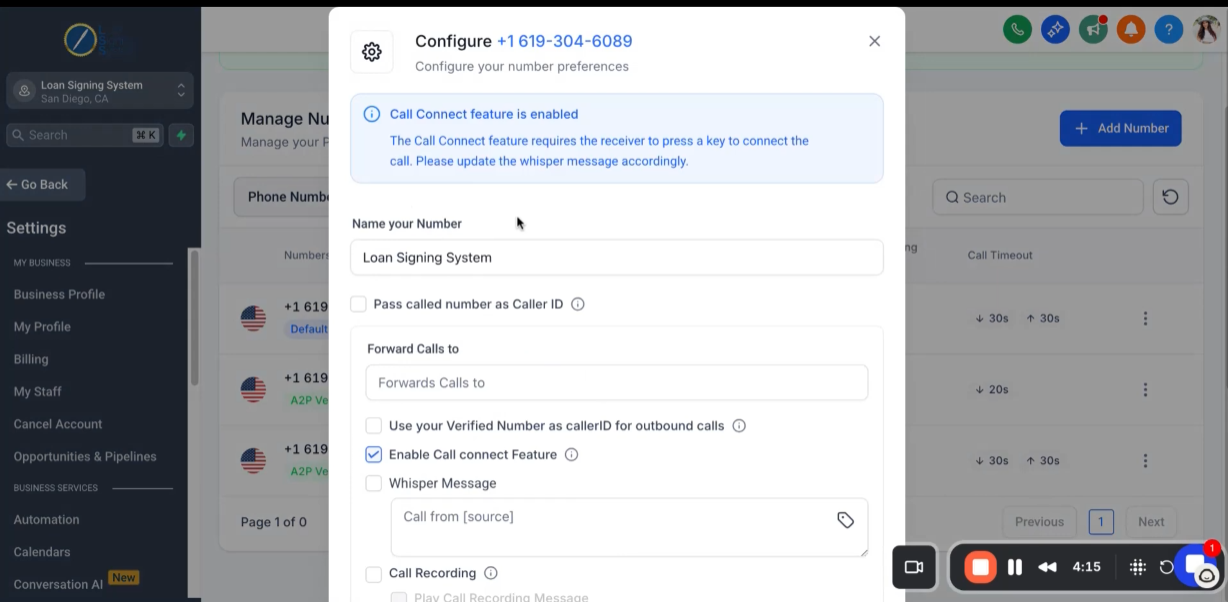
To customize how the phone number functions for you, click the three dots on the right side of your phone number, then select “Edit Configuration.”
This window appears after clicking Edit Configuration, allowing you to customize your phone number settings.
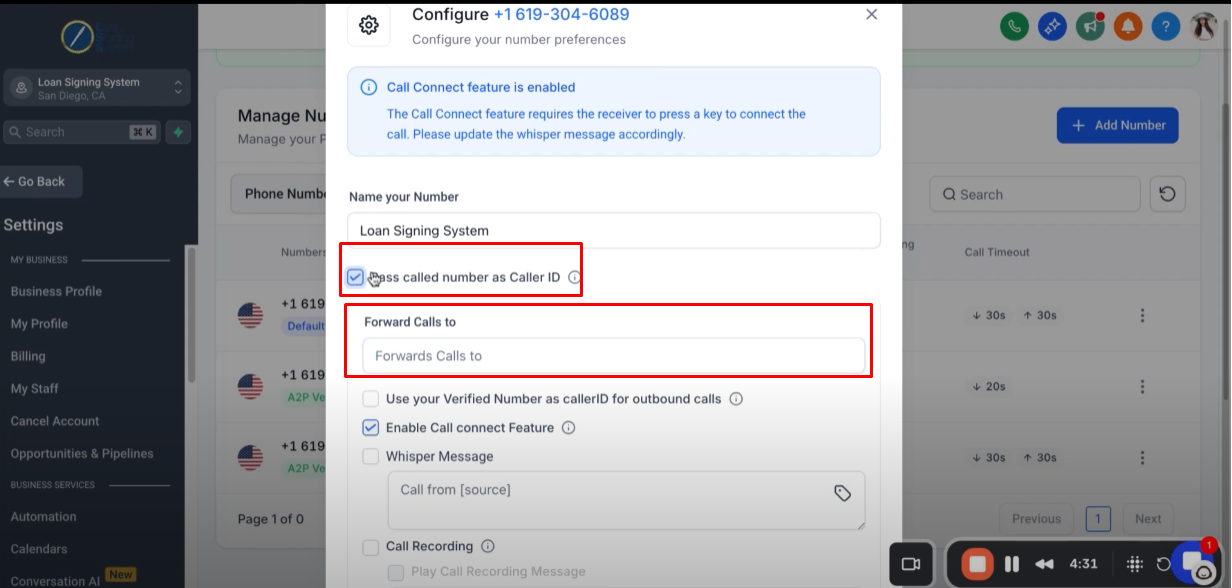
Enable the “Pass Called Number as Caller ID” feature to improve call recognition. For example, when you call +1 (555) 123-4567, this number will appear as the caller ID on the recipient’s phone, helping them identify your call easily.
If you use your personal number for business, enable call forwarding to have incoming calls redirected to your personal phone.
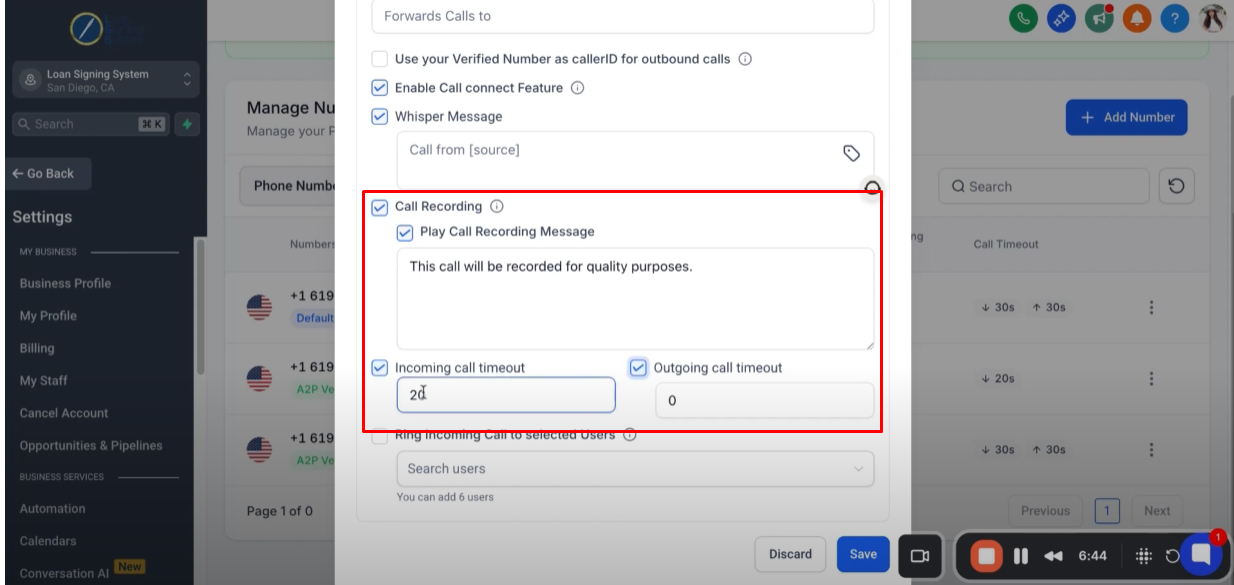
Call Recording: Toggle this option ON or OFF depending on whether you want calls to be recorded automatically.
Incoming Call Timeout: Set the number of seconds before an incoming call times out.
Outgoing Call Timeout: Set the number of seconds before an outgoing call times out.
Adjust these fields to match your preferred call handling setup.
Recommendation:
If you have multiple team members, assign the relevant team members to the phone number. This way, when someone calls, the phone will ring for all assigned team members, ensuring timely notifications and responses—ideal for businesses with multiple team members handling calls.
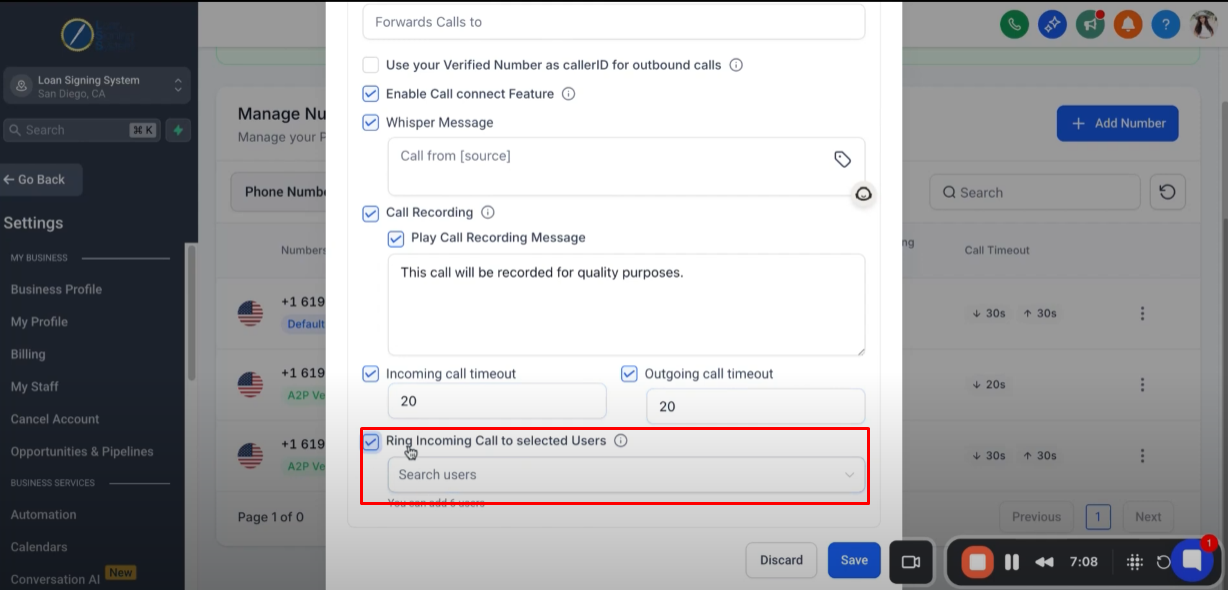
After configuring, click “Save”.
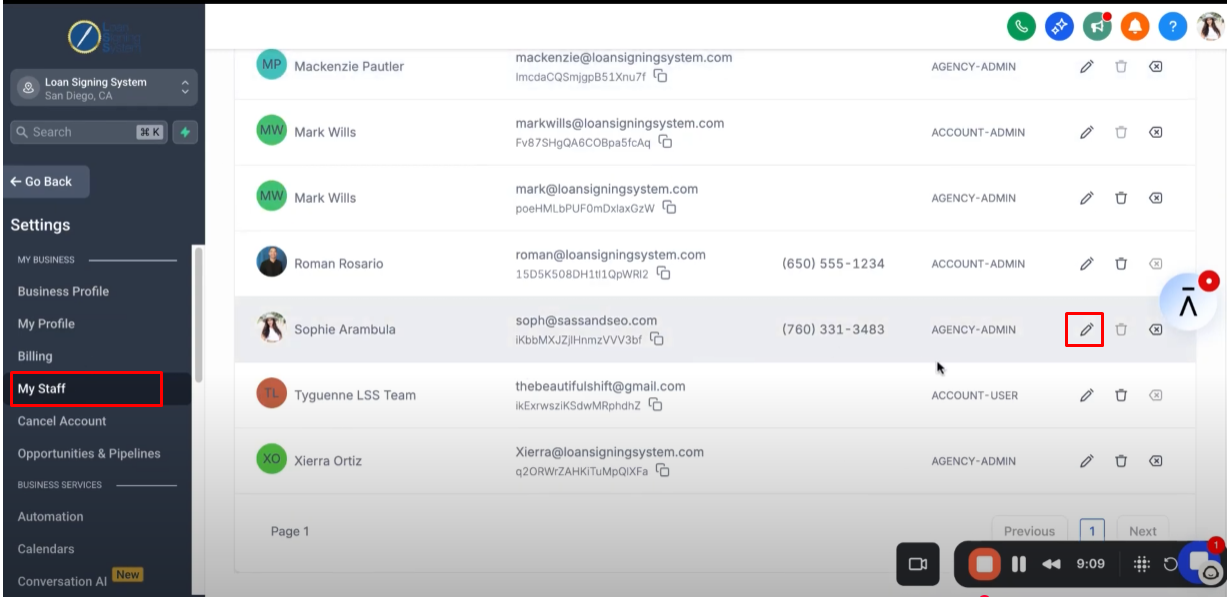
Step 7: Assigning Phone Number to User 9:00
Click “My Staff”, then select the specific user you want to update and click edit.
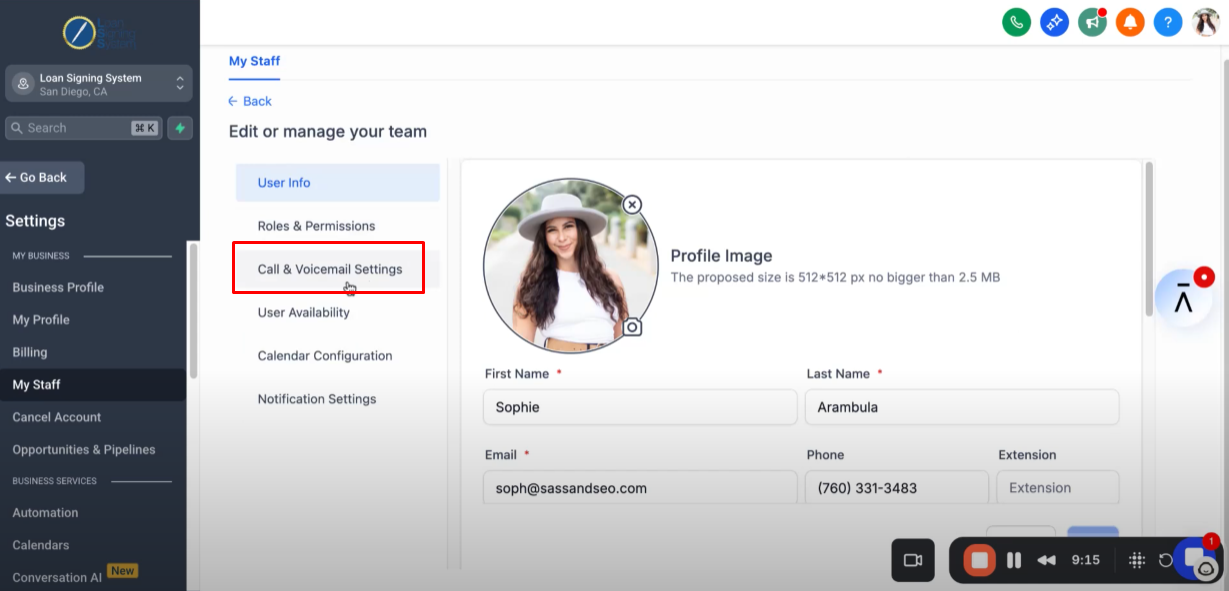
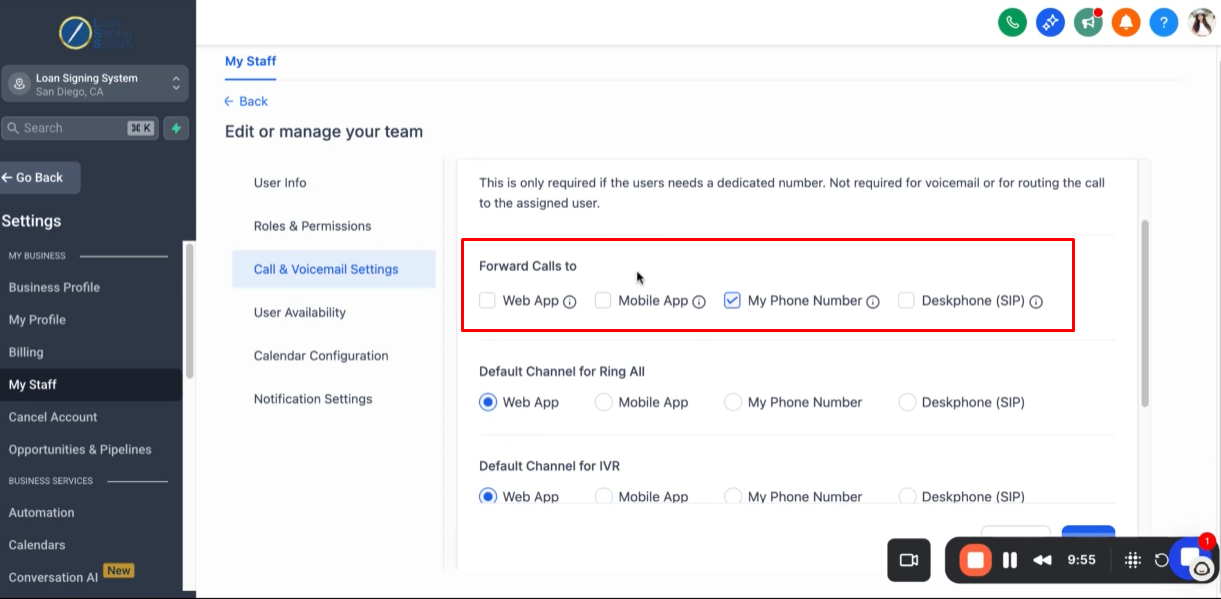
Click “Call & Voicemail Settings”.
Choose your dedicated inbound number.
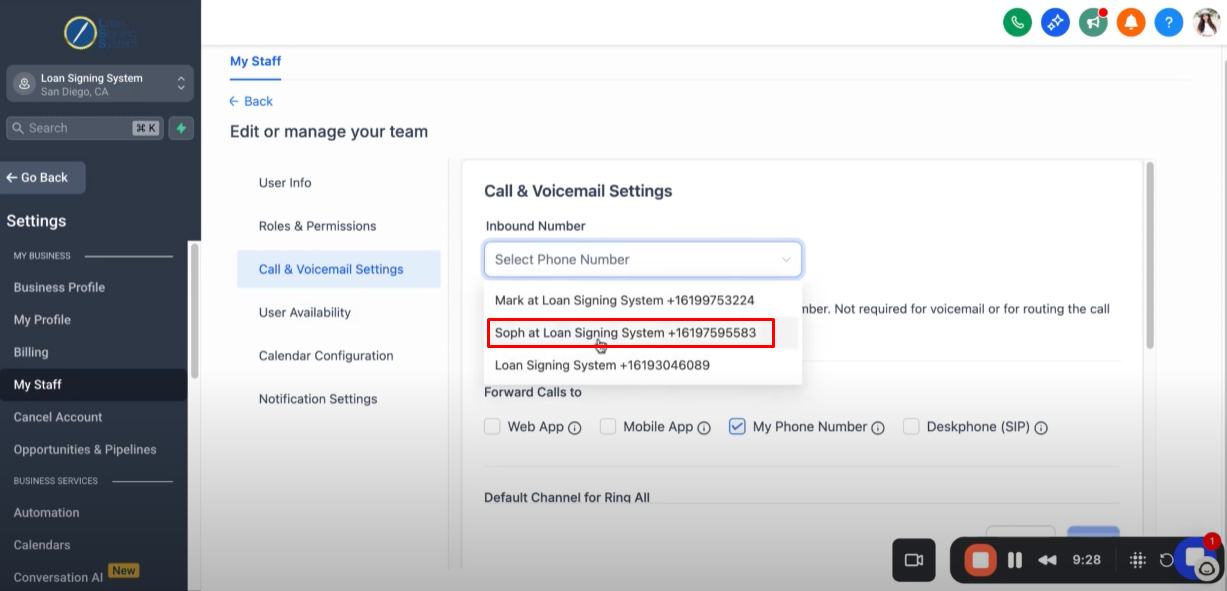
You can choose where you want to forward calls to.
You can upload a voicemail recording that will automatically play when you’re unable to answer a call. Be sure to update the incoming call timeout to allow enough time for the voicemail to play.
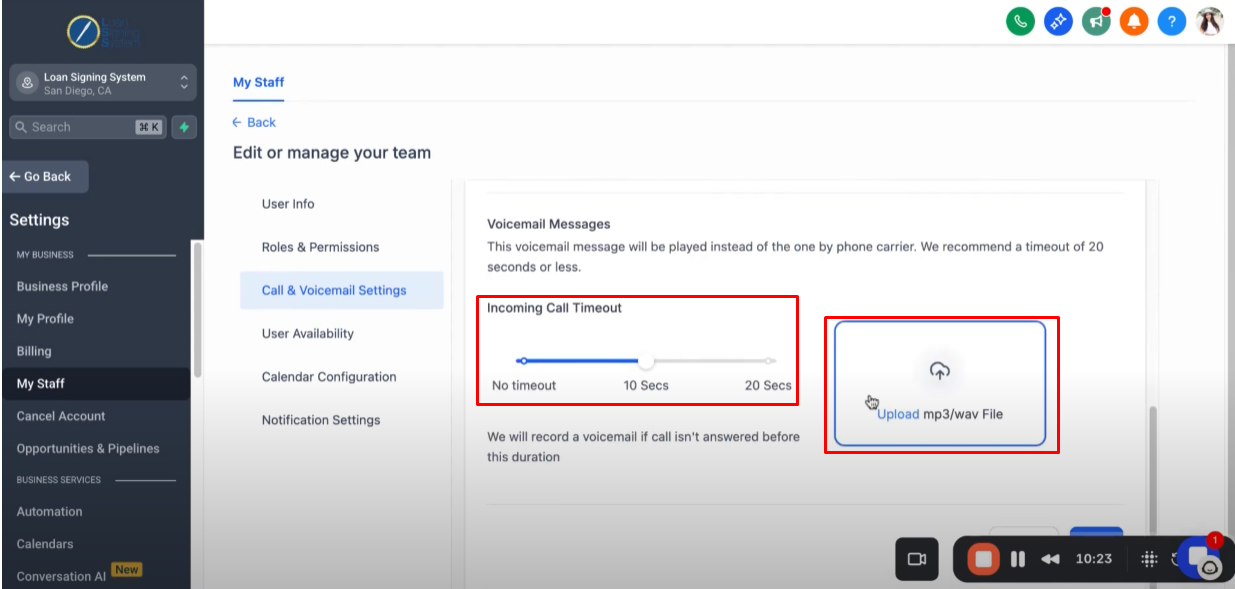
After you update the settings, click “Save”.
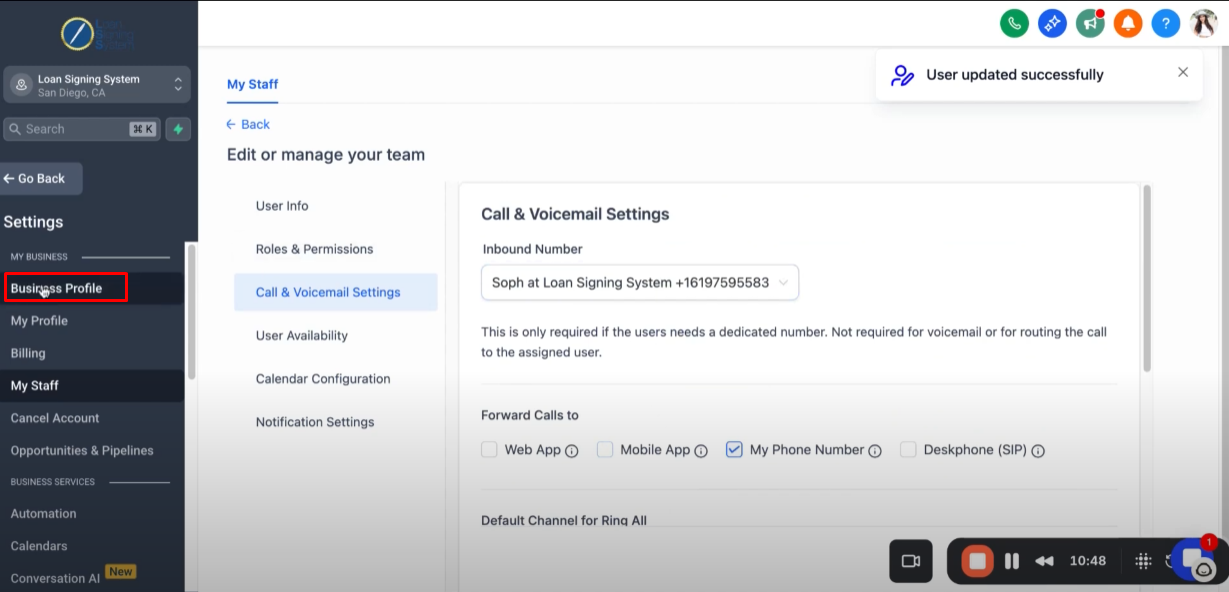
Step 8: Update Your Phone Number in the Business Profile 10:47
Click “Business Profile”
Update the “Business Phone” with the phone number you purchased.
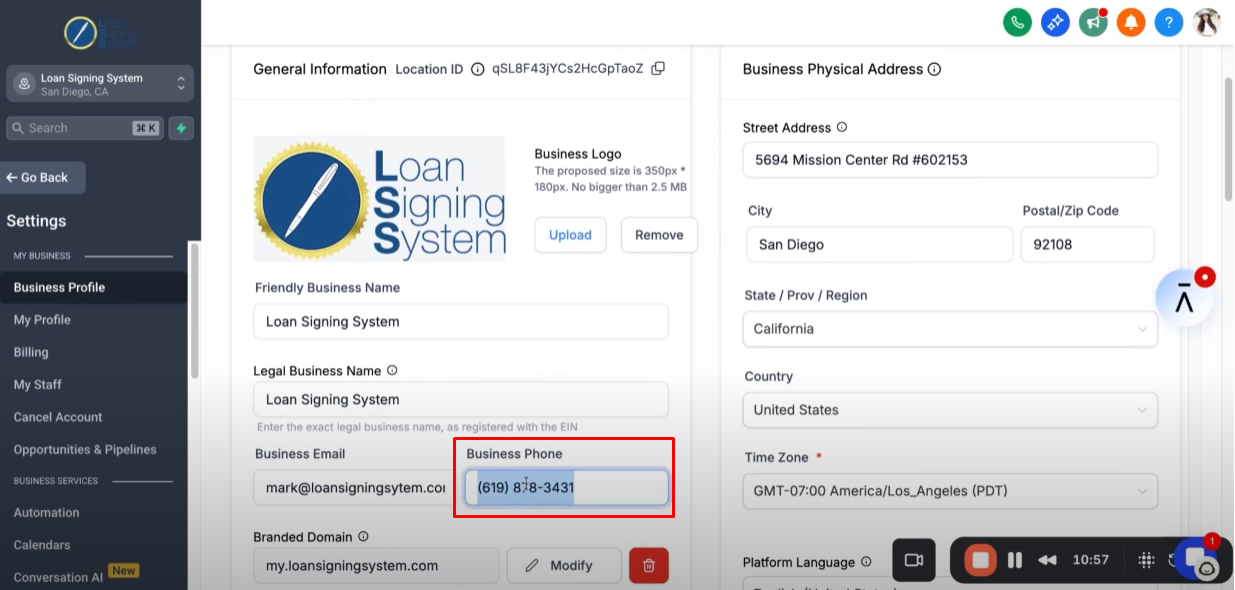
Scroll down and hit “Save”.
