1. Click on "GBP Automated Posts" to start your journey.
2. Next, click on "New Post" to create something fresh.

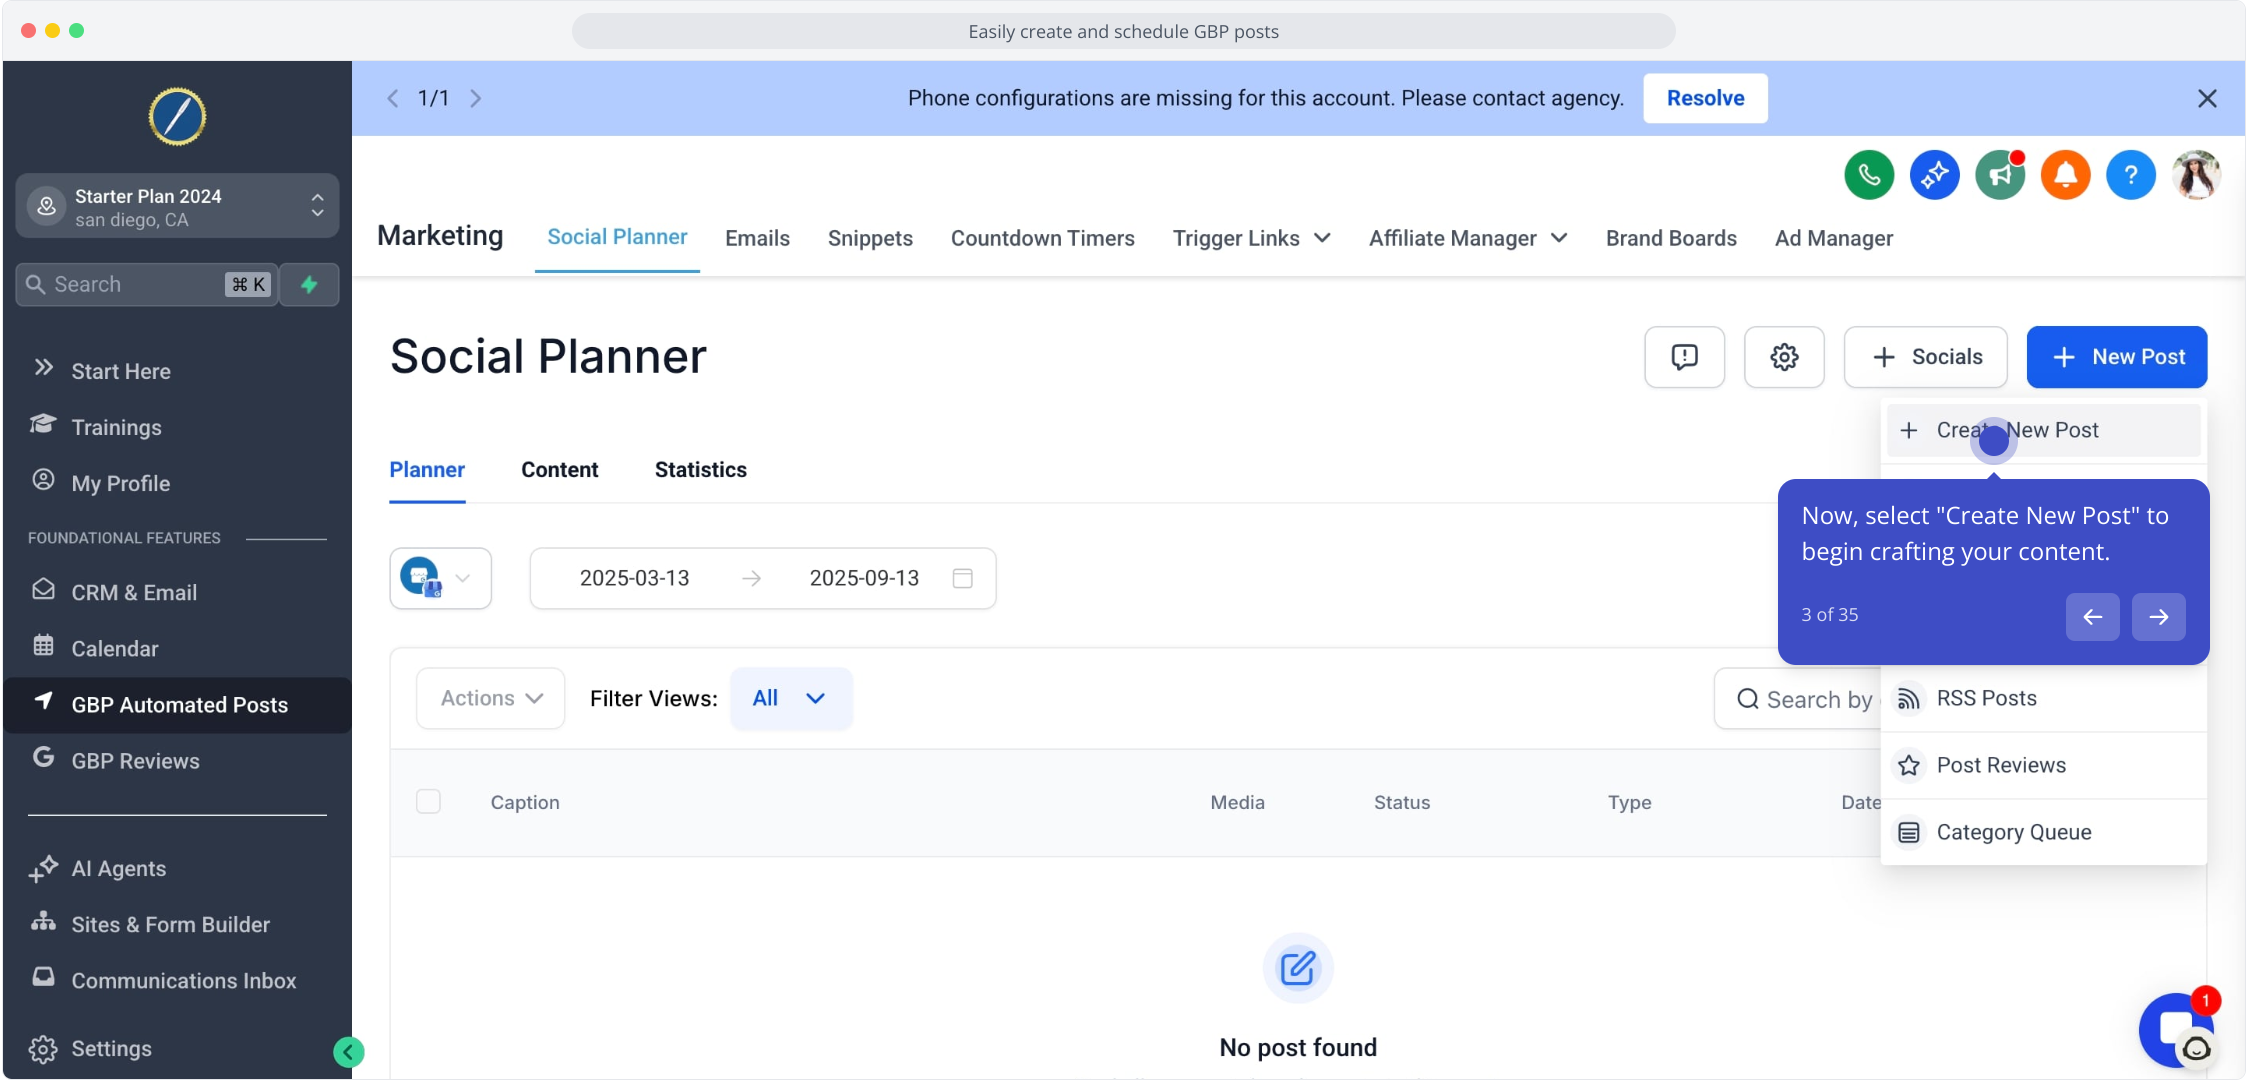
3. Now, select "Create New Post" to begin crafting your content.
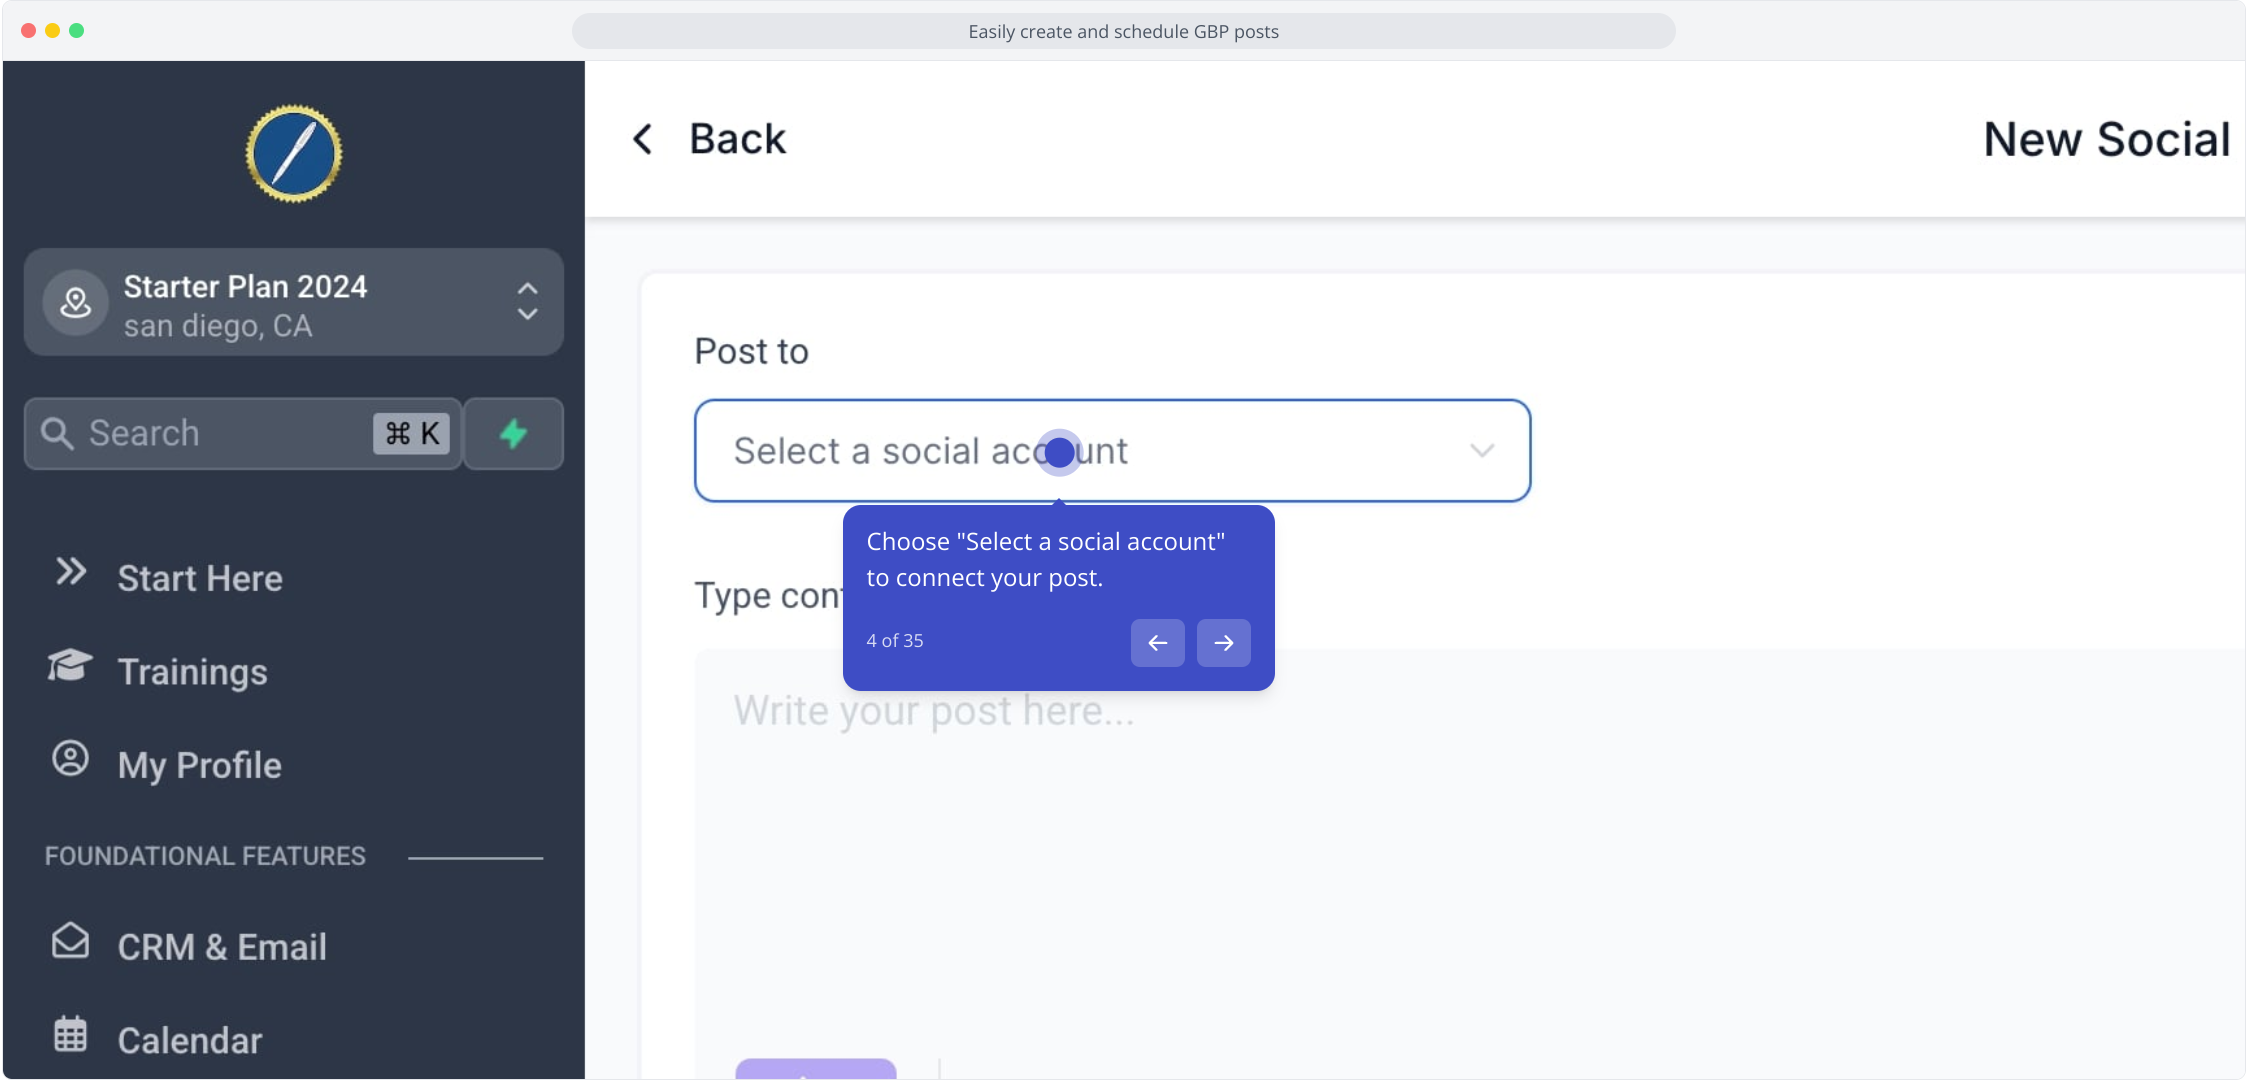
4. Choose "Select a social account" to connect your post.
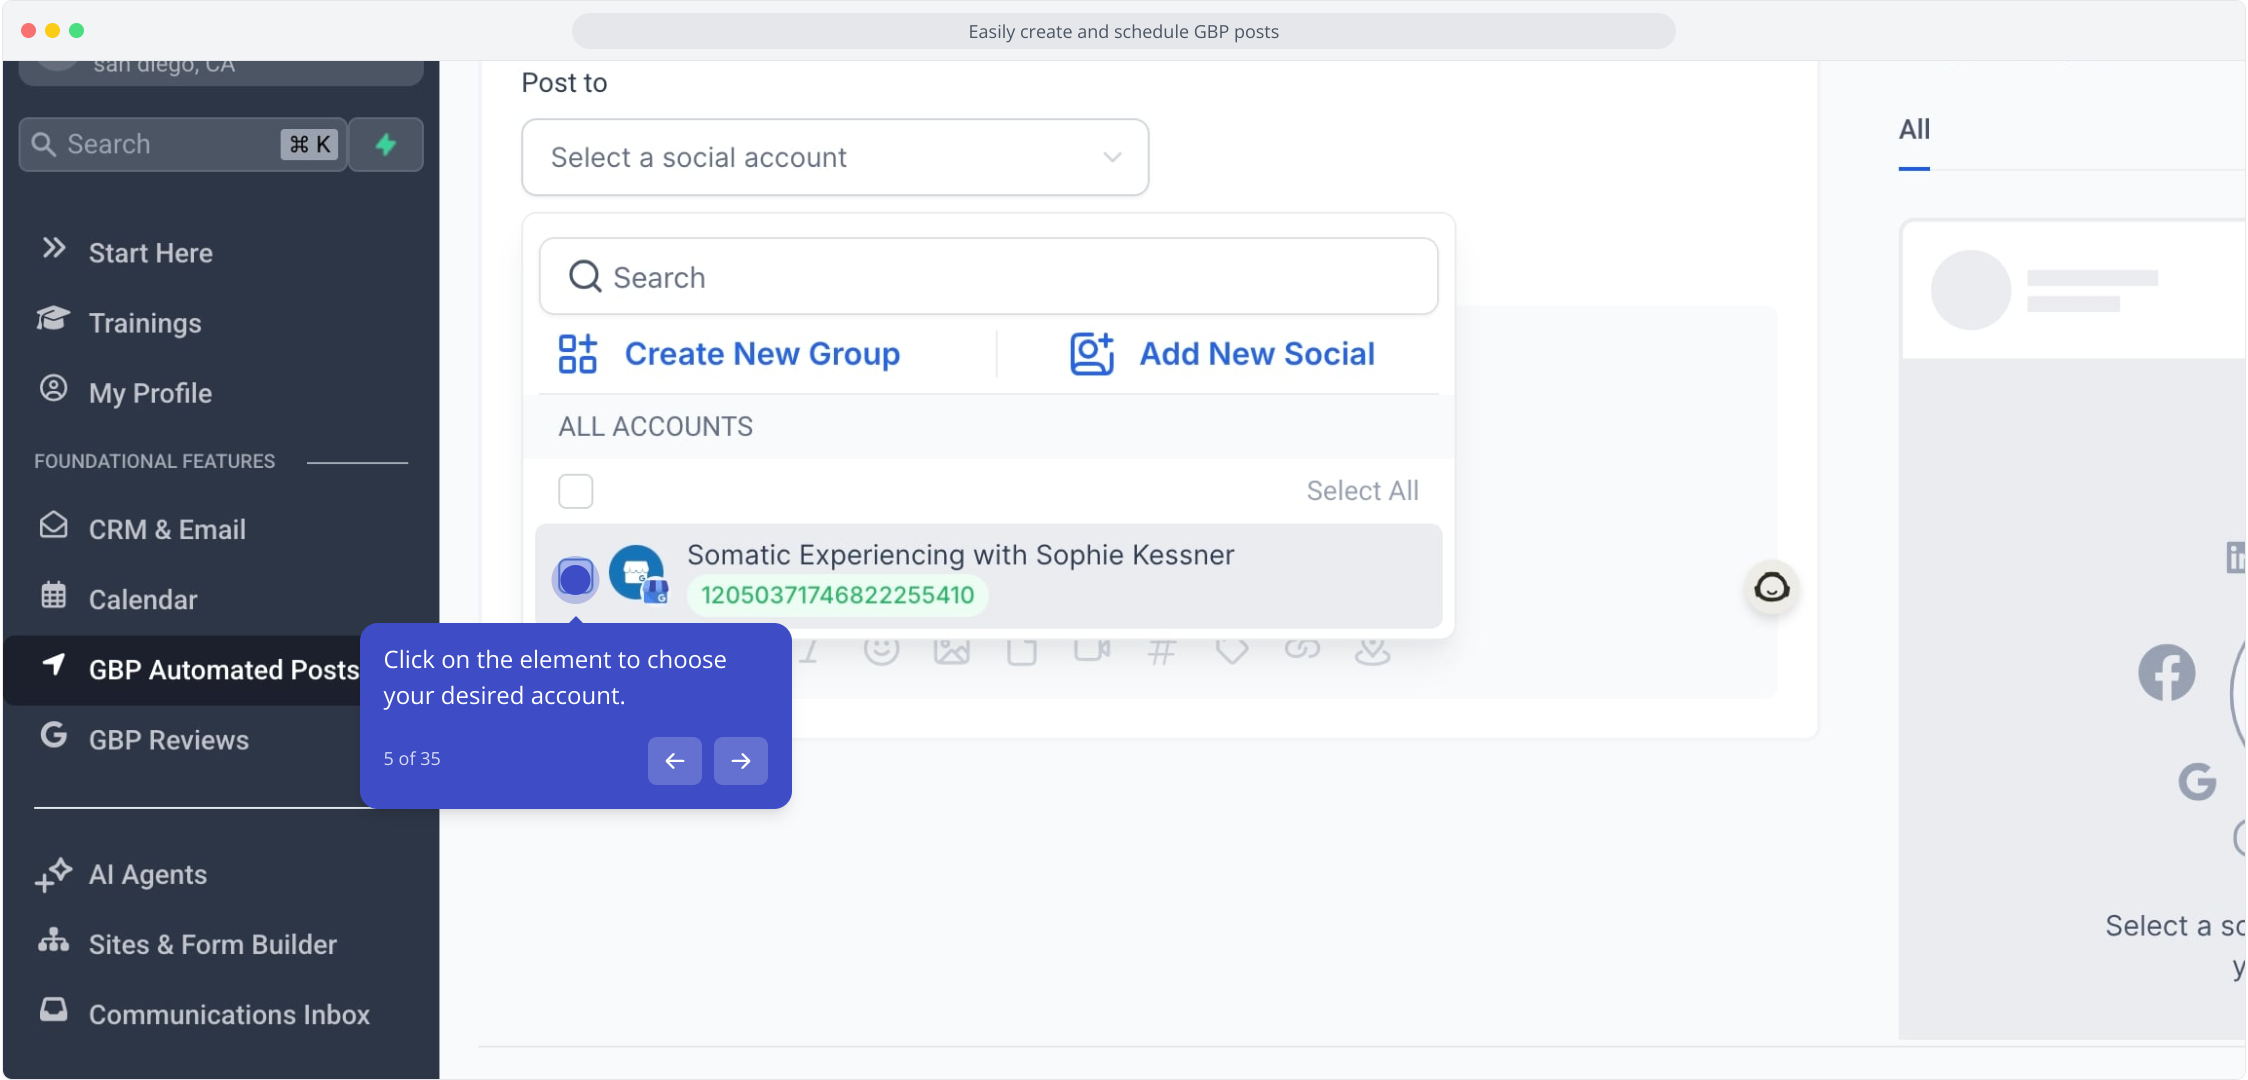
5. Click on the element to choose your desired account.
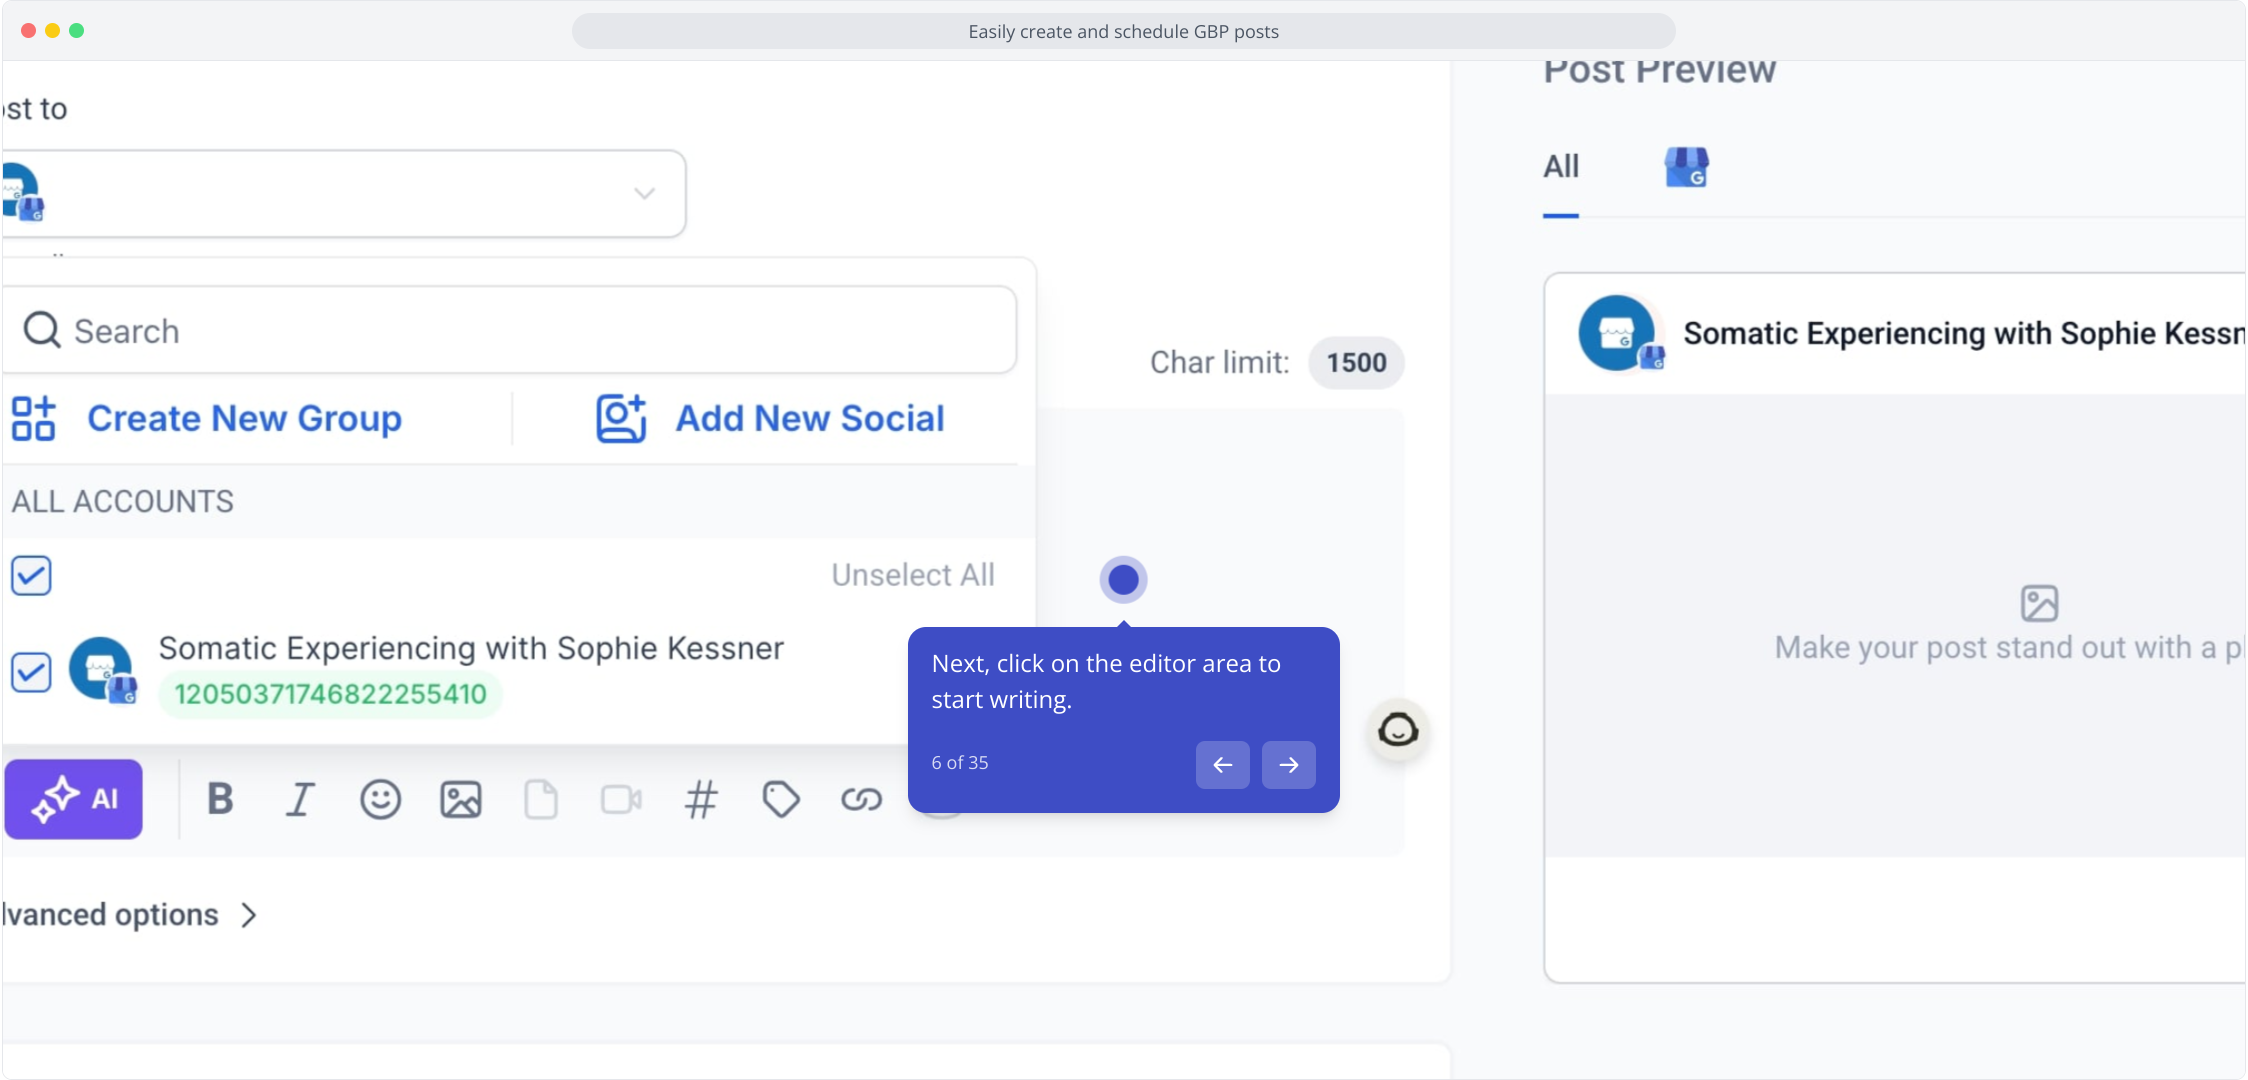
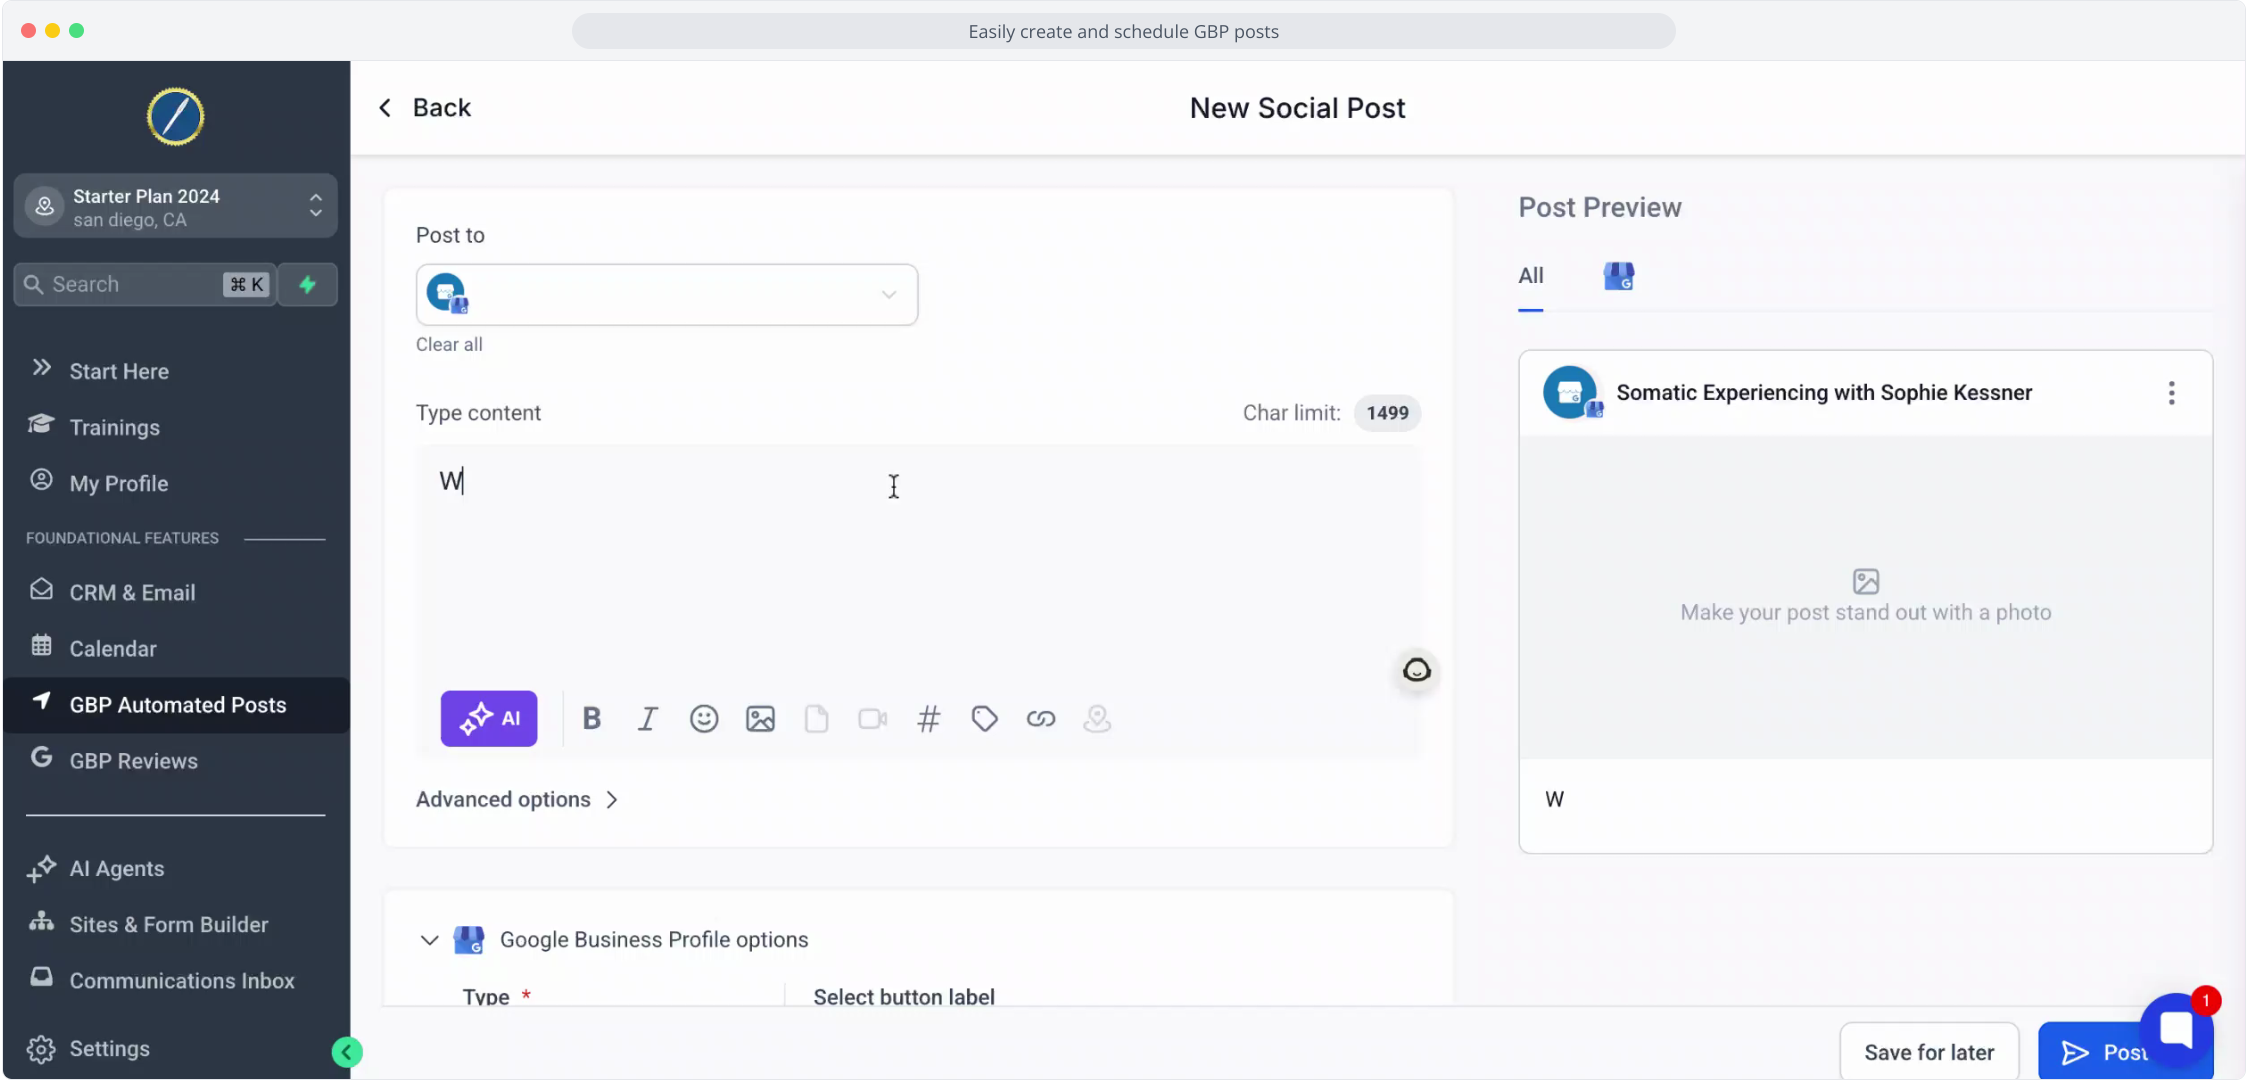
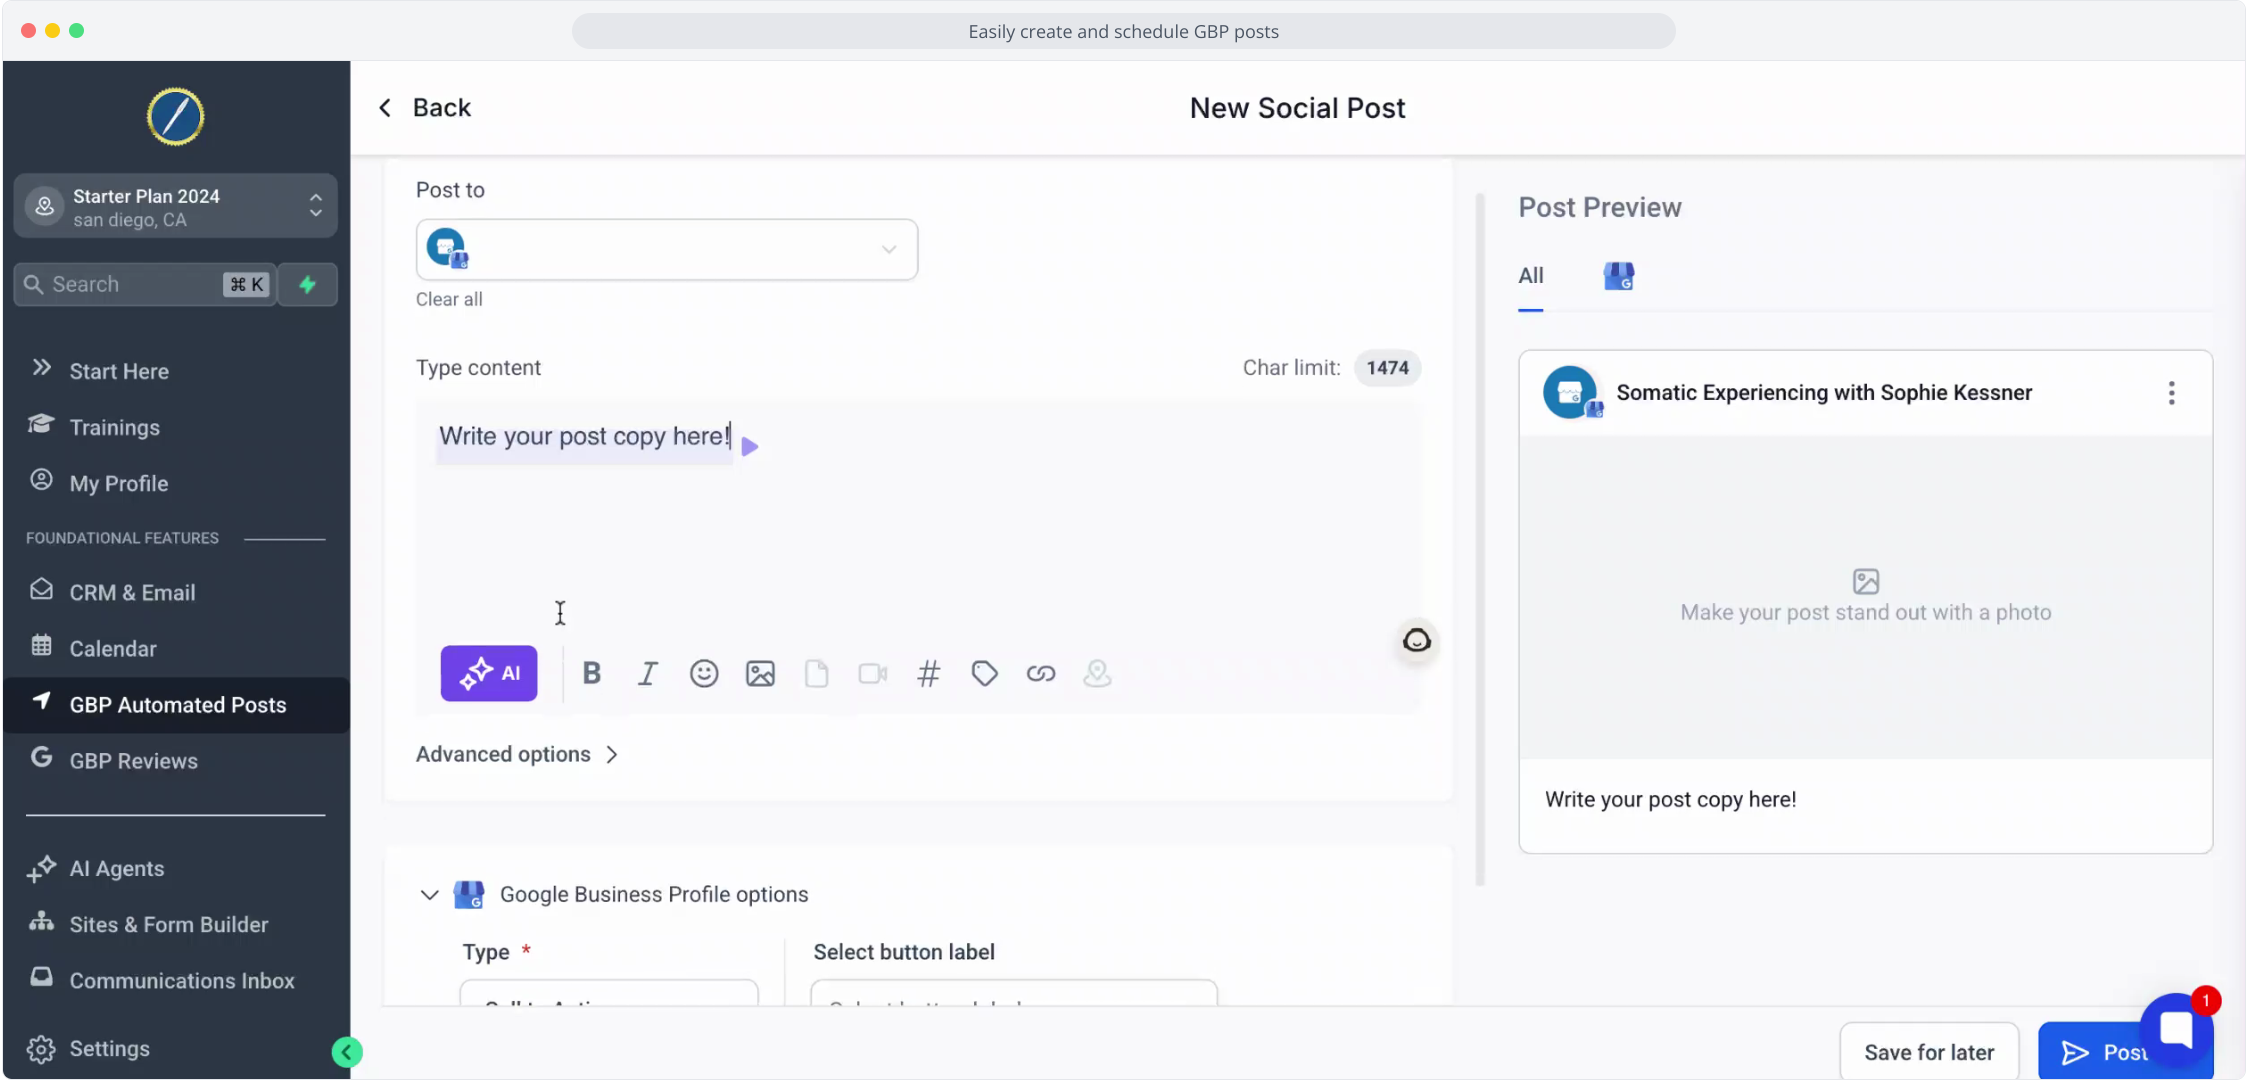
6. Next, click on the editor area to start writing.
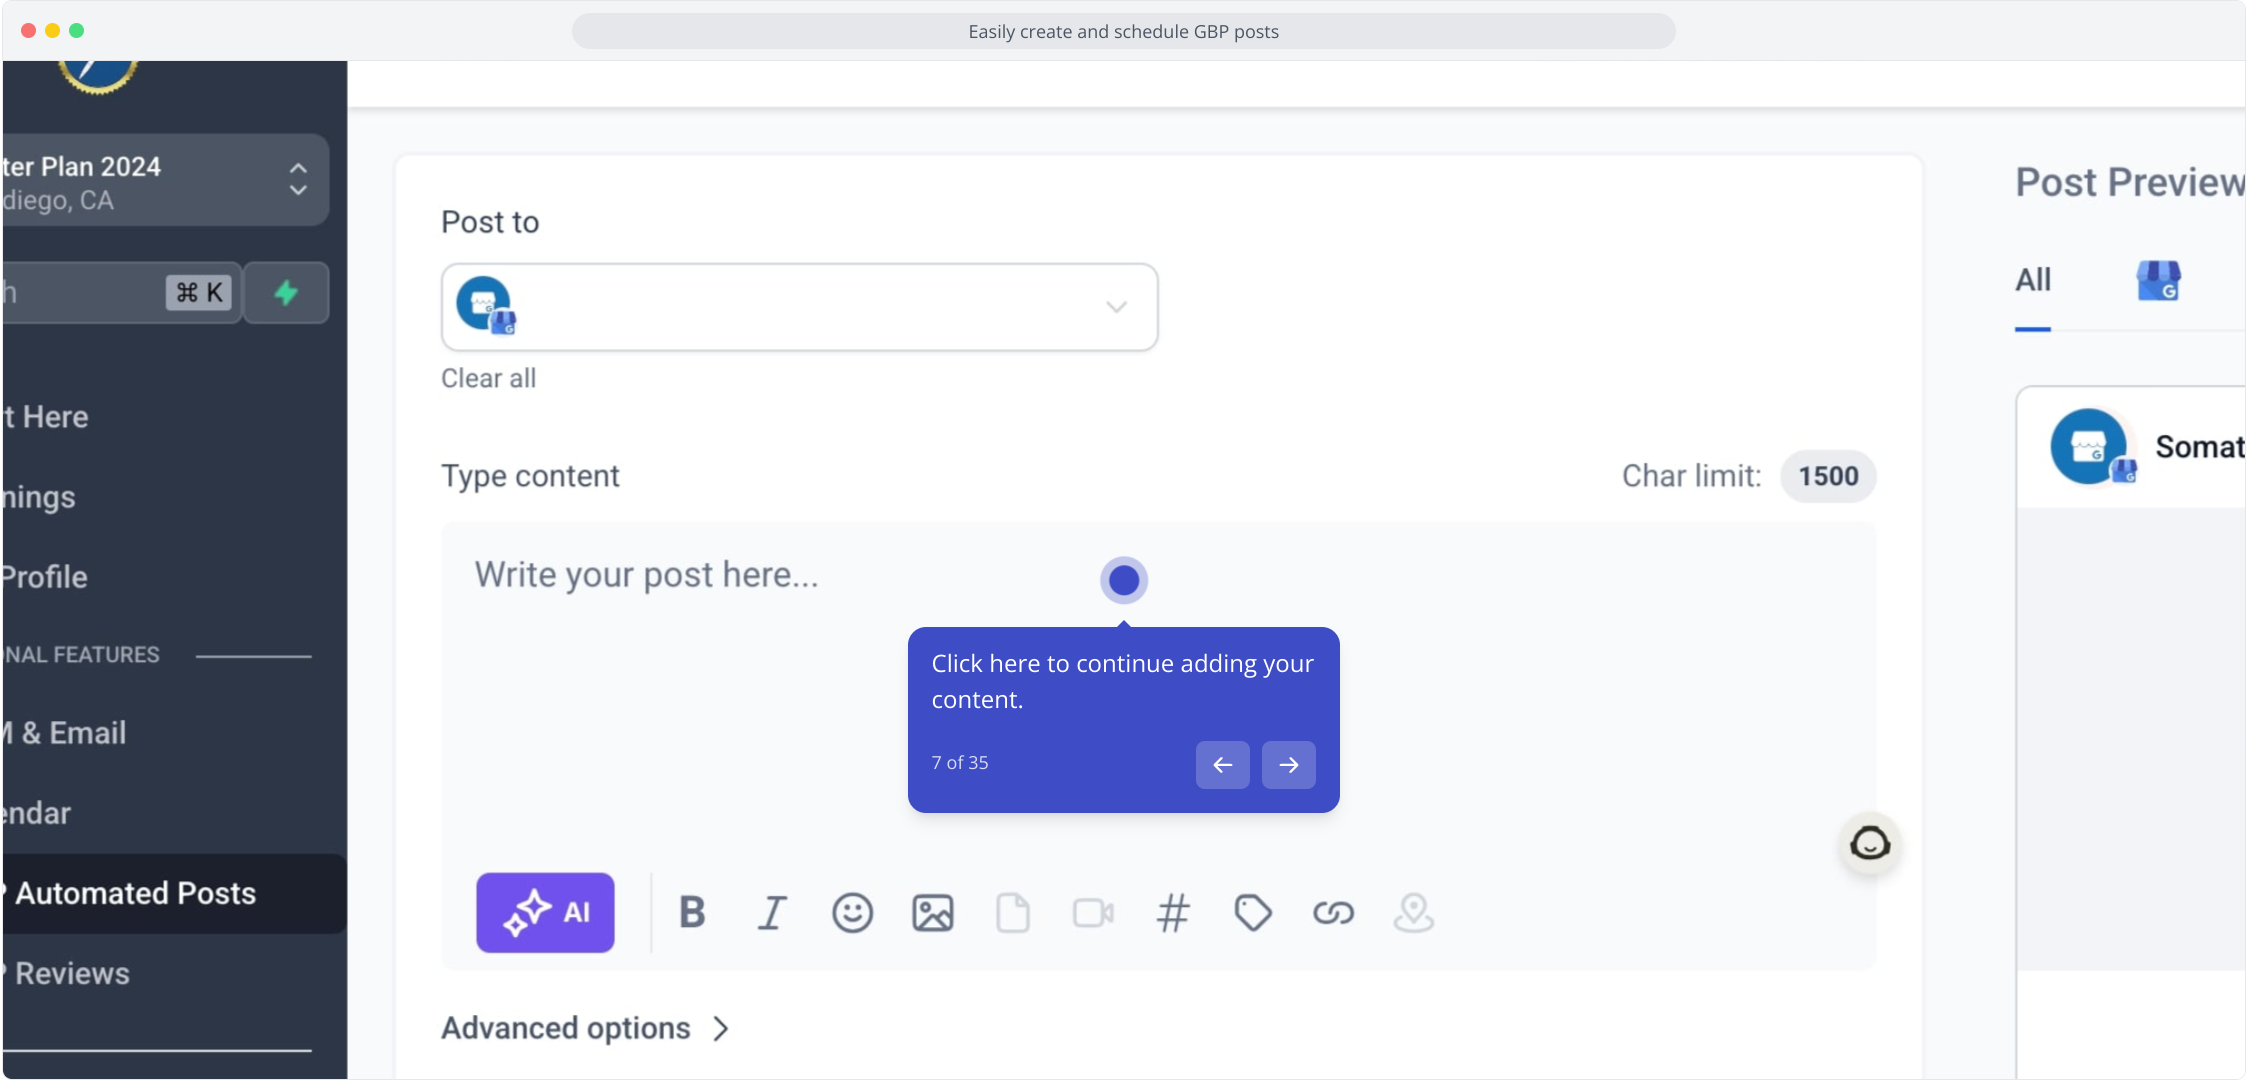
7. Click here to continue adding your content.
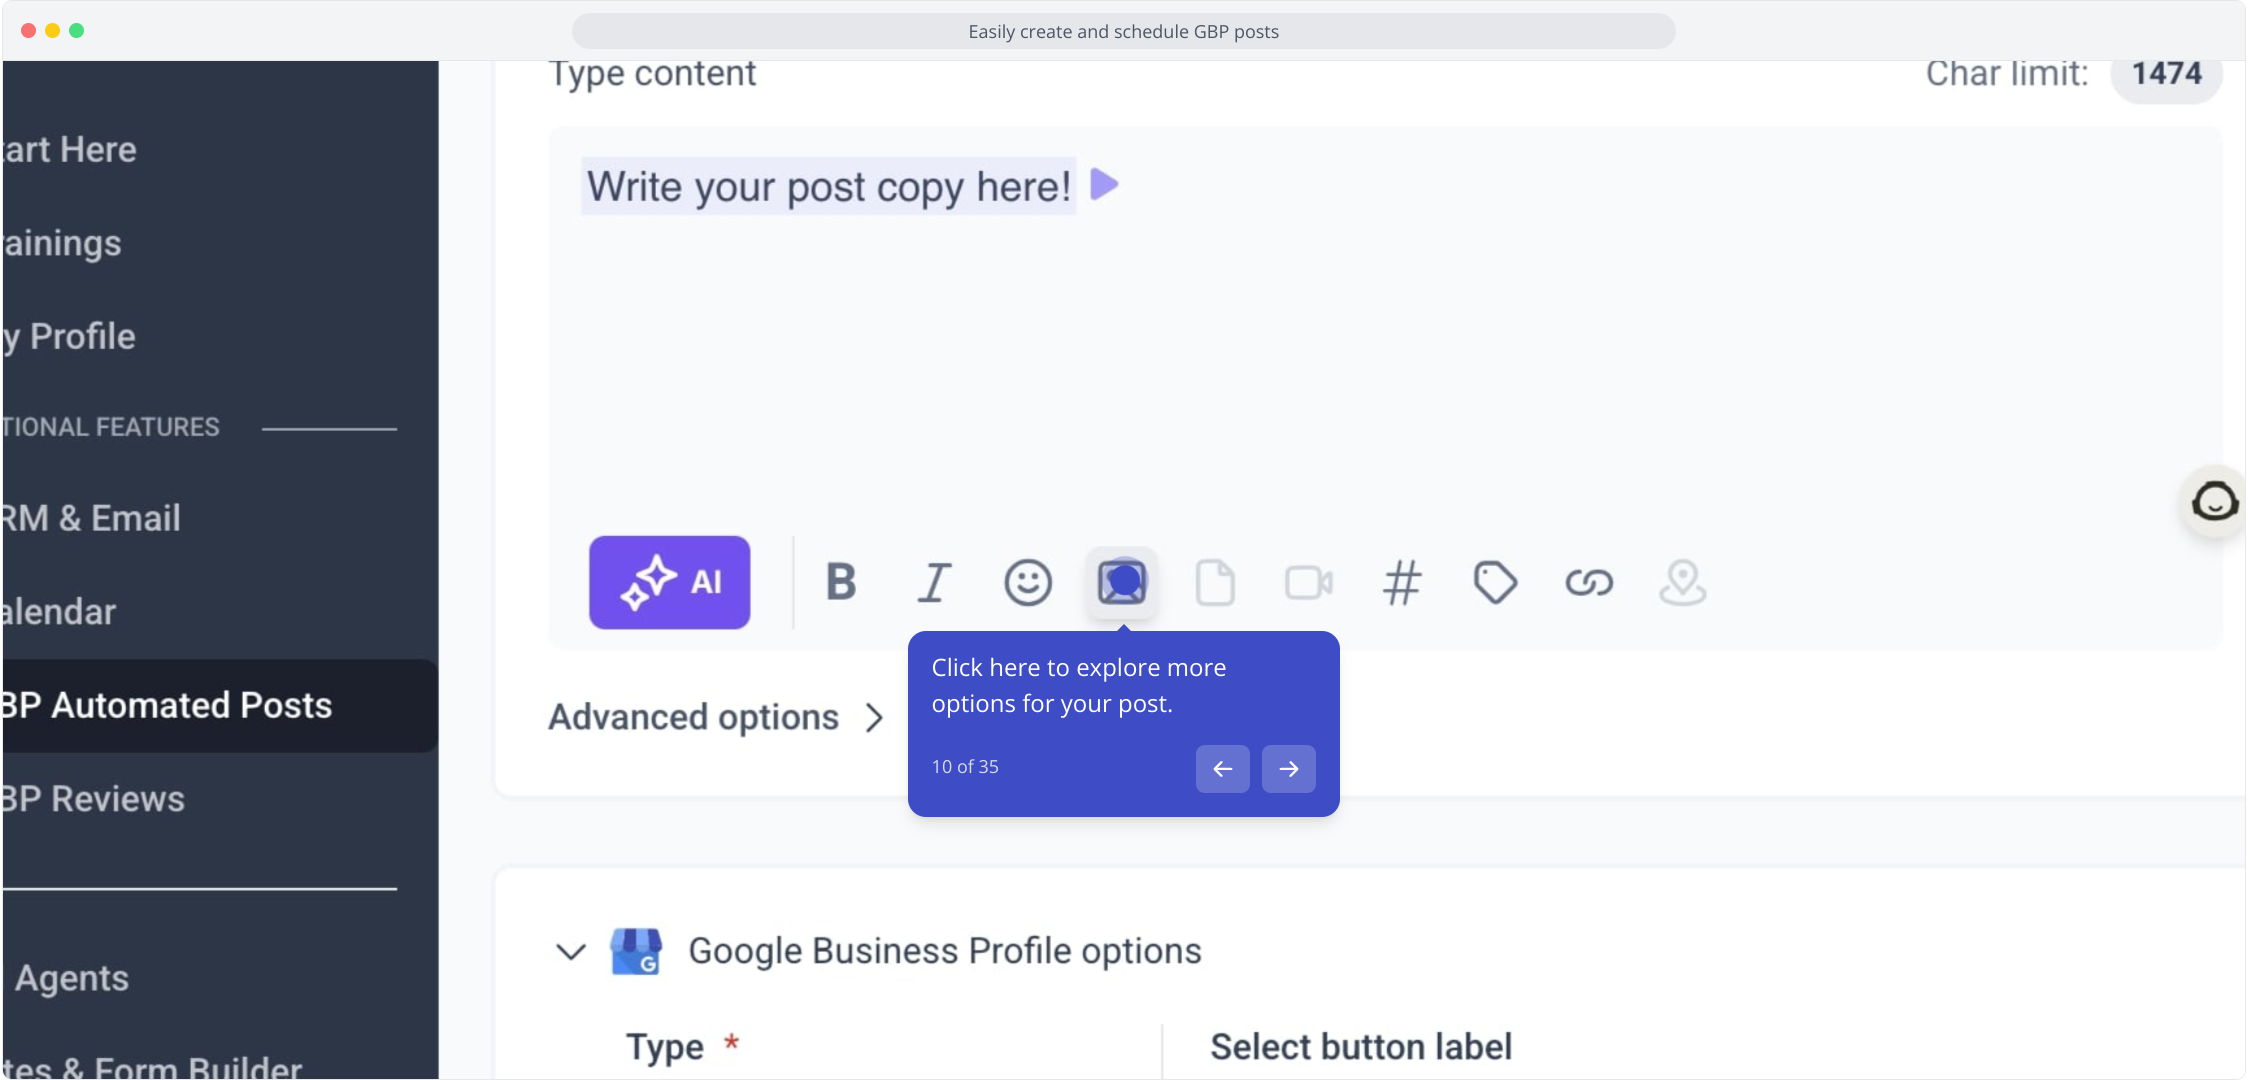
10. Click here to explore more options for your post.
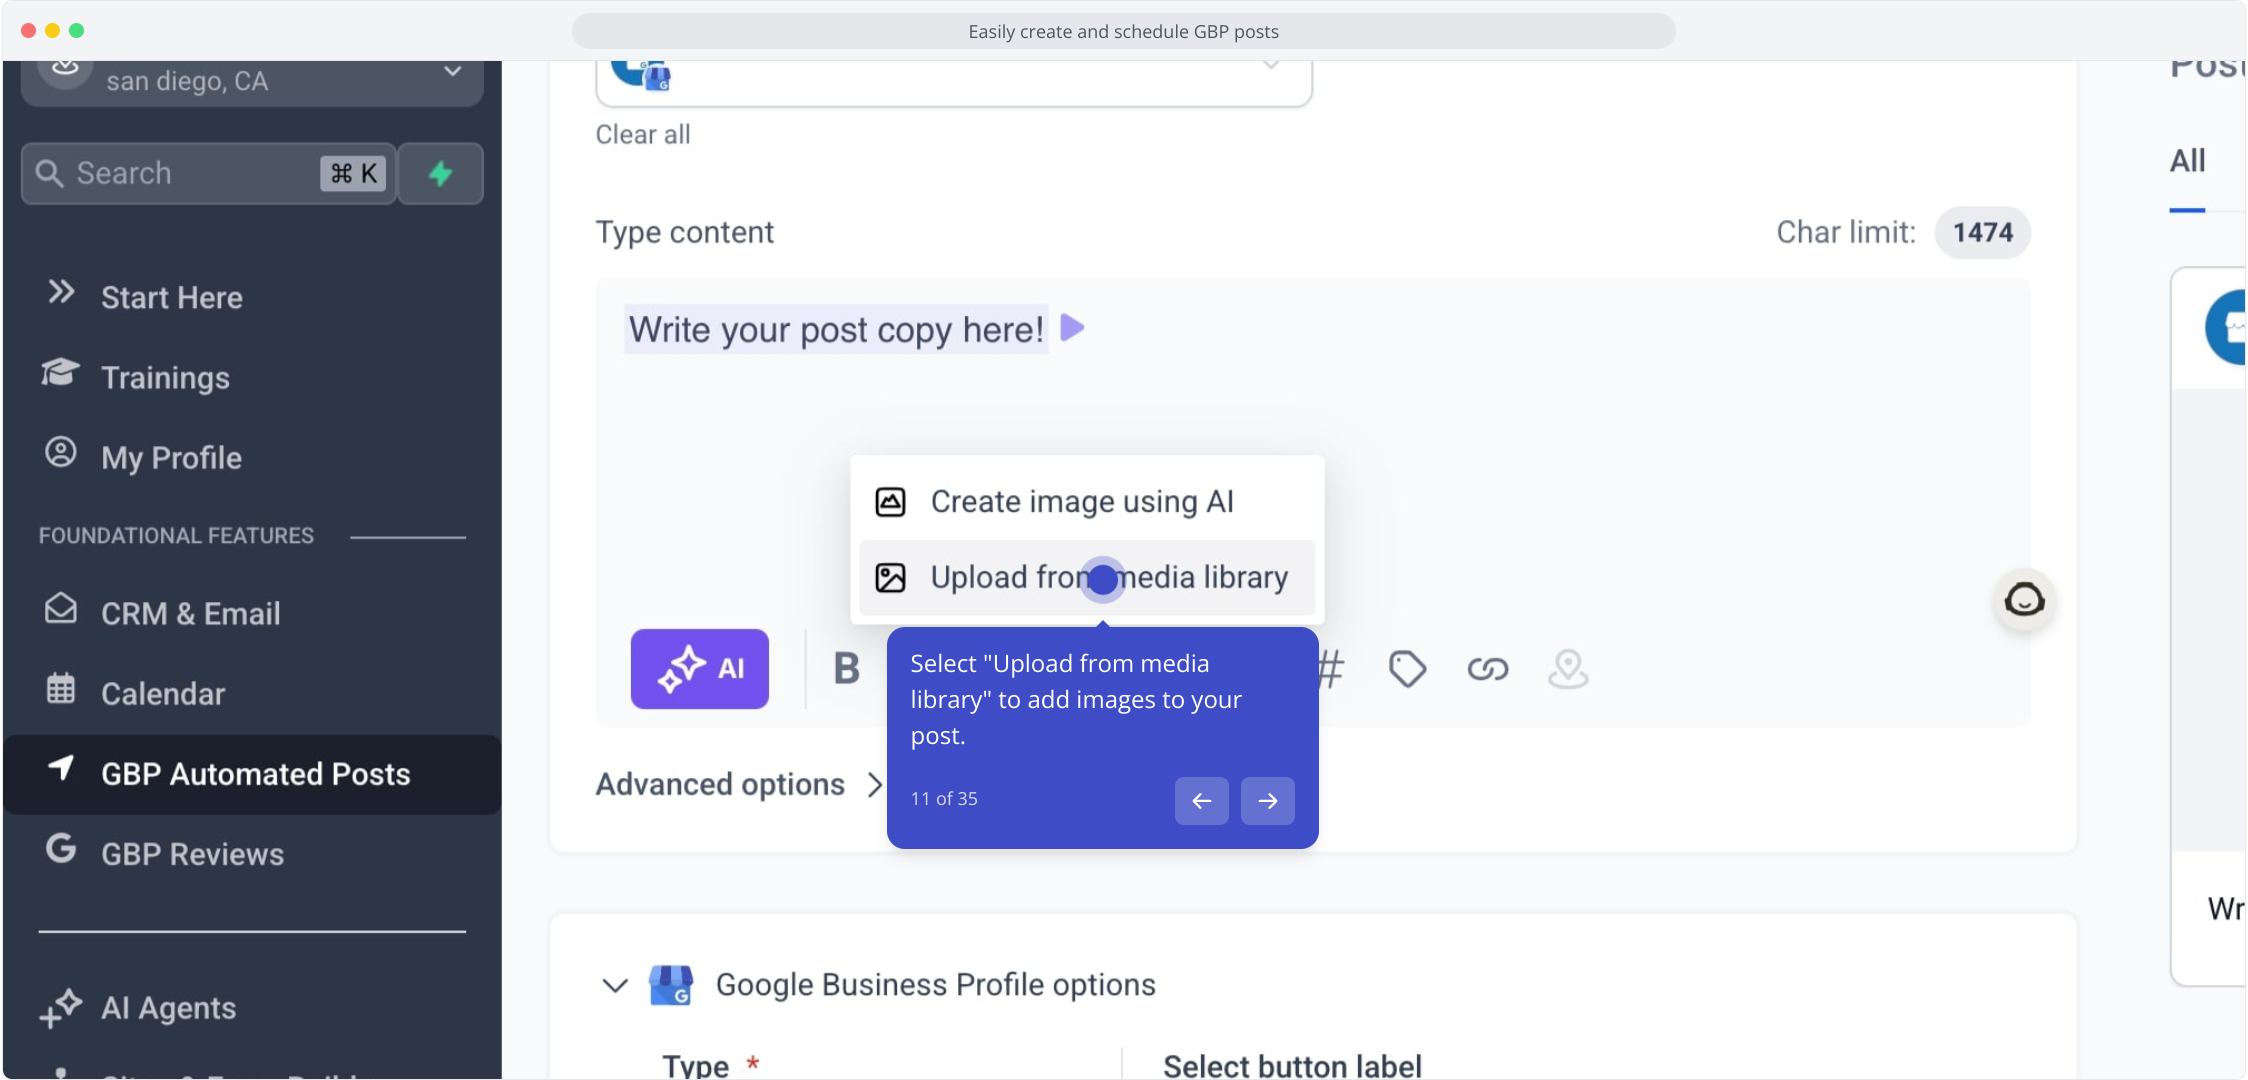
11. Select "Upload from media library" to add images to your post.
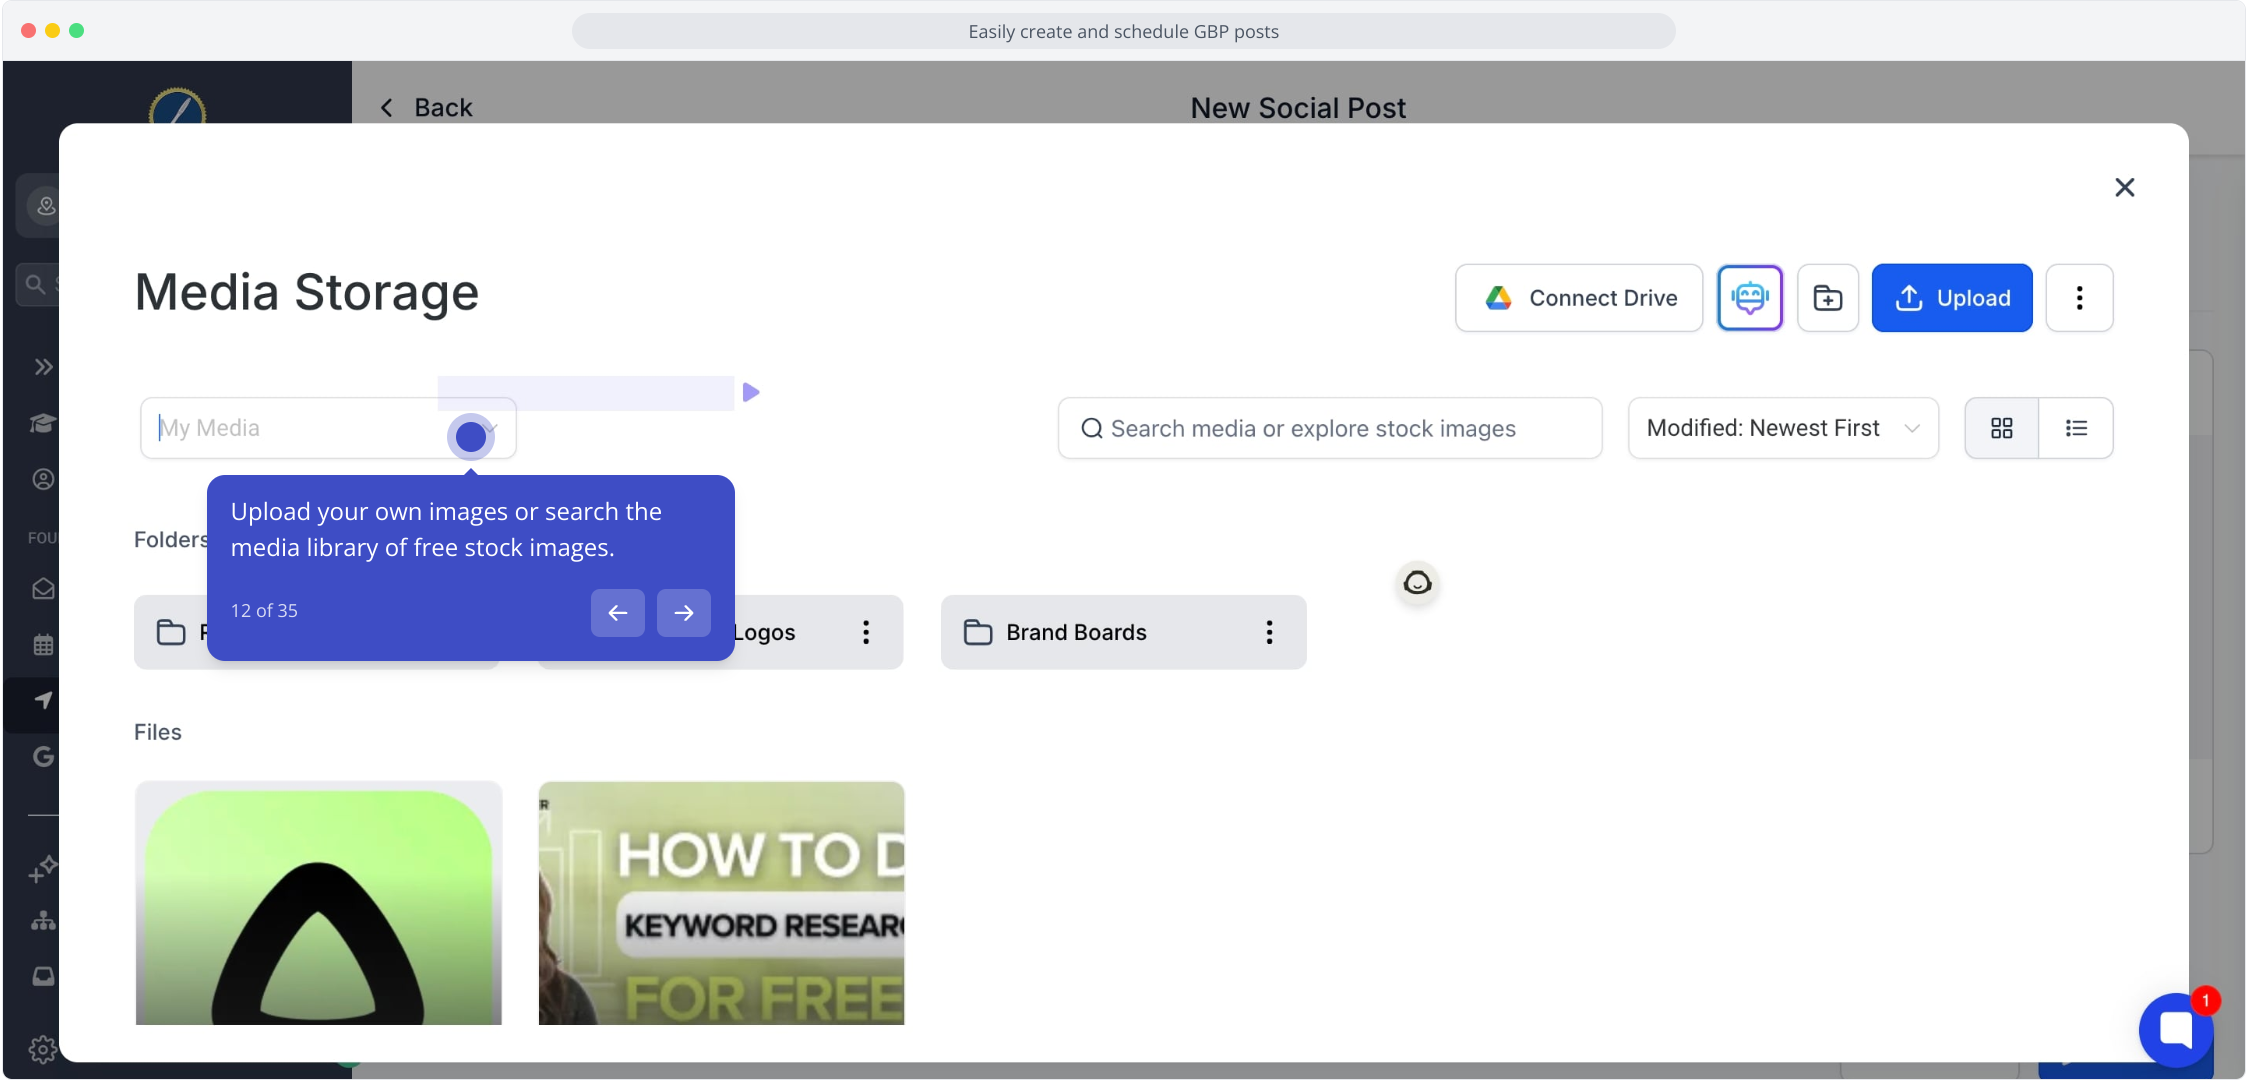
12. Upload your own images or search the media library of free stock images.
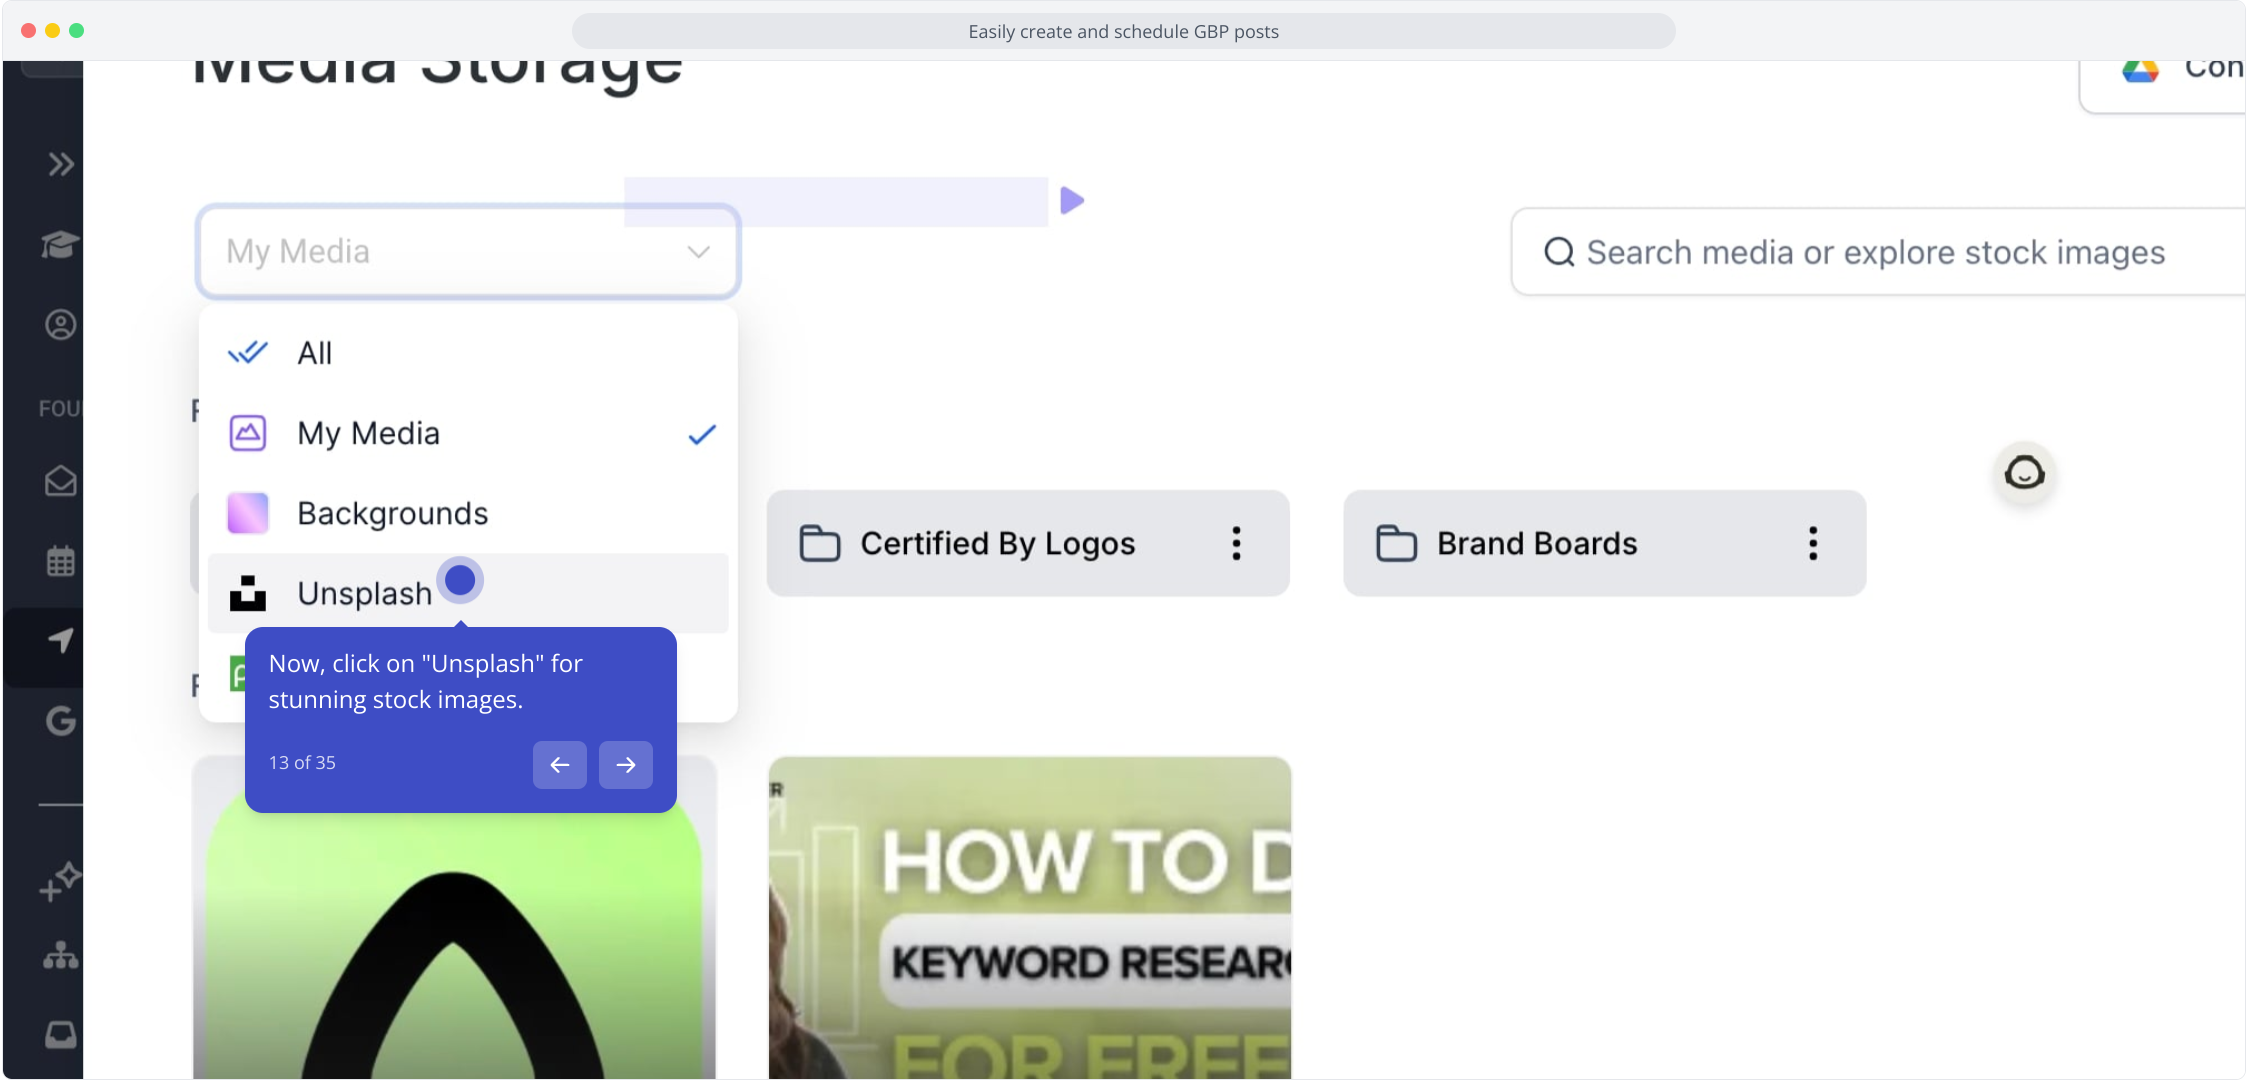
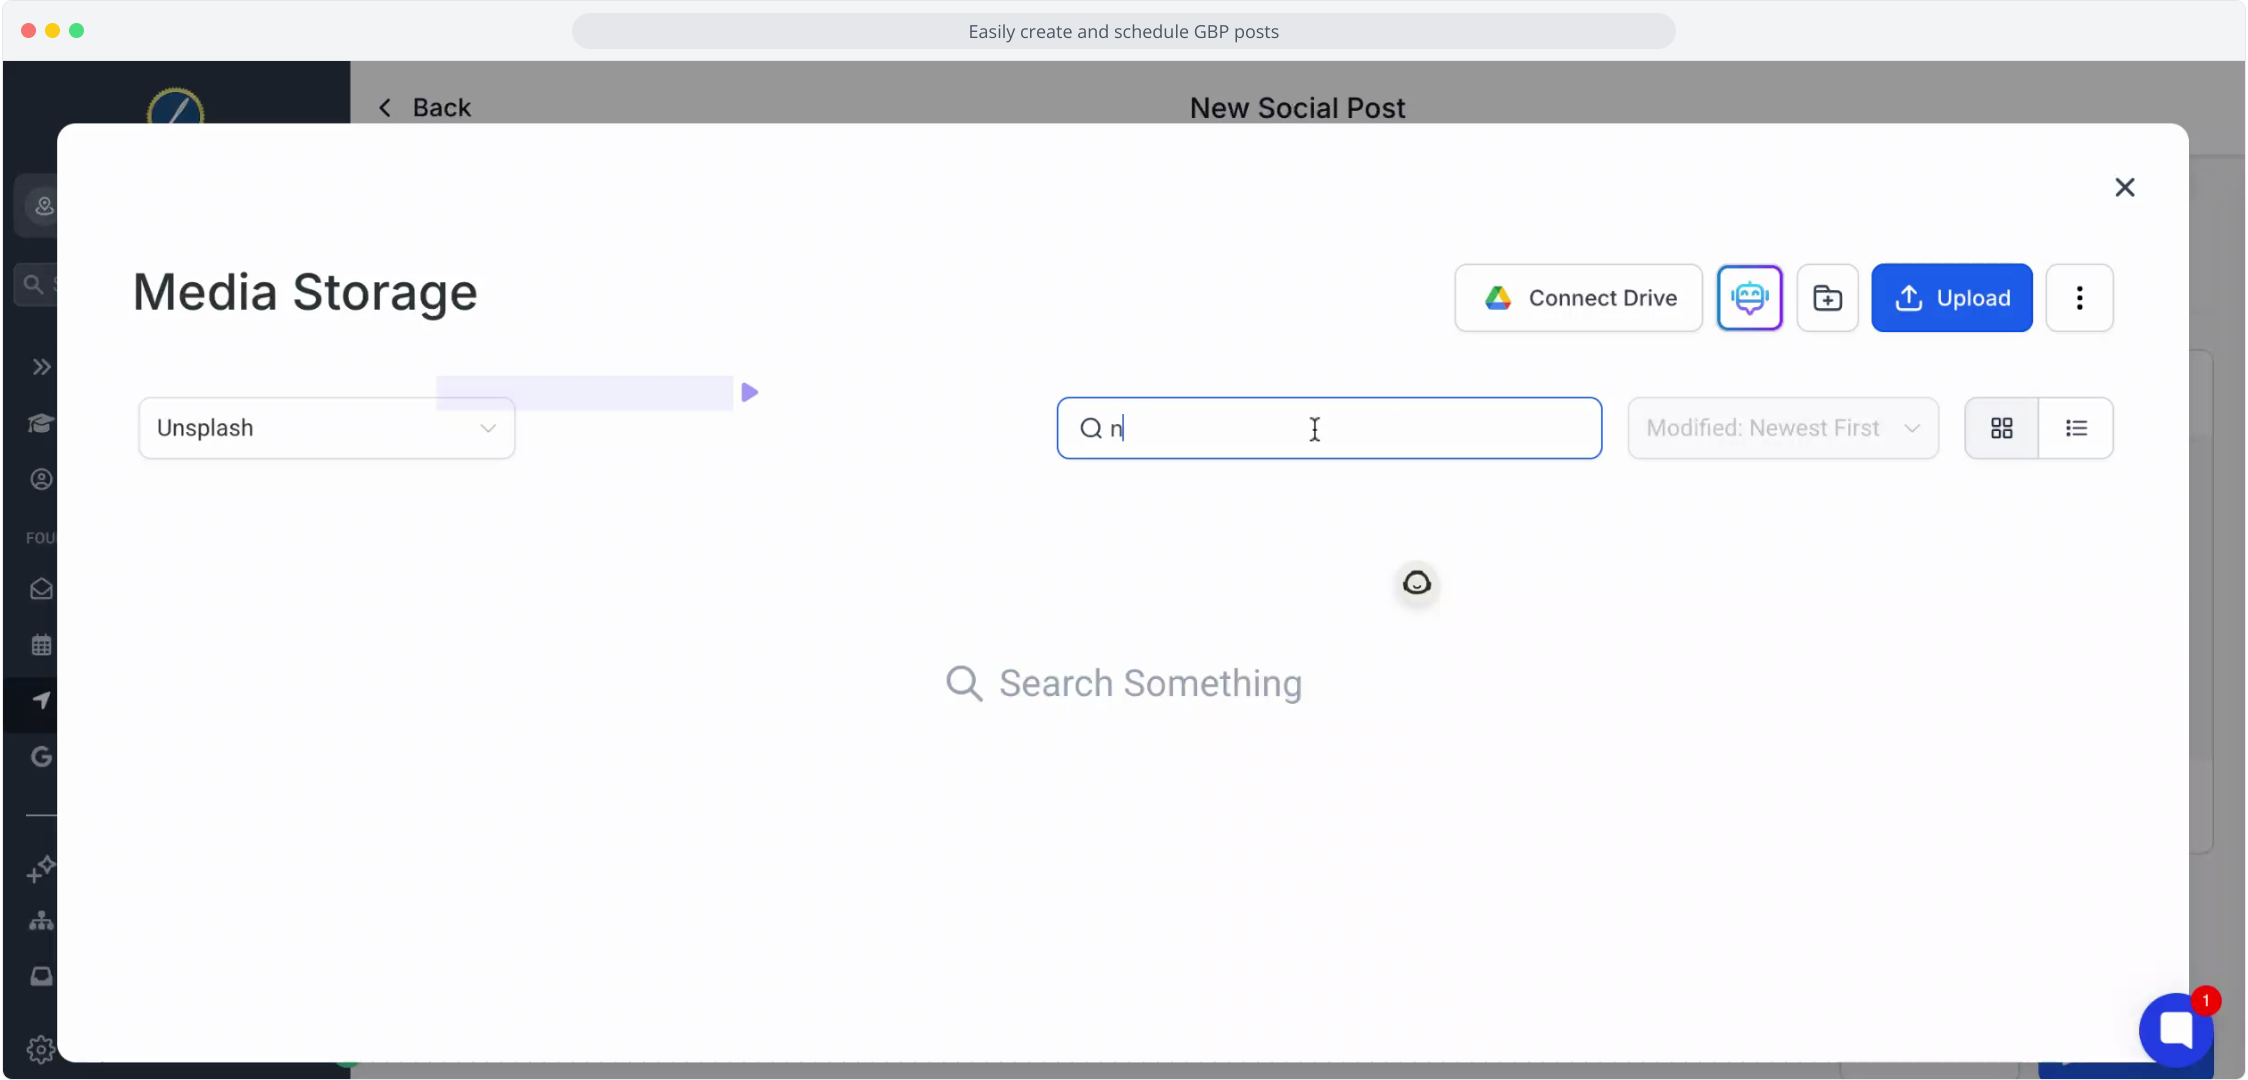
13. Now, click on "Unsplash" for stunning stock images.
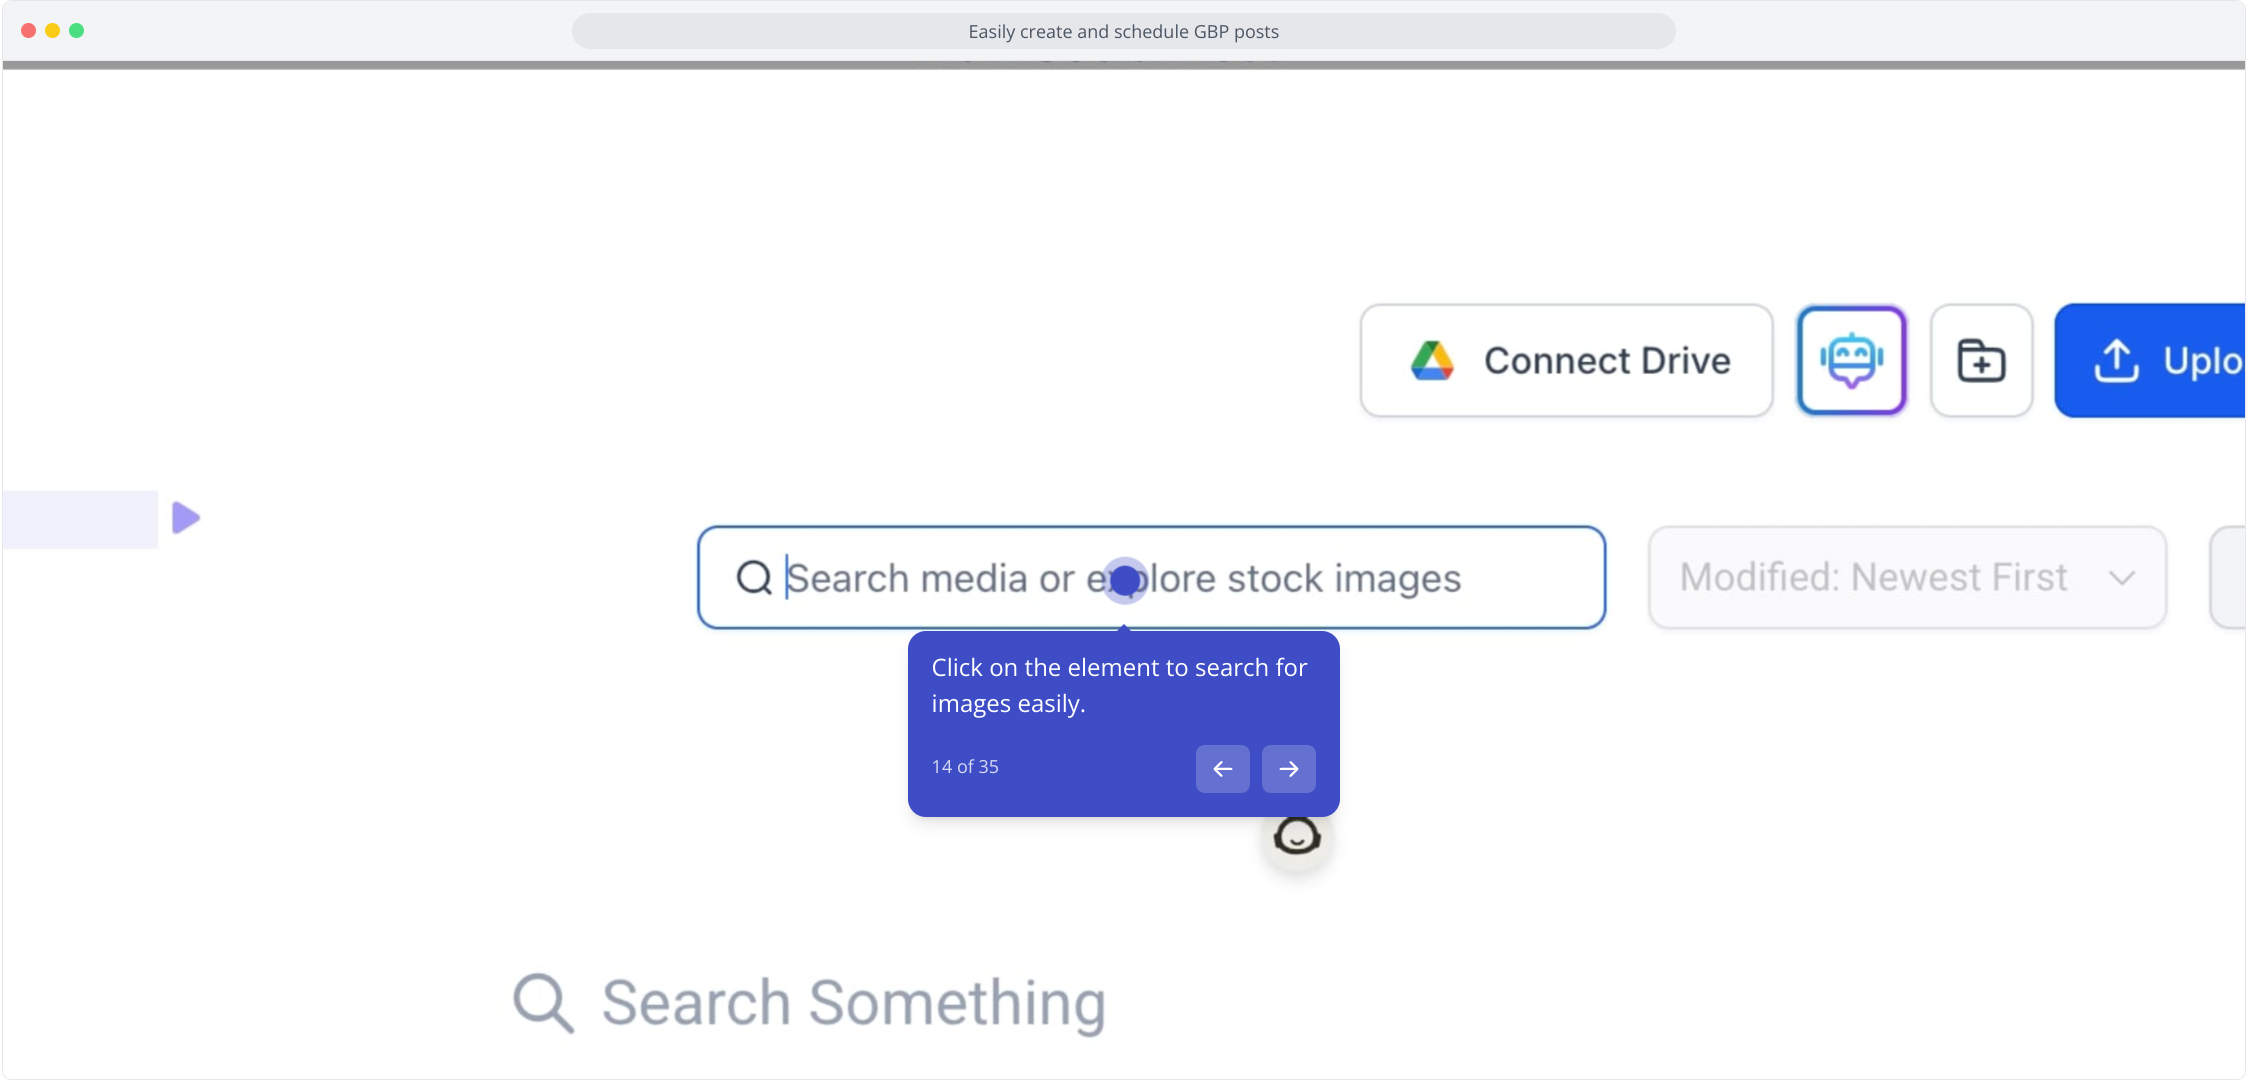
14. Click on the element to search for images easily.
15. Video Step (Play Now)
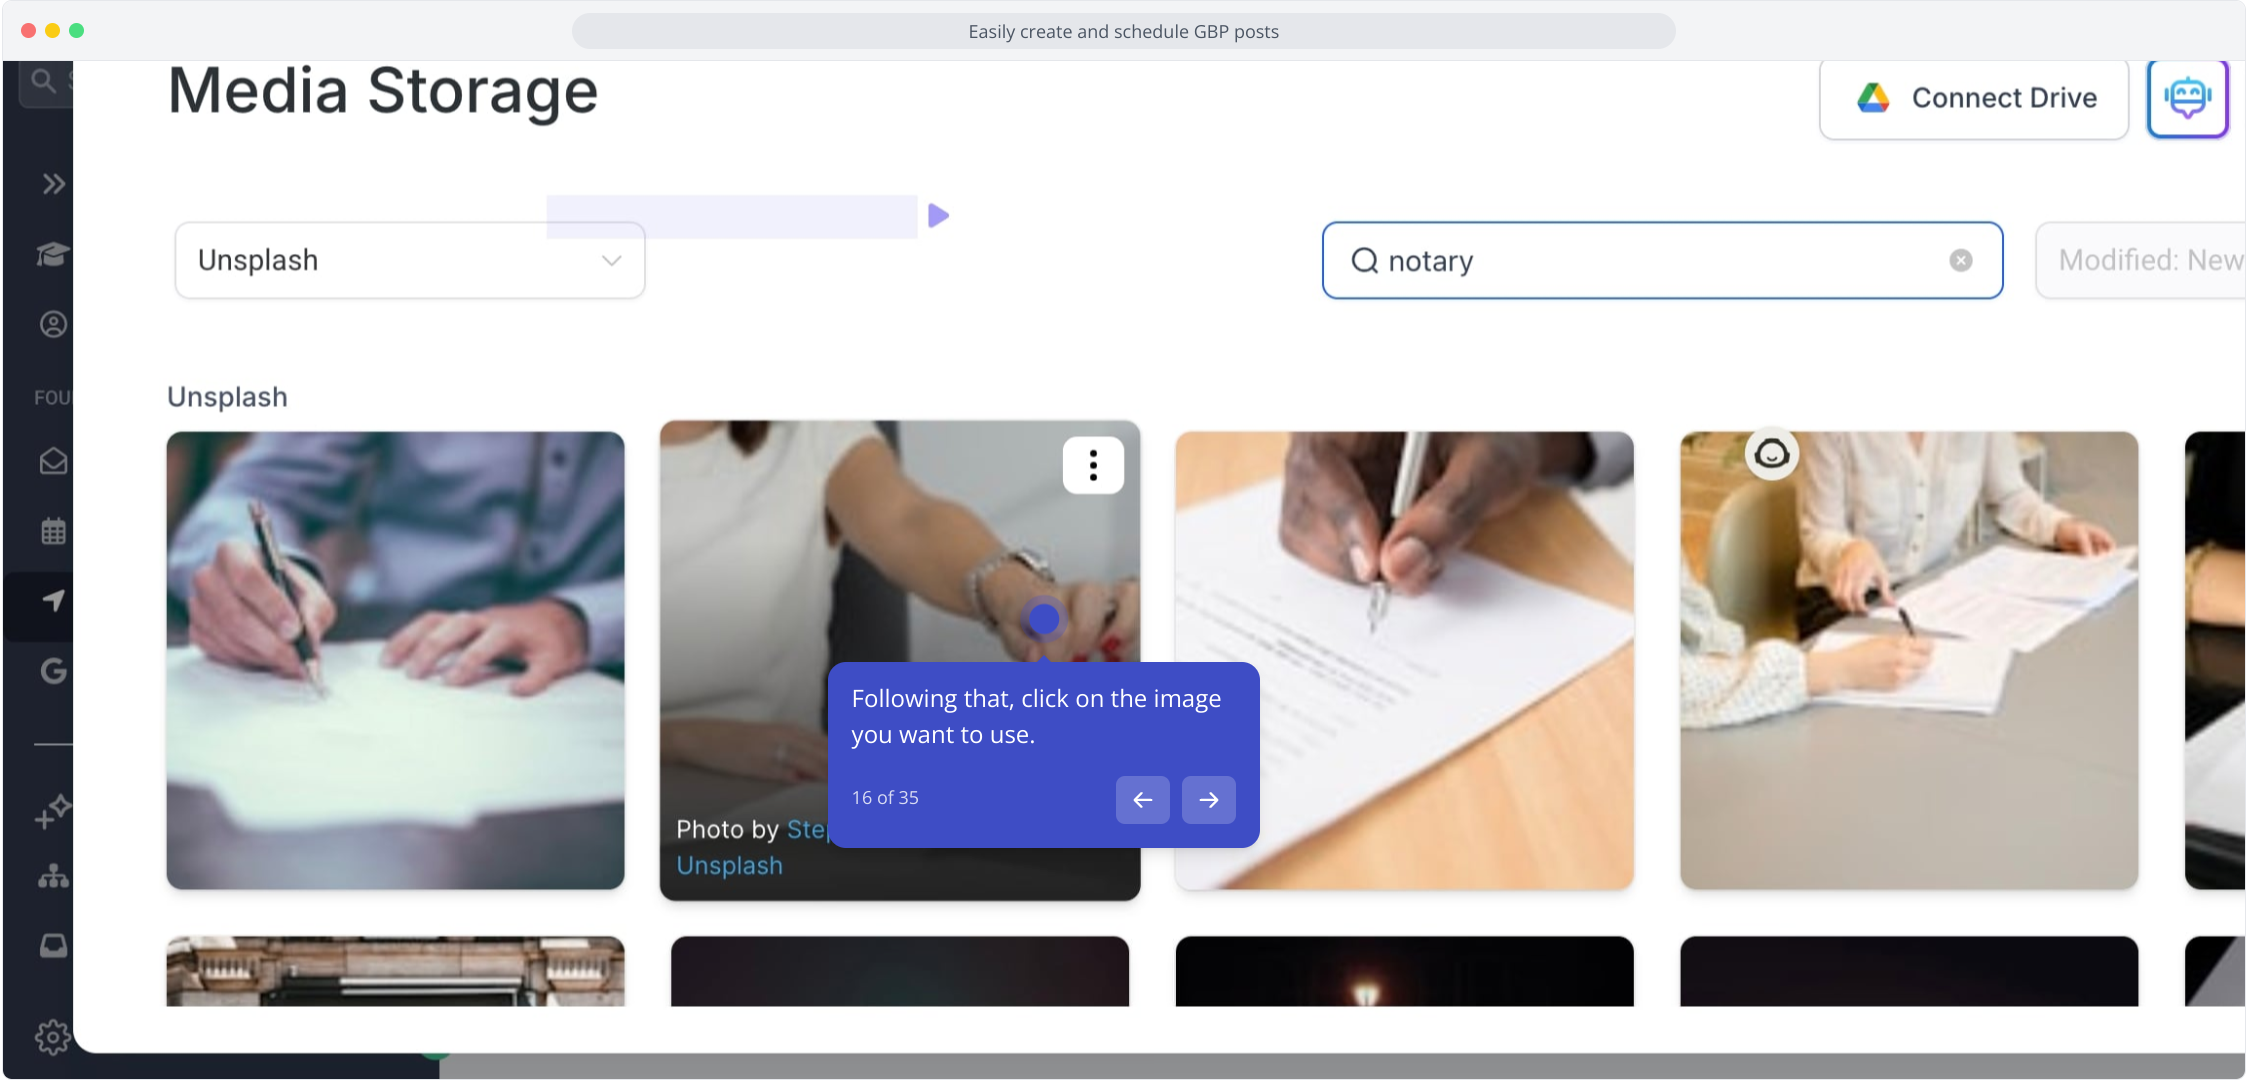
16. Following that, click on the image you want to use.
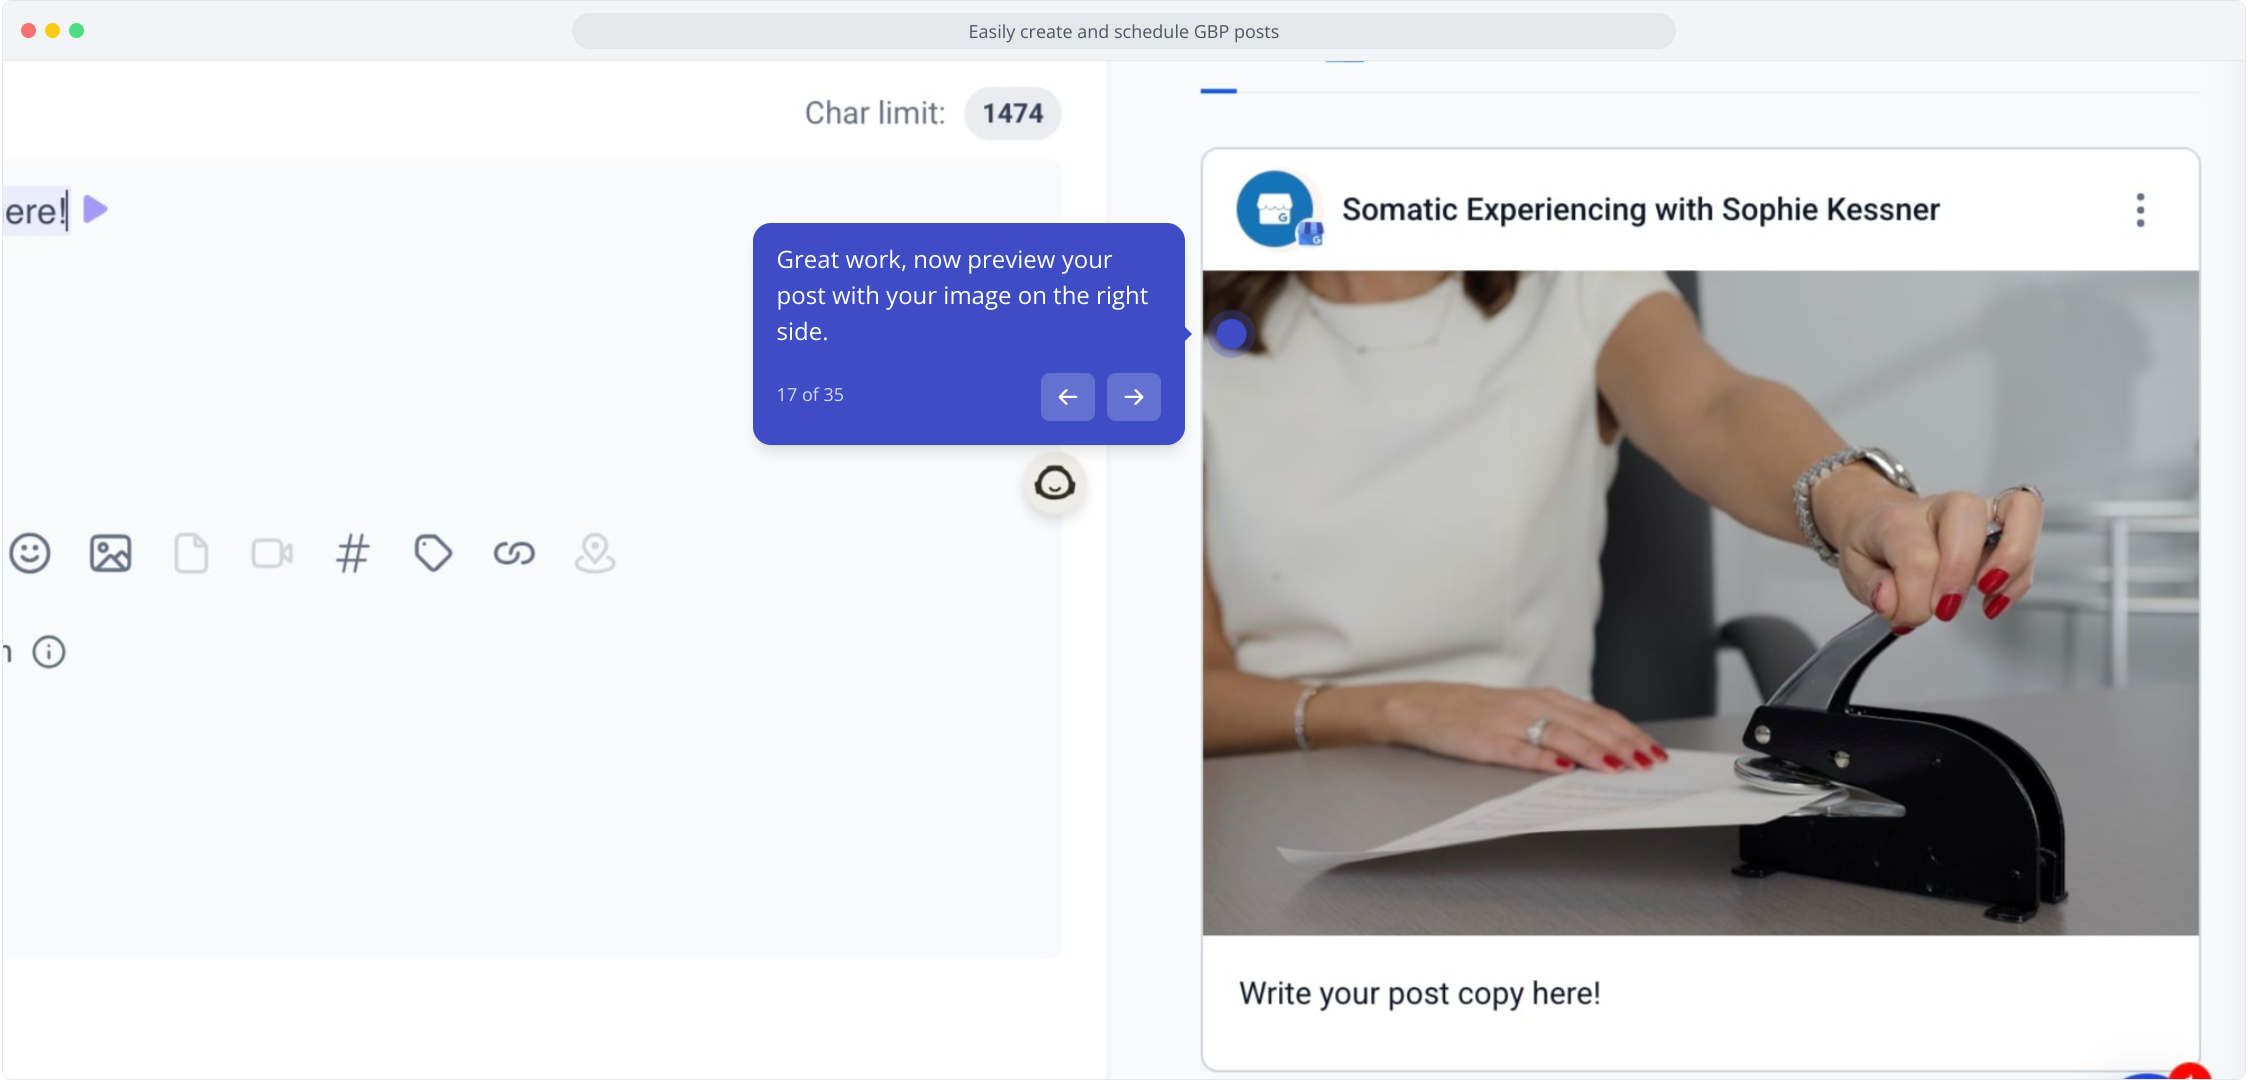
17. Great work, now preview your post with your image on the right side.
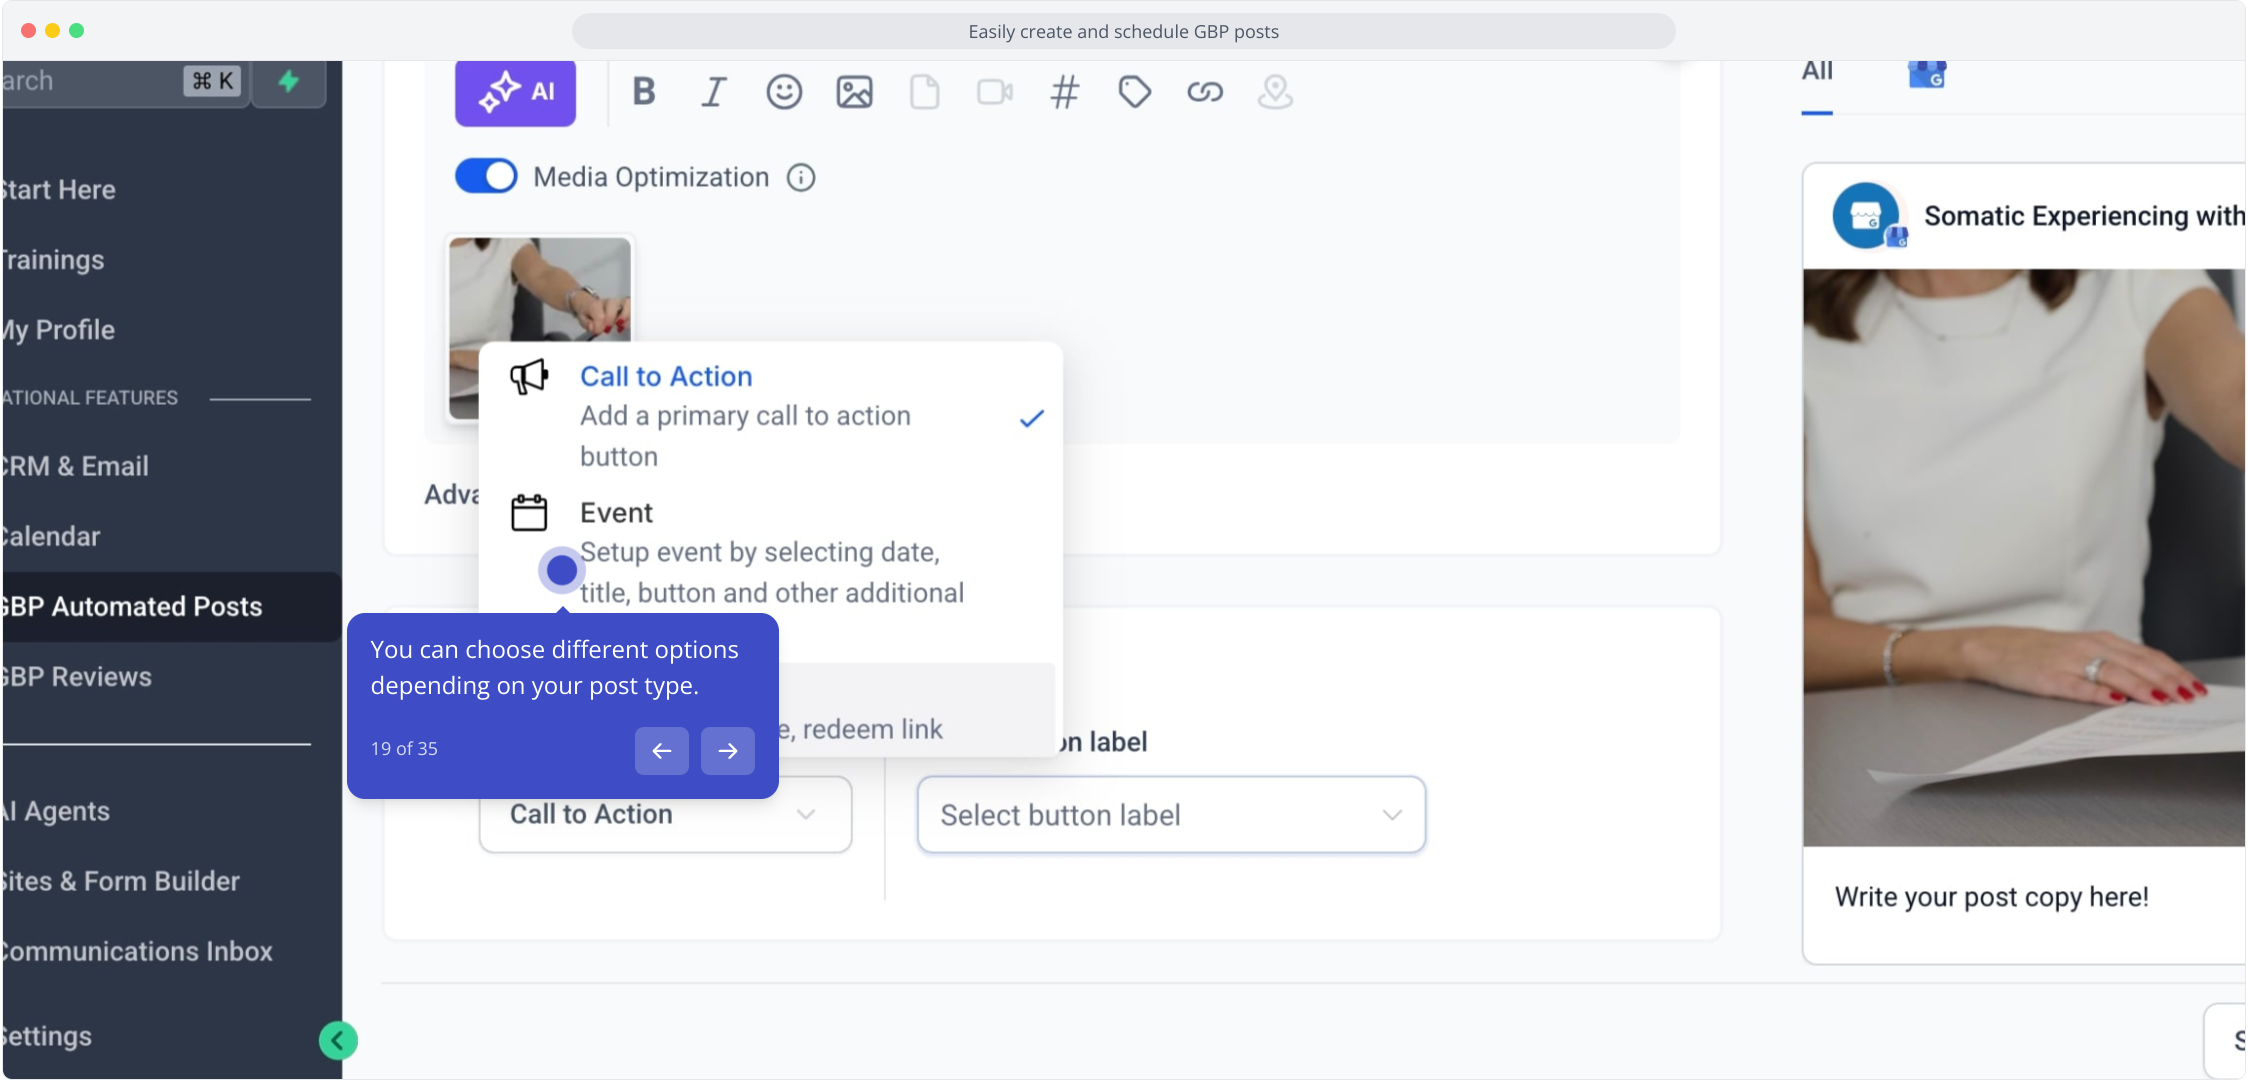
18. Click on "Call to Action" to enhance engagement options.
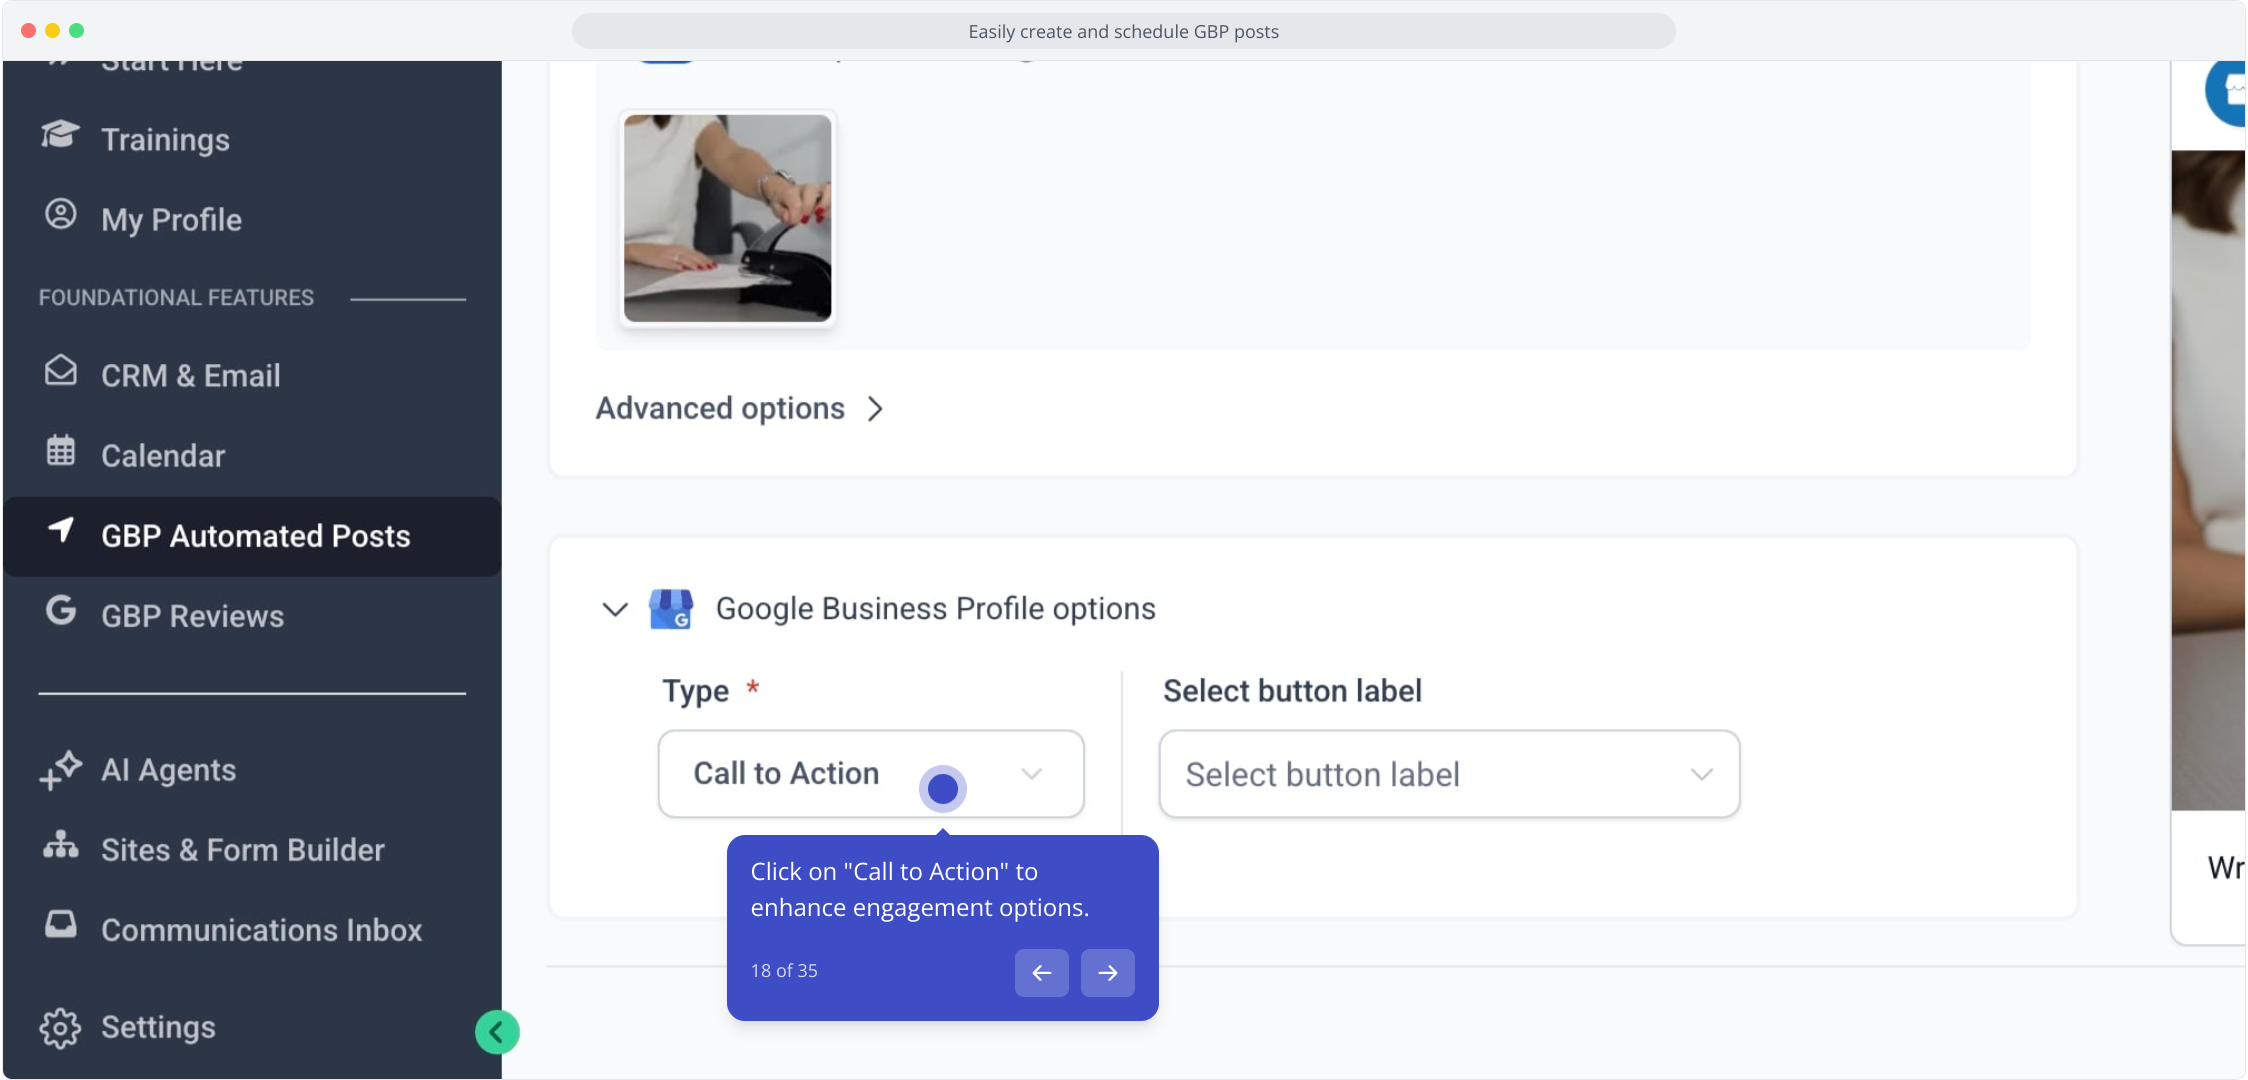
19. You can choose different options depending on your post type.
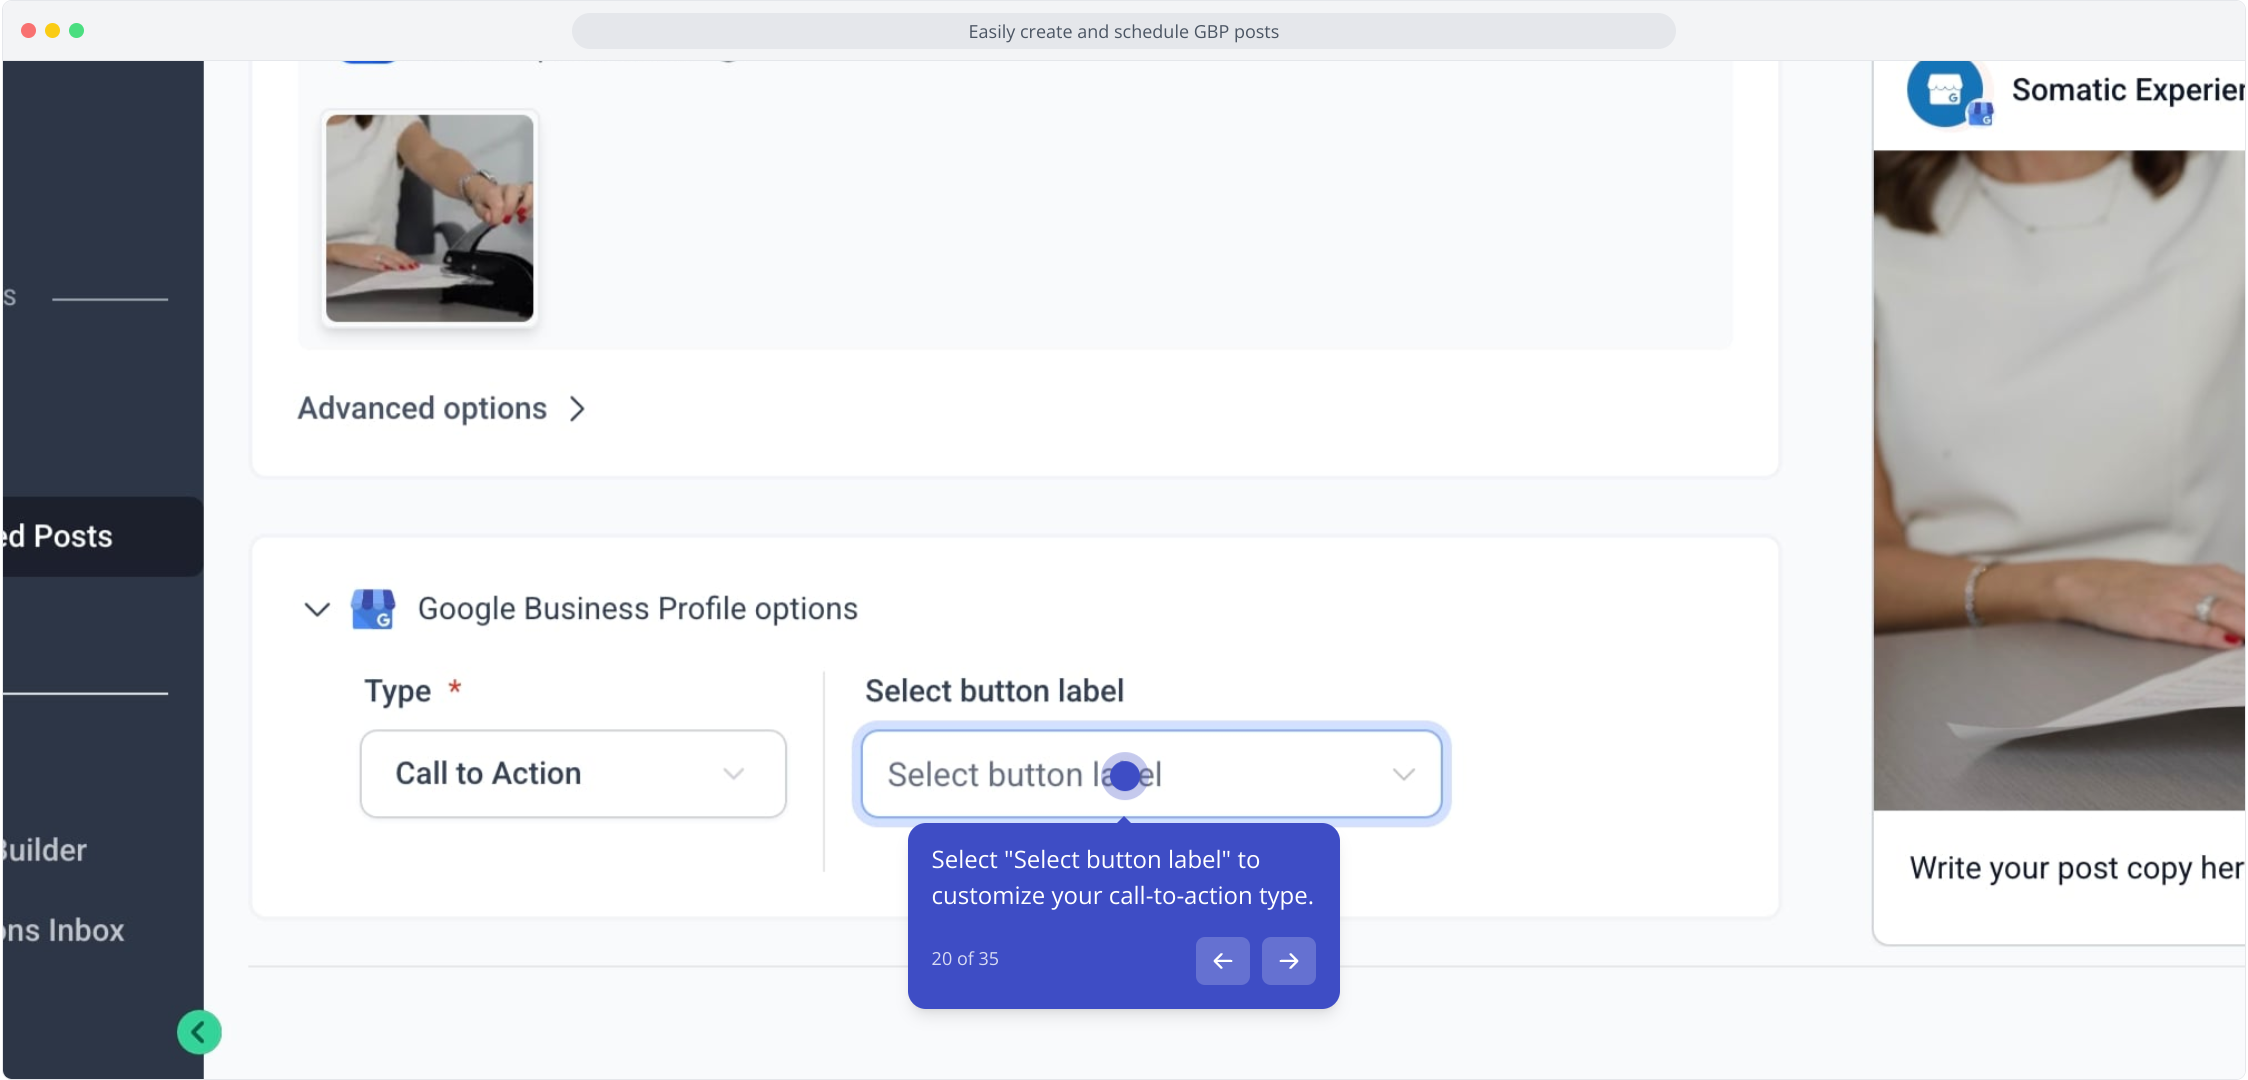
20. Select "Select button label" to customize your call-to-action type.
21. If no call to action is needed, click the "None" option.

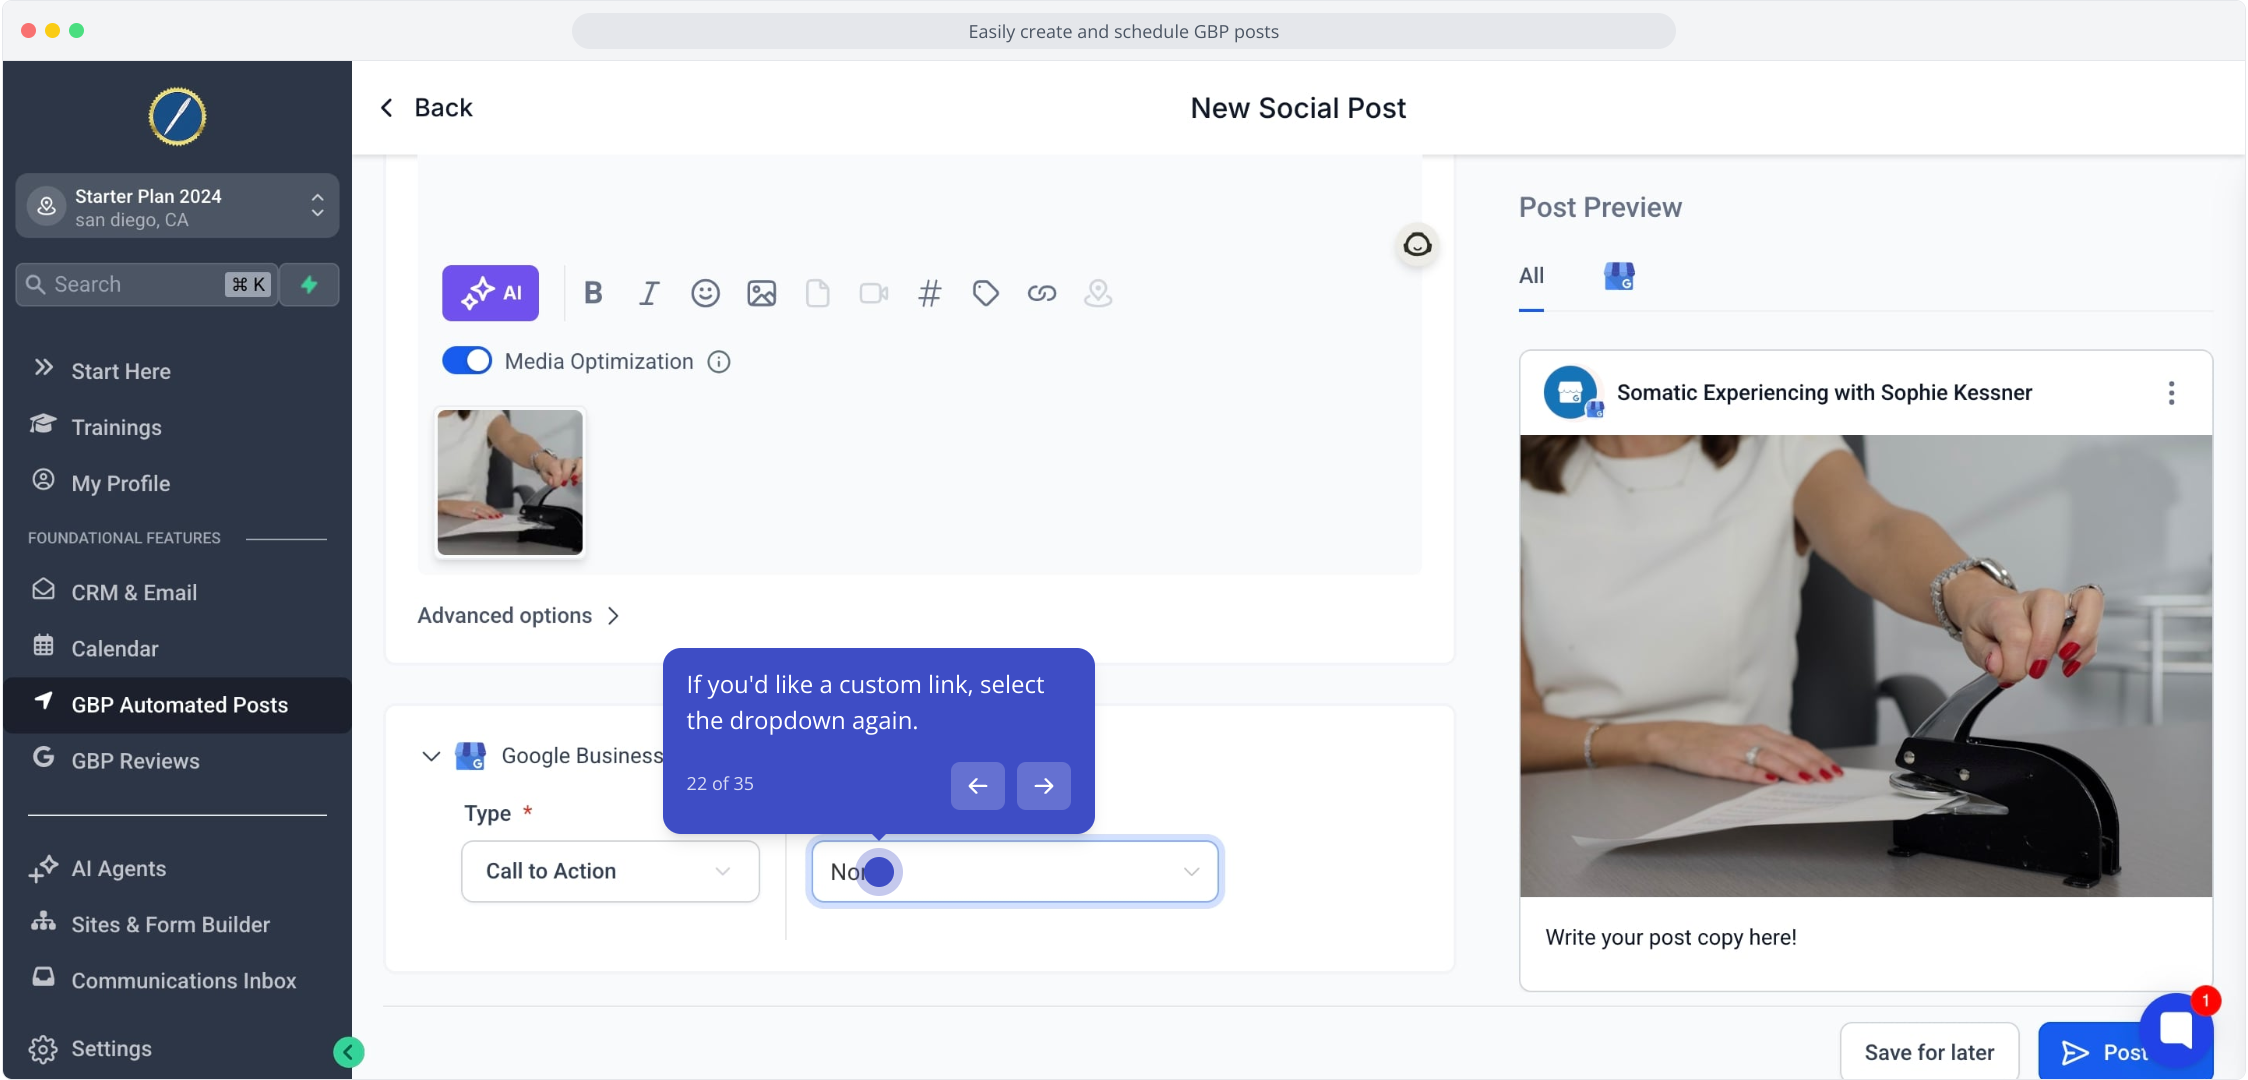
22. If you'd like a custom link, select the dropdown again.
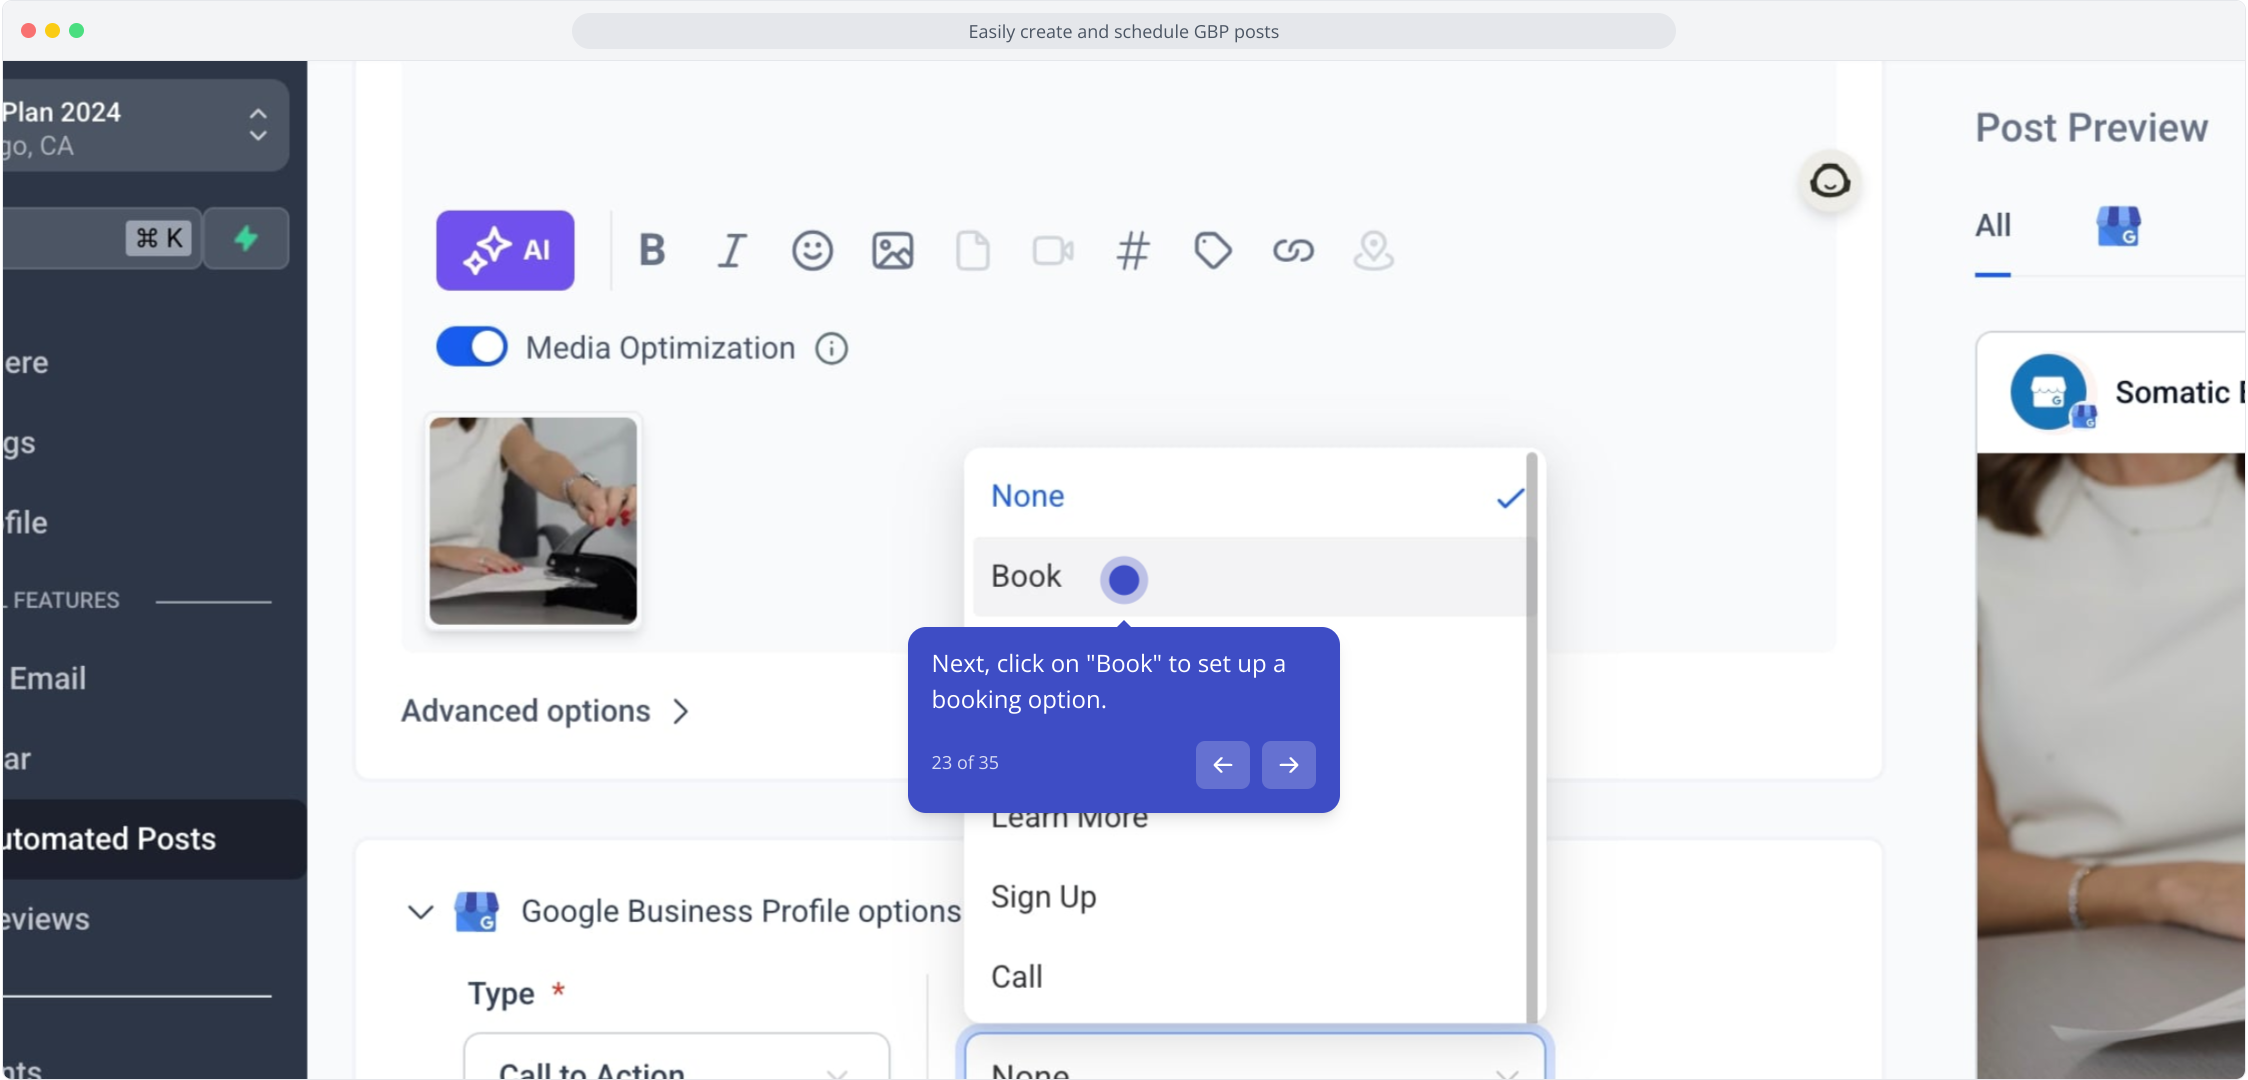
23. Next, click on "Book" to set up a booking option.
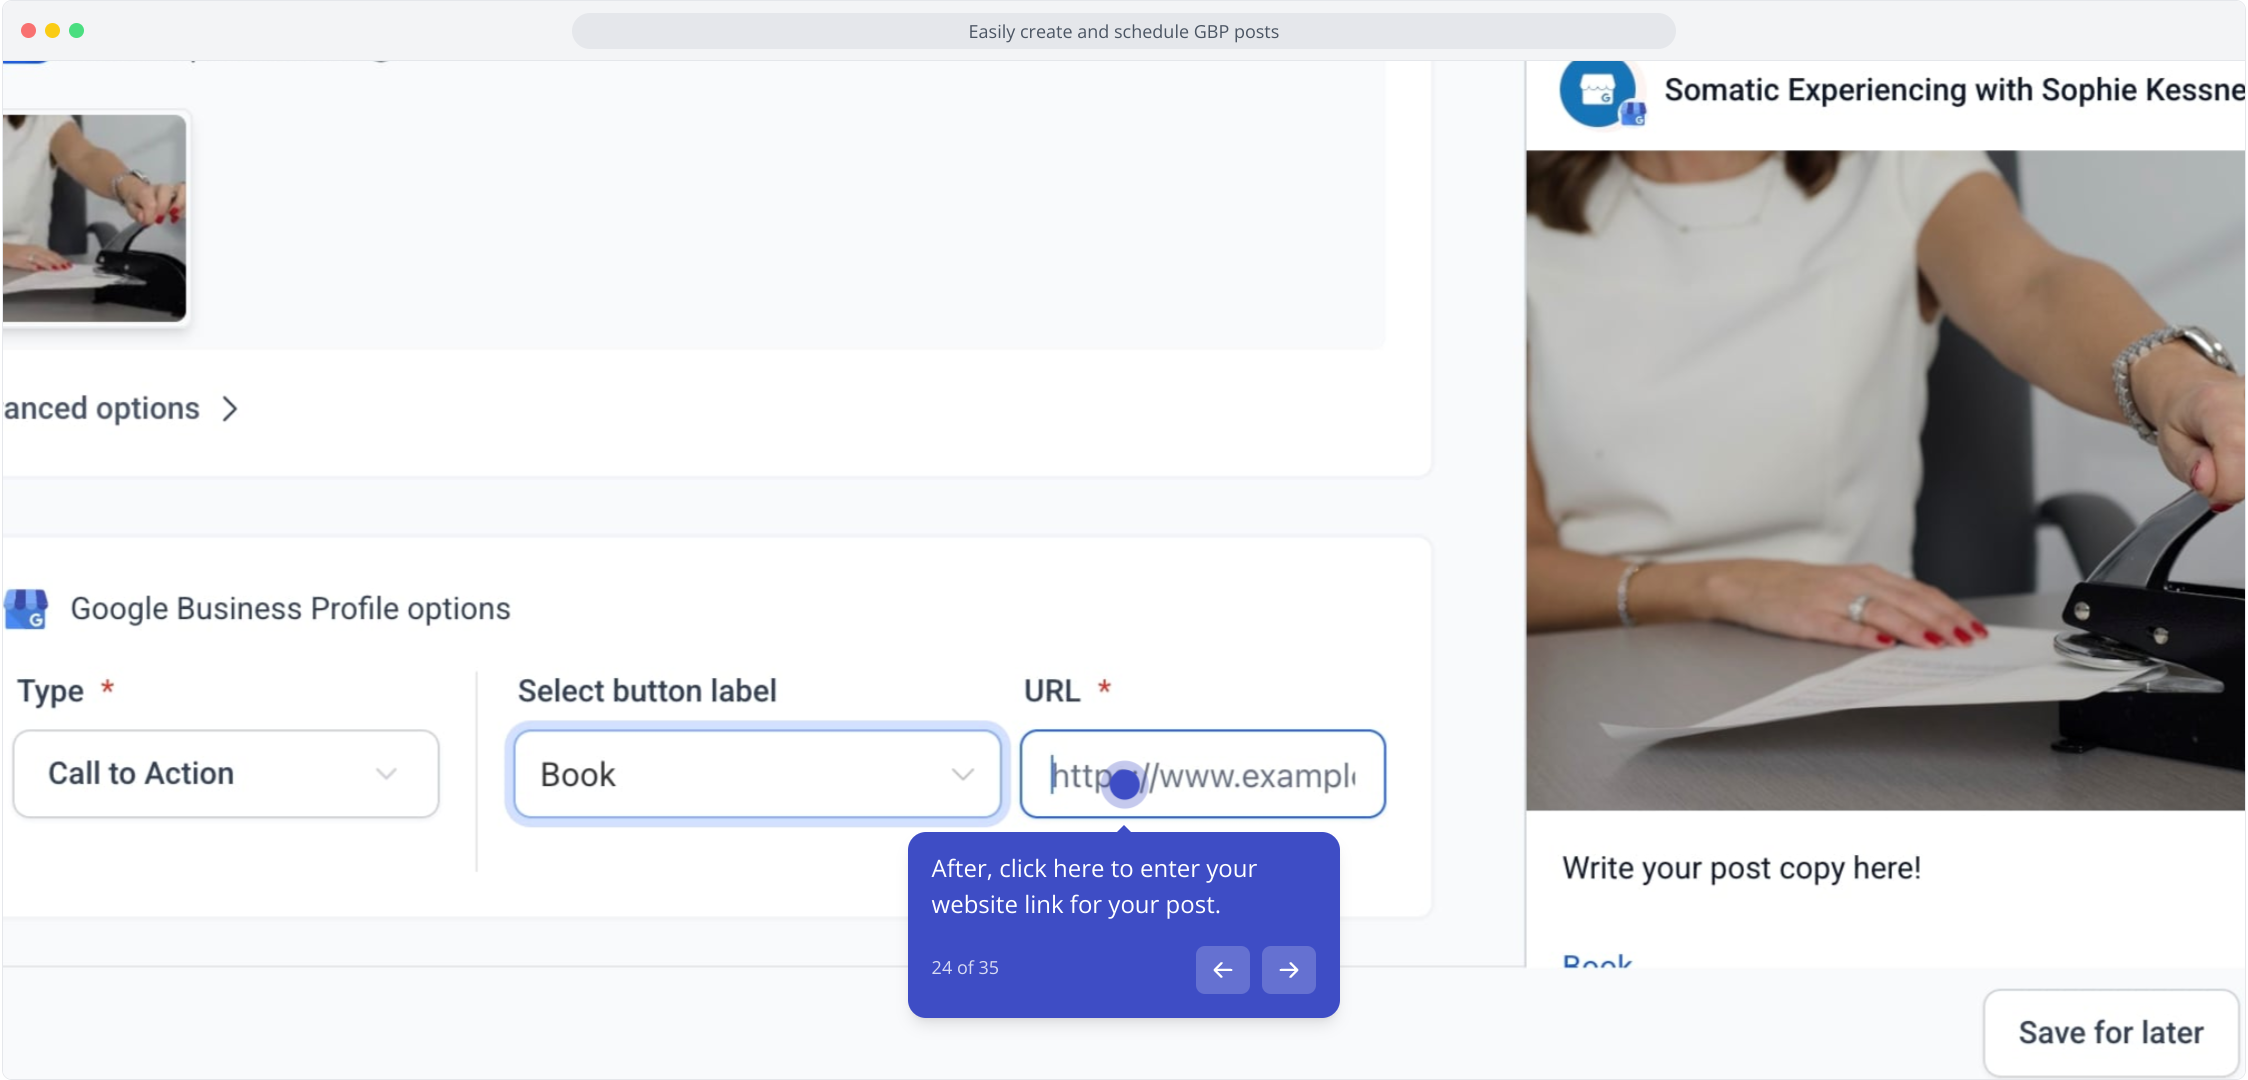
24. After, click here to enter your website link for your post.
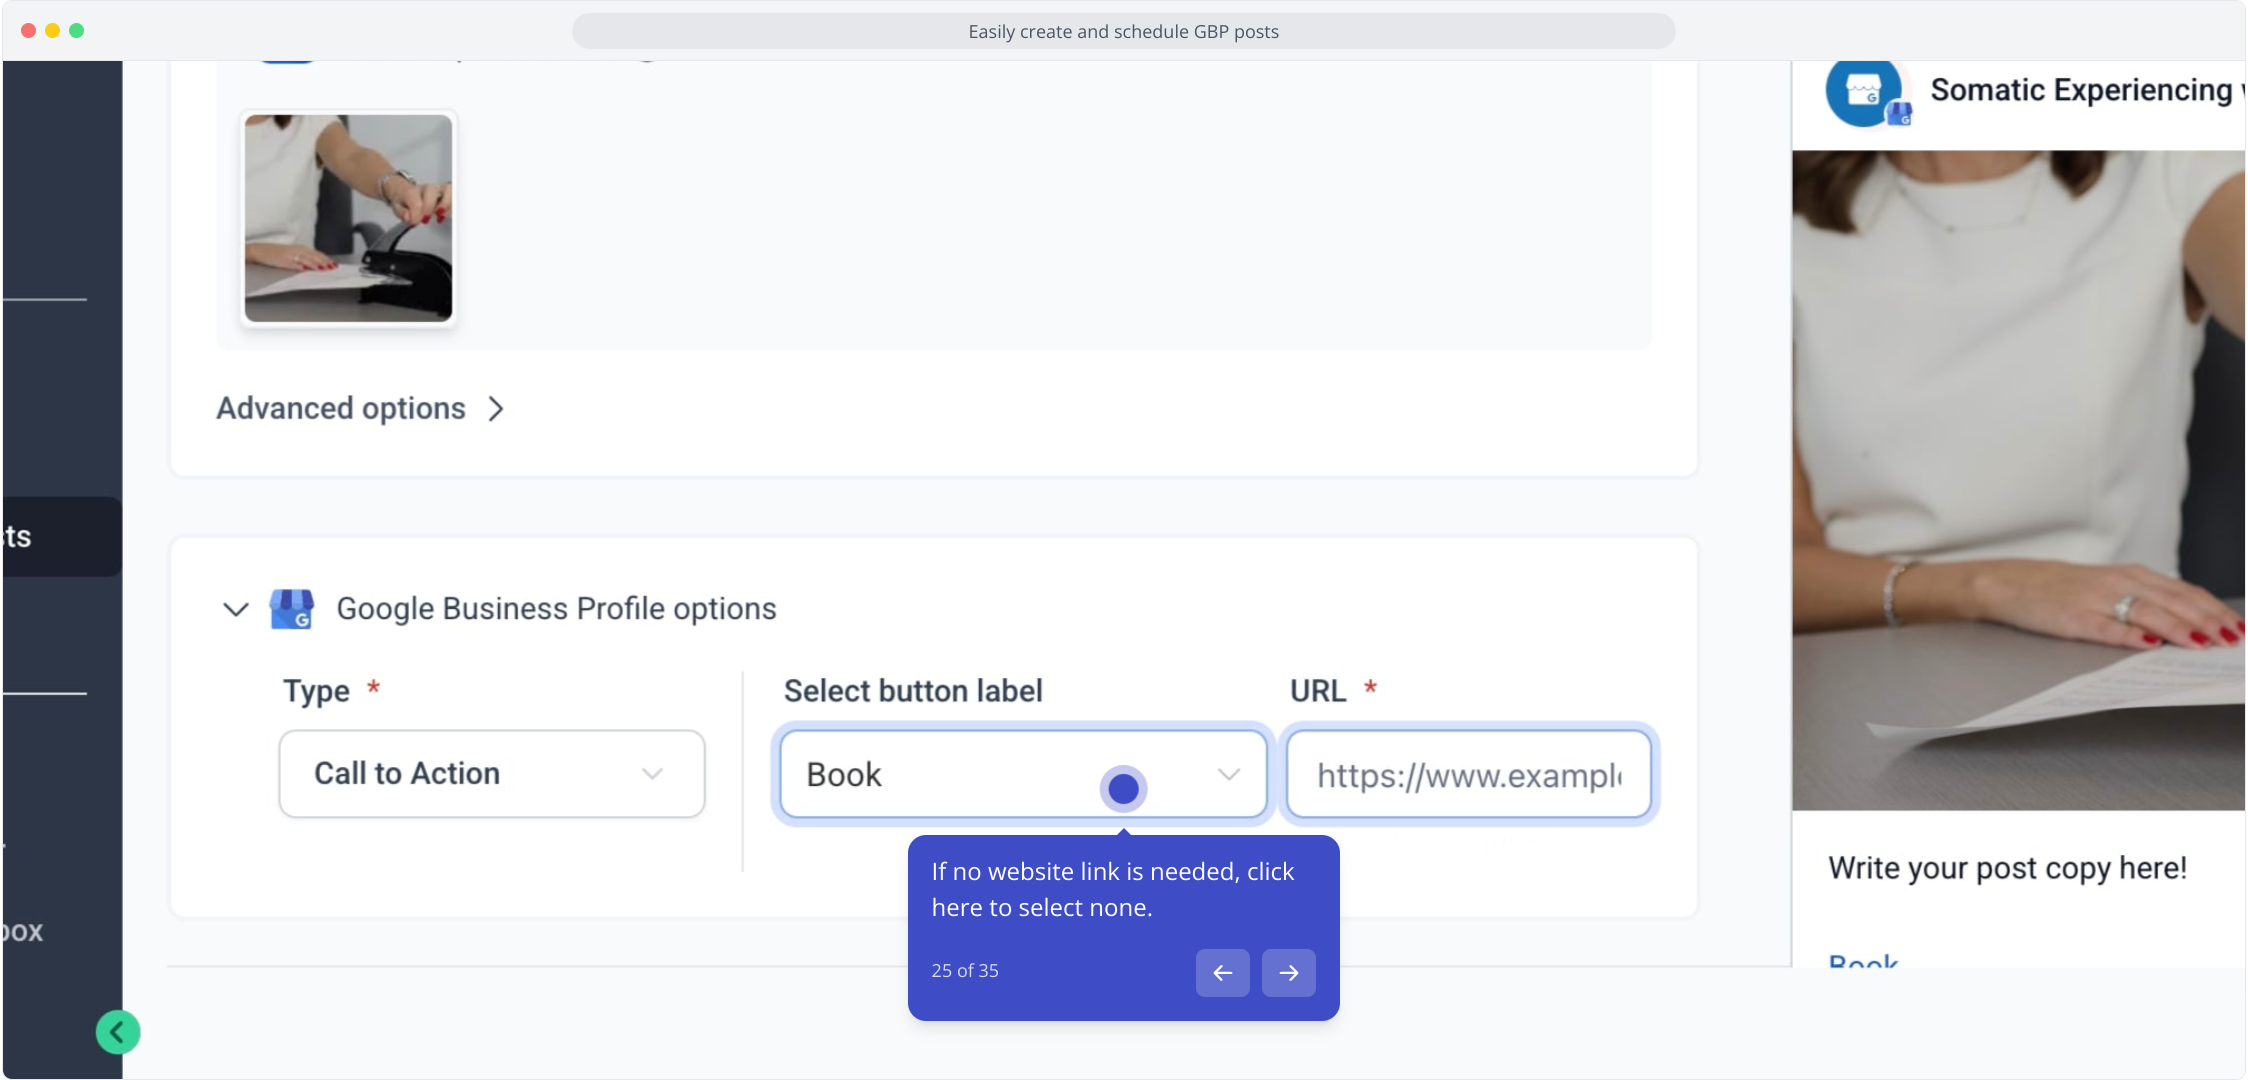
25. If no website link is needed, click here to select none.
26. By choosing "None," no action is required.

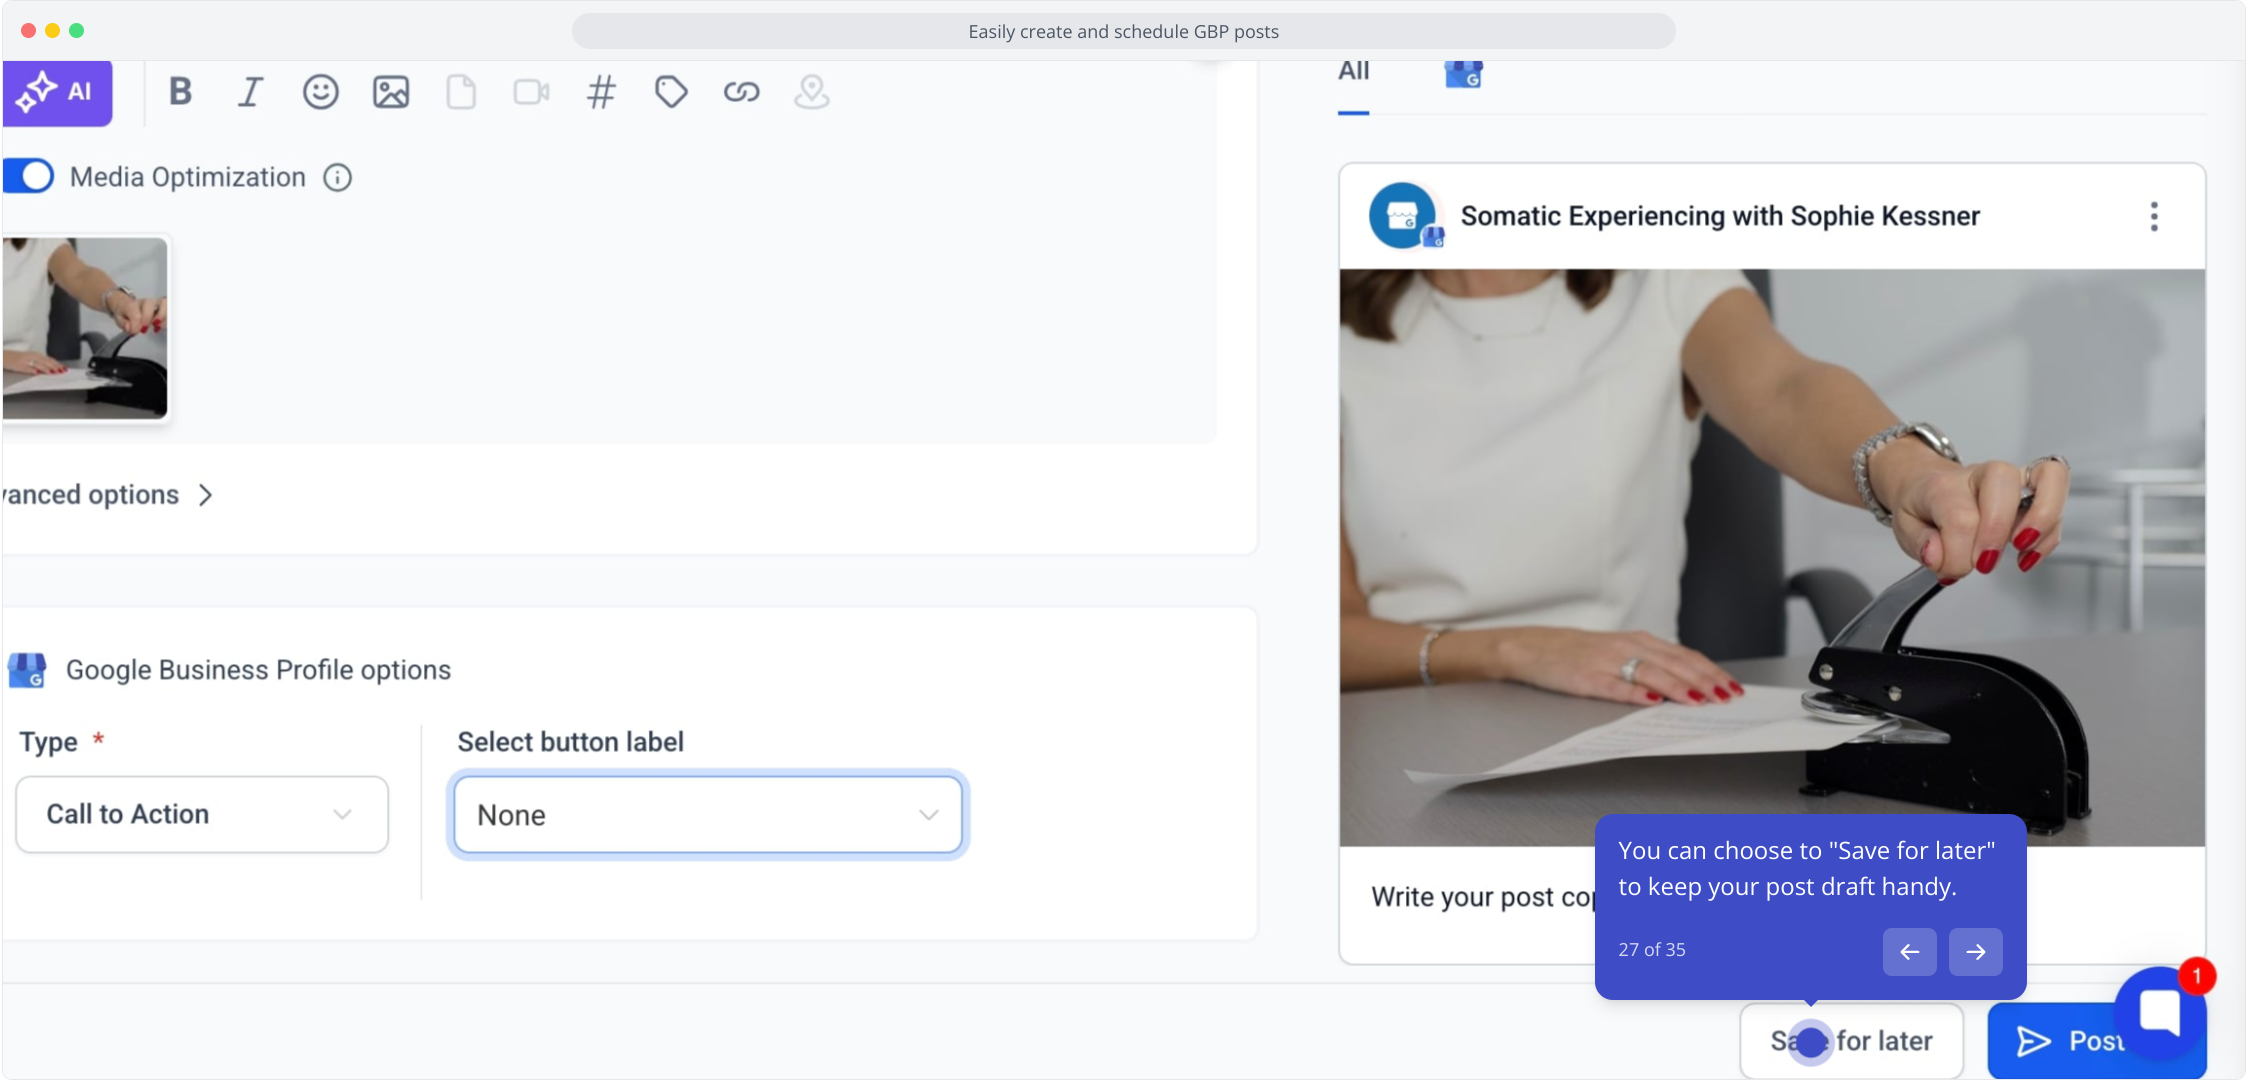
27. You can choose to "Save for later" to keep your post draft handy.
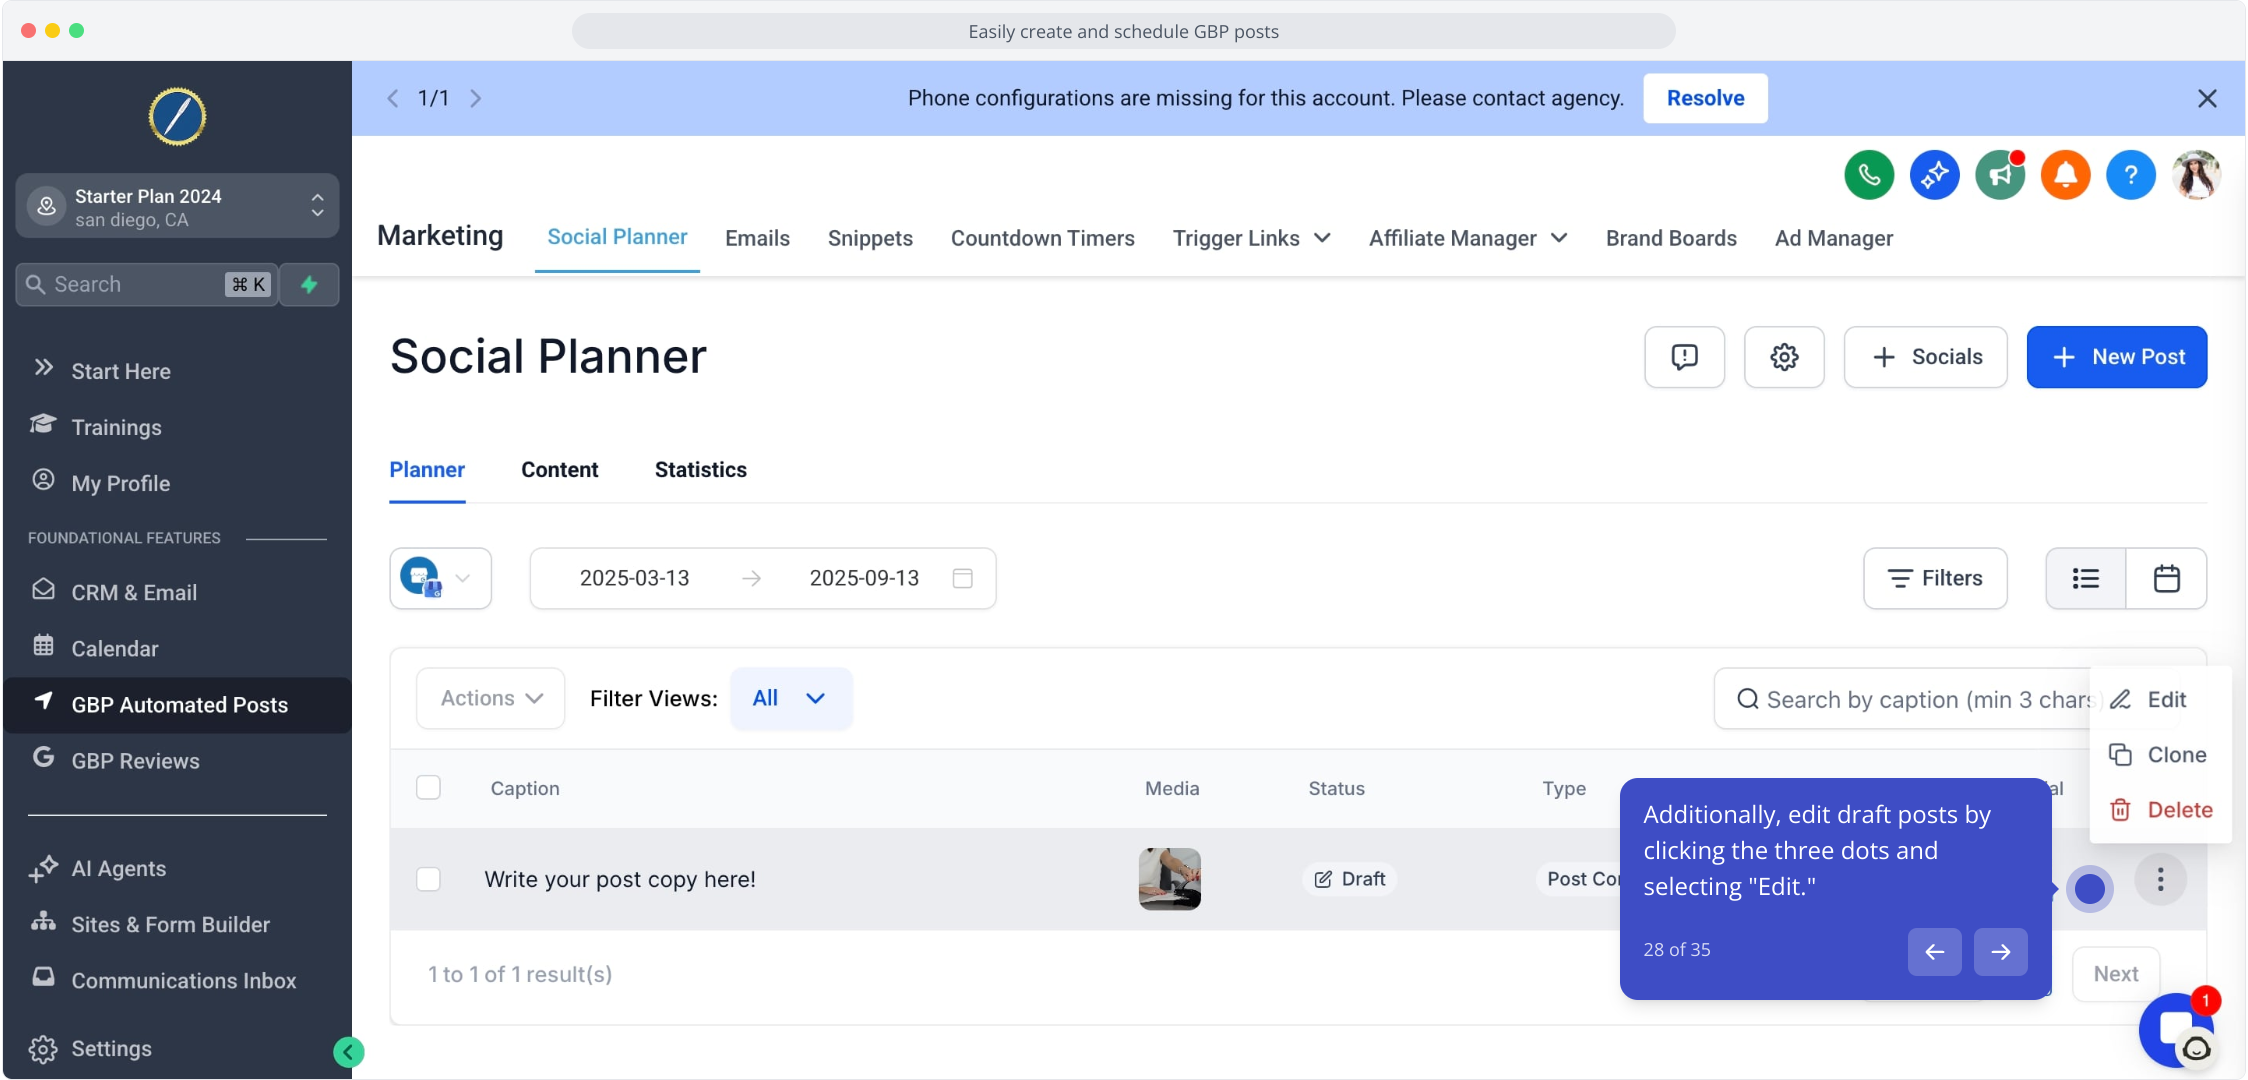
28. Additionally, edit draft posts by clicking the three dots and selecting "Edit."
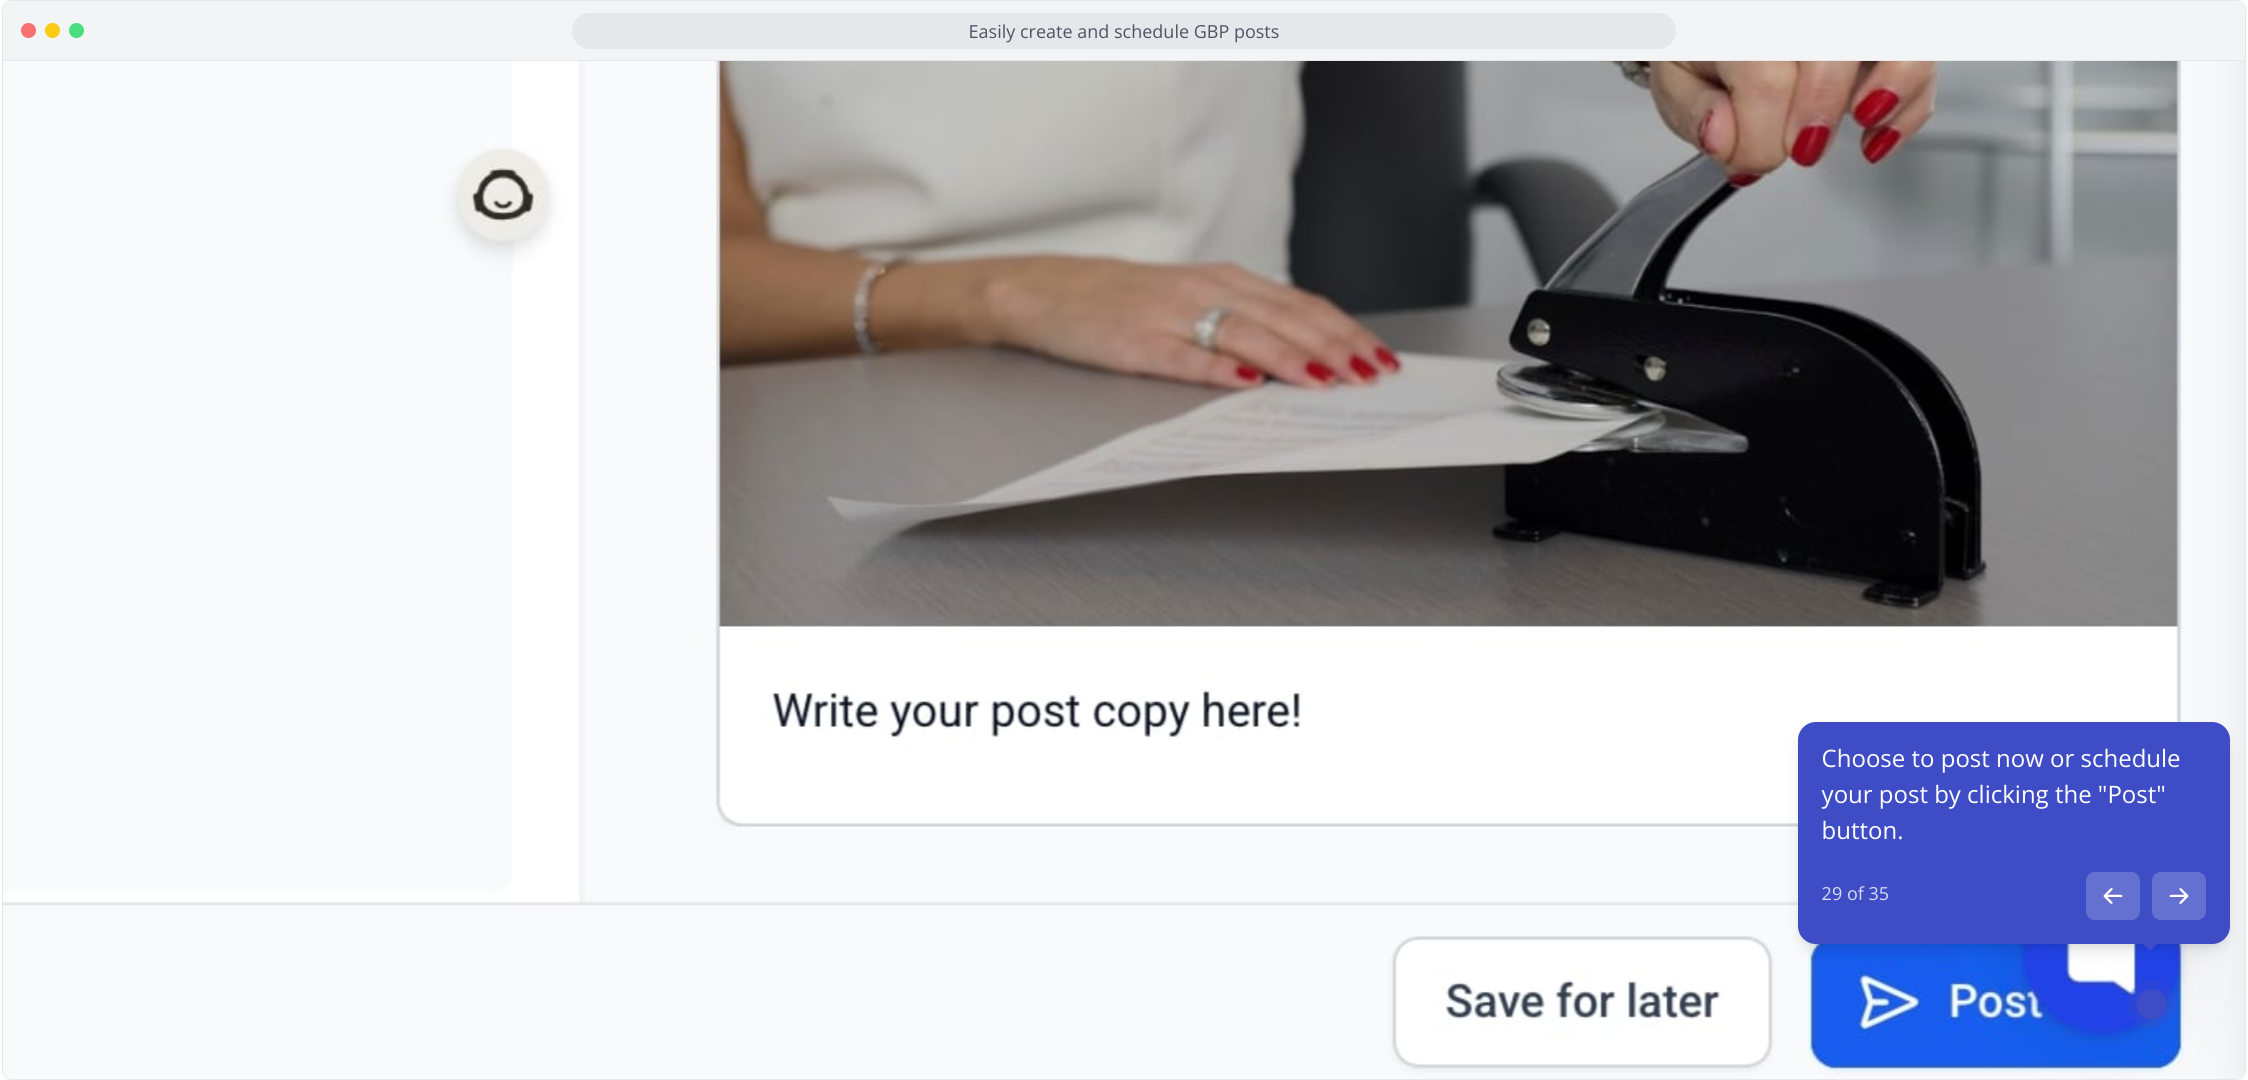
29. Choose to post now or schedule your post by clicking the "Post" button.
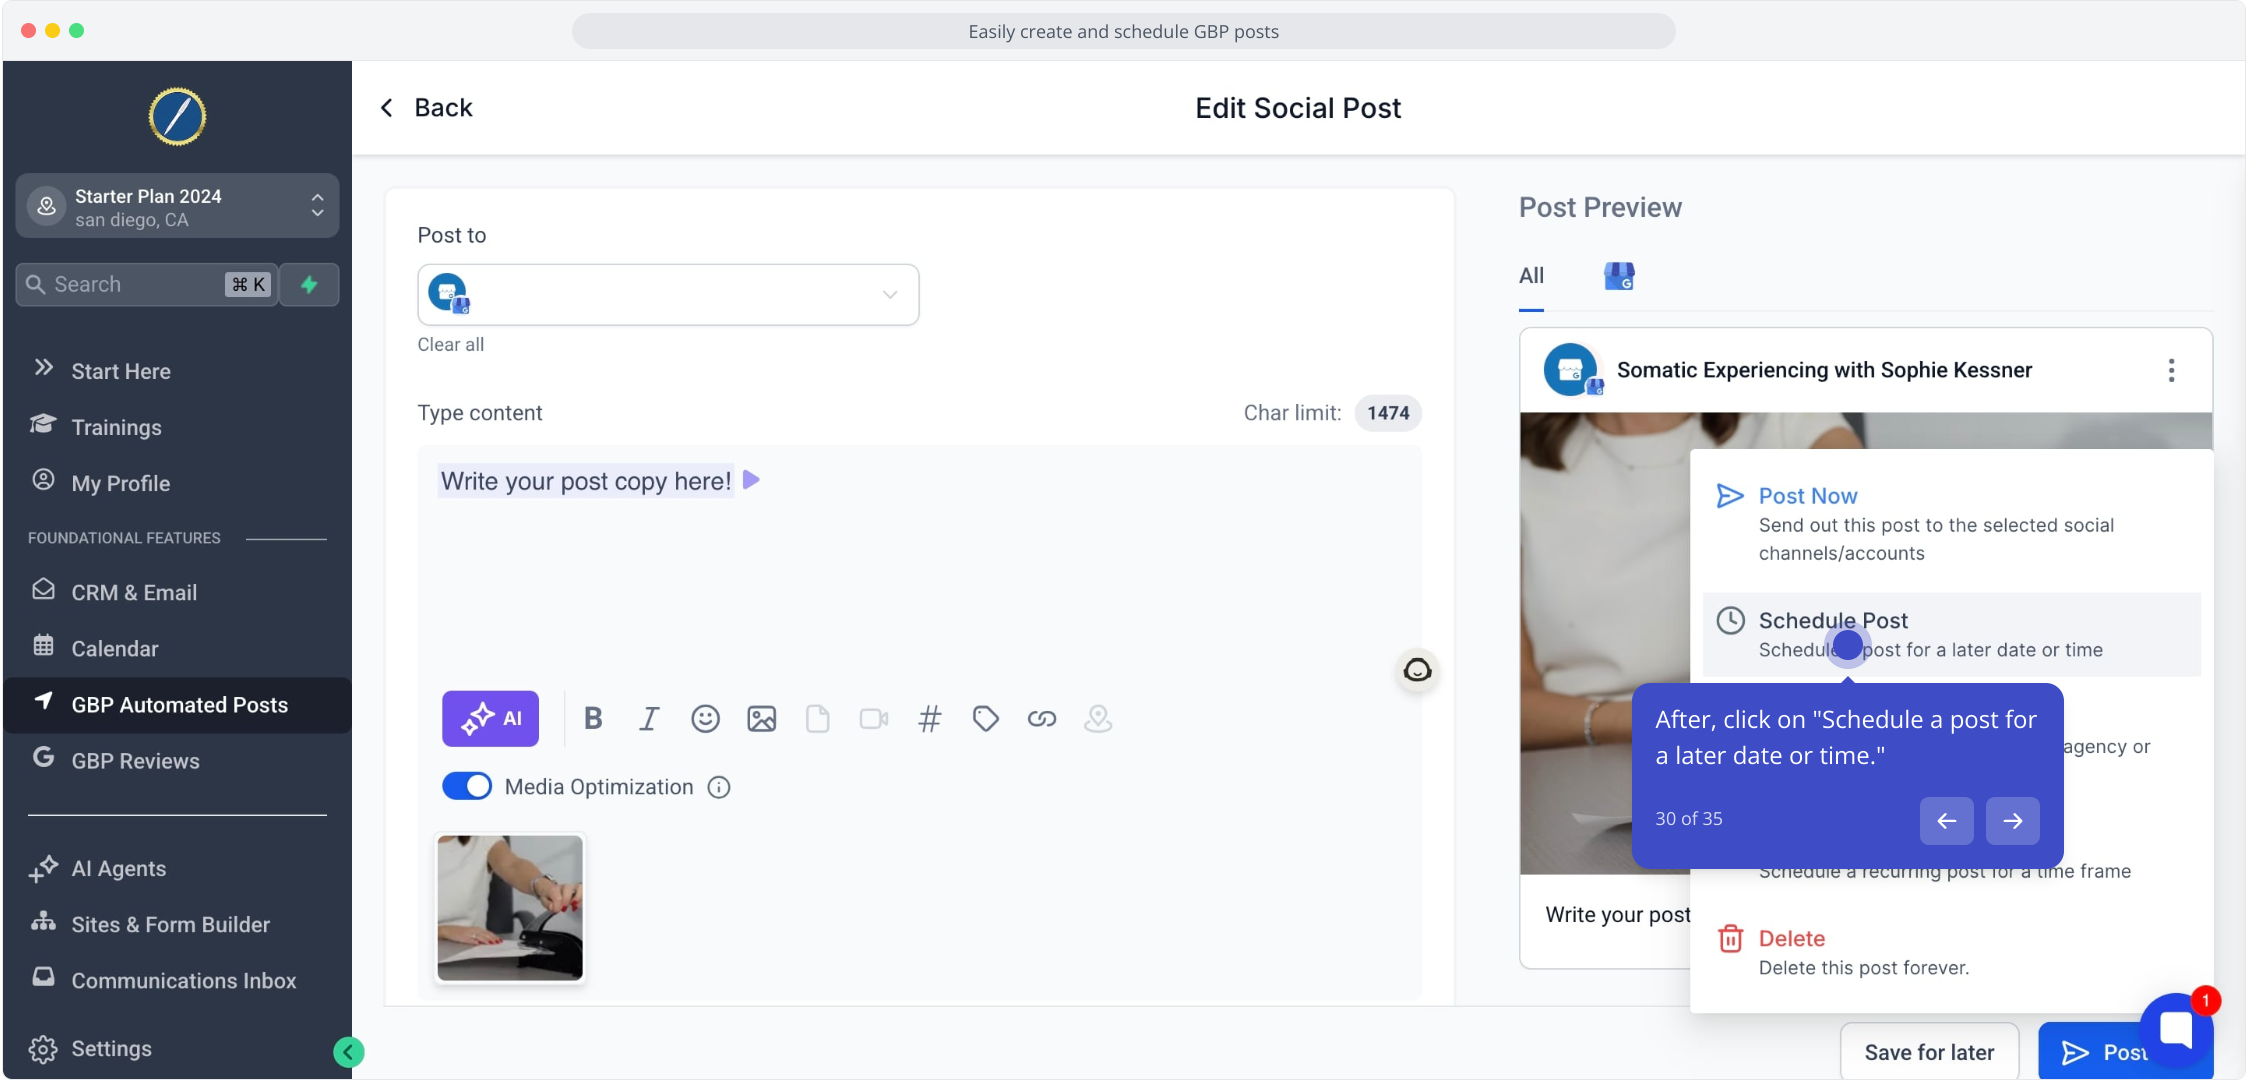
30. After, click on "Schedule a post for a later date or time."
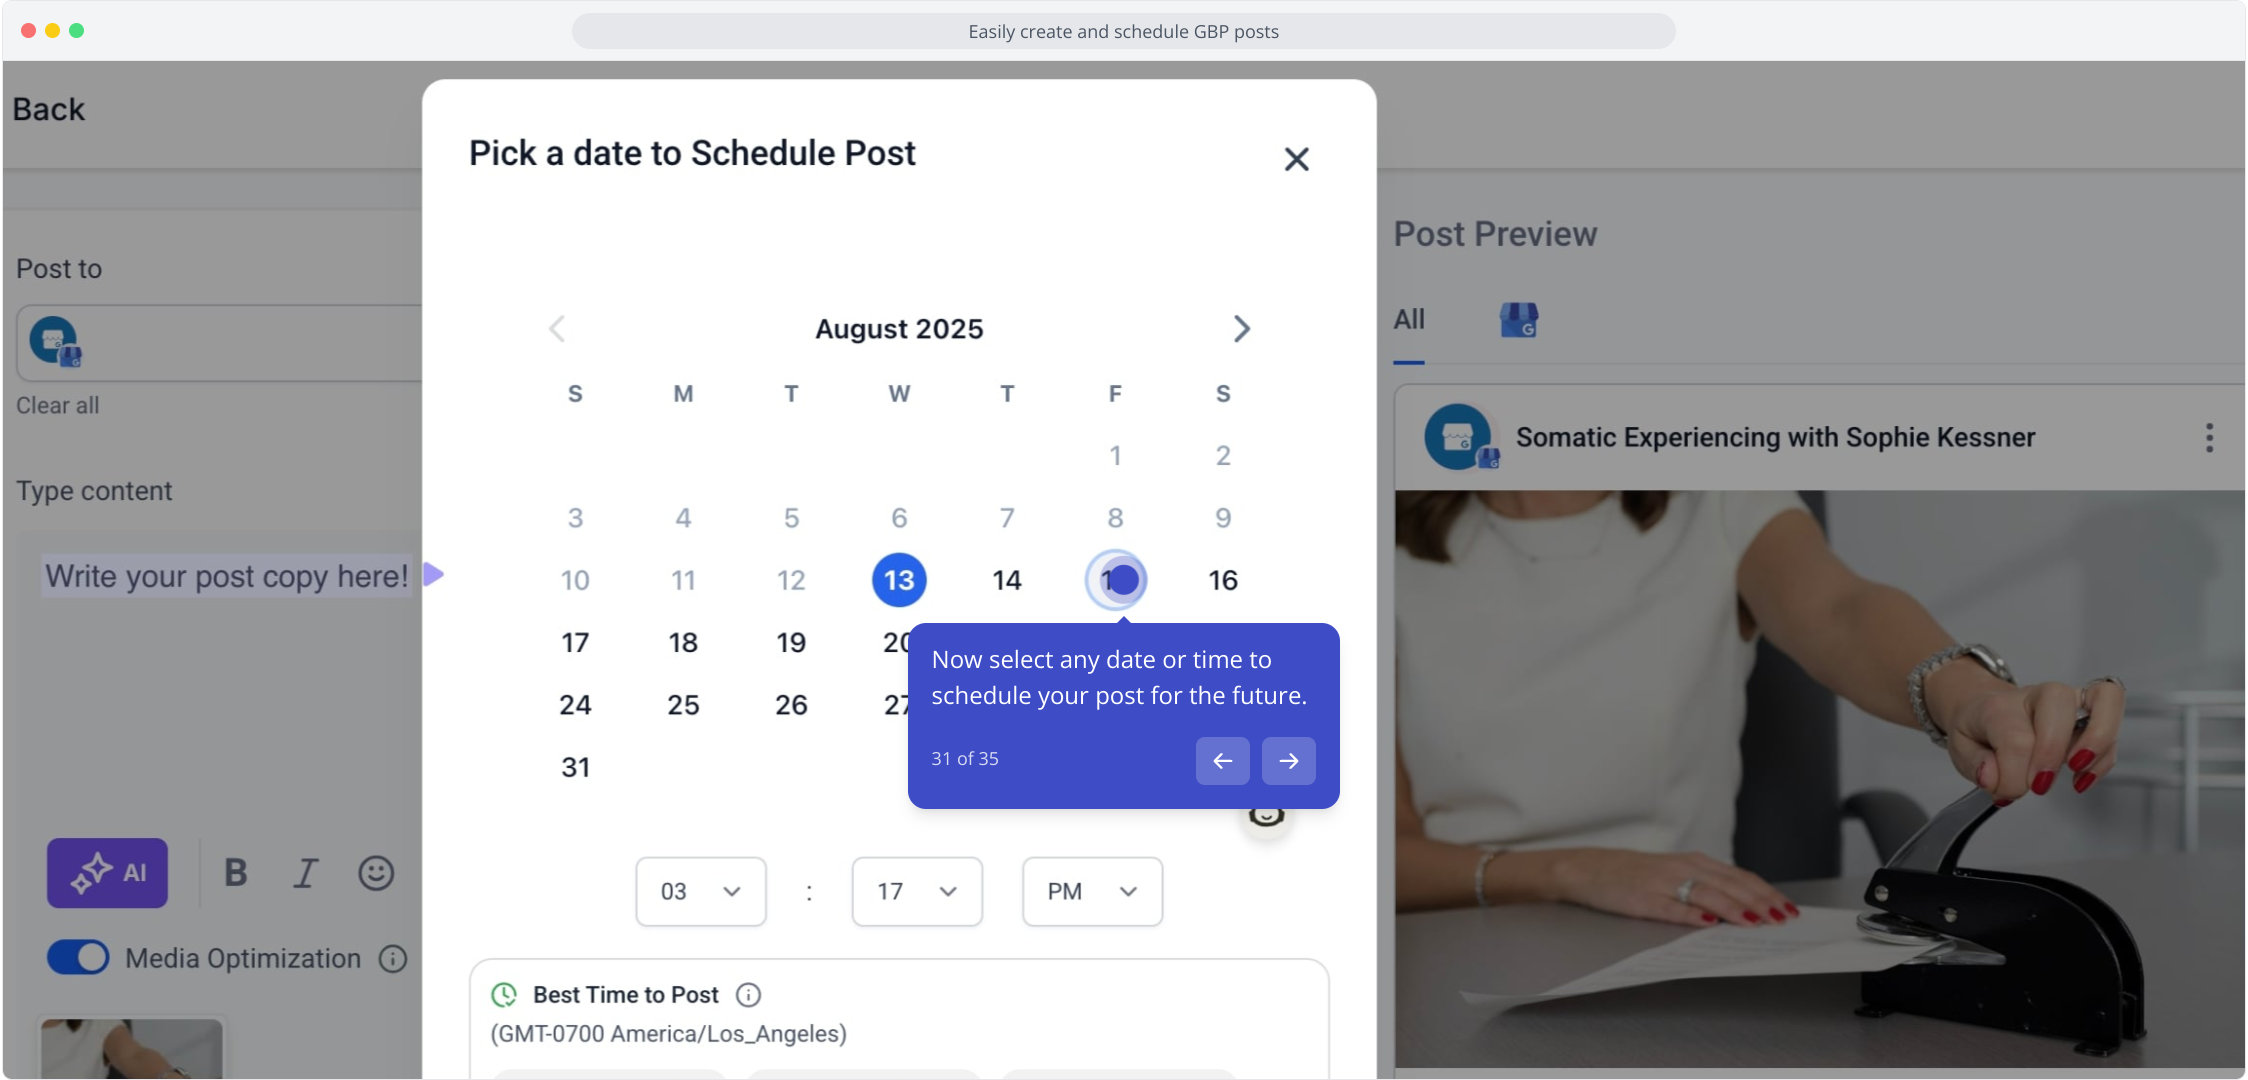
31. Now select any date or time to schedule your post for the future.
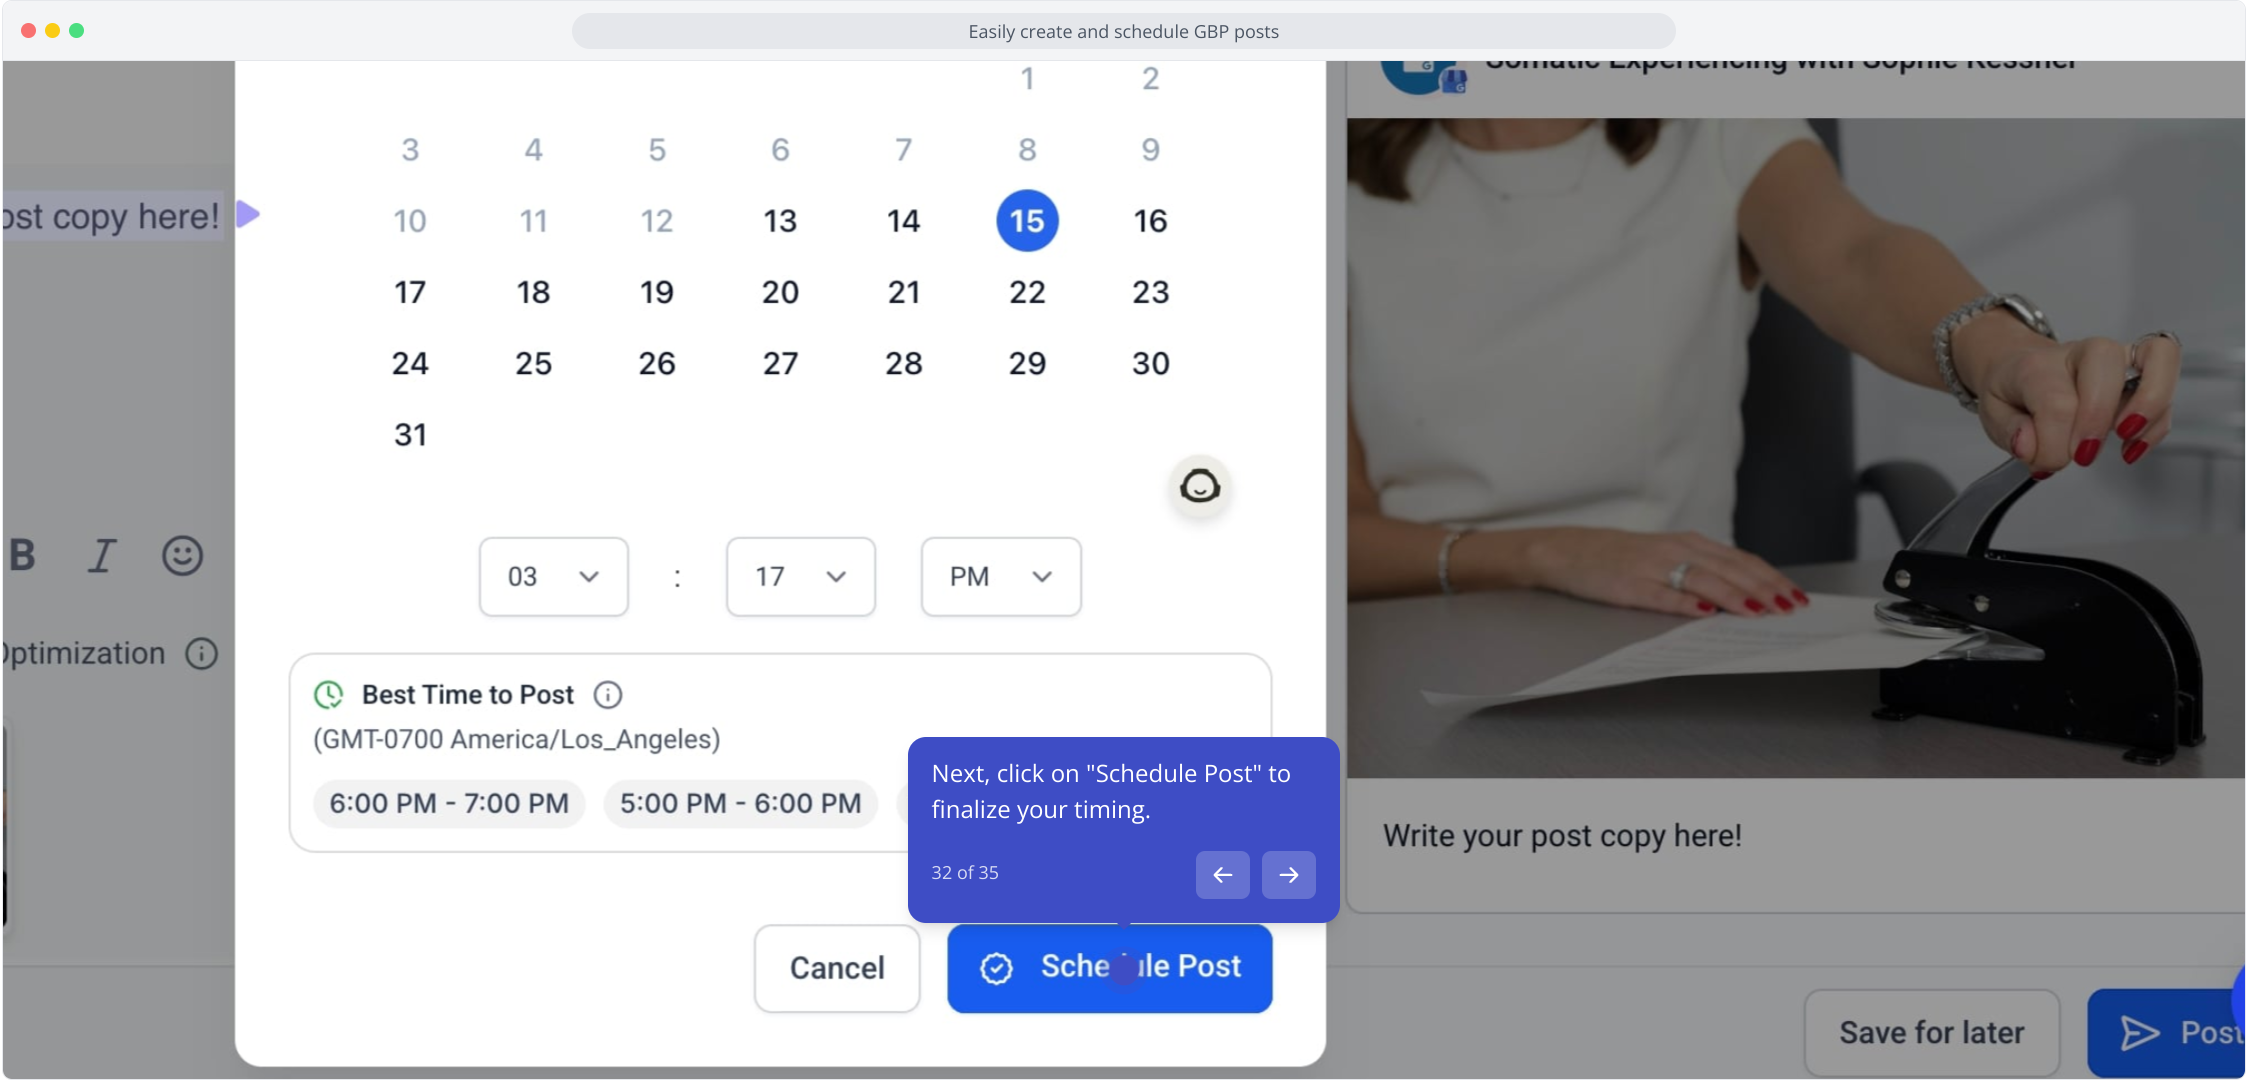
32. Next, click on "Schedule Post" to finalize your timing.
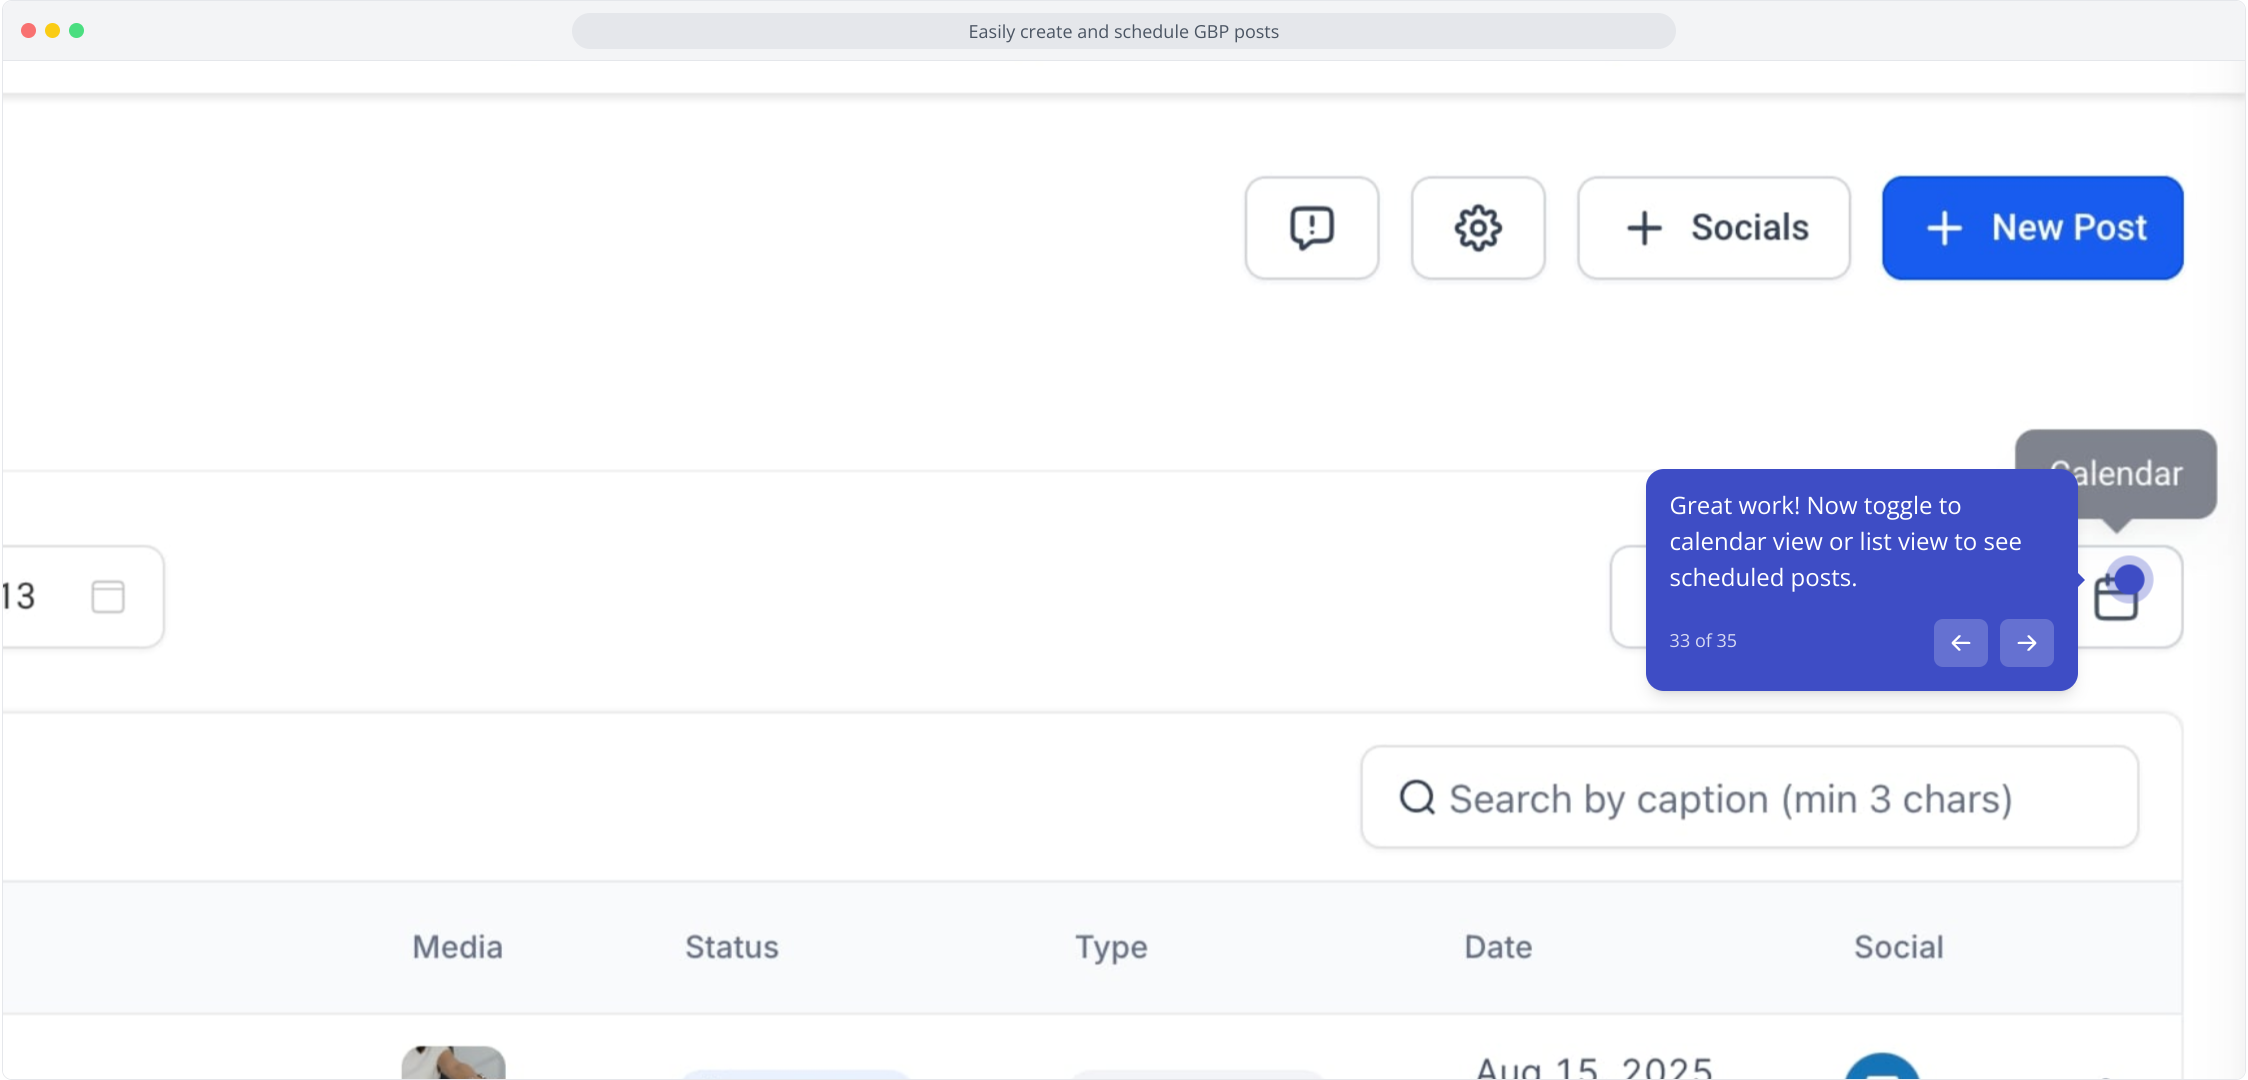
33. Great work! Now toggle to calendar view or list view to see scheduled posts.
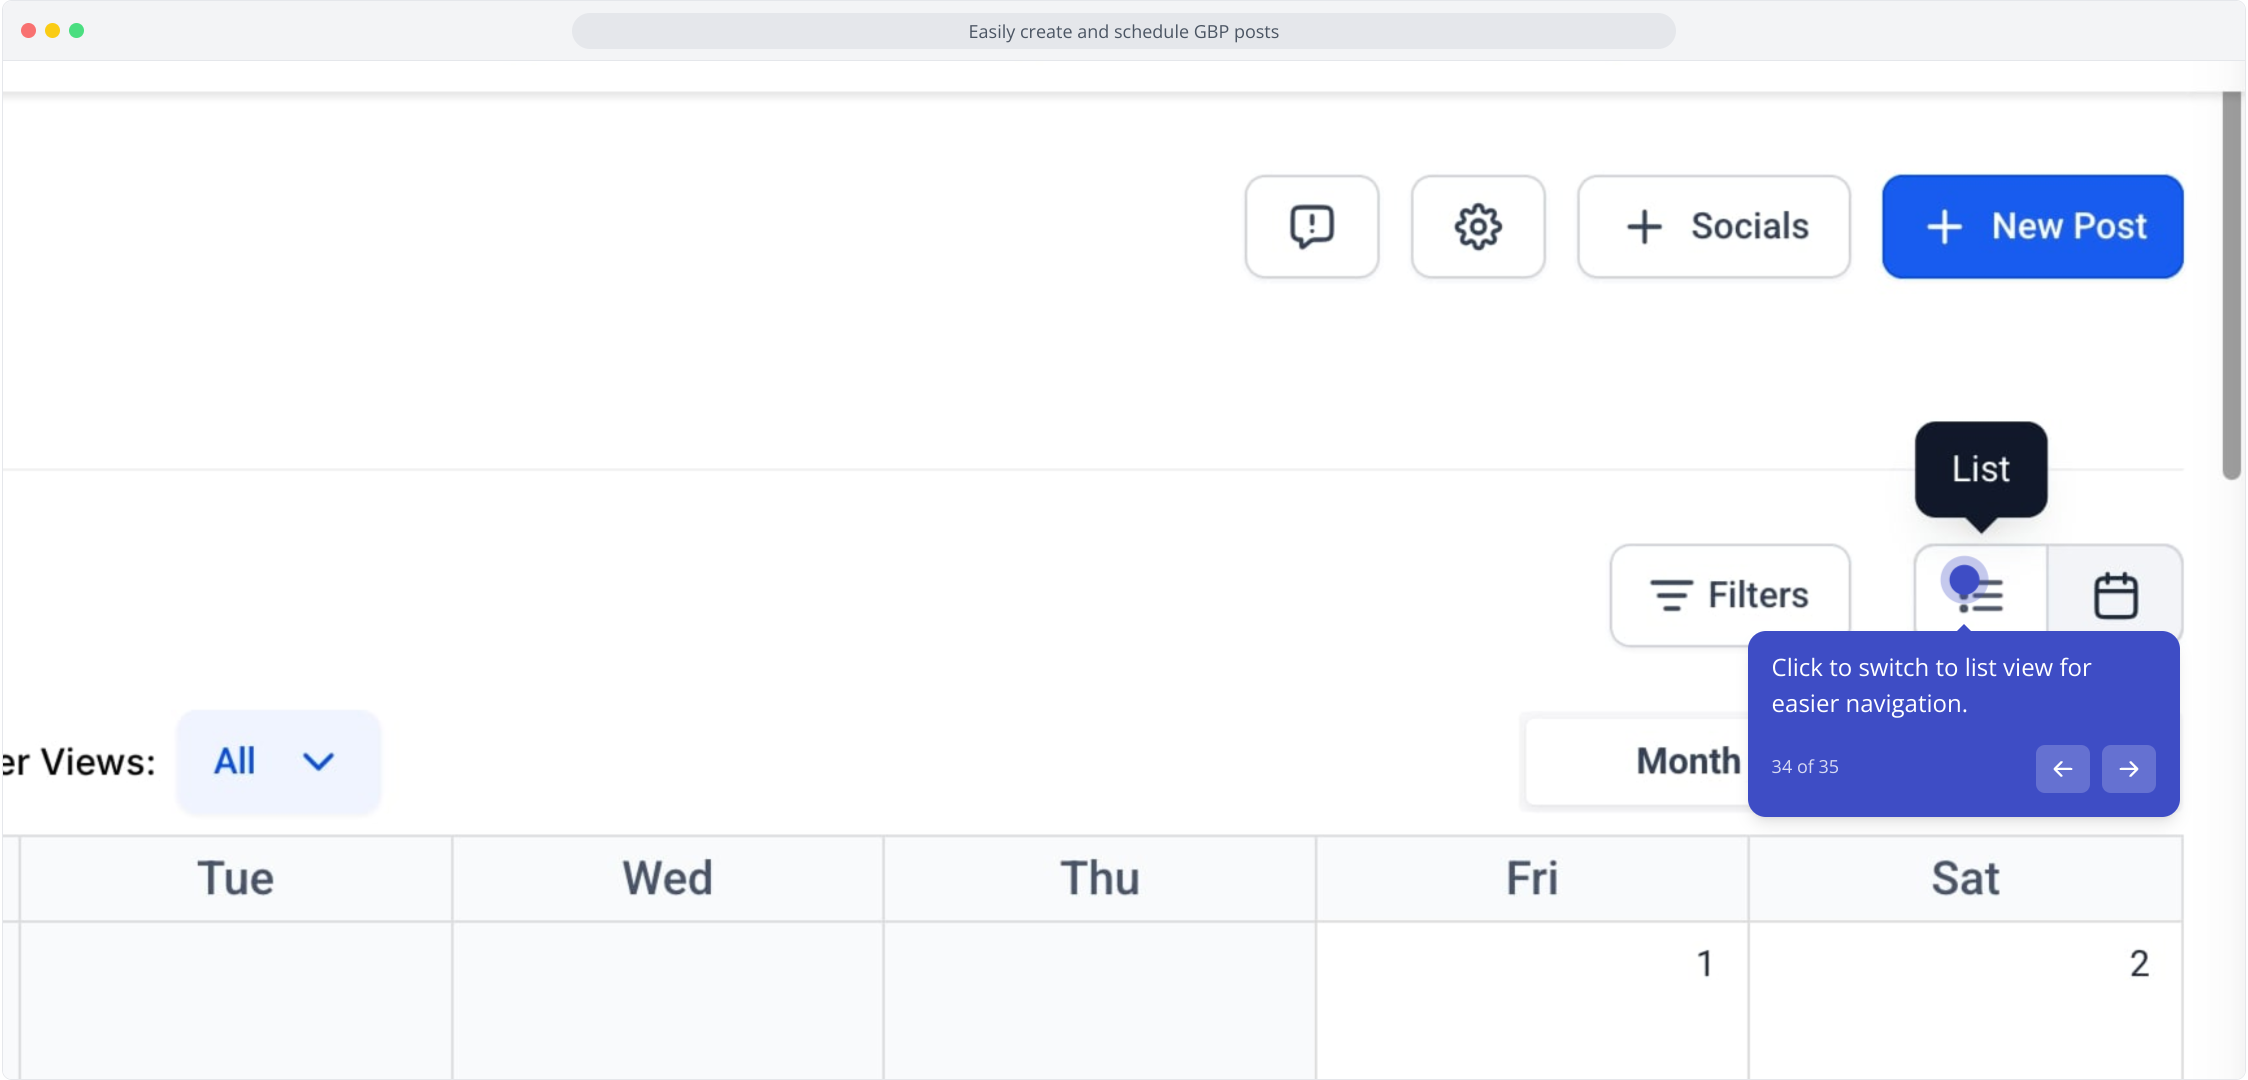
34. Click to switch to list view for easier navigation.
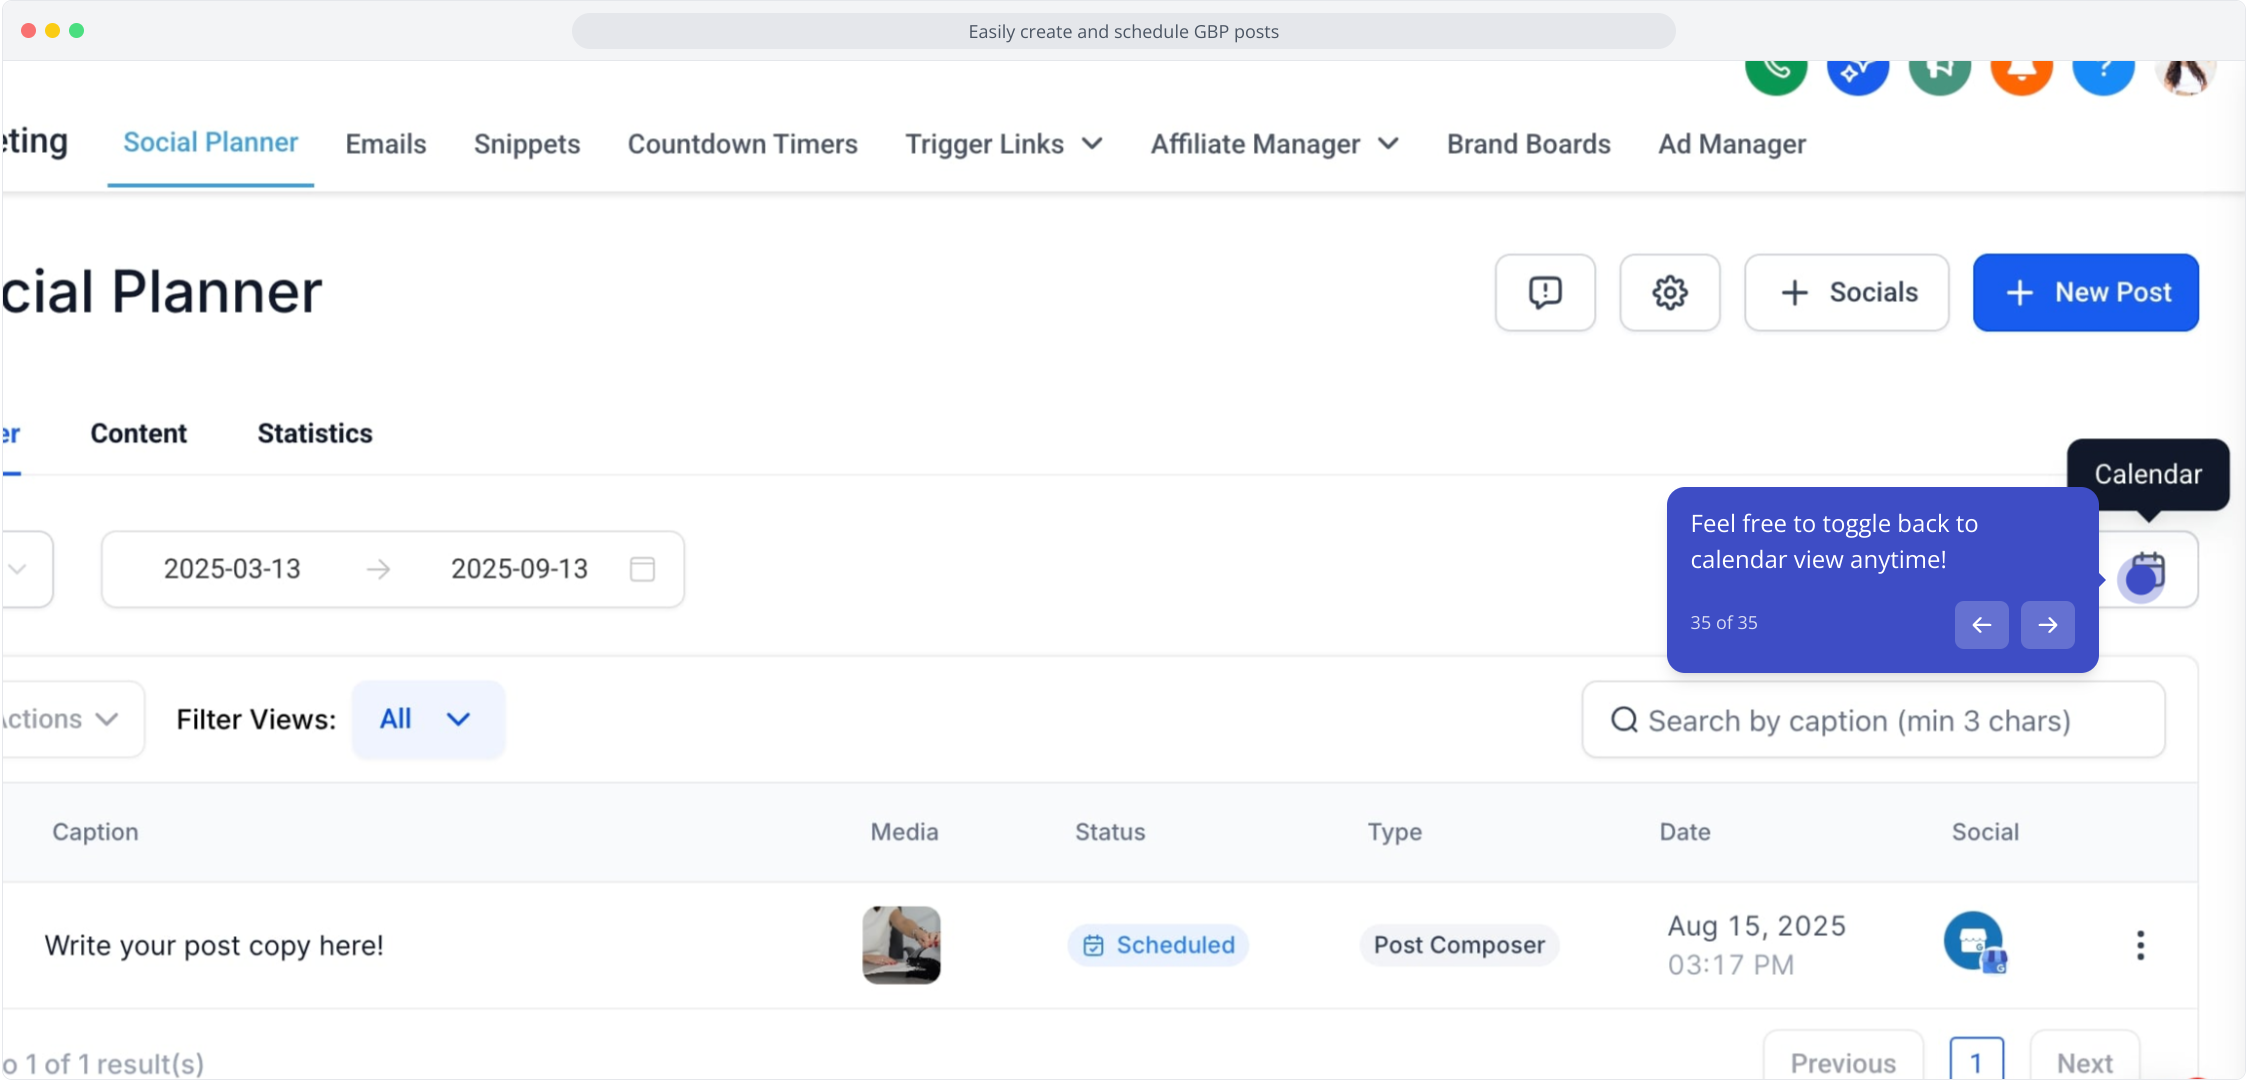
35. Feel free to toggle back to calendar view anytime!
This workflow was created with Supademo.
