This SOP outlines the steps to change the default sending domain and reply-to address in the LSS software account.
1. Access Settings 0:00
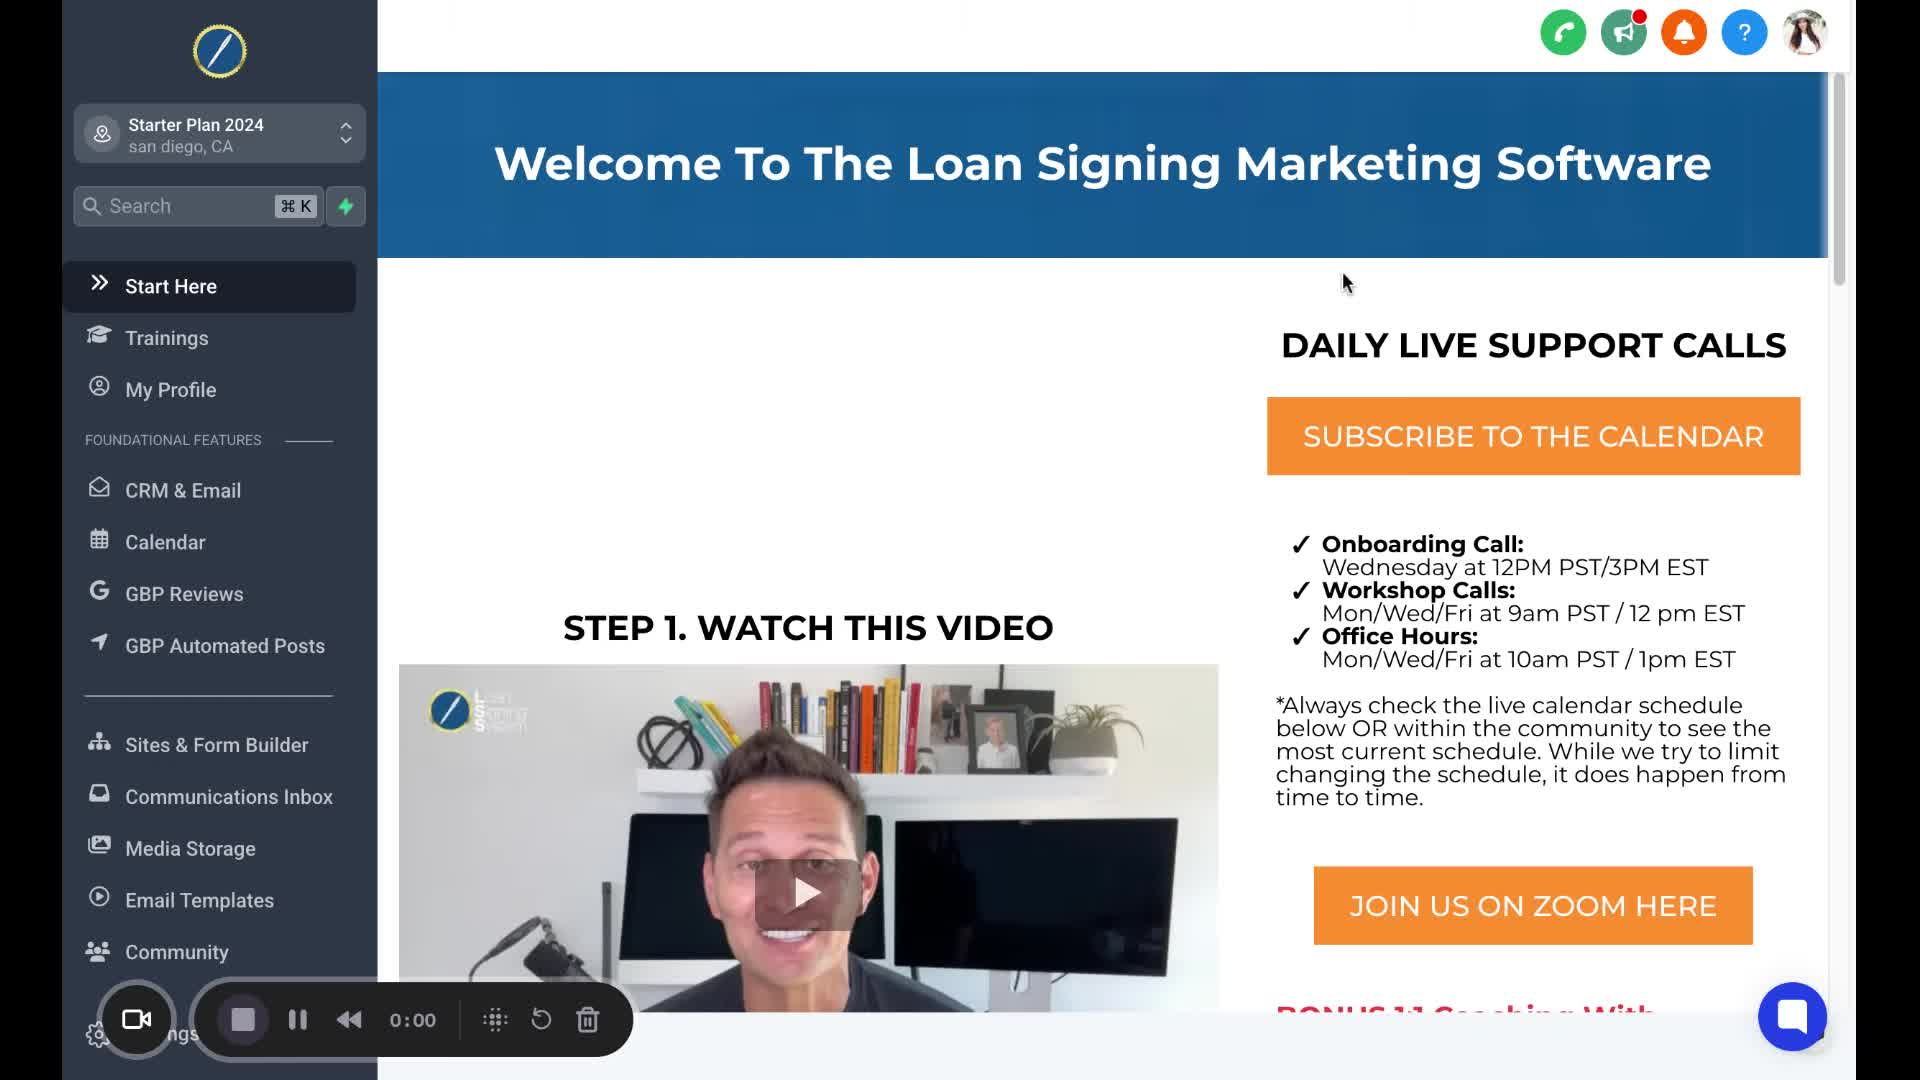
Click on the settings button located in the left-hand menu.
Ensure you are using a desktop and not a mobile device.
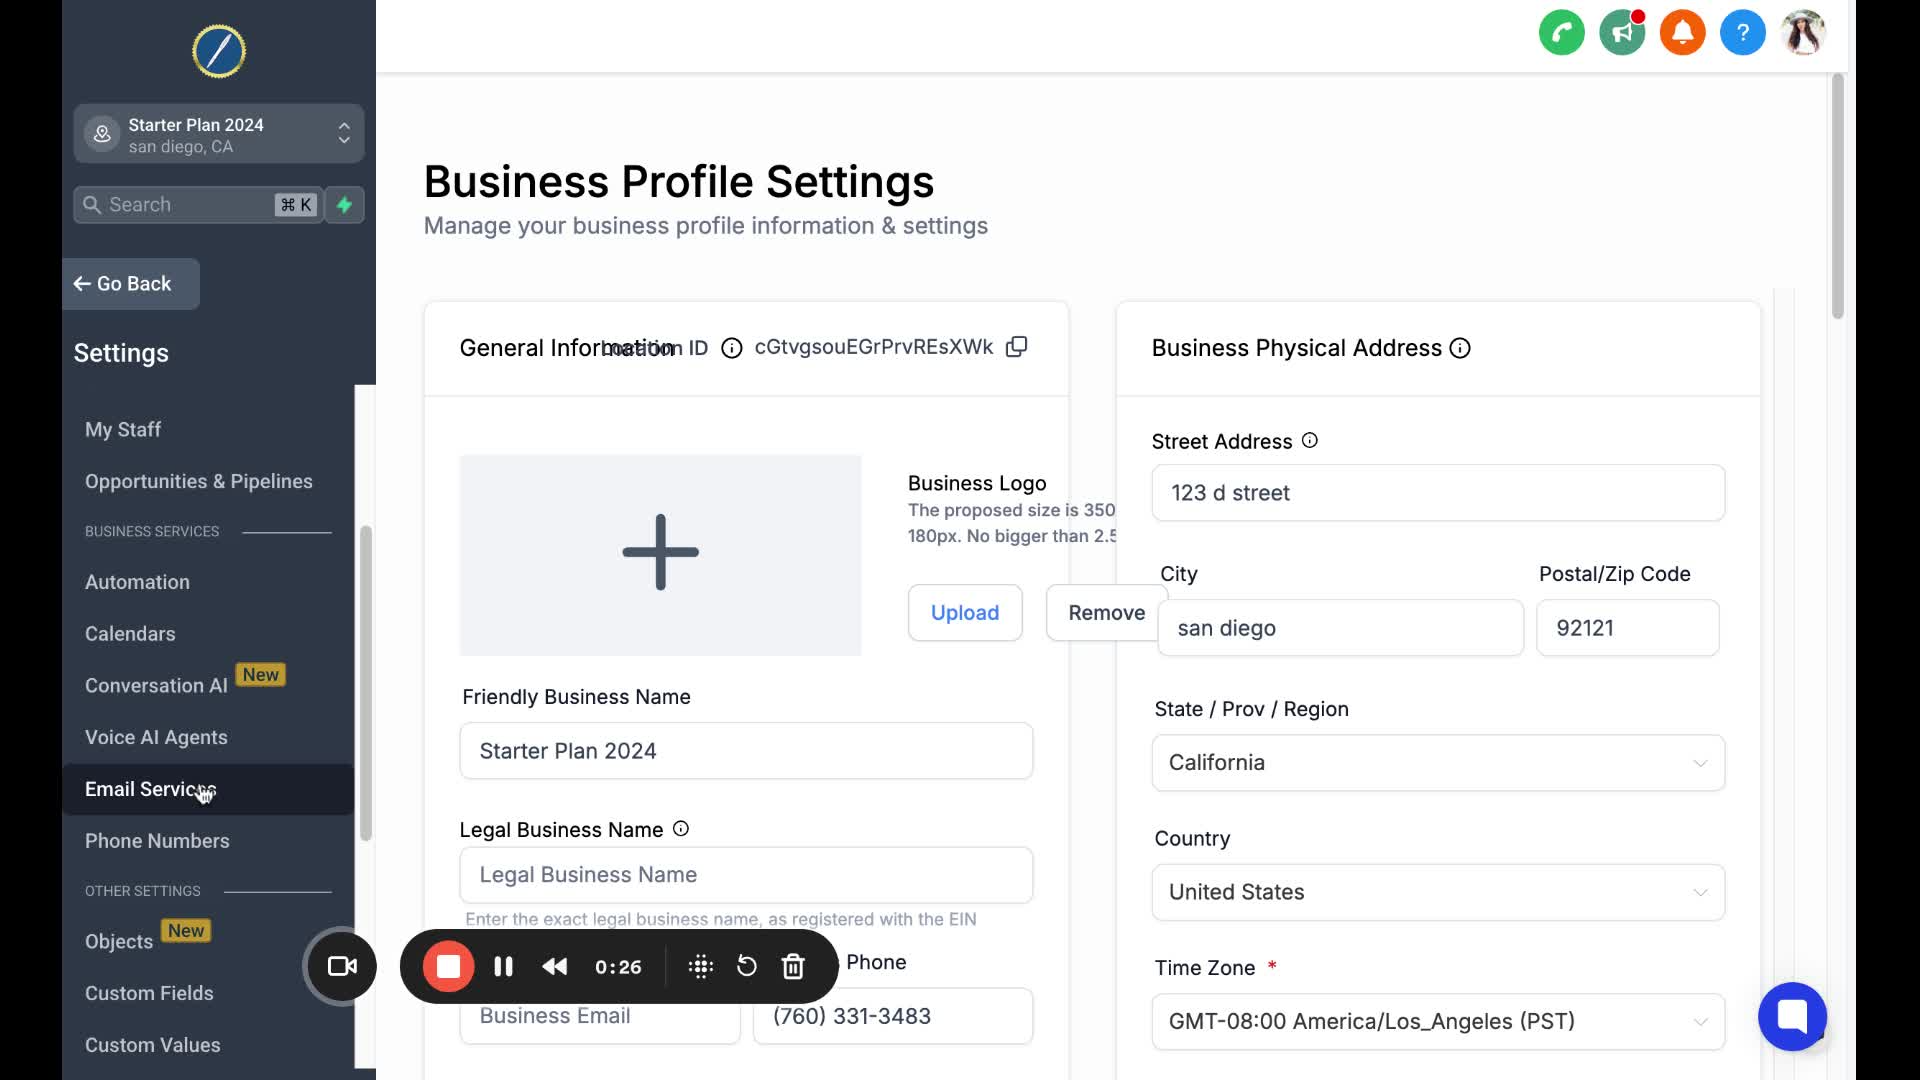
2. Navigate to Email Services 0:16
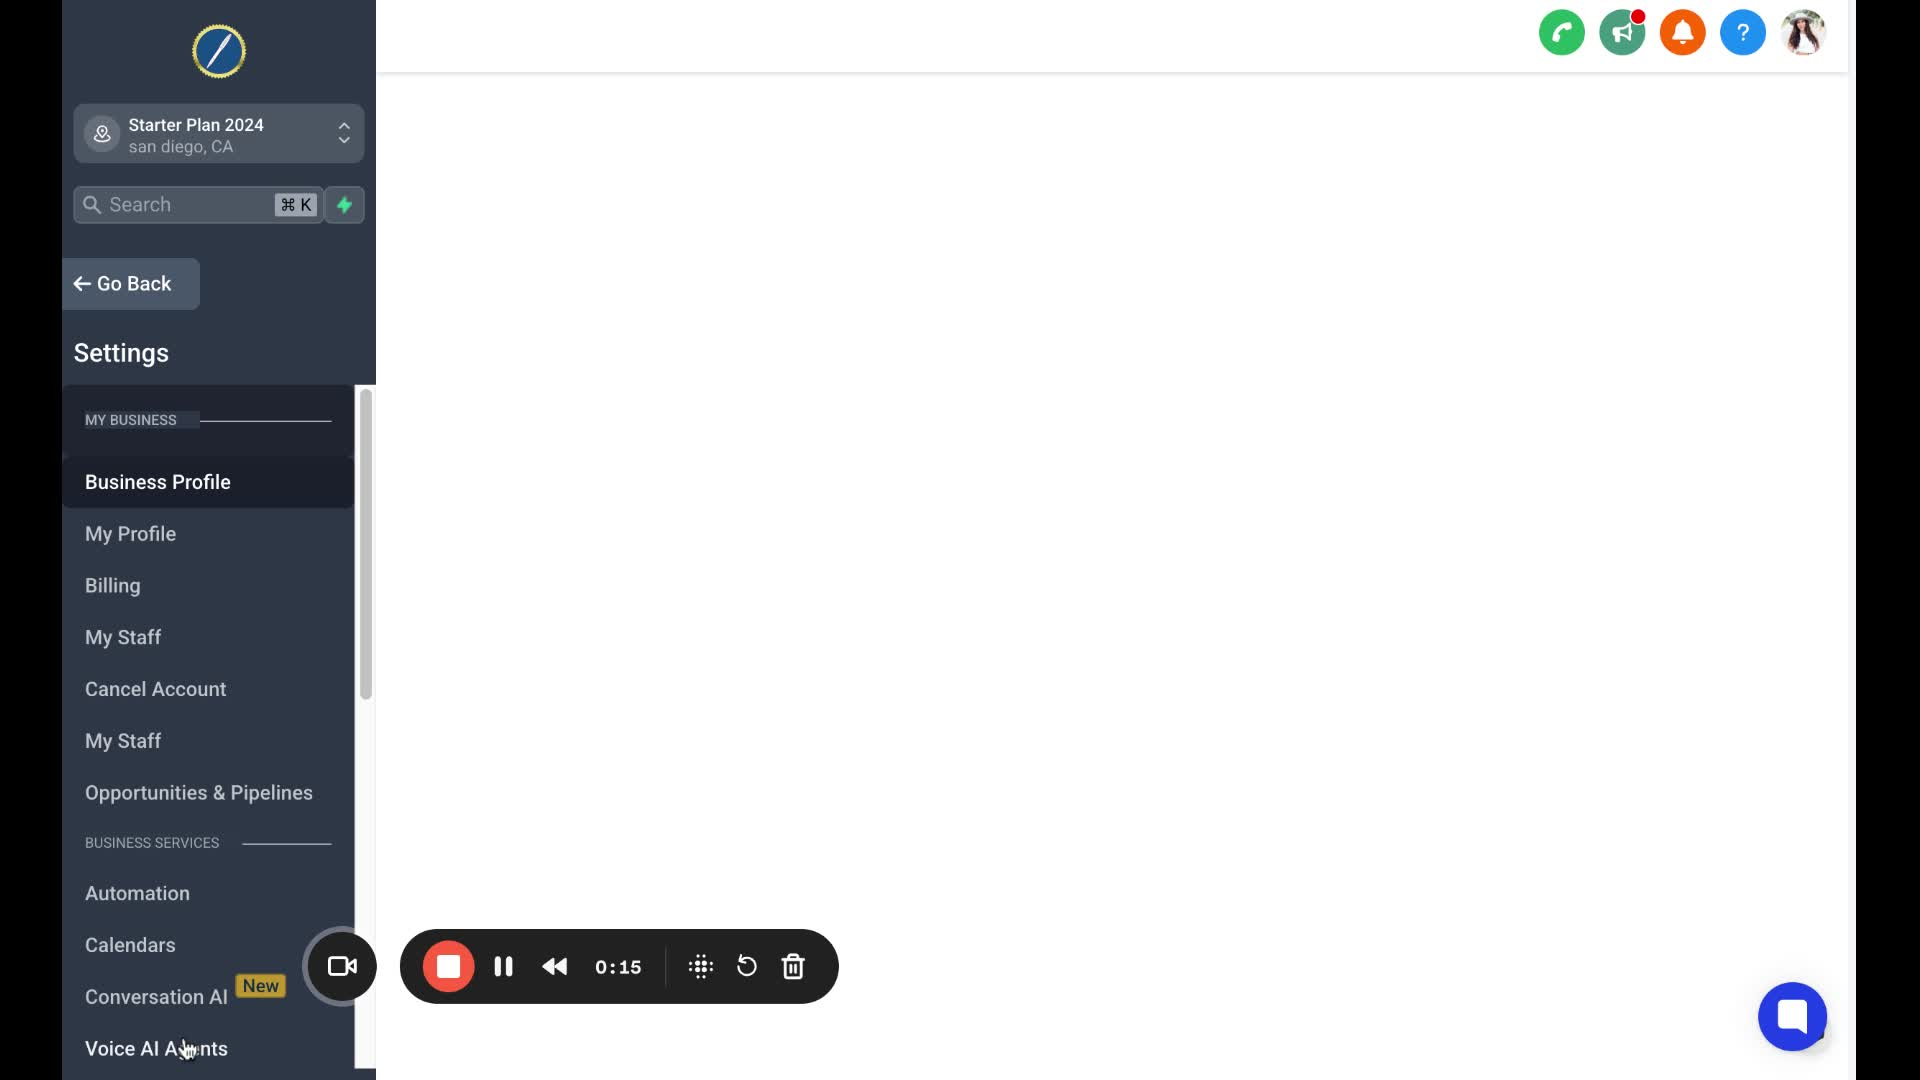
Scroll down in the left-hand menu until you find Email Services.
Click on Email Services to open the next window.
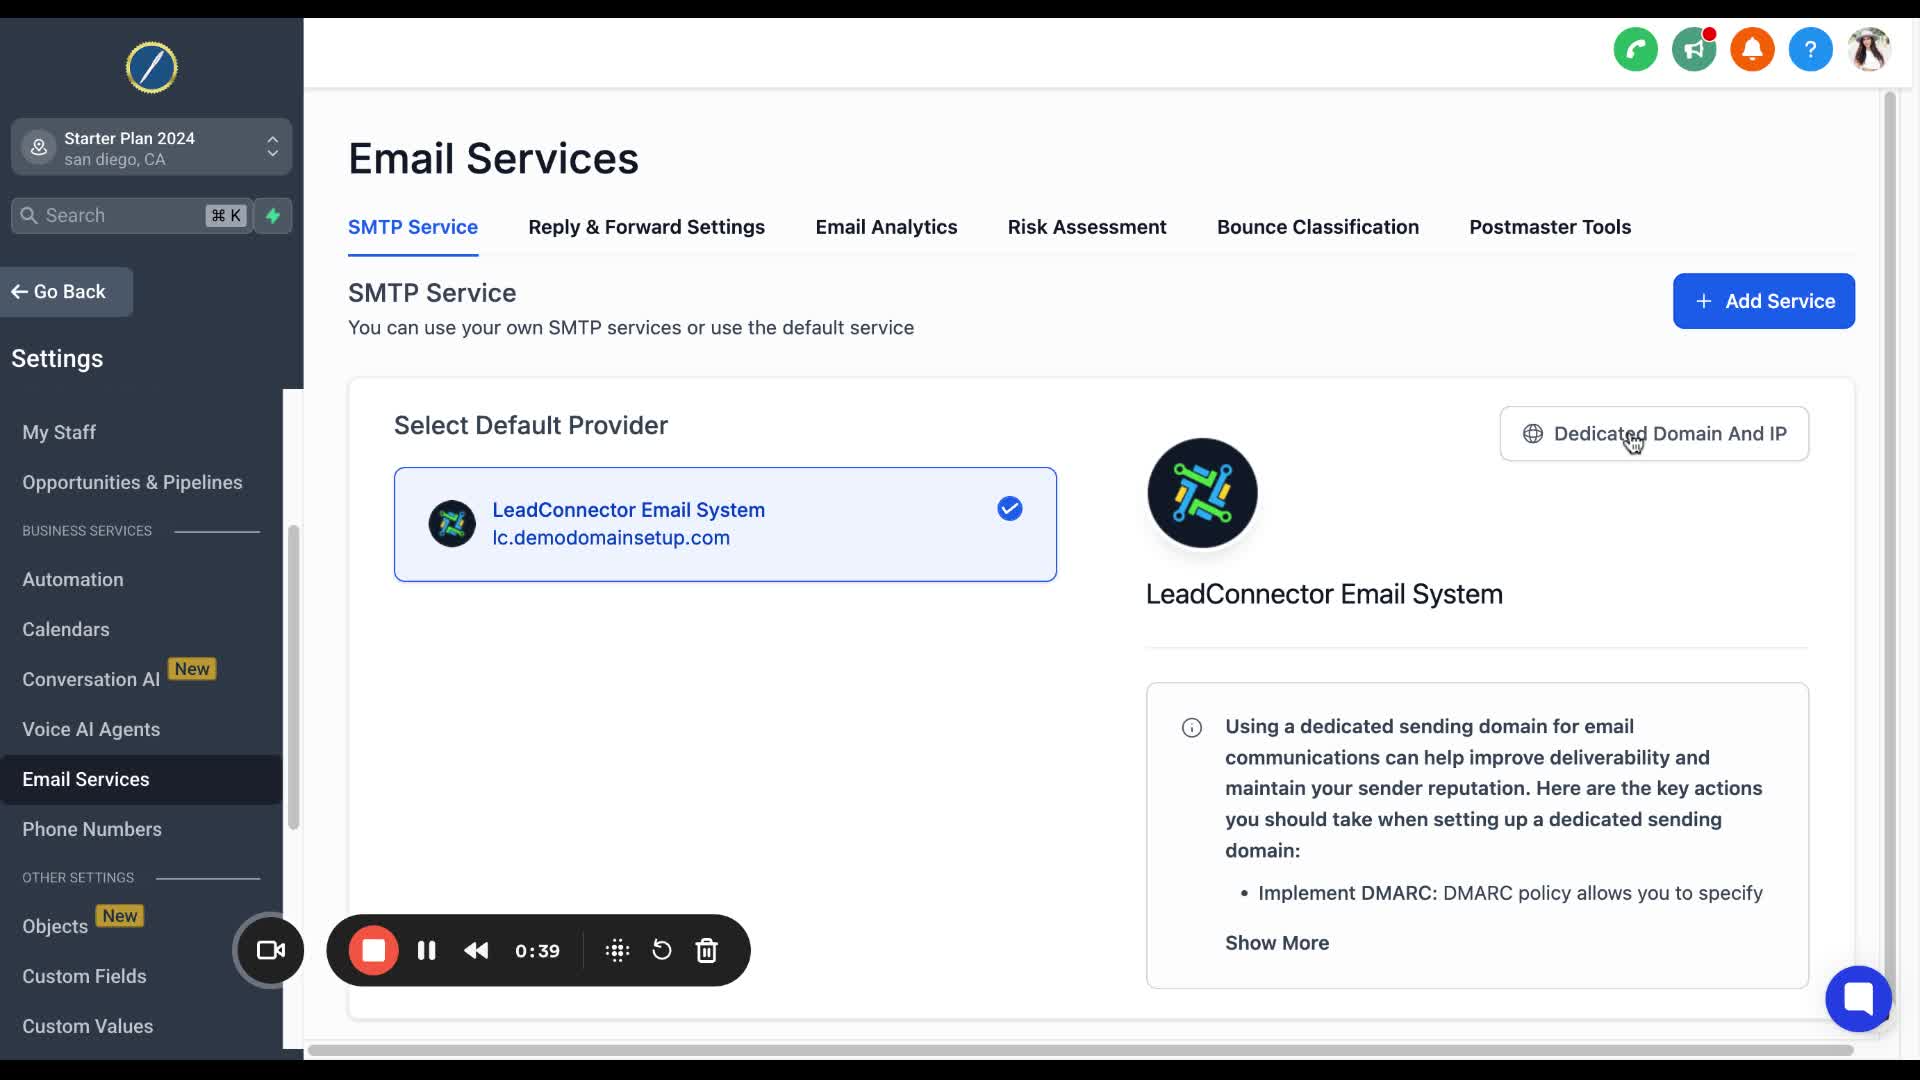
3. Change Sending Domain 0:28
Locate your custom dedicated domain.
Click on Dedicated Domain and IP on the far right.
4. Set Headers 0:40
Click on the three dots and select Set Headers.
A window will pop up for you to change the from name and from email.
5. Ensure Domain Matches 1:06
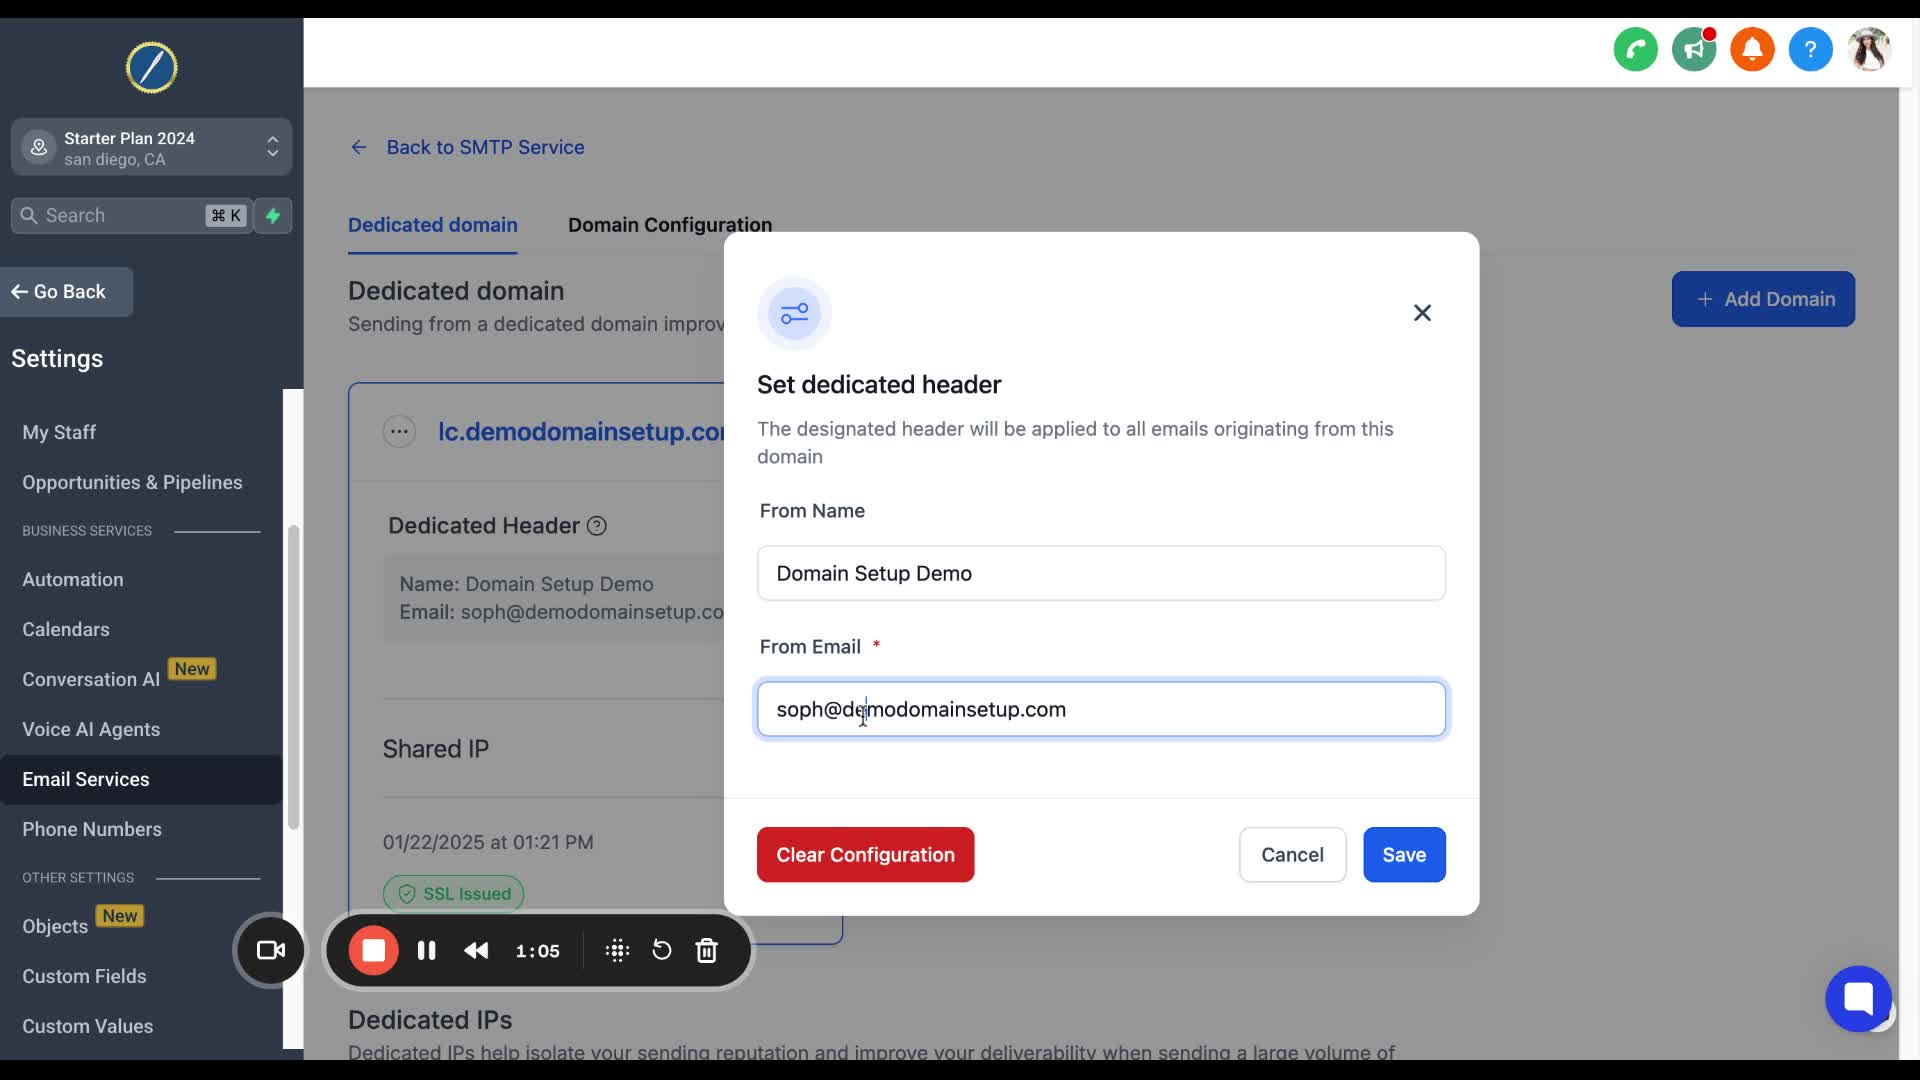
Make sure the email matches the custom domain connected to your account.
Avoid using domains like gmail.com, yahoo.com, or outlook.com.
6. Customize From Email 1:36
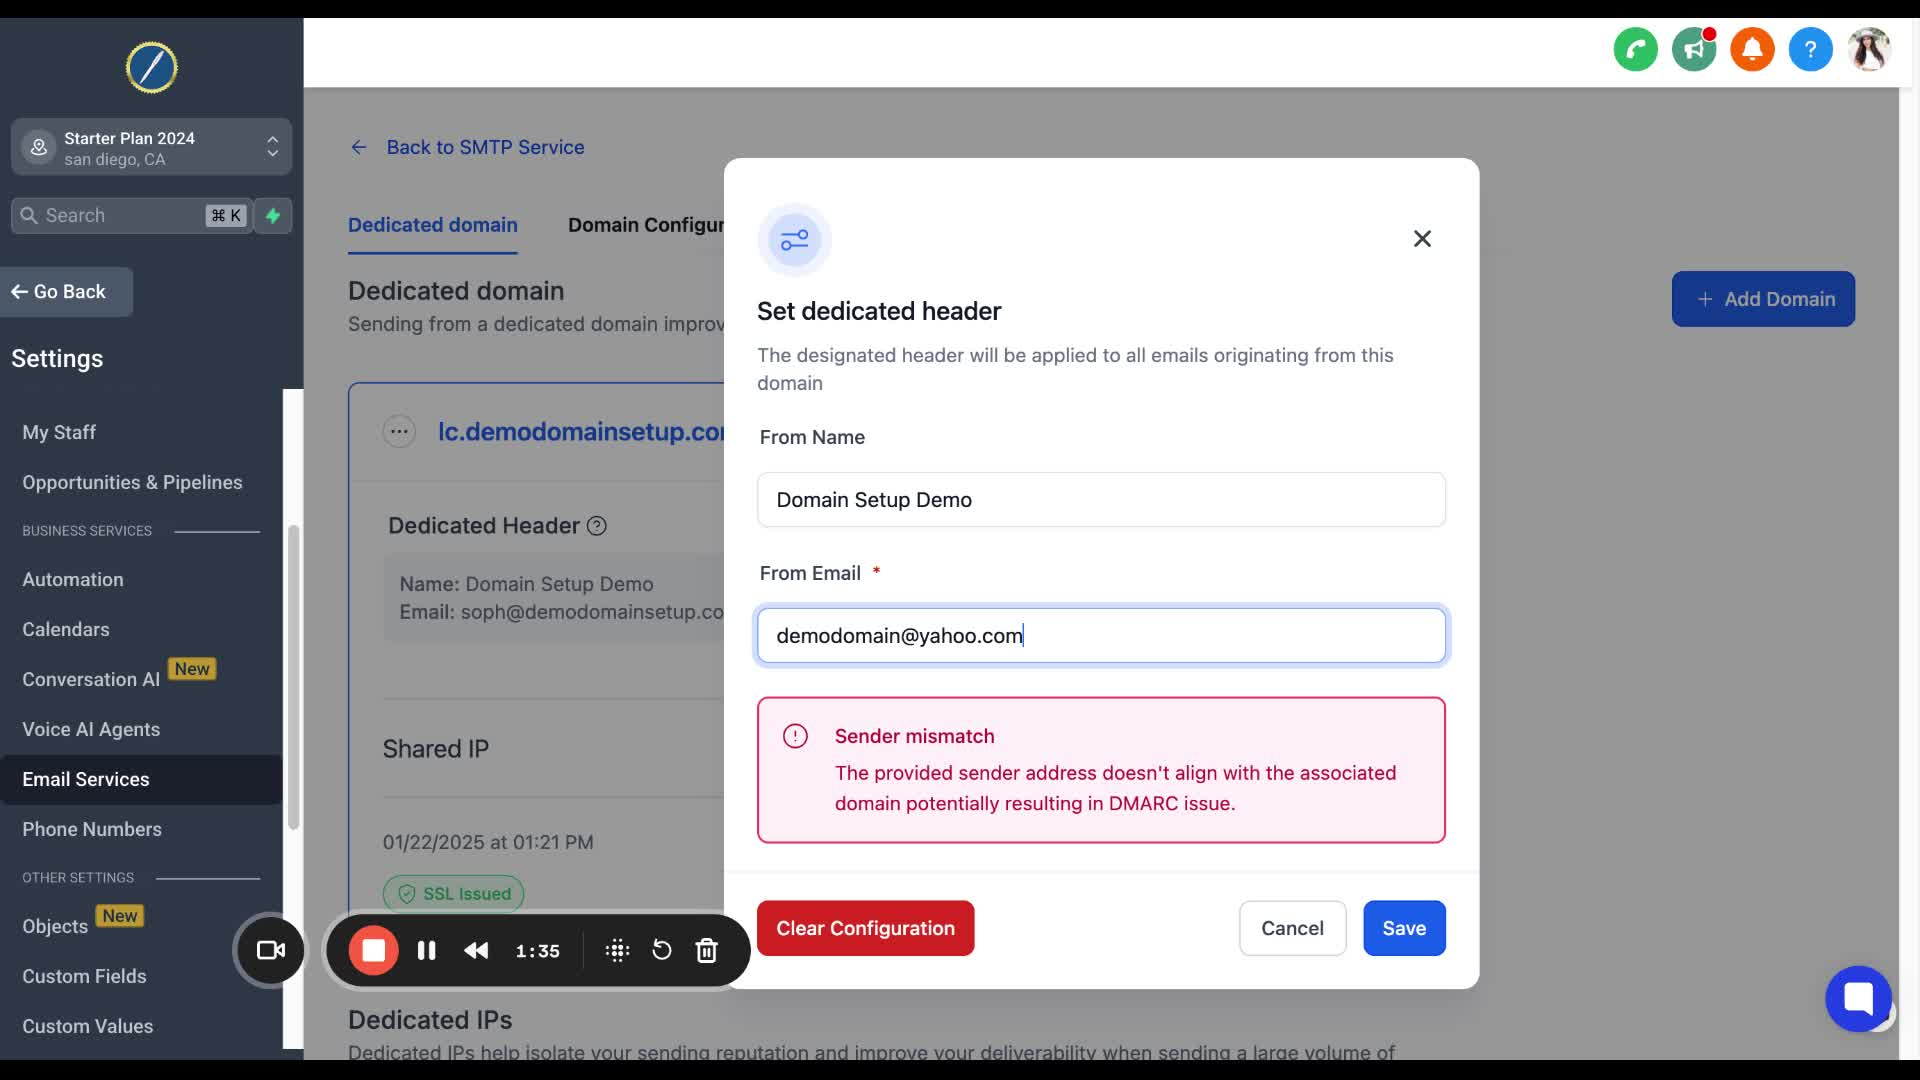
Change the from email to any preferred format (e.g., info@, admin@, help@, yourname@) using your custom domain.
7. Save Changes 2:05

Click Save at the bottom right to apply the changes.
8. Change Reply-To Address 2:22
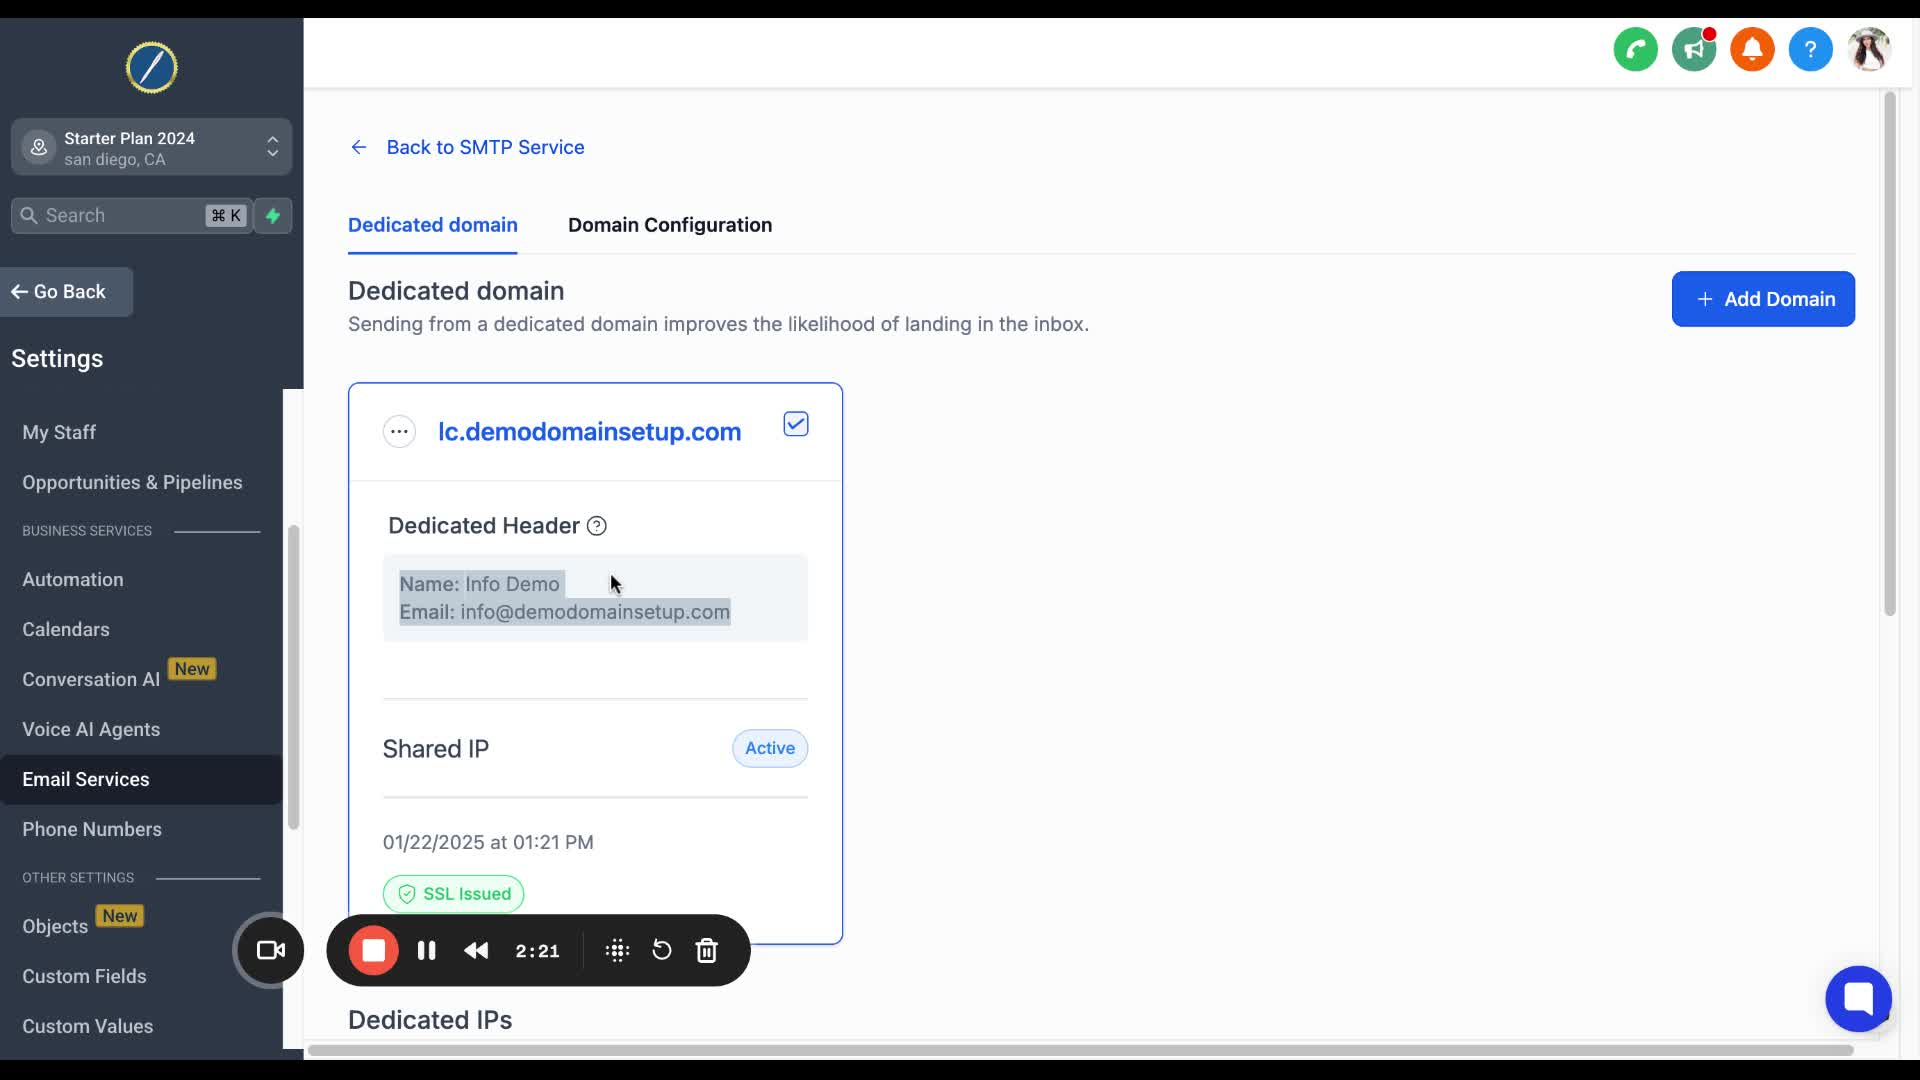
Click on Back to SMTP Service in the left-hand corner.
9. Access Reply and Forward Settings 2:33

Click on Reply and Forward Settings.
10. Toggle Forwarding 2:48
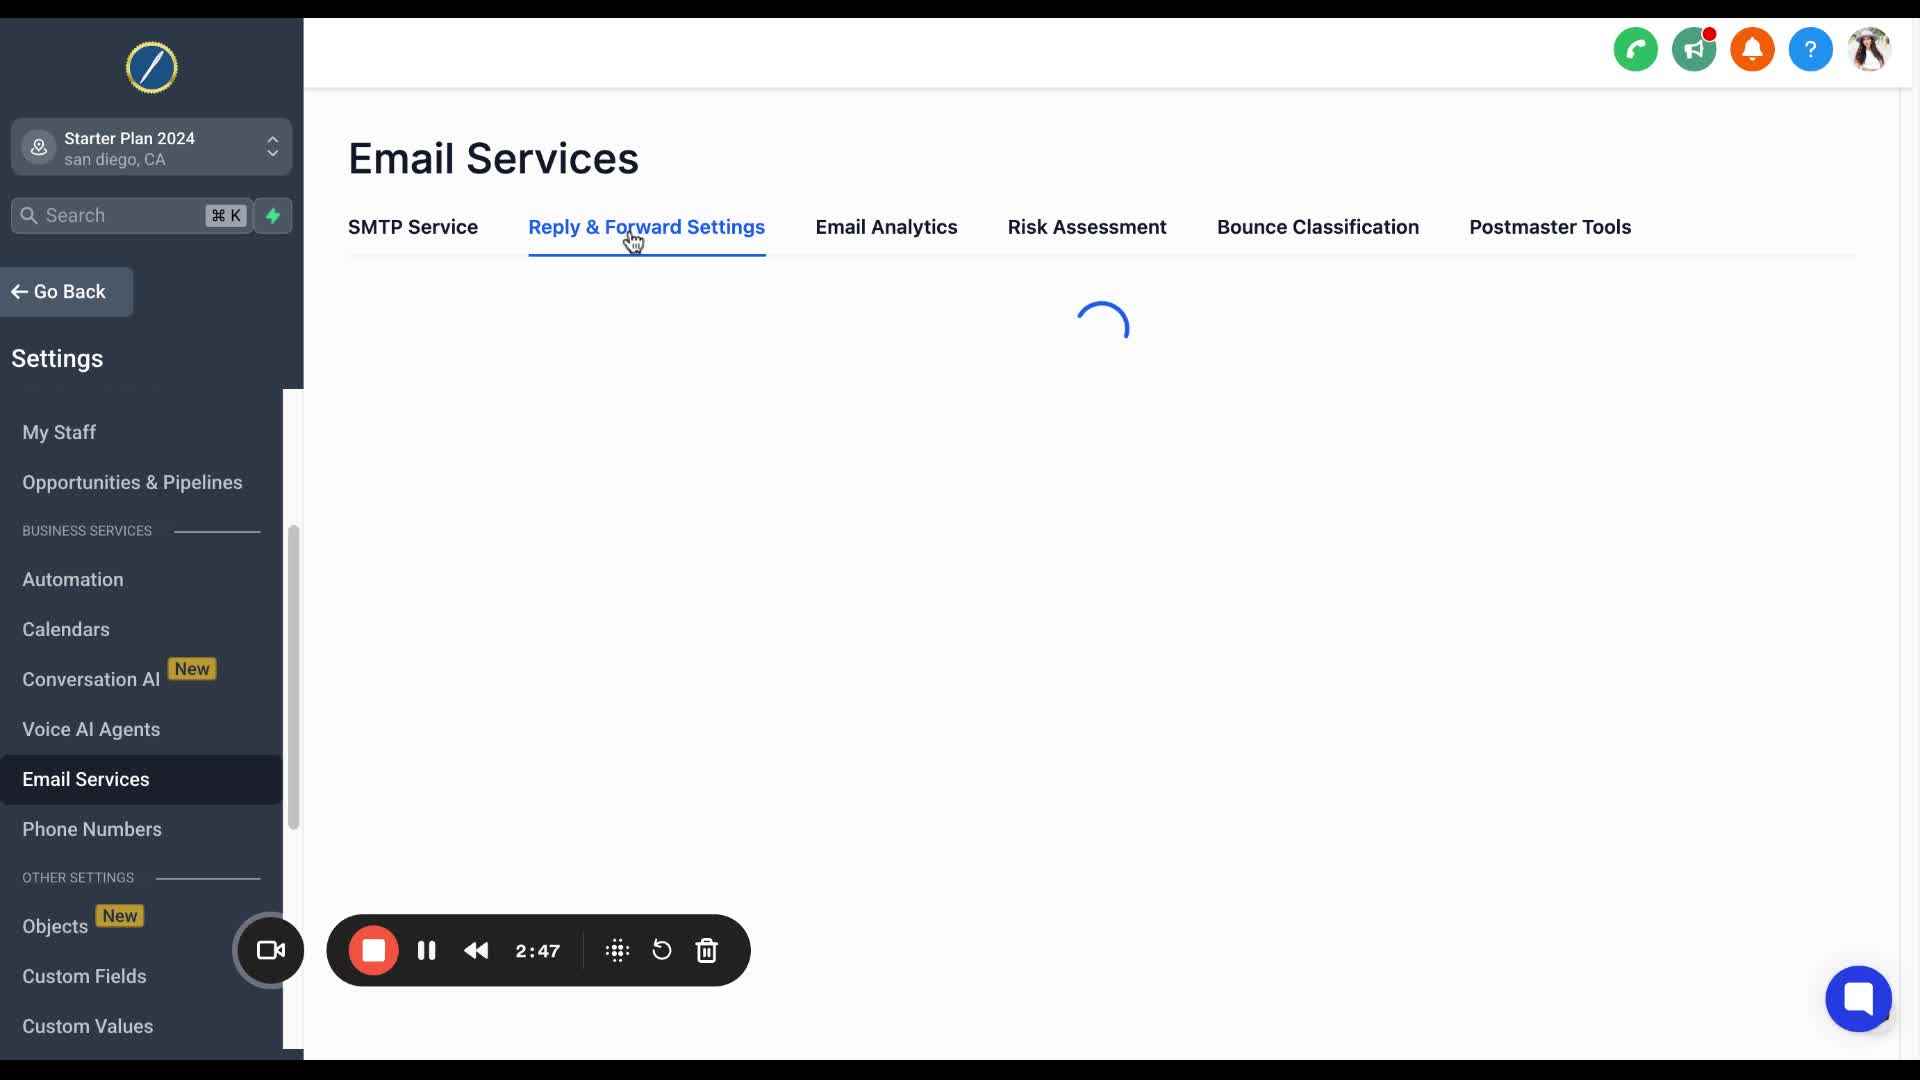
Toggle on Forward to Assign User and hit Save.
11. Enter Reply-To Email 3:11

Enter the email address you want to use as the reply-to email.
12. Confirm Email Entry 3:24
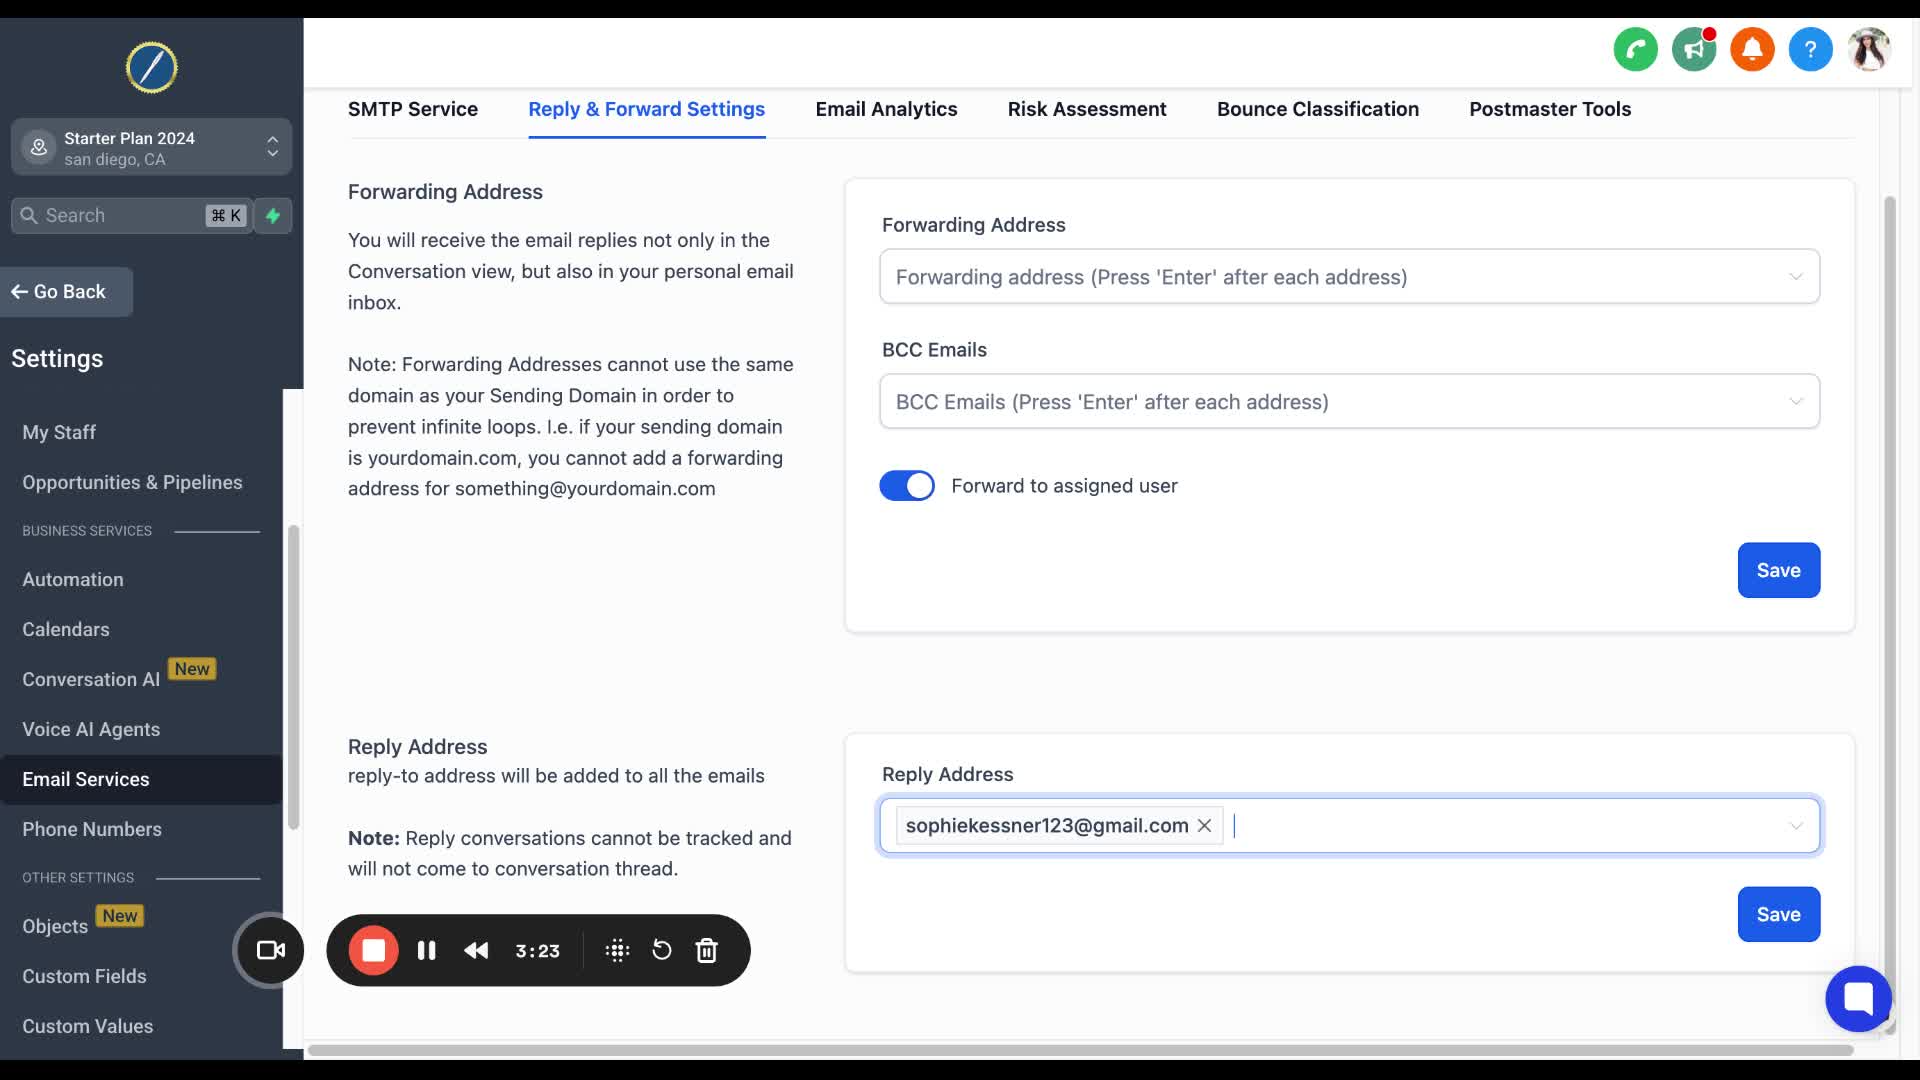
Ensure the email is highlighted in the gray box after hitting Enter.
13. Final Save 3:32

Click Save again to finalize the settings.
Ensure that the from email matches your custom domain to avoid errors.
Do not use personal email domains like gmail.com, yahoo.com, or outlook.com for the sending domain.
Always double-check that the email settings are saved correctly before exiting the settings page.
Keep a note of your custom domain to avoid confusion when entering the email addresses.
