There are two main ways to connect a domain to the LSS Software.
If your domain is registered with a supported provider (like GoDaddy, Google Domains, or Cloudflare), you can connect it automatically via API-based authentication.
Steps:
Go to Sites > Settings > Domains in your The LSS CRMaccount.
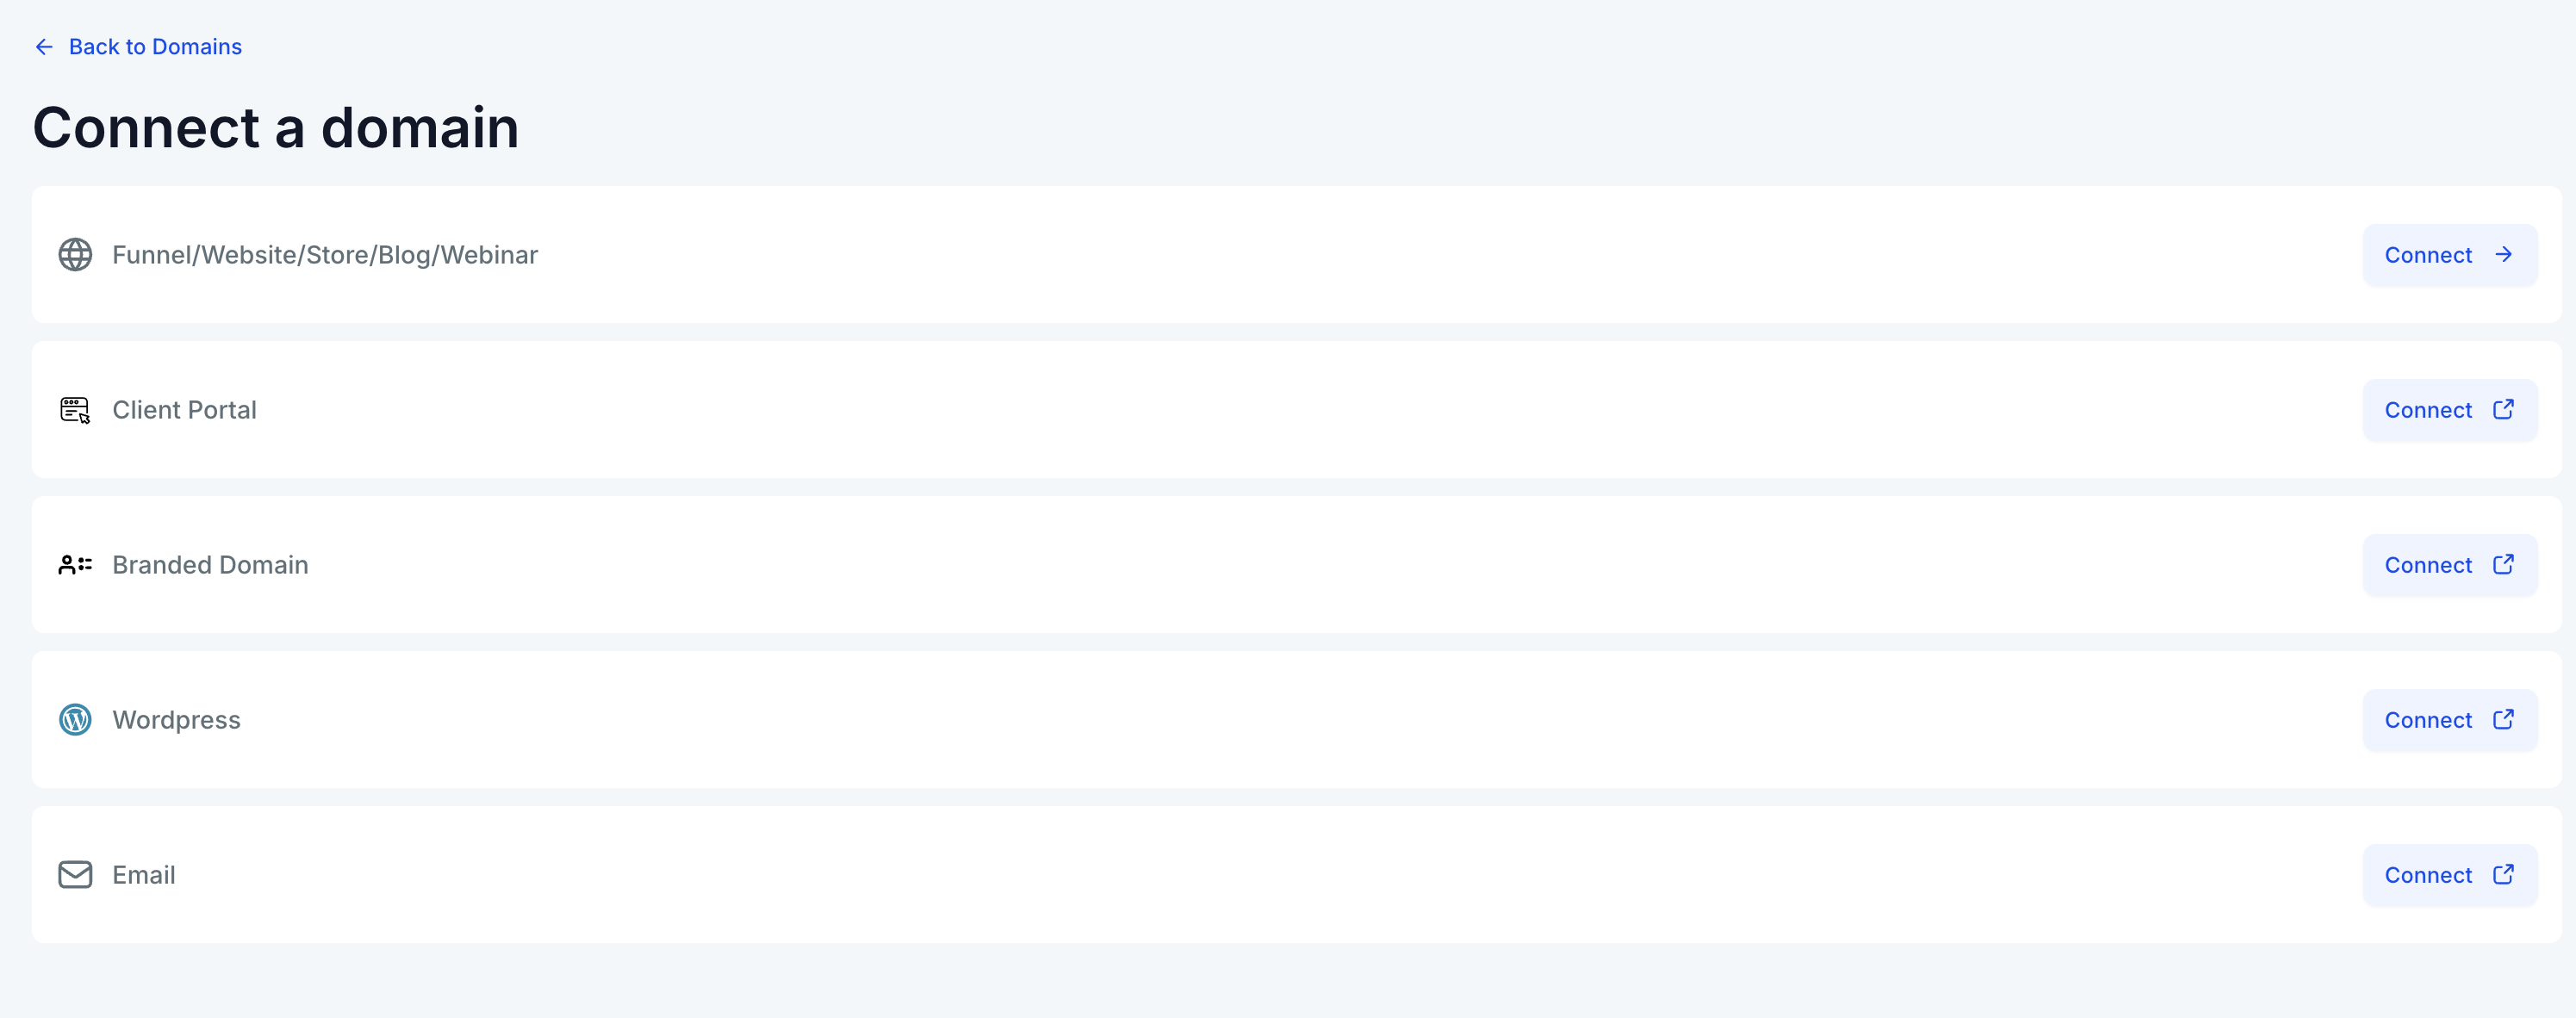
Choose “Connect a Domain”.
Choose the product you'd like to connect (e.g., funnel, website, email).
Enter your root domain or subdomain in the provided field. If adding the "www" subdomain as well, you'll see an option to add the root domain.
If your domain is with Google Domains, Go Daddy, or Cloudflare, you'll see an "Authorize" button. Click on it to allow Domain Connect to access your DNS settings.
Follow the on-screen prompts to complete the authorization process on your domain provider's interface. This will automatically add or connect the required DNS records.
Once authorization is complete, close that tab and return to the Domain Connect interface.
Recommended if your domain is managed by one of our integrated providers.
If your domain is hosted by Namecheap, Bluehost, or any provider not listed, you'll need to add DNS records manually.
Steps:
Navigate to Sites > Settings > Domains.
Choose “Connect a Domain.”
Choose the product you'd like to connect (e.g., funnel, website, email).

If you want to connect the domain to a funnel, website, blog or webinar enter the domain name as per the prompt.
Click on the add records manually option.

You'll receive specific DNS records (A Records, CNAME, TXT) that need to be added in your domain registrar.

Log into your domain provider (e.g., Namecheap), and navigate to DNS settings.
Add the records exactly as shown.
Save changes and wait for DNS propagation (can take up to 24 hours).
Use this option if your provider is not directly supported.
Log in to your Cloudflare dashboard.
Select your domain and click on the DNS tab.
Click Add Record.
For each required record from The LSS CRM:
Choose type: A, CNAME, or TXT.
A Record for @ (root domain) → Point to the IP address.
CNAME for www or subdomains (if applicable).
TXT for email verification (e.g., SPF/DKIM).
Important: Toggle Proxy status to "DNS Only" (gray cloud) for A and CNAME records.
Click Save for each.
Wait for propagation (few minutes to 24 hours).
Log in to your GoDaddy account.
Go to My Products > Domains, then click Manage DNS next to your domain.
Under the Records section, click Add:
Select type: A, CNAME, or TXT.
Use @ for root domain and www for subdomain.
Enter the record values exactly as provided by The LSS CRM.
Click Save after adding each record.
Allow time for changes to propagate.
Log in to your Namecheap dashboard.
Navigate to Domain List > Manage next to your domain.
Go to the Advanced DNS tab.
Under Host Records, click Add New Record:
A Record for @
CNAME Record for www
TXT Record for verification or email (e.g., SPF/DKIM)
Paste the exact values from your The LSS CRMinstructions.
Click Save All Changes.
Wait up to 24 hours for DNS propagation.
Log in to your Squarespace account.
Go to Settings > Domains and select your domain.
Click DNS Settings (Advanced).
Add the following:
A Record for @ (use IP provided)
CNAME for www (if required)
TXT for email verification
Click Save after each record.
Return to The LSS CRM and reconnect the domain once changes are saved.
While connecting your domain either manually or automatically, you could run into a few common issues like -
Record Conflicts: Multiple A Recors

AAAA Record Conlict

CAA Record Conflict

DNS Records Do Not Match

Domain is Connected Elsewhere
Use your domain to host customer-facing pages such as funnels, ecommerce stores, webinars, or blogs.
A domain is required to authenticate your email sending (e.g., via SPF, DKIM, DMARC).
Connecting it improves email deliverability and ensures your messages aren’t flagged as spam.
You can read more about it here - Dedicated Email Sending Domains Overview & Setup
Connect a domain to white-label your LSS CRM sub-accoun
This replaces the default .hlpages.co URLs with your own branding.
You can read more about it here - Branding System-Generated Links (API Domain) and Why and HOW TO Setup Branded Domains
DNS Propagation: Changes can take from a few minutes up to 24 hours to fully propagate.
SSL is automatically provisioned once the domain is connected and records are correct.
You can manage all connected domains under Settings > Domains.
If your domain says “Pending” for over 24 hours, double-check DNS values or reach out to support.
